Overall: 3/4 stars
- Approach: 3/4 stars. Pretty good! At a very slow pace, it took us 50 mins including wrong turn, and on the way down we found the better trail that does NOT go through the rocky gully with the devil’s club!
- Climbing: 3/4 stars. Slab, slab, and more slab. But kinda fun! Basically the same as Silent Running. Kinda neat once you get into the slab groove. As a 5.10+ climber, it felt easy enough to be enjoyable, compared to previous outings I’ve had on Blueberry Buttress several years ago.
- Protection: 2/4 stars. The route is actually quite well bolted! I wouldn’t recommend it for a 5.8 leader or a budding 5.9 leader, but I was actually surprised how well it was bolted. I literally only used one cam once for pitches 1-7 (on pitch 4 on the 5.10a variation).
- Anchor ledges: 2/4 stars. Pretty comfortable belay ledges… they are slab anchors, but typically in a location with a bit of a ledge, none were terrible!
- Anchors: 1/4 stars. They’re all bolted, however about 2/3 of them are missing chains and are equalized with cordalette/webbing for rappel. Therefore, bring extra webbing and a knife for the rappel if they’re looking worn.
- Rappel: 1/4 stars. You need to use double 60’s to rappel, which means hauling up another rope, and it takes exactly as many pitches as you climbed to rappel. Still only took 2 hours to rappel, and the rappels pull very cleanly, but a bit of a pain, especially when combined with replacing webbing on the anchors.
- Communications: 3/4 stars. Easy to hear each other, and often direct visual sight too.
- Shade: Route got sun at 10am, was shade till then luckily!
- Should you do Top Cat? The pictures of the 2nd pitch dihedral look awesome, but I was a bit disappointed. The first pitch direct start over the overhanging #3 crack was probably more interesting actually. Overall, I wouldn’t feel like I missed anything if I skipped Top Cat (and it doesn’t top out anyways). But at least it used some cams finally! ???? If you’re bored and have extra time, go for it. If you’re feeling like you already did enough, skip it and know that you won’t have missed out on anything.
Gear
- 11 draws (including 3 single alpines)
- If doing Top Cat: Single rack of #0.3-2, small nuts
- Otherwise if doing Purdie Shuffle: Just bring one #1, that’s it
- Sport anchors (all anchors are classic sport bolted)
- Extra webbing and knife for replacing webbing on rappels
- NO radios needed!
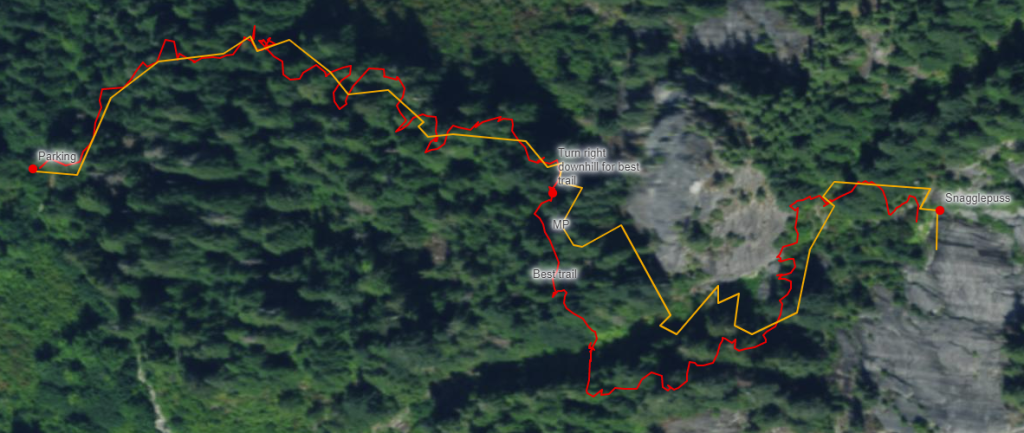
Approach
~30-50 mins, 0.6 miles, 800 ft gain. From the parking, find the REALLY BIG TREE and find the faint path going up the forest from that. About halfway up the trail, spot a trail junction where the trail actually turns right and downhill for a bit, that’s the better trail, take that across and then back up the steep forest, which bypasses the overgrown rock gully.
Climb
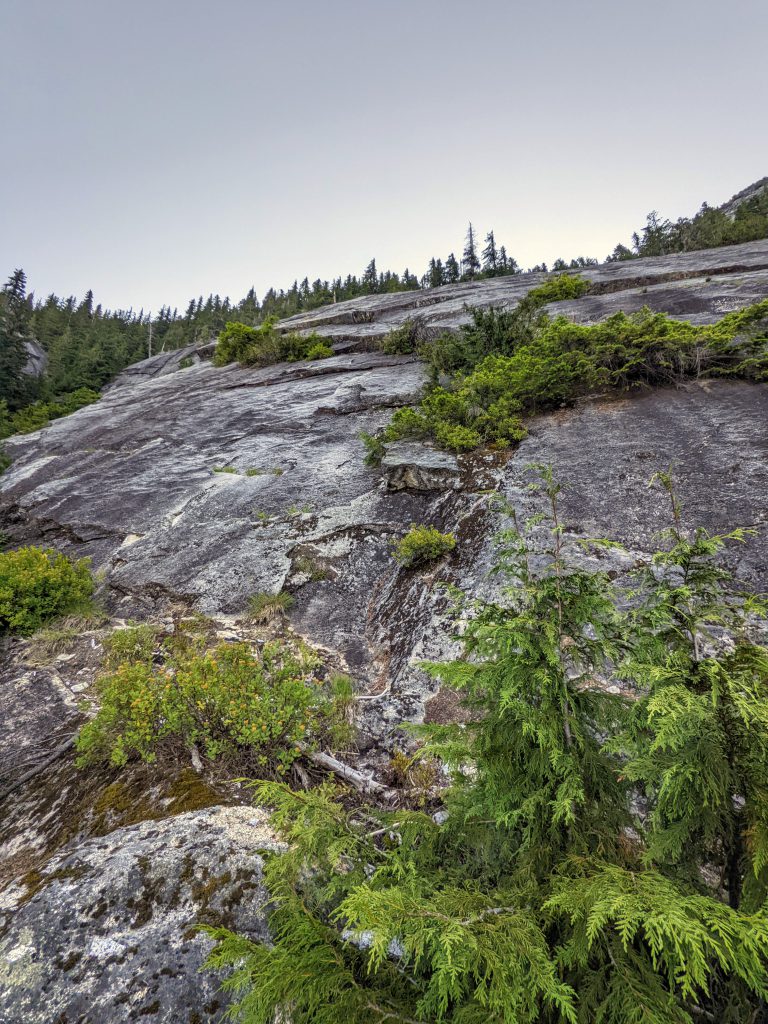
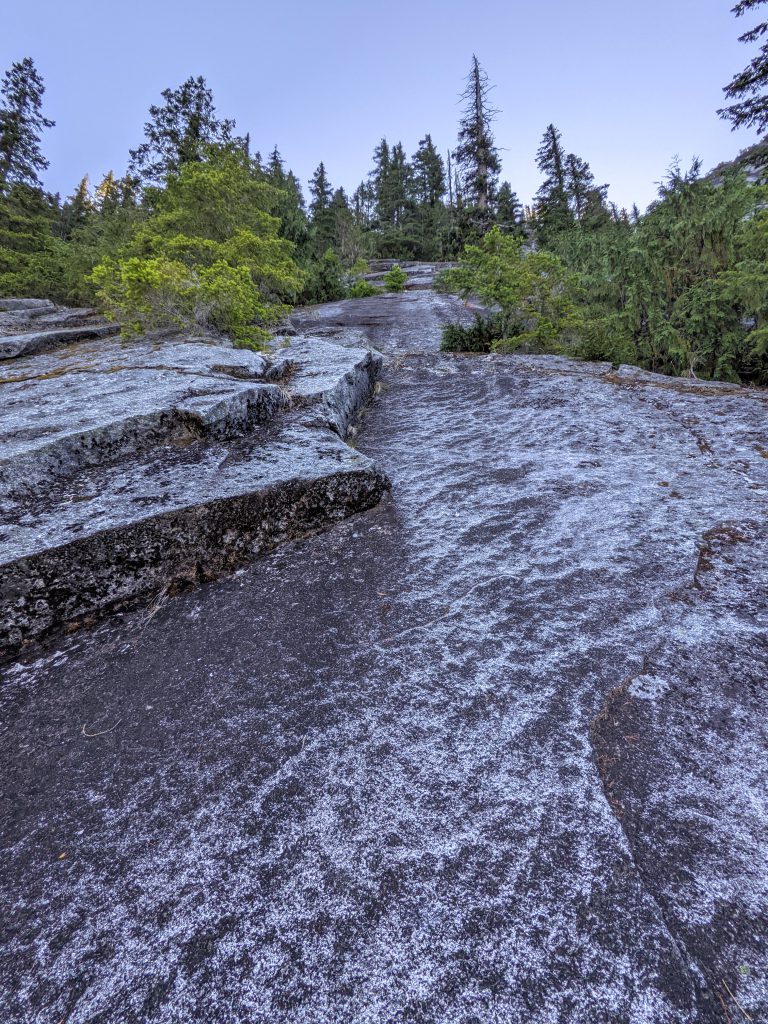
The first three pitches link discontinuous slabs and surmount the prominent overlap (surprisingly easily) to gain the grand Salami Ledge, where the exposure and views really open up.
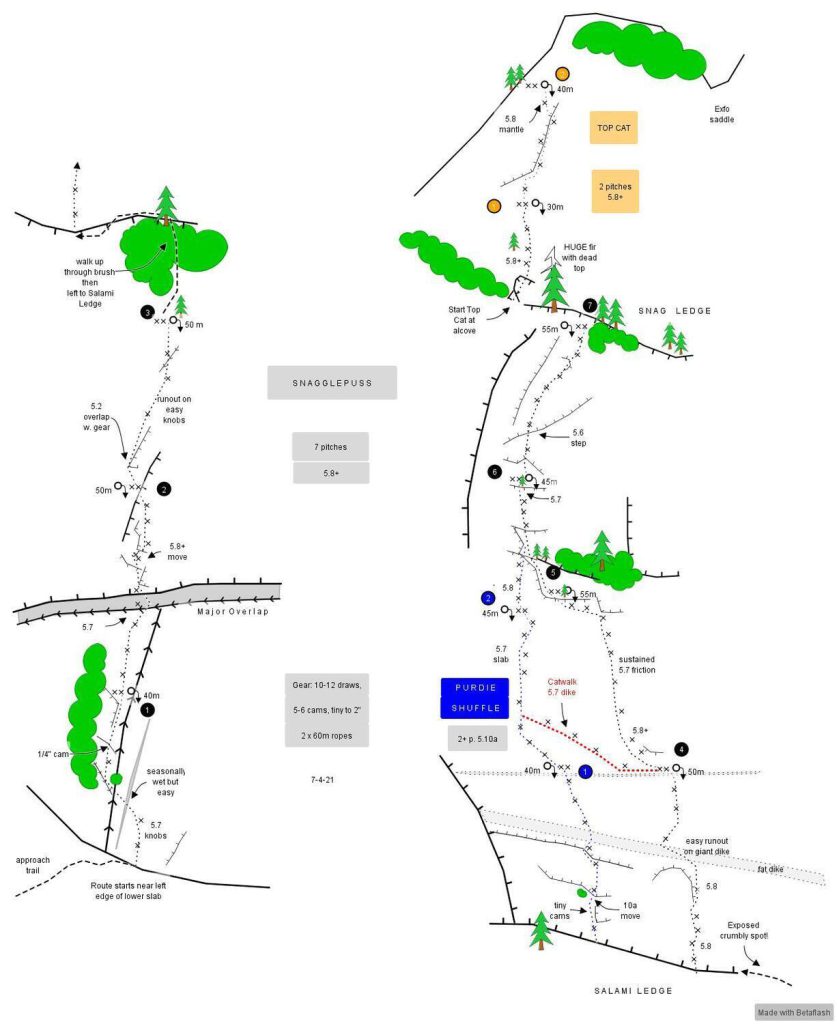
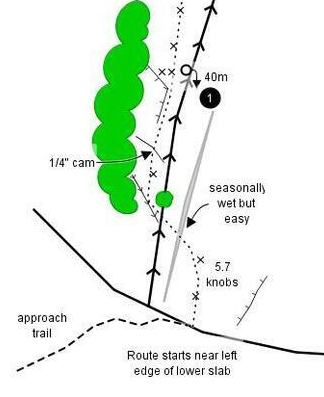
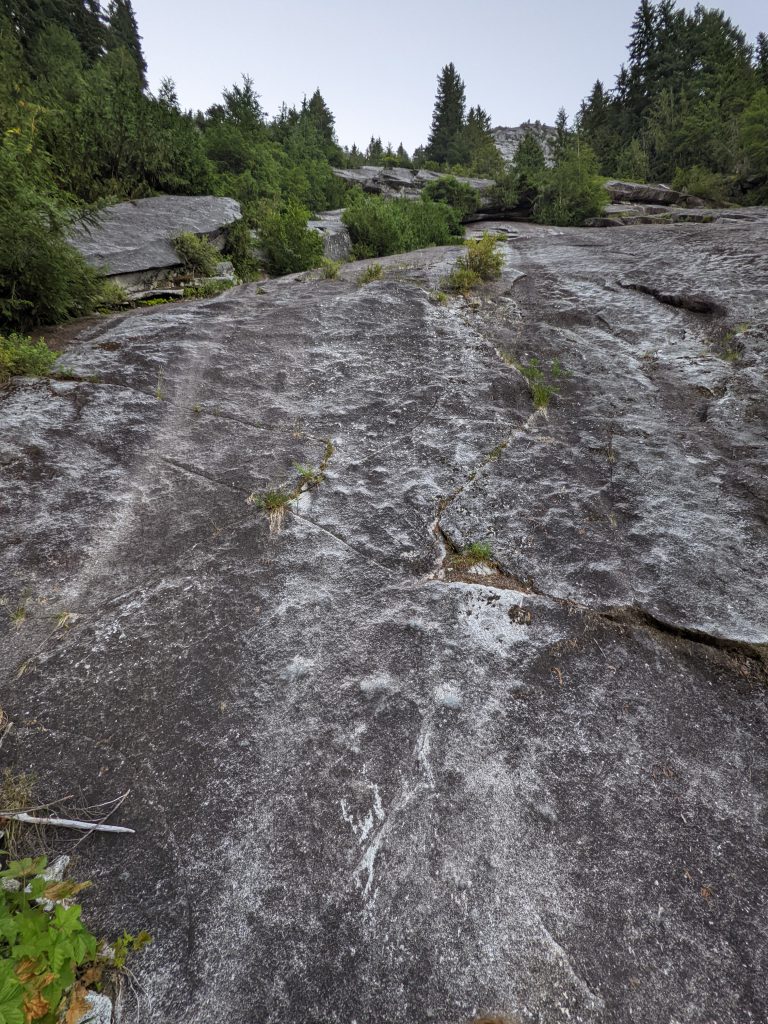
Pitch 1 – 5.7, 40m, ~3 bolts
Clip the two bolts on the slightly knobby slab, and then cuts through the bushes for some easy climbing up to the anchor. Note that there’s some other different route further to the right, so choose the right line of bolts! Sometimes water can be running across the route before going over to the bushes.

Pitch 2 – 5.8+, 50m, ~9 bolts
The 5.8+ move over the bulge was pretty easy and VERY well bolted (two bolts within ~3 feet of each other).
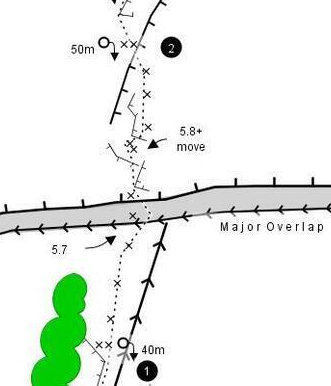

The 5.8+ bulge and remaining 2nd half of P2 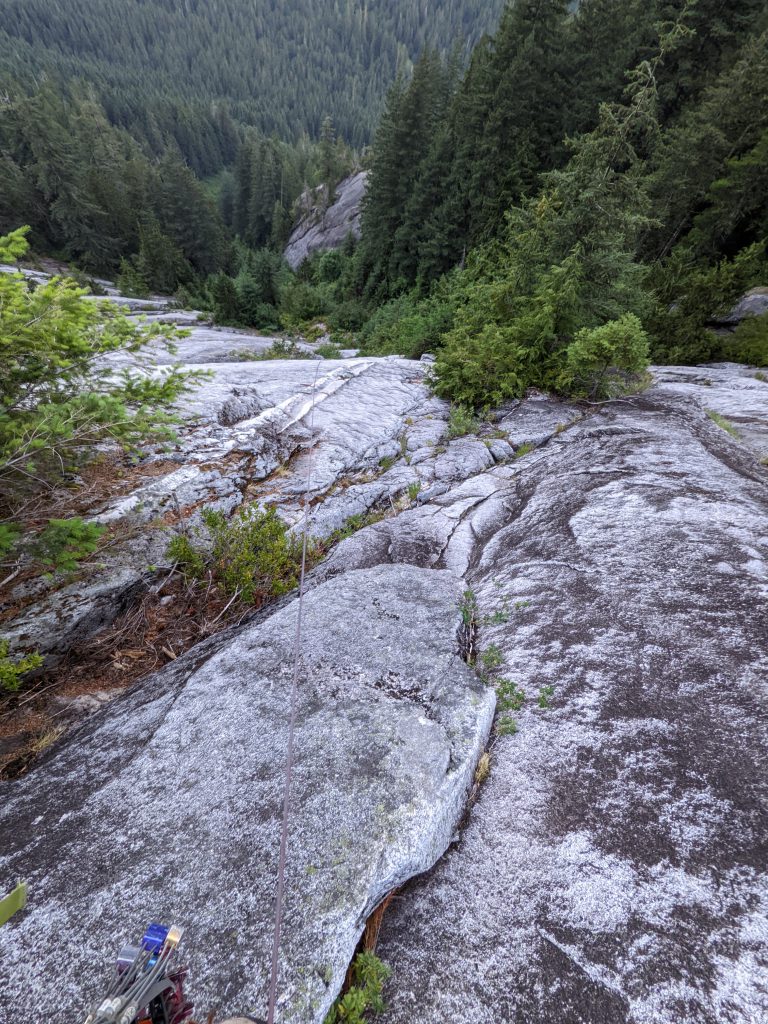
Looking down from top of P2
Pitch 3 – 5.4, 50m, ~3 bolts

Easy climbing up knobby slab goes to a bolted anchor at the base of the forest.

Alexis leading P3 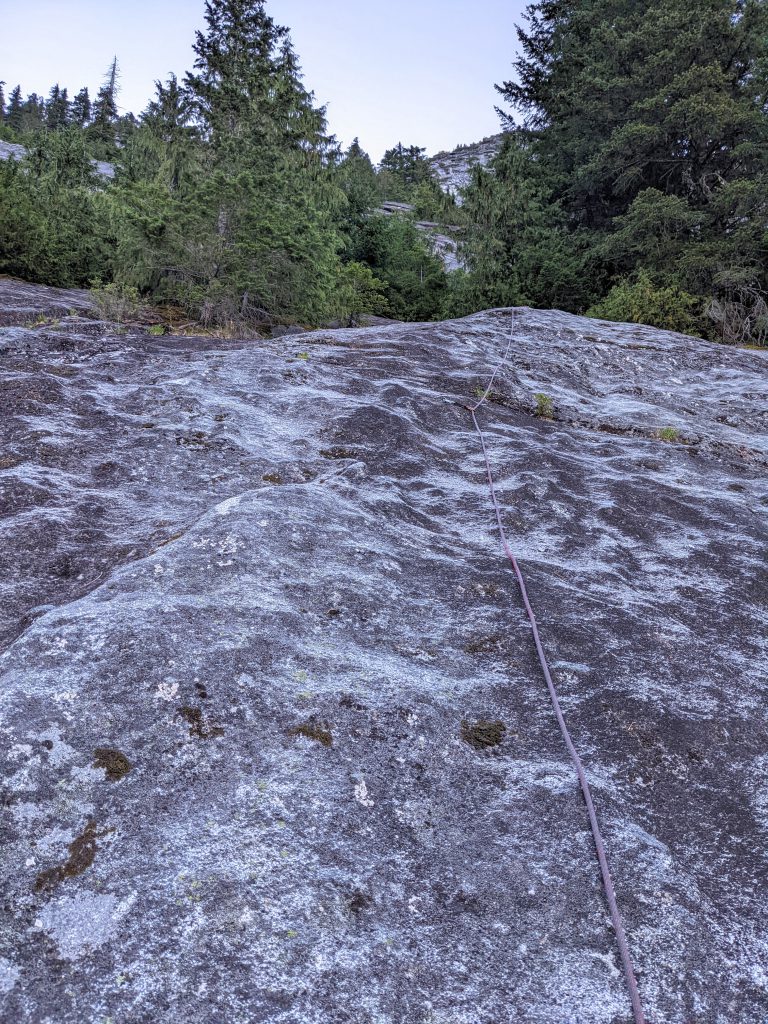
Further up on P3
Walk from P3 to P4
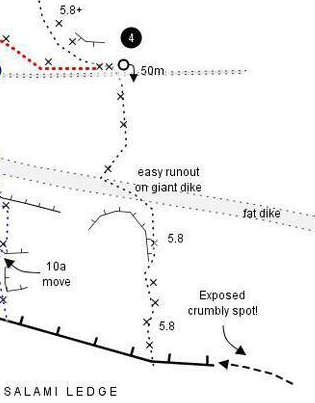
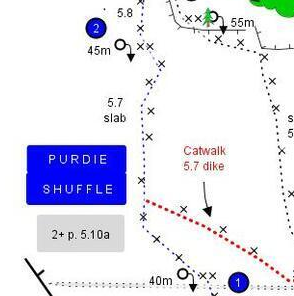
Walk up through the bushes (class 2.5 with a little exposure), then left to Salami Ledge where you can choose between continuing on Snagglepuss (first route you encounter), or doing the 2-pitch Purdie Shuffle variation (second route, has one 5.10a move).
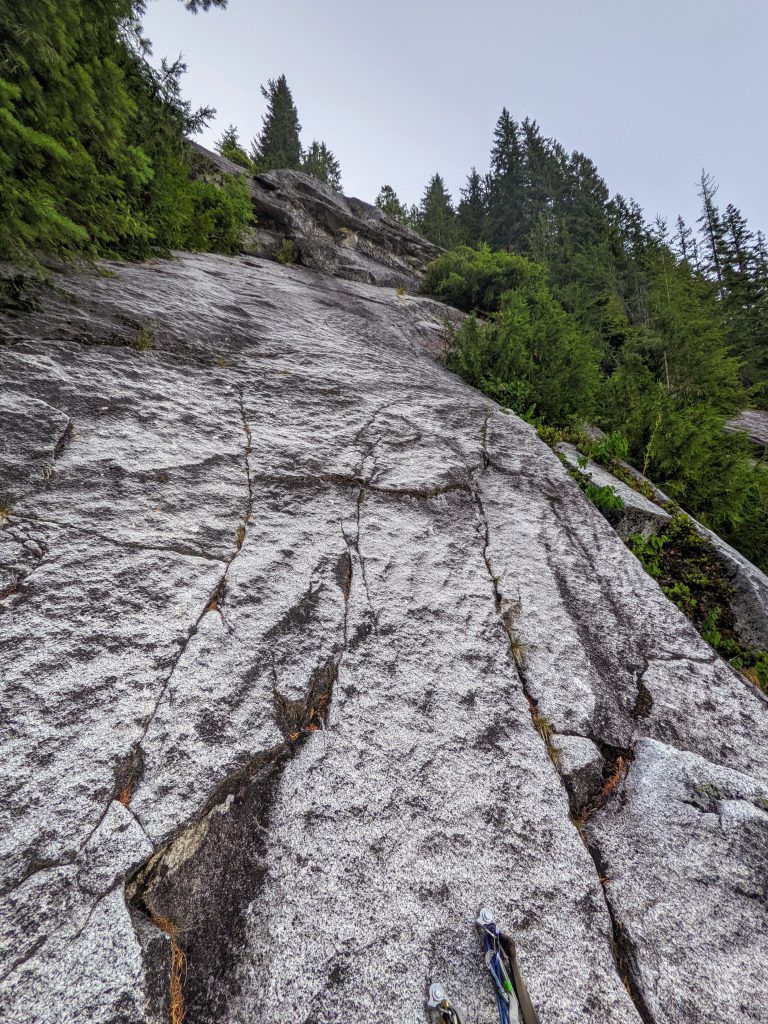
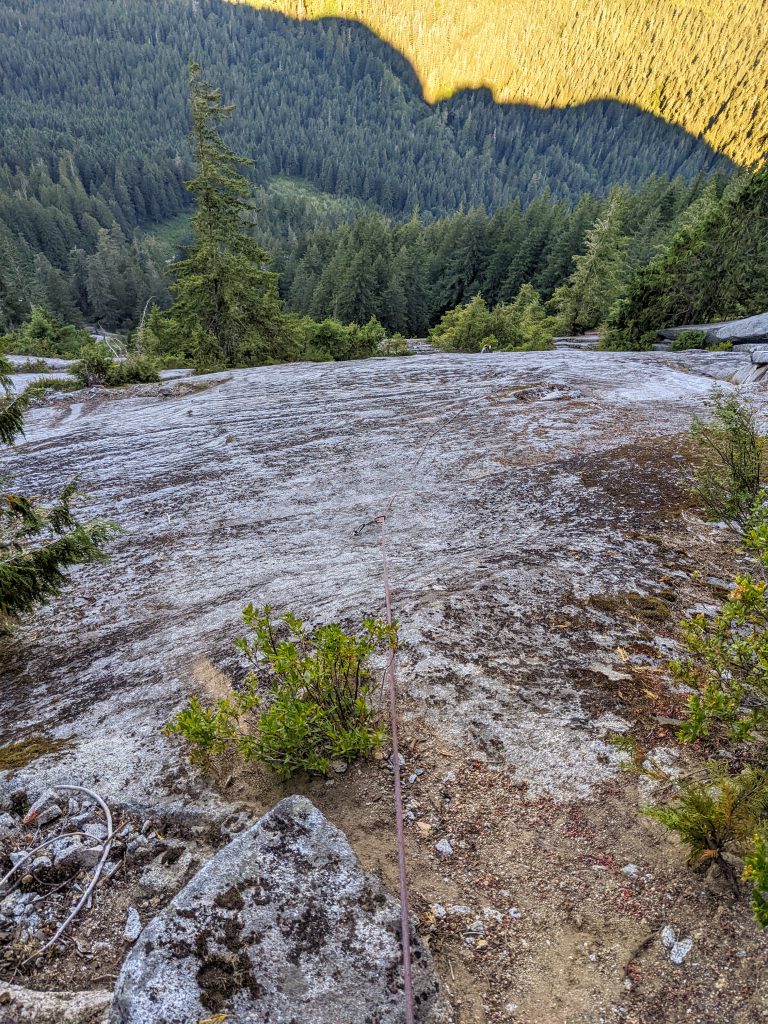
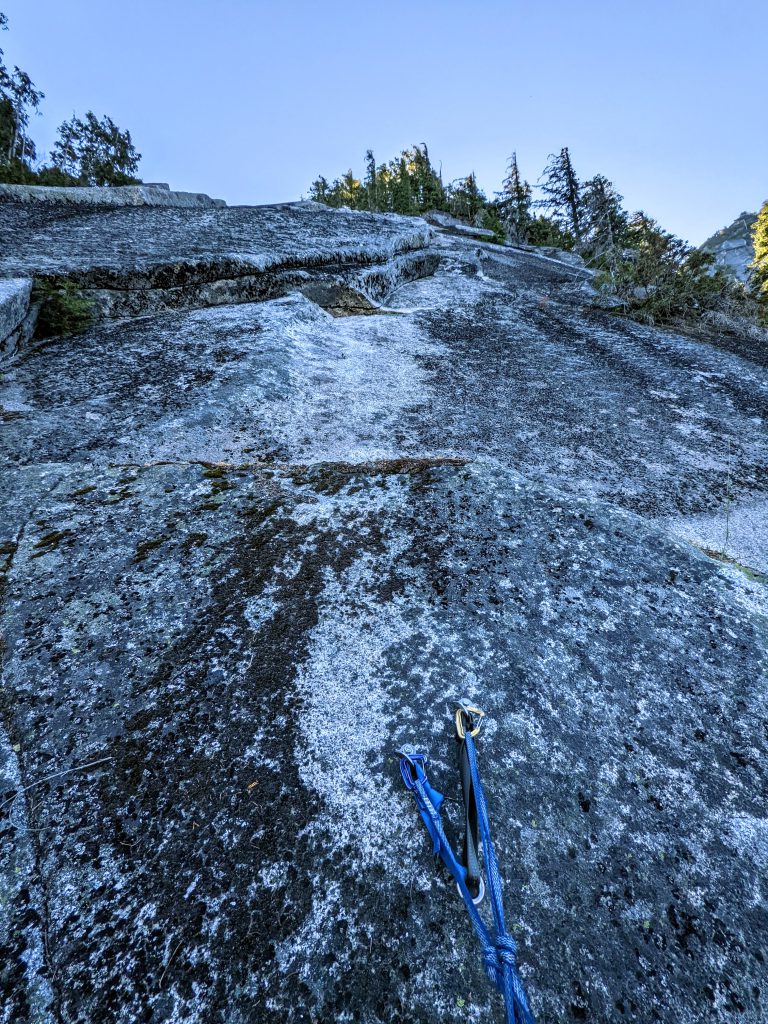
Pitch 4 – 5.8, 50m, ~8 bolts
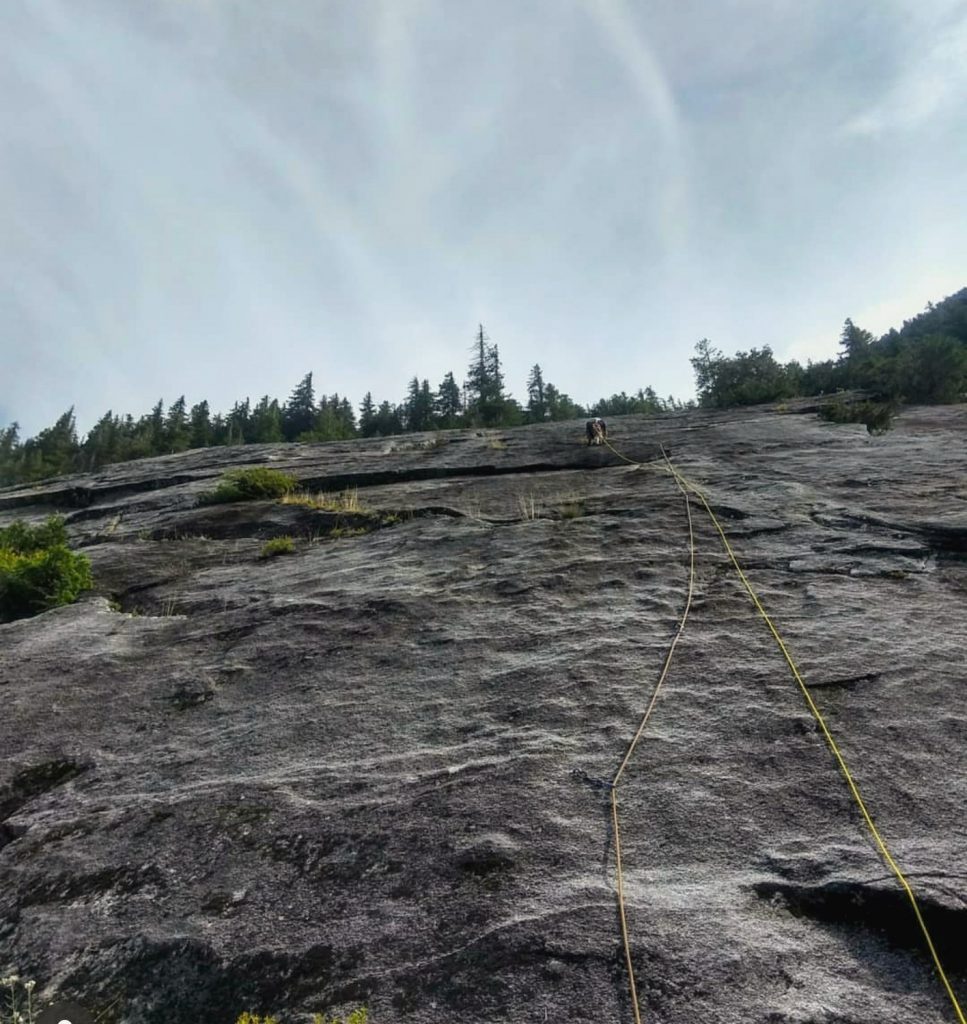
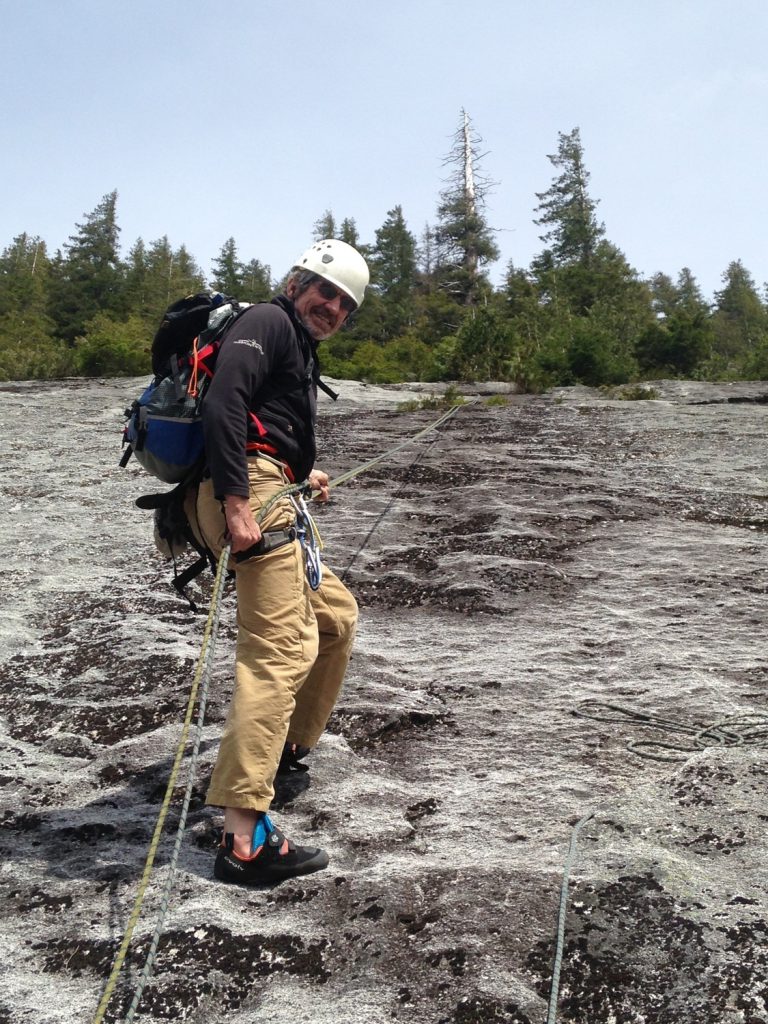
Pitch 4 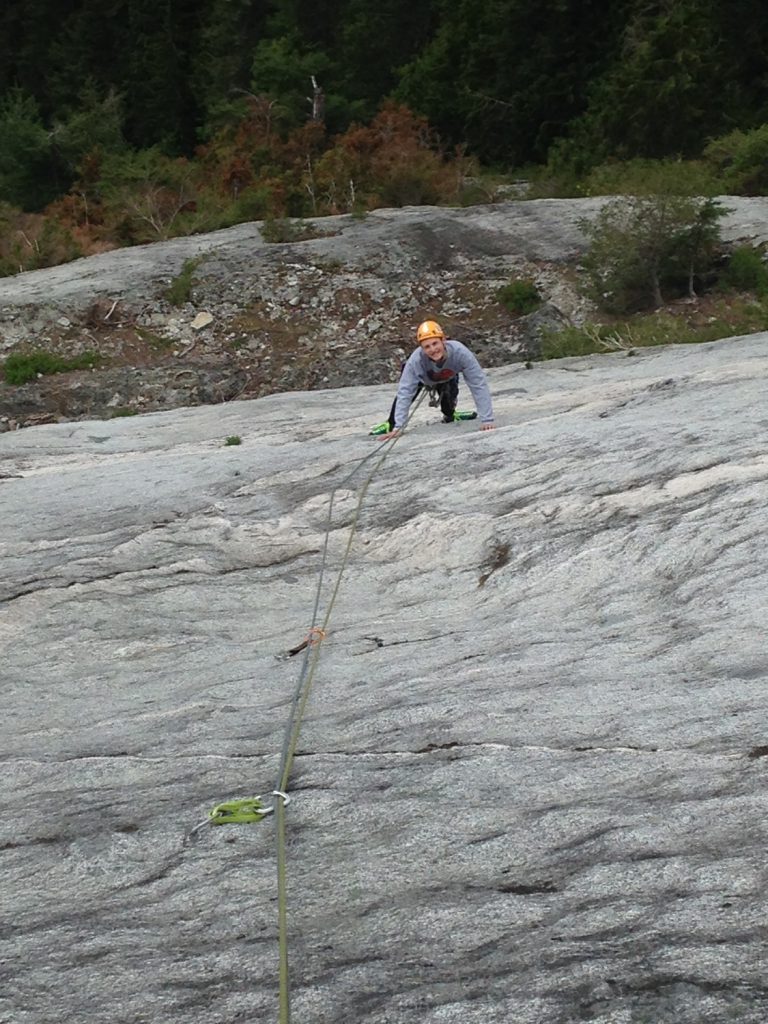
Clean slabs on pitch 4 of Snagglepuss, Darrington. Salami Ledge is below.
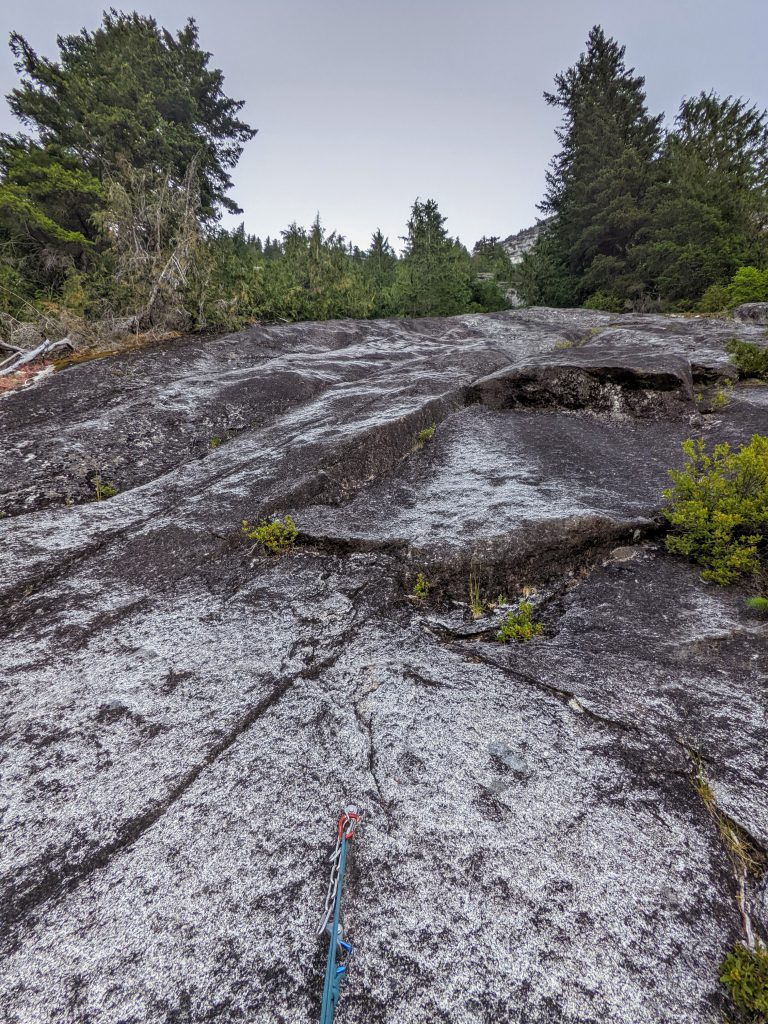
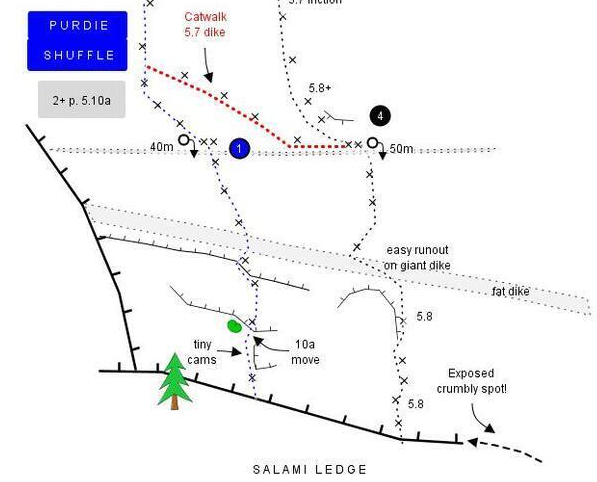
Pitch 4A (Purdie Shuffle P1) – 5.10a, 40m, ~7 bolts
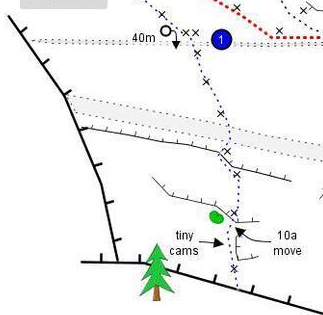
The start looks a bit runout, but getting to the first bolt is easy. After that, you can’t place a cam till a bit higher, but climbing up the flake to get to the cam crack is quite easy (starts harder and gets easier). In the crack, I placed a #1 but seemed like you could place a #0.75 or #2 in there too (gets smaller toward left and bigger toward right).

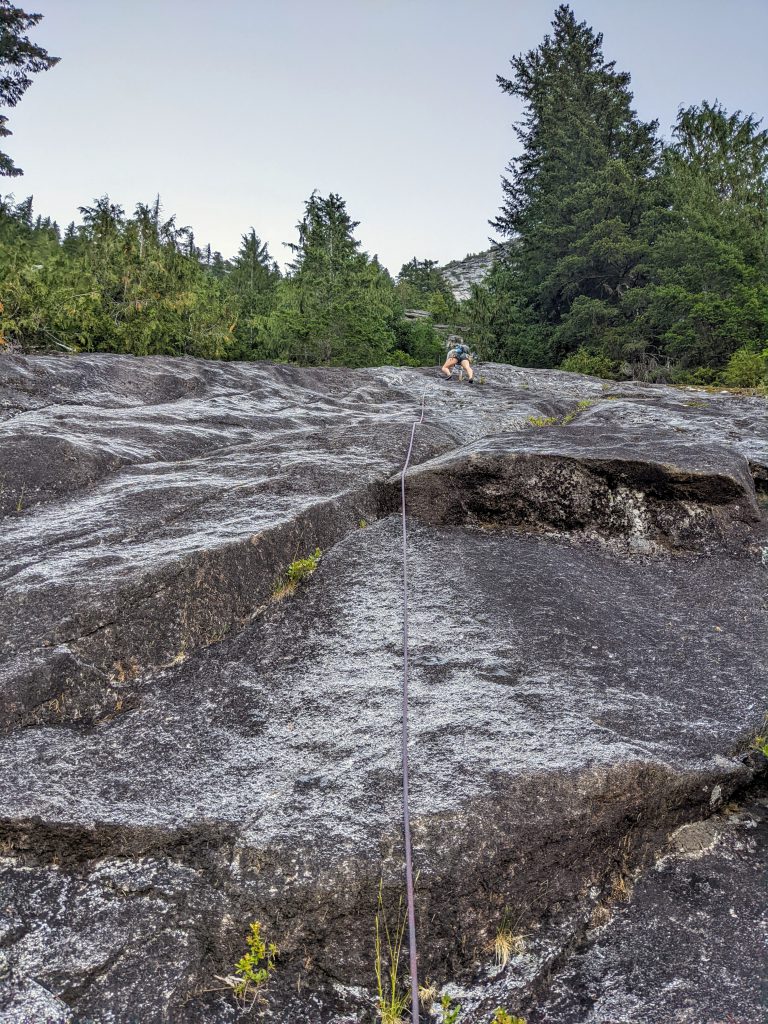
Then, the single 5.10a move of the route (rest is prolly ~5.8) is well bolted. But make sure you spot the bolt far to the left. I couldn’t manage to make the move and ended up aiding it by pulling on the bolt, but maybe without the backpack with the rope in it, I could have done it. Alexis got it cleanly by stepping on a cut root at the base before mantling over! The rest was pretty straightforward.

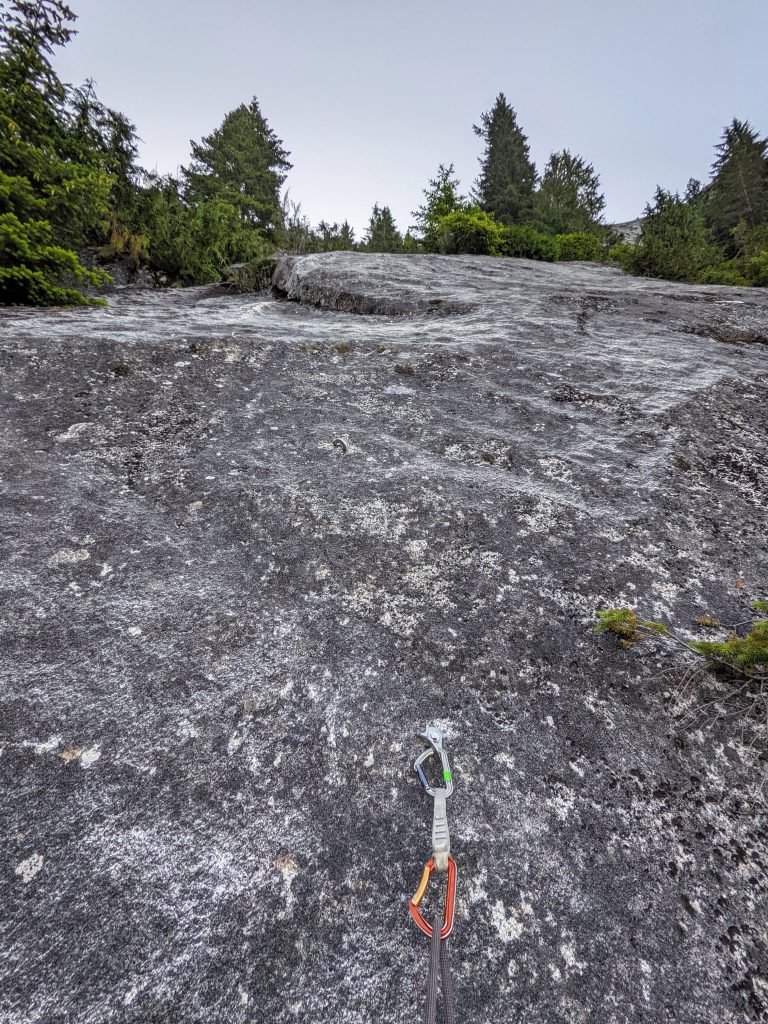
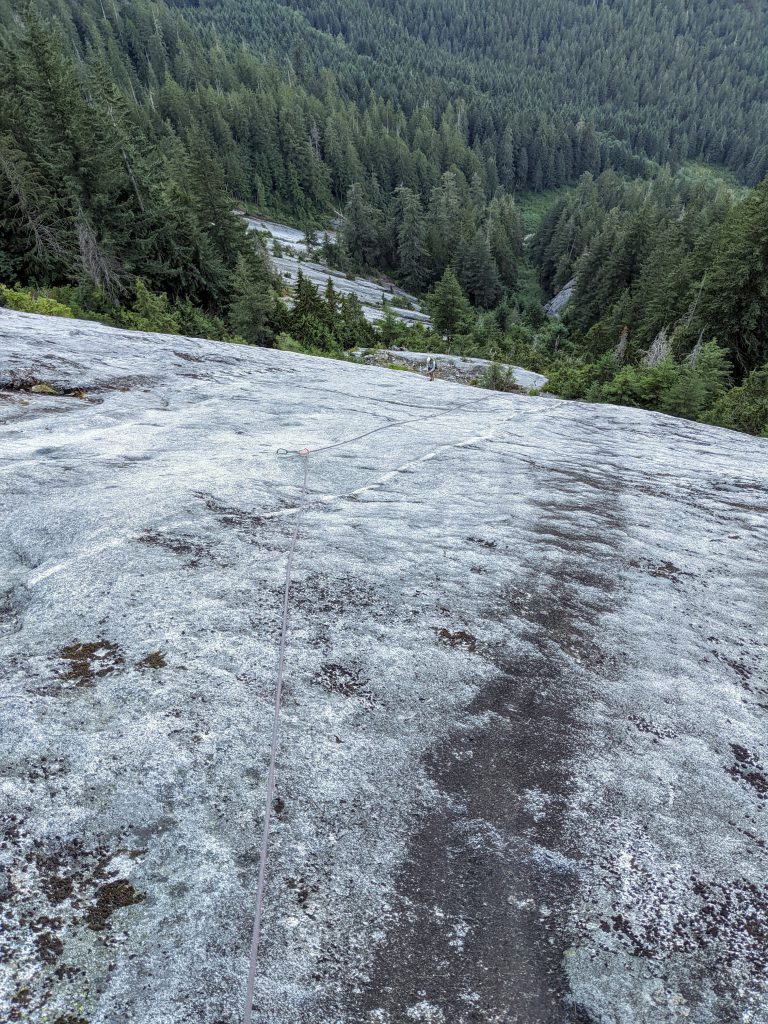
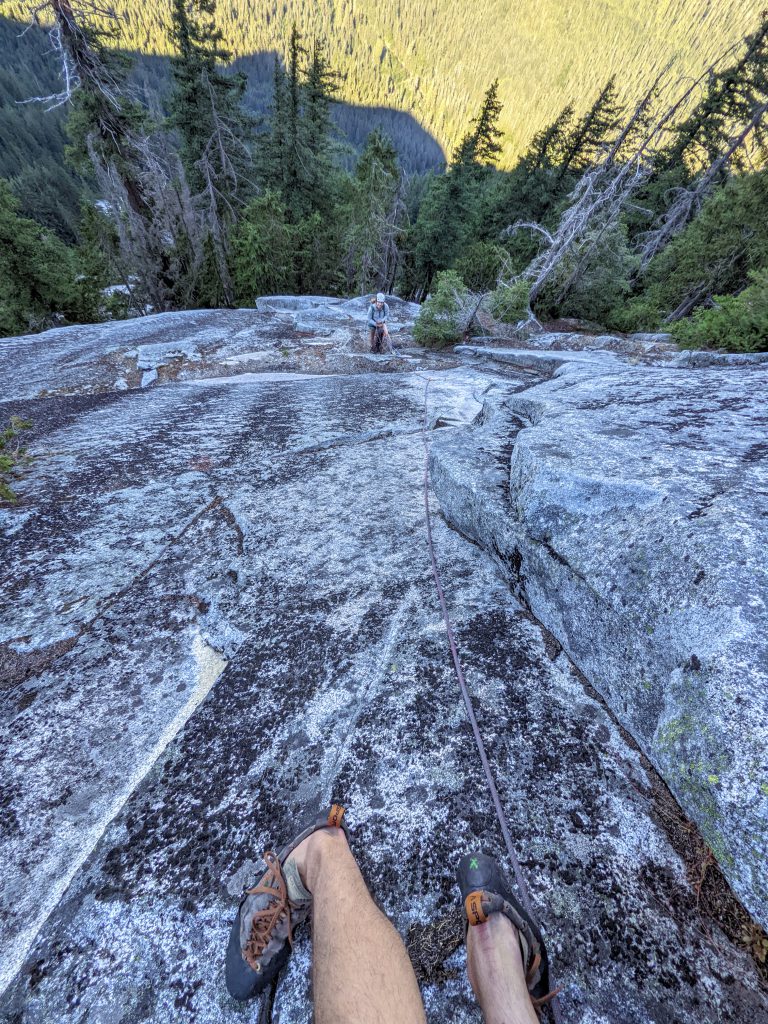
Pitch 5 – 5.8+, 55m, ~9 bolts

Descending P5, with the iconic Snagglepuss tree straight ahead
Pitch 5A (Purdie Shuffle P2) – 5.7, 45m, ~8 bolts
This one’s fun! A fun cruise up a few dikes, and it actually seems to follow the easiest path with more featured footholds!
P5 (P2 Purdie Shuffle) looking down from the top 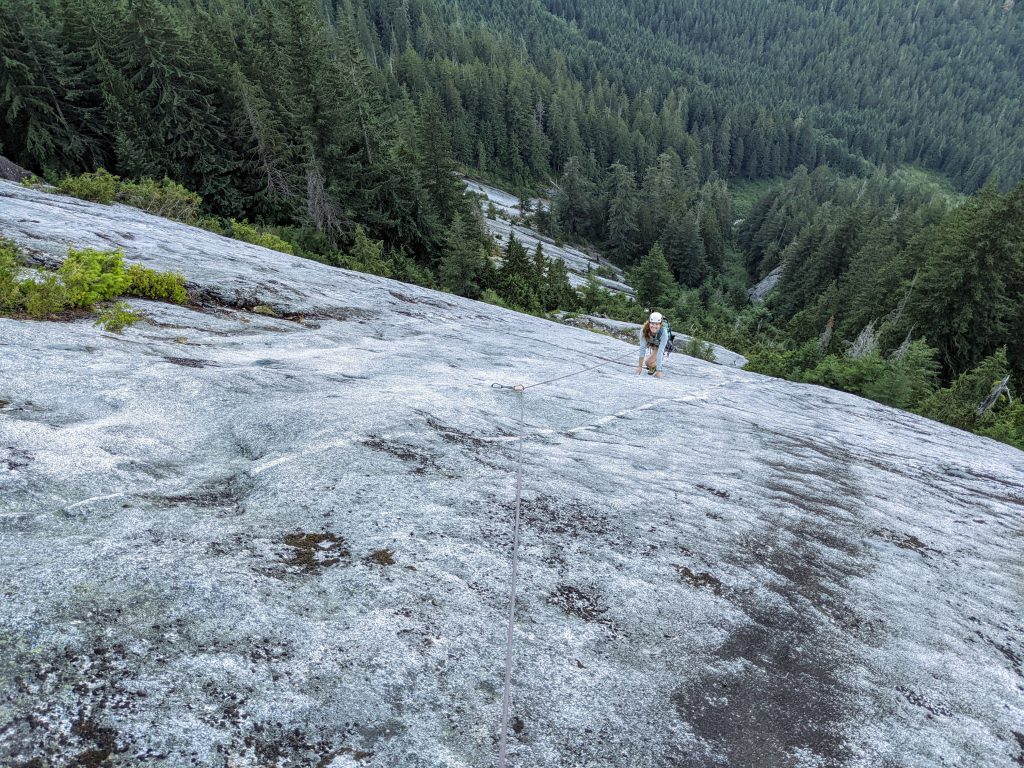
Alexis finishing P5 (P2 Purdie Shuffle) 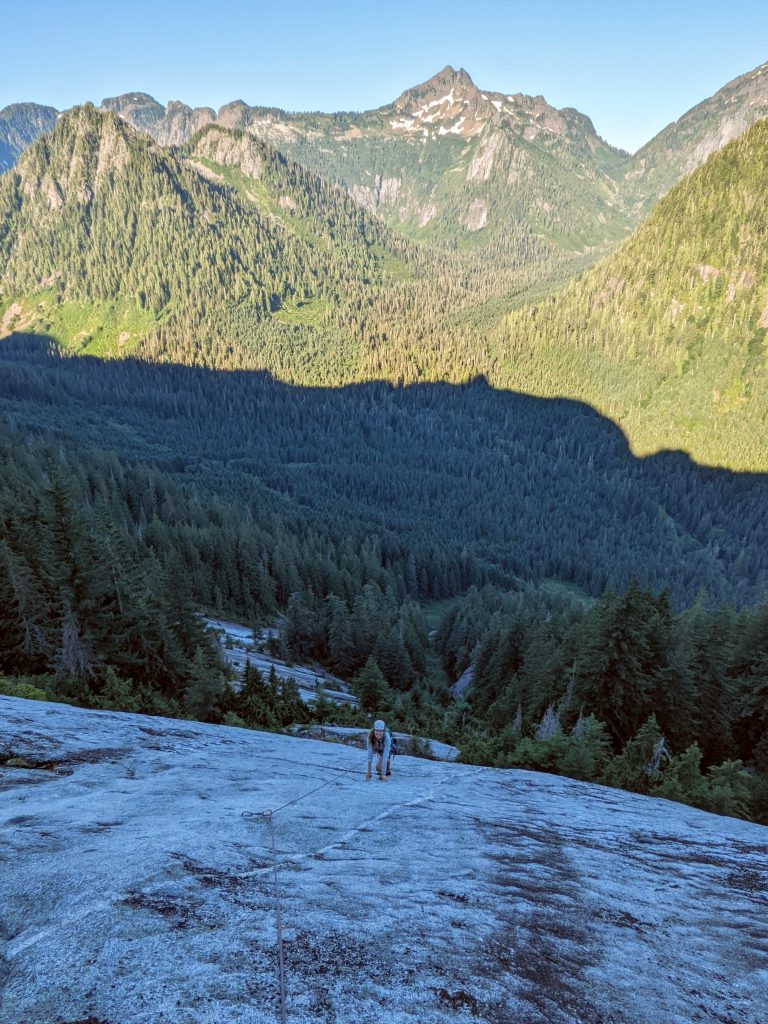
Good views!
Pitch 6 – 5.7, 45m, ~3 bolts
Or 5.8 if starting from end of Purdie Shuffle
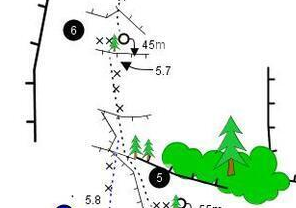
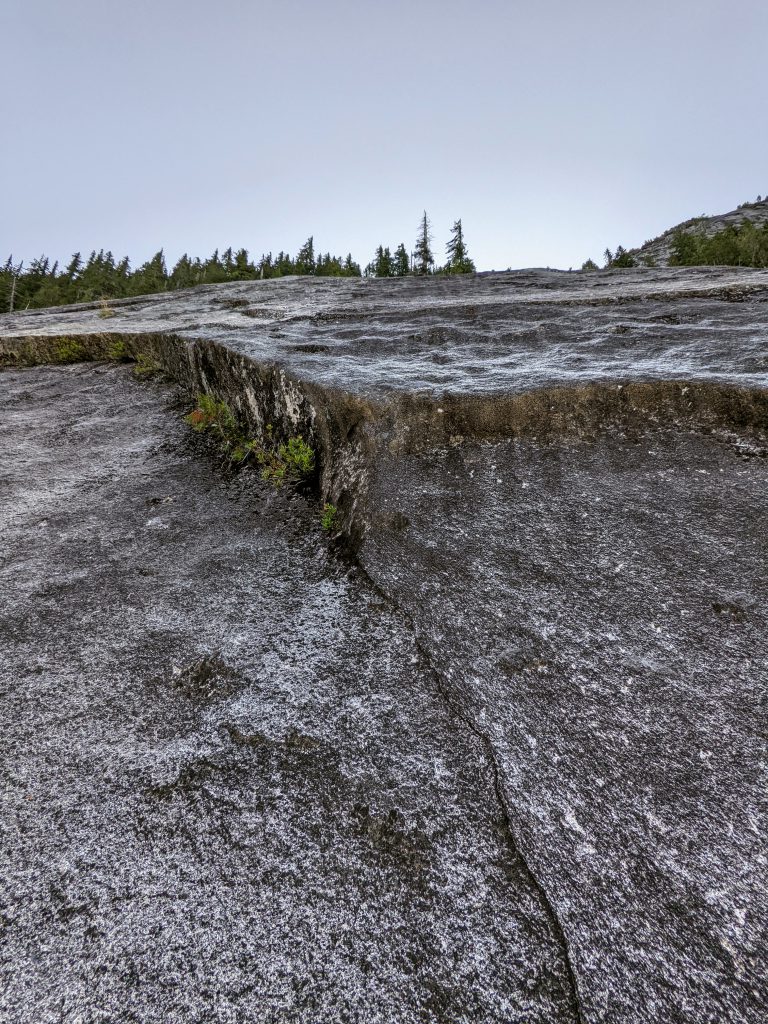
Start of the pitch had some slightly tricky slab.
Then some mellow runout section, nothing bad, and then another well-bolted slab at the end (below is the second half of P6).

Pitch 7 – 5.7, 55m, ~7 bolts
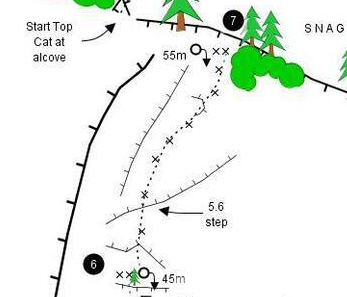
Slightly dirty, especially at the top. Both my foot and Alexis’ foot slipped in one spot. The ending move to the anchor could benefit from a bolt in my opinion.
Looking down P7 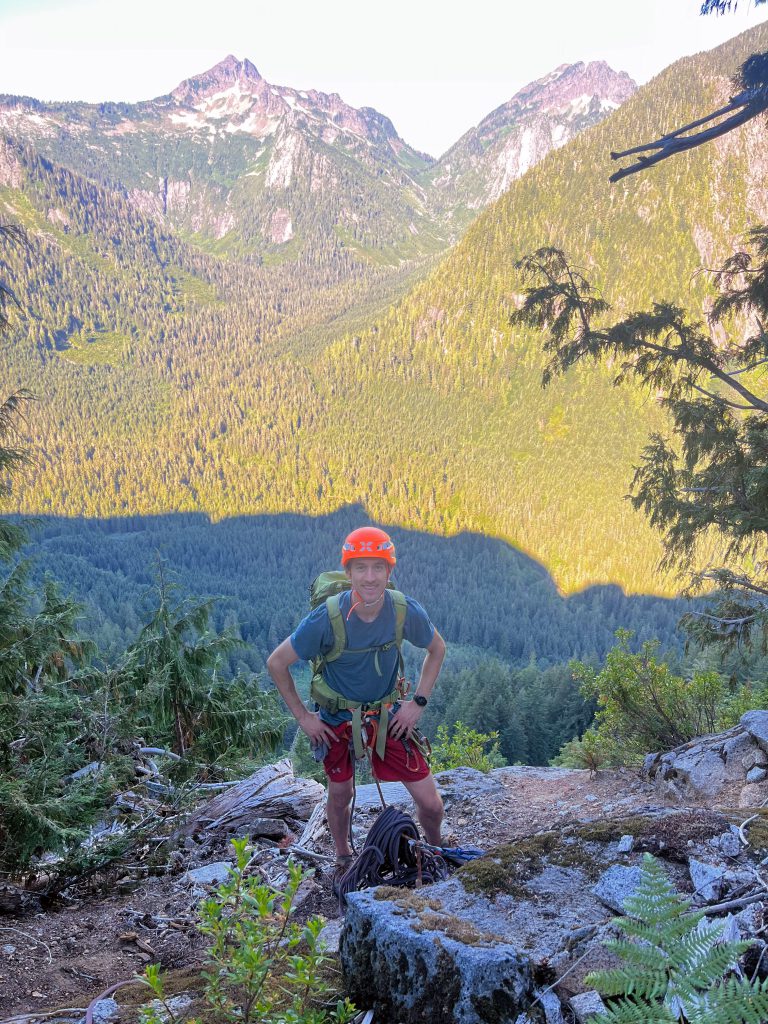
Top of P7
Continuing to Top Cat
From the top of P7, it’s a short 2 min walk through the forest to the base of Top Cat P1.


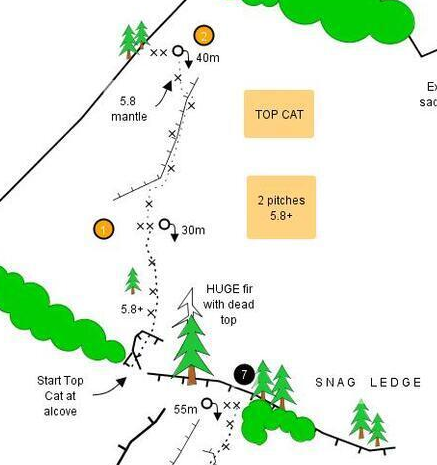
Pitch 8 (TC P1) – 5.8+, 30m, ~3 bolts
Climb into the alcove, place gear, and either: A. Step right over the gap and pull up onto the flake (photo with red arrows) or, B. Power straight up the scrappy layback (photo with climber). From the flake, place gear in the incipient crack and climb the knobby face (5.8+) to the right, passing two bolts. Ramble up the scruffy slabs to the obvious belay.
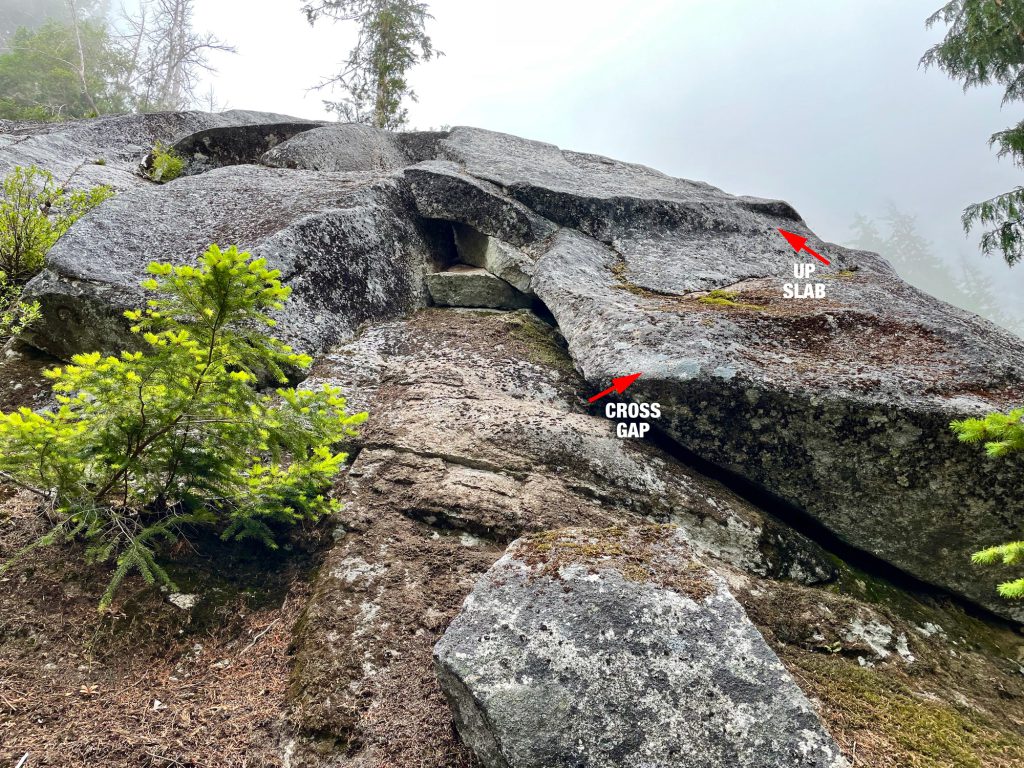
Normal start 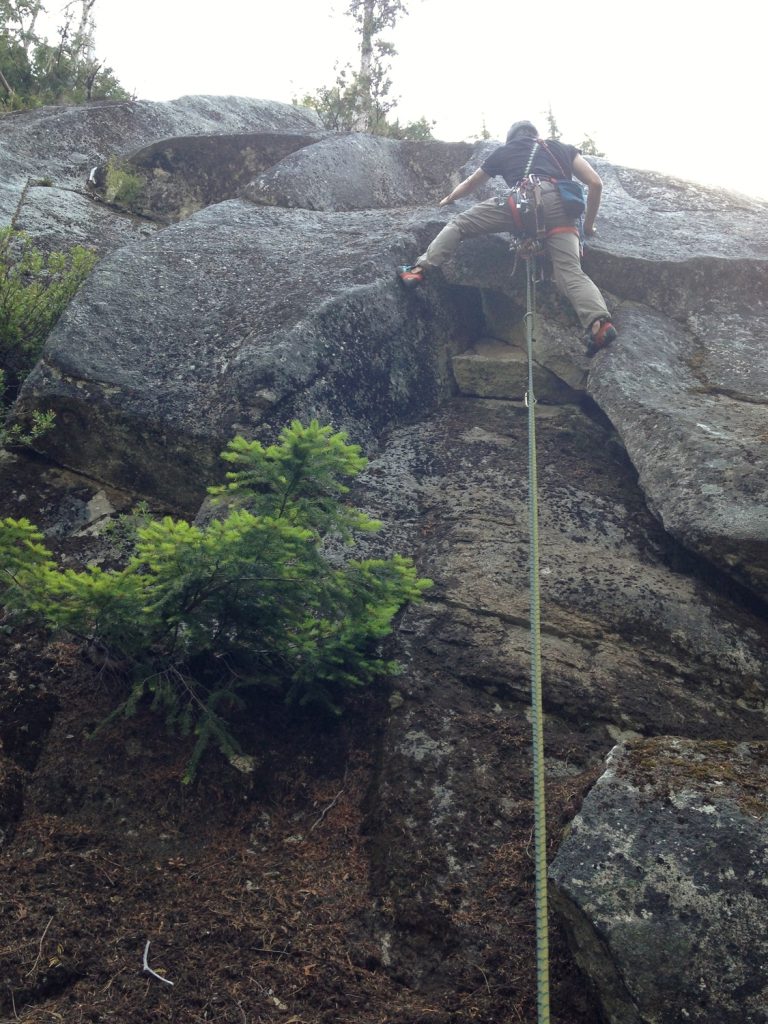
Direct start 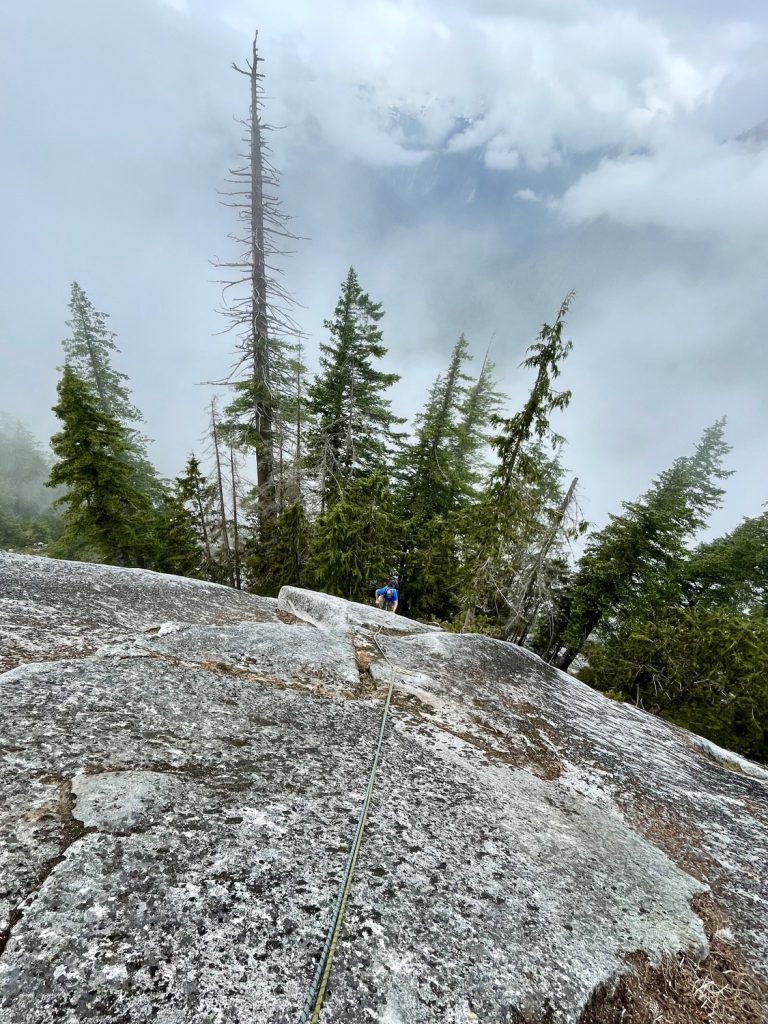
Top of P1
Pitch 9 (TC P2) – 5.8, 40m, ~5 bolts
Pitch 2 follows the obvious right-facing dihedral beckoning above. Entertaining laybacks and stems for nearly 100 feet (mixed gear and bolts), then a step left and surmount the step (5.8). A bit more slabbing leads to the belay/rap station.

Partway up P9, looking down (Top Cat P2) 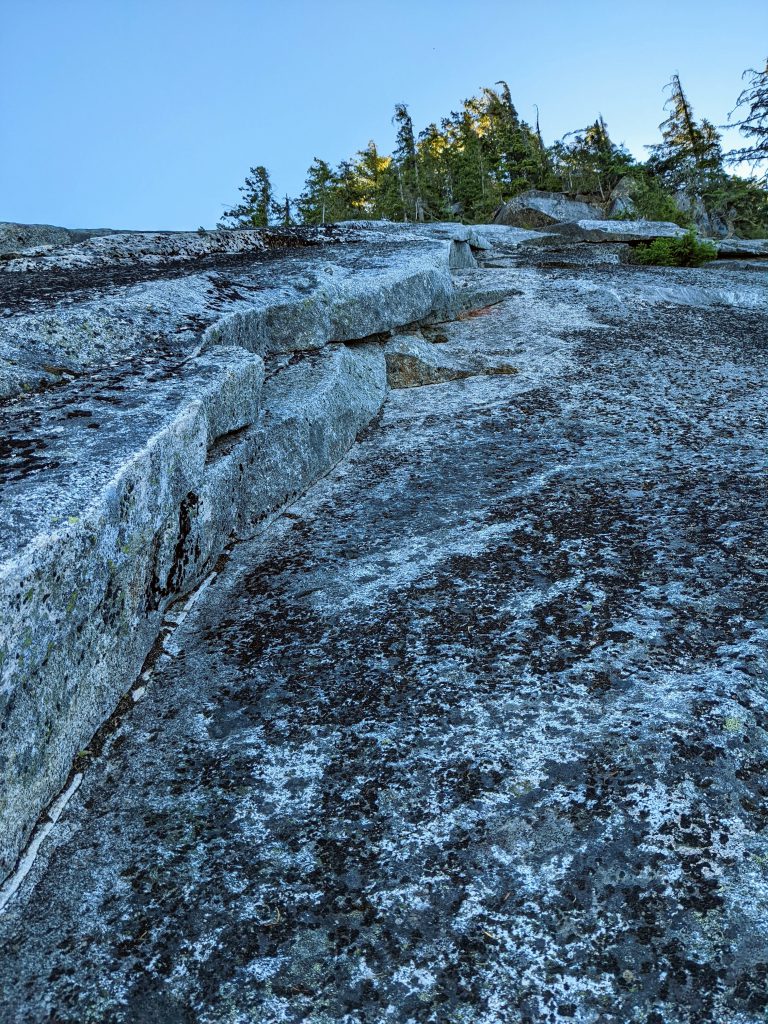
Partway up P9, looking up (Top Cat P2) 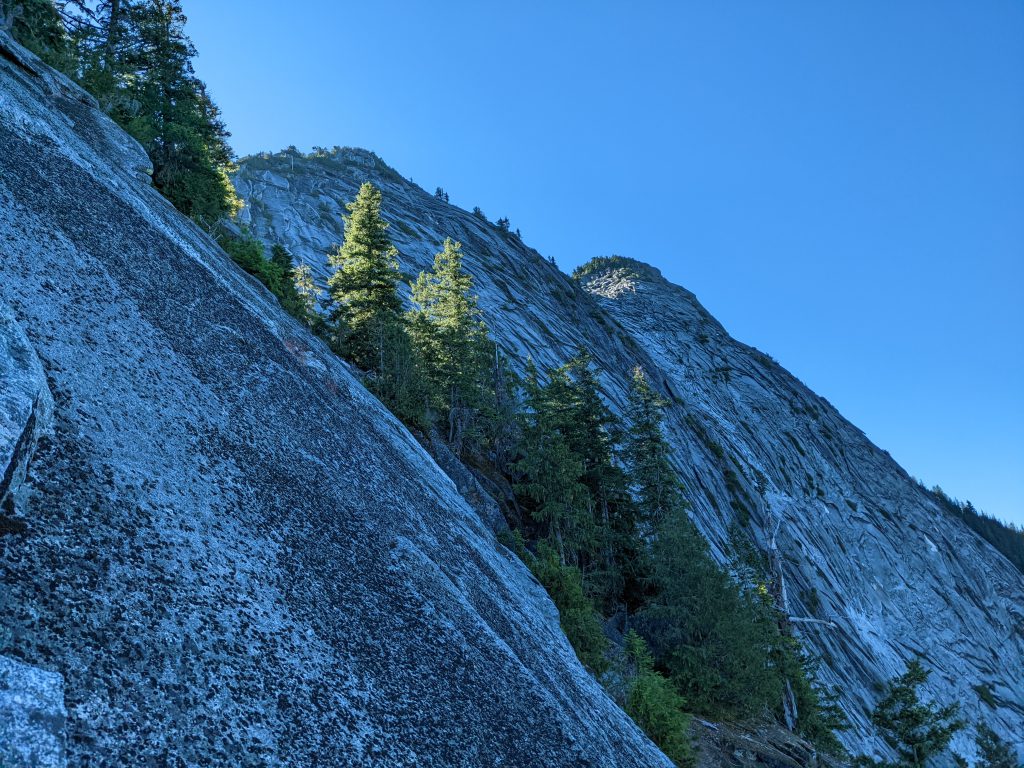
Great views of Exfoliation Dome 
Still in the shade!
Descent
Rappel the route with two 60m ropes, rappelling each pitch except for pitch 5 and 4 you’ll rappel Purdie Shuffle instead, and that takes you back to Salami Ledge. Walk climbers right on the ledge and then continue rappelling Snagglepuss as normal, back to your bags!
Reports
Snagglepuss + Purdie Shuffle + Top Cat
We climbed 9 pitches, climbing Snagglepuss (7 pitches, 5.8+ trad) with the 5.10a Purdie Shuffle variation for pitches 4 and 5, and then climbed Top Cat (2 pitches, 5.8+ trad) at the top of Snagglepuss, for a lengthy amount of slab climbing! Overall: 3/4 stars Approach: 3/4 stars. Pretty good! At a very slow pace,…