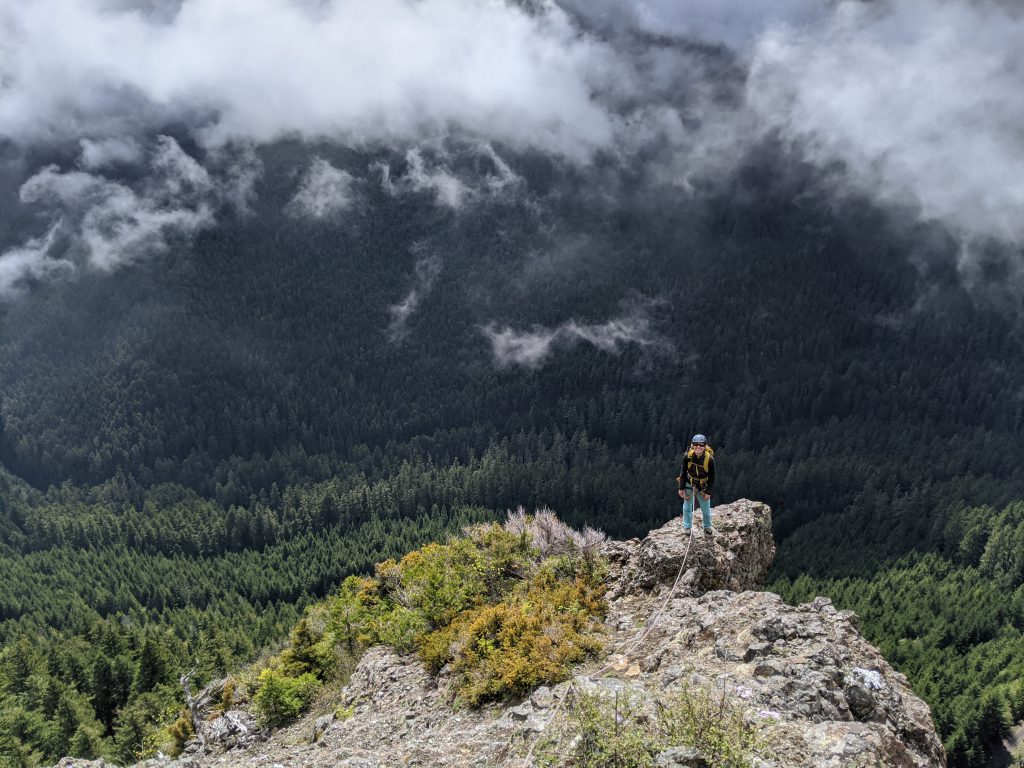
A true hidden gym, this 8 pitch sport route is well bolted (usually every 7 feet), on fun rock, has some good views, and is only a 5 minute walk from the car! Pitch ratings are our best guess after climbing the route.
Gear
12 quickdraws, including 3 single alpines is all you need! Include two double alpines if linking the scrambles (still 12 total). You don’t even need anchor material at the anchors, they all have chains in perfect positions! Ditch your shoes at the base, you’ll rappel back to the base. Possibly bring one double runner as the anchor at the base of P2 is high up and you might want to use a double anchor to belay, and you can also use the double runner later to sling a rock on a 4th class scramble pitch. 3 single alpines is plenty, no need for more than 3.
Radio is useful, especially if combining some of the traverses (couldn’t hear each other multiple times).
Single 60m rope.
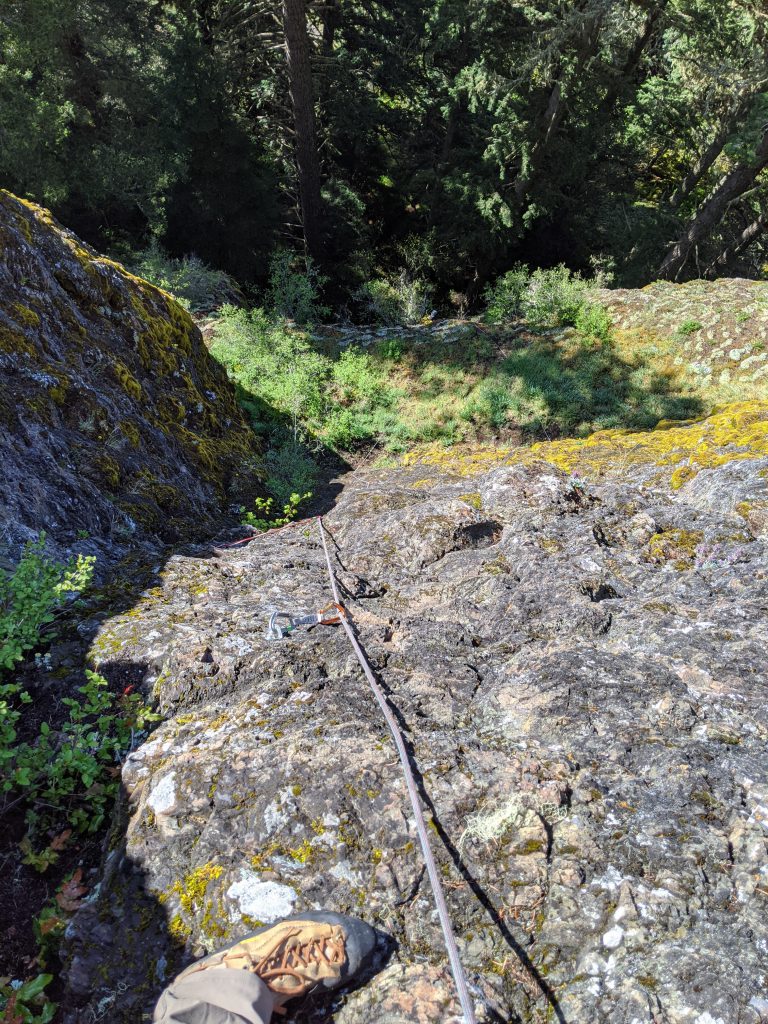
Approach
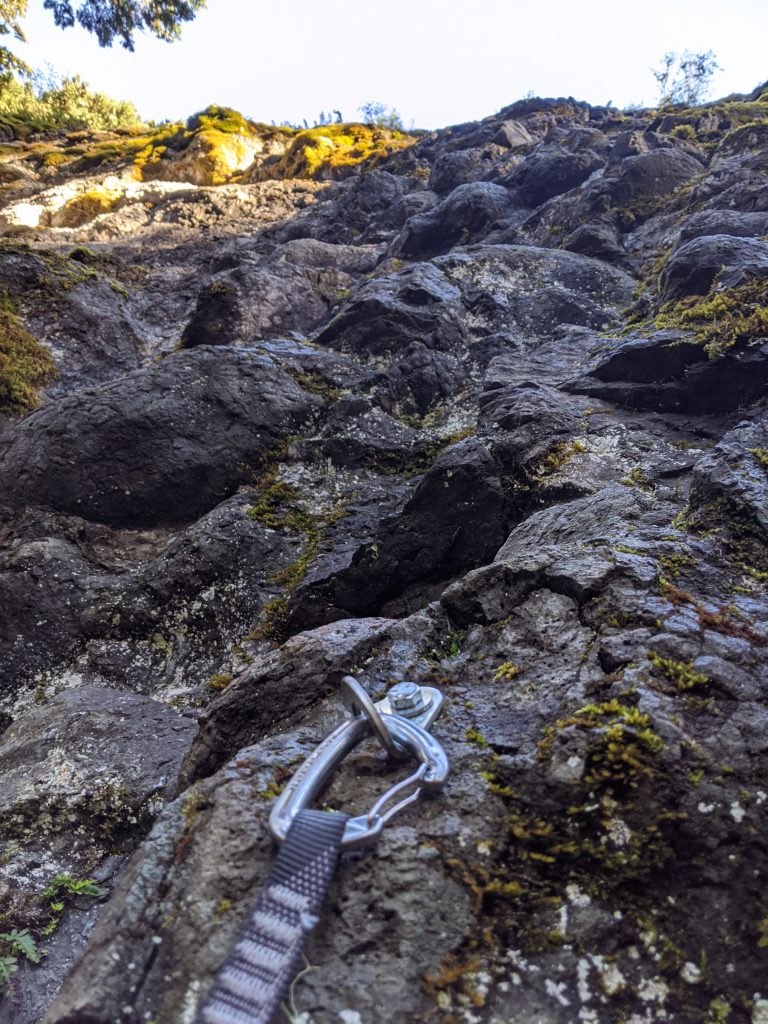
Just walk up the trail and in literally less than 5 minutes, you’re there. 100% best approach ever! The route starts in the center of the wall, exactly where the trail dumps you out. It’s a bit mossy, but the rock is grippy.
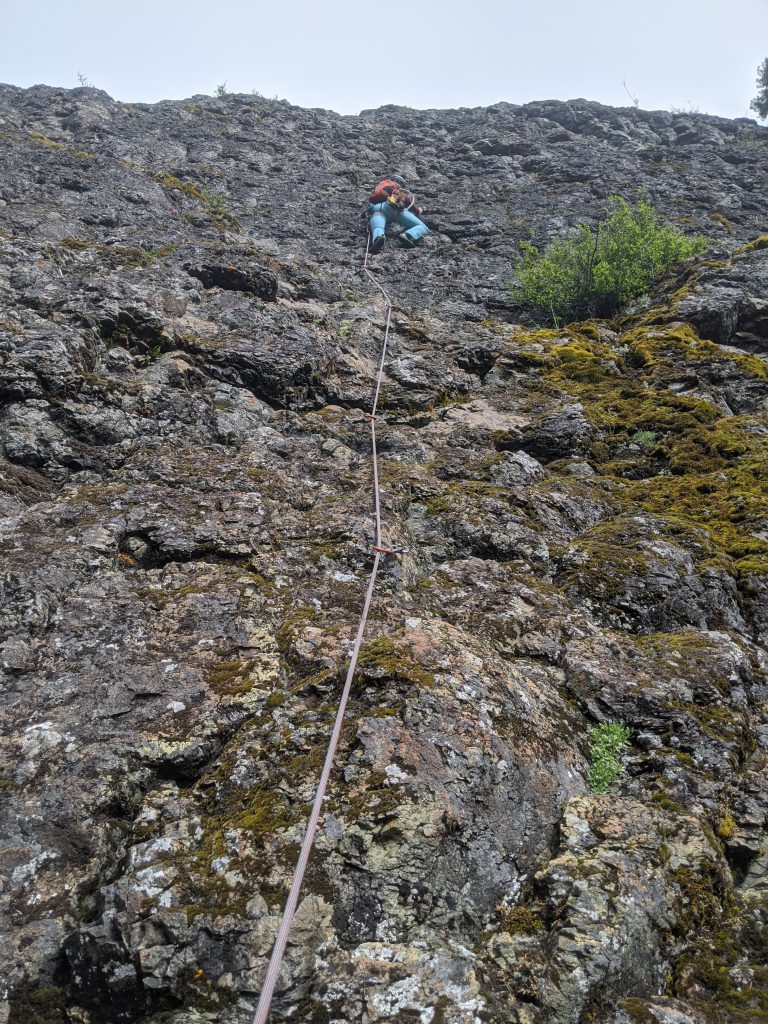
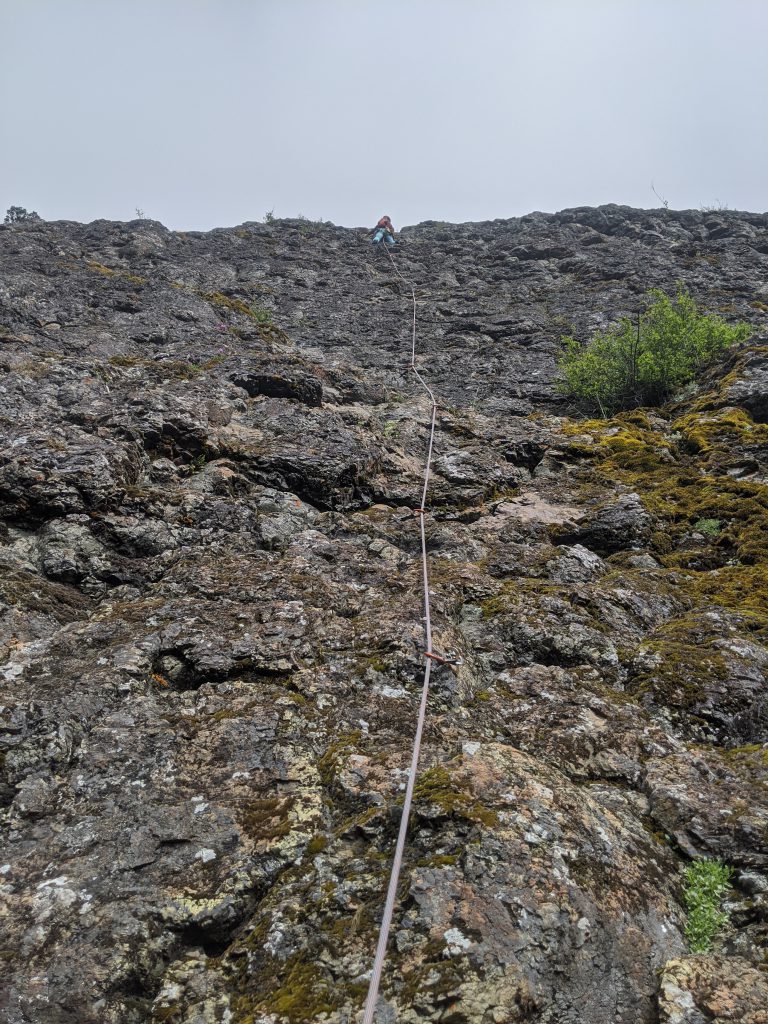
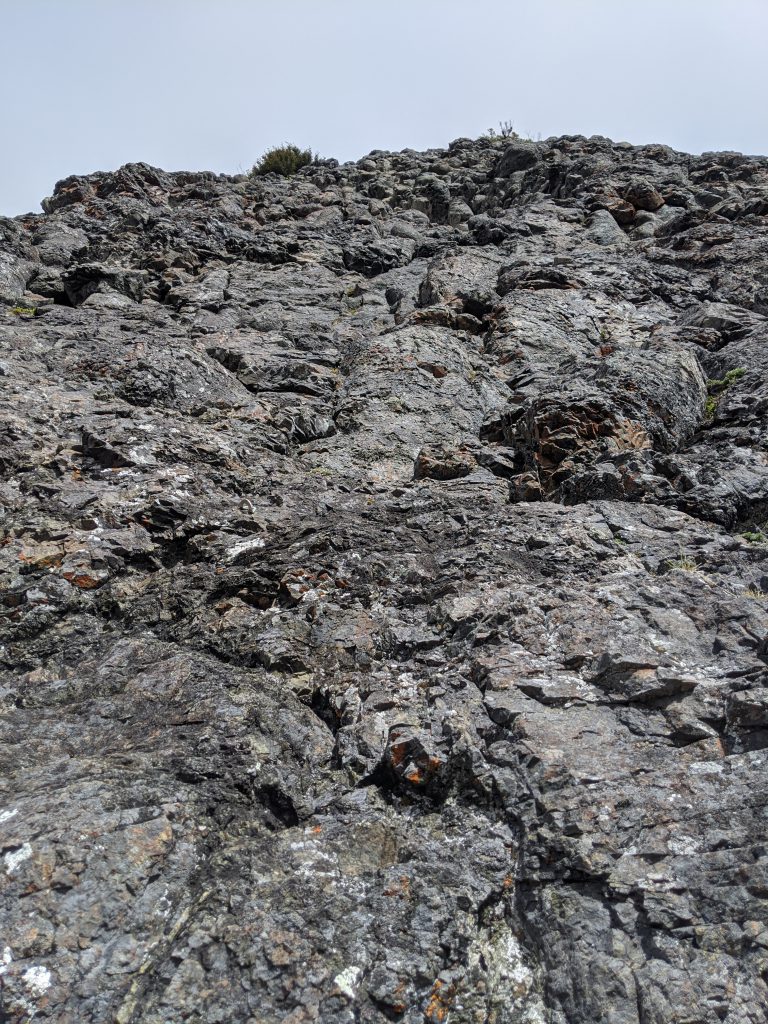
Pitch 1 – 5.8+, 100 ft
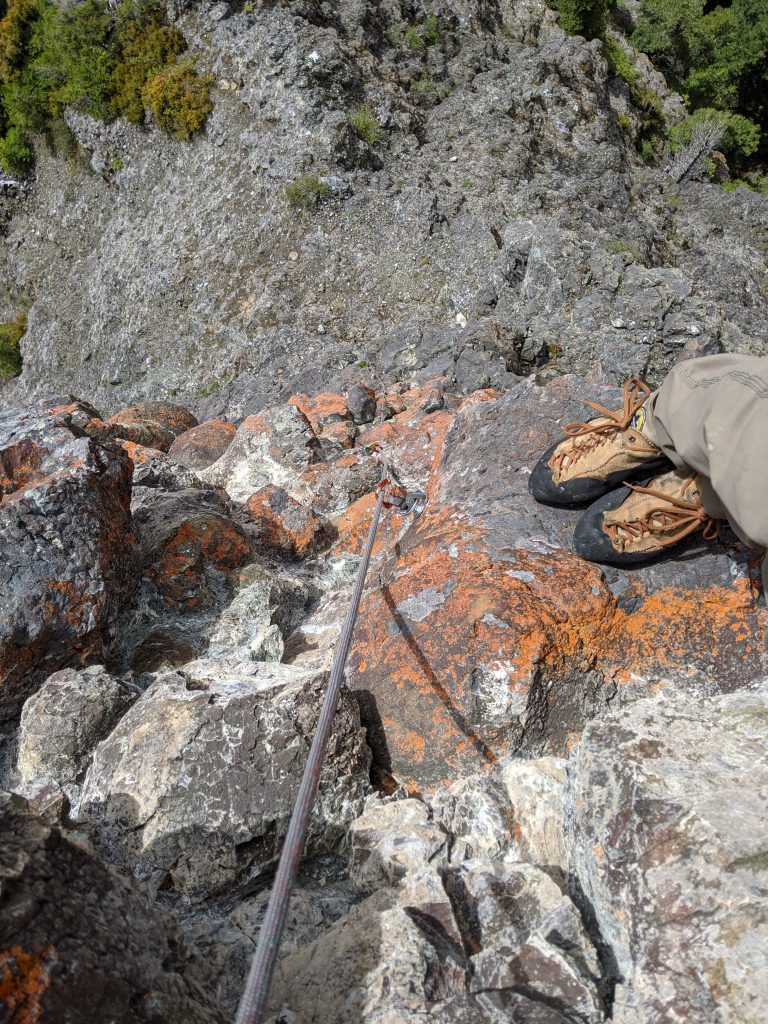
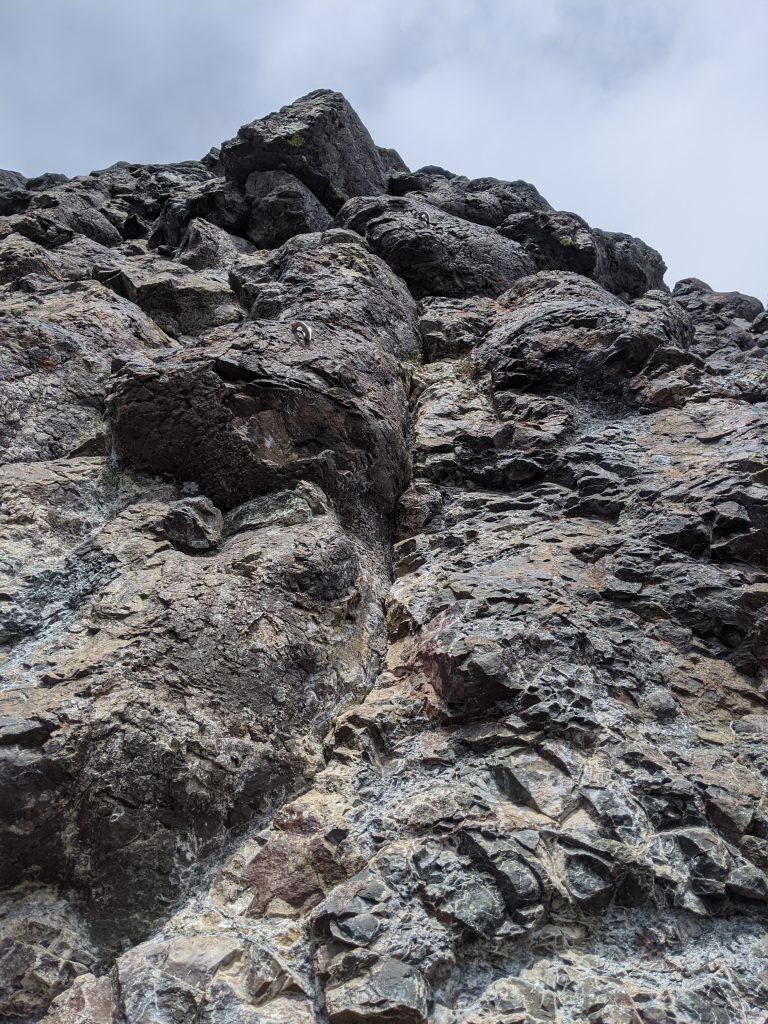
10 draws. This is well agreed to be the crux pitch. Pumpy and quite vertical, many people end up hanging on it a few times! Straight vertical, no alpine draws needed. May still be wet if it rained the night before. Climb past the first anchor. The first anchor is for top roping the single-pitch route (and doesn’t have a belay ledge). The second anchor is about 10 feet higher and has a small ledge that is much more comfortable to stand on.
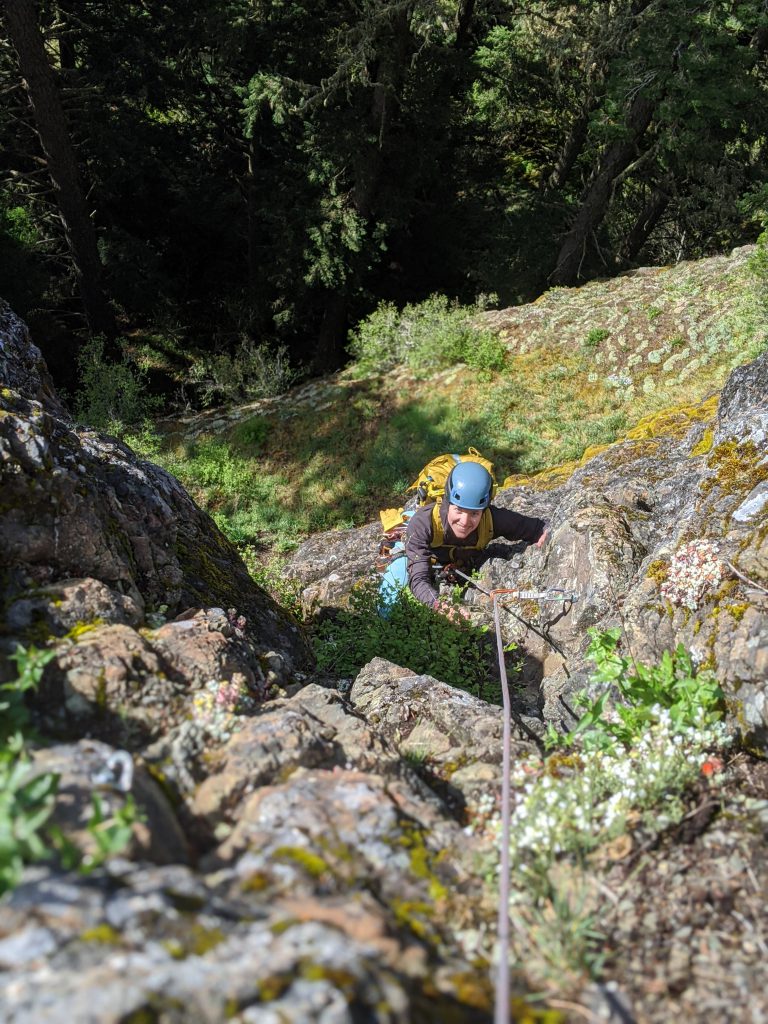
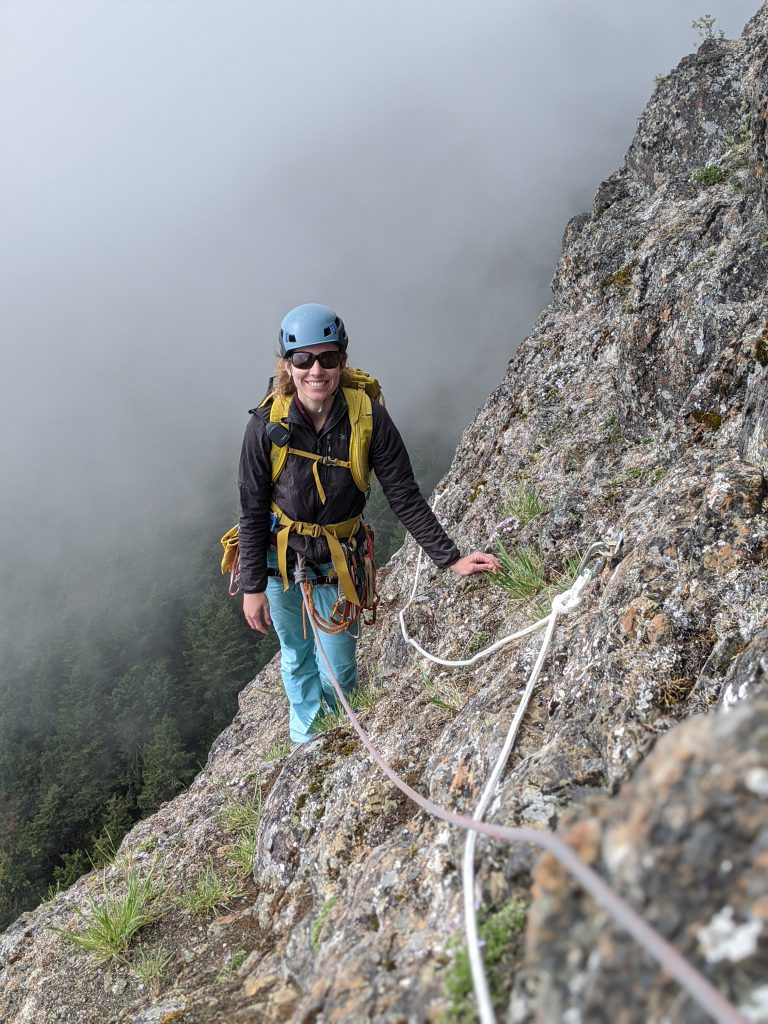
Taking a rest while my frozen fingers warm up! 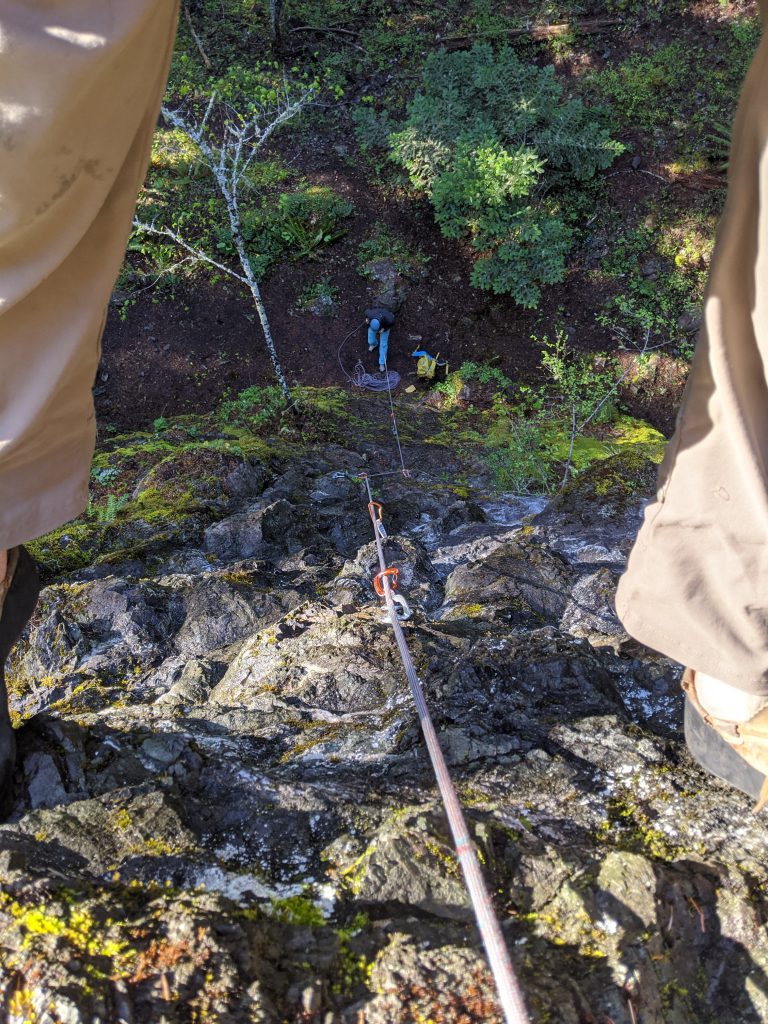
P1 to P2 scramble, ~30 feet
Between these two pitches is a little grassy ledge, with a fixed rope to help get up onto it.
There are two combining options…
- Combine P1 with this scramble, belay from base of P2. If whoever’s leading P2 isn’t super confident on 5.7, this is the best option, because otherwise they’ll have more slack in the rope if you belay from the top of P1. You can’t see your follower on P1, but that’s about the only downside.
- Or combine the scramble with P2… End P1 at the second P1 anchor, and then climb P2 with more slack in your rope as your belayer is all the way down at the ledge. I felt comfortable climbing that, climbers not confident on 5.8 or 5.9 sport might not feel comfortable.


Pitch 2 – 5.7, ~100 ft
10 draws. Heads up the right corner. Some easier climbing than the previous pitch, with some fun moves and some stemming! Still can be a little pumpy, possibly one 5.8 move halfway up. Used one alpine draw.
Pitch 3 – 5.6, 100 ft
10 draws. From the top of P2, walk 15 yards to the right to start belaying (just move your belay station).
Pitch 4 – 5.6, 55 ft
5 bolts. Shorter easy pitch! You definitely should link this with the traverse to P5.
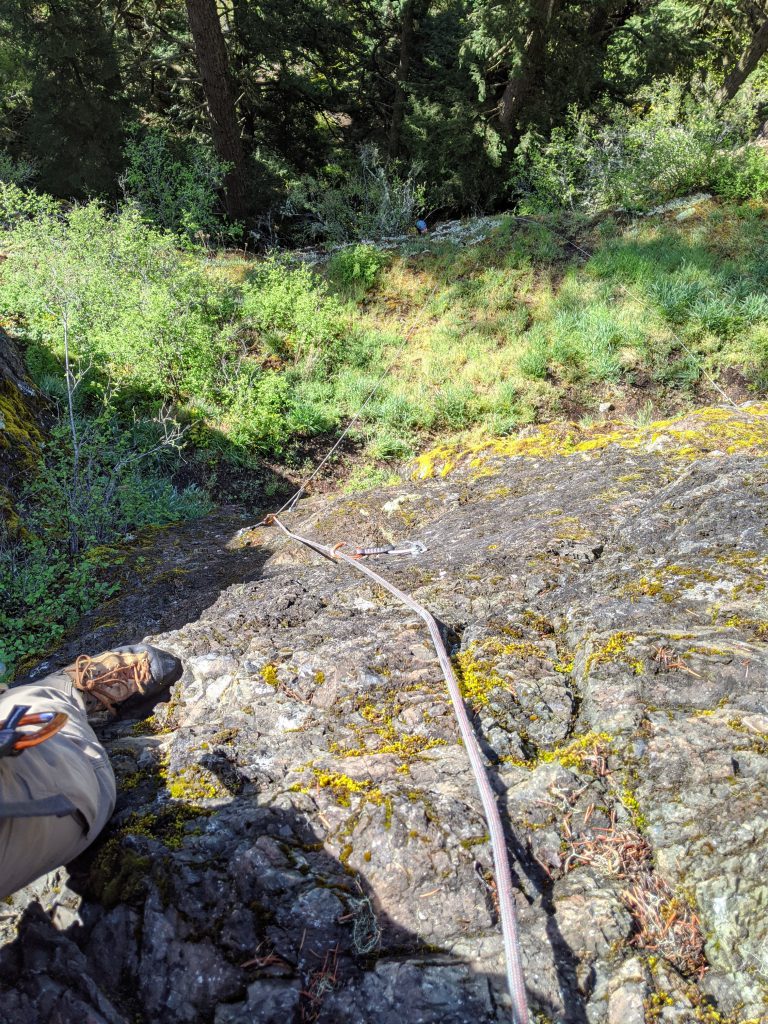
P4 to P5 traverse – Class 4, 75 ft
4 bolts. This is an easy, solid traverse. The fixed rope is basically unnecessary, lots of really big rocks, plus it’s bolted too so you can clip the bolts!
Pitch 5 – 5.6, 100 ft
10 bolts. Easier pitch. Straightforward.

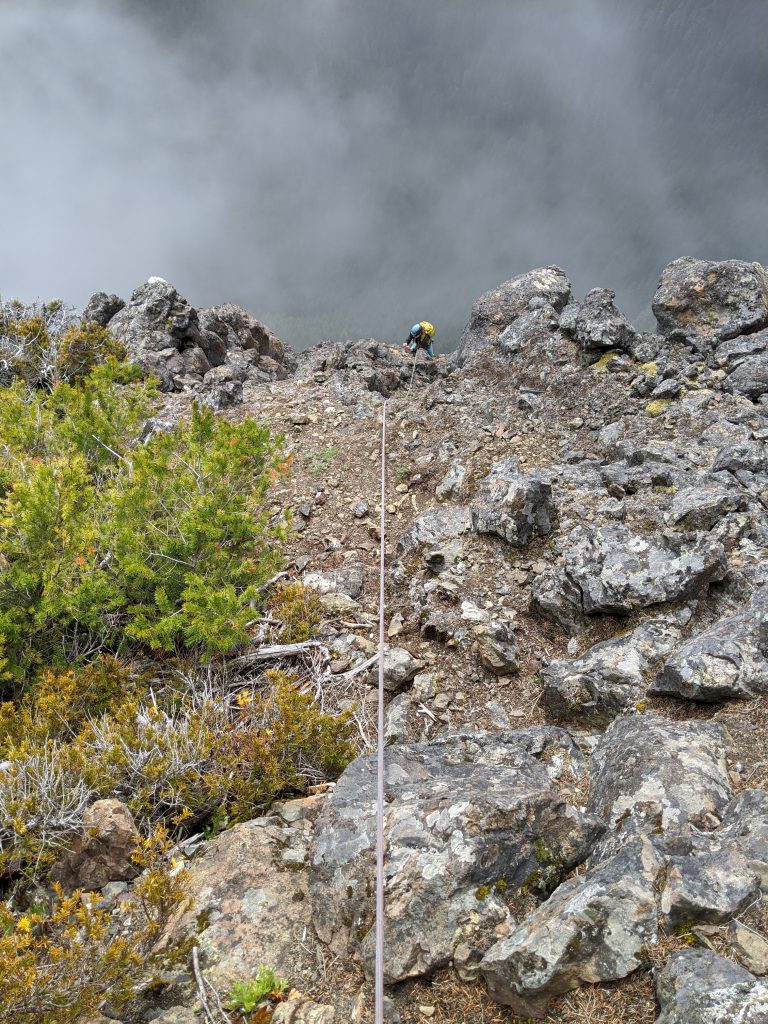
P5 to P6 scramble – Class 4, 120 ft
1 bolt at start. This scramble is a class 4 ridge scramble. You could use some cams to protect if you’d like (no bolts), but it feels quite solid. On our first time up, I brought some gear and placed one 0.5 cam, and there was another place for a #3, but I would have done it without any gear too. On our second time, Alexis simply slung a rock with a double runner (no other gear). It’s pretty long and flat, so don’t attempt to combine this with any of the pitches.
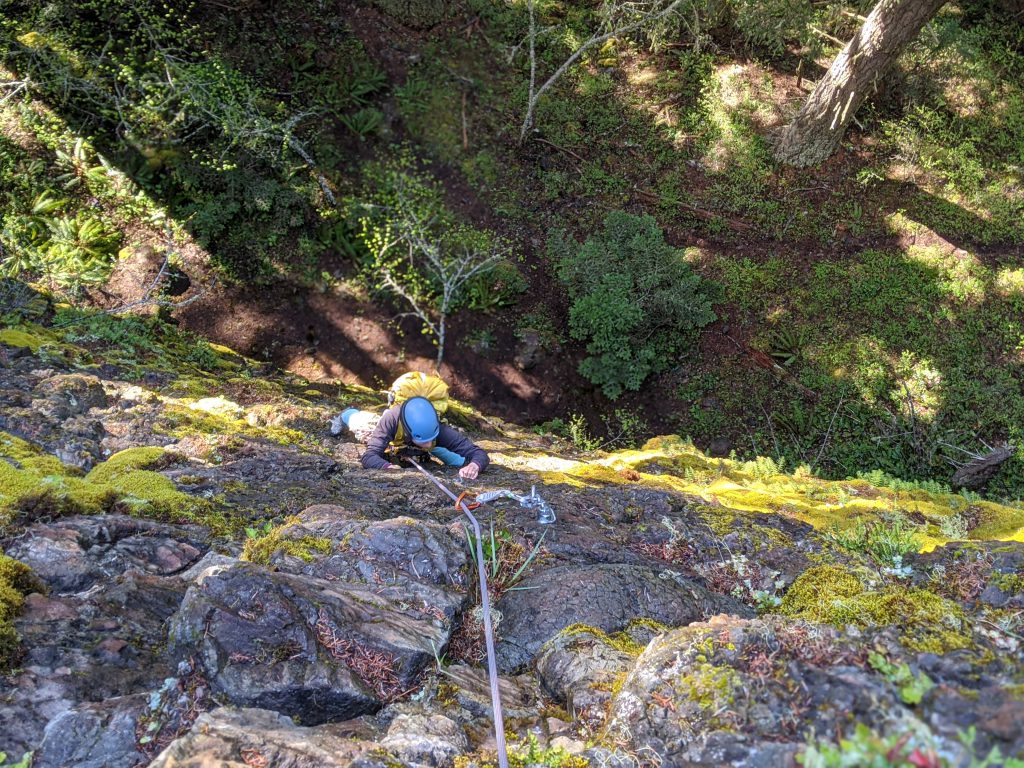
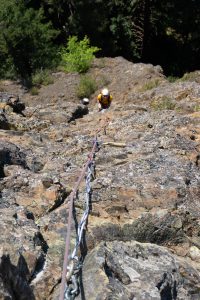
Pitch 6 – 5.8, 95 ft
12 bolts (or 13 if you clip the ground one), the second toughest pitch of the route. Pumpy and a bit overhanging, but super grippy rock and well bolted again.


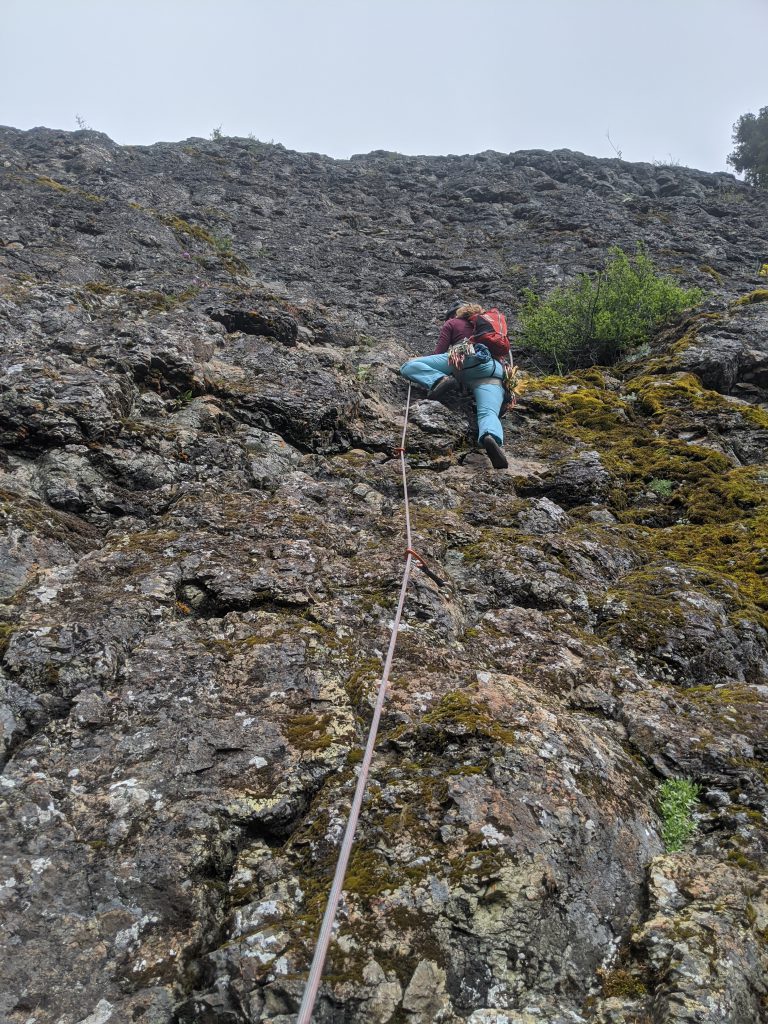
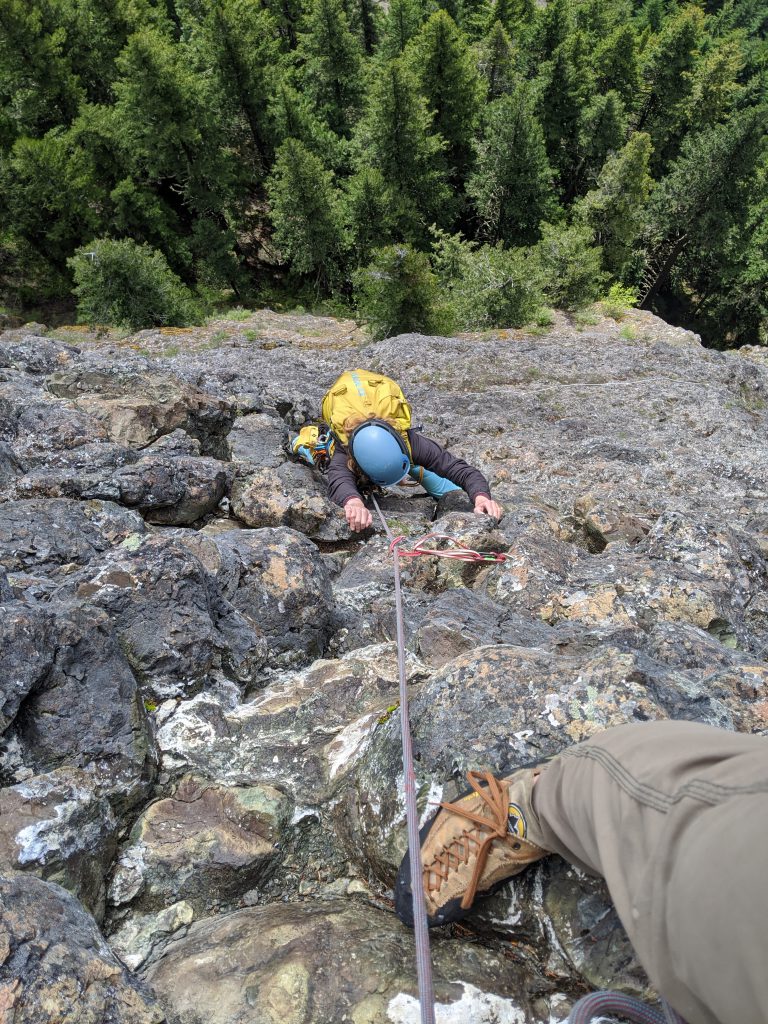
Partway up the pitch 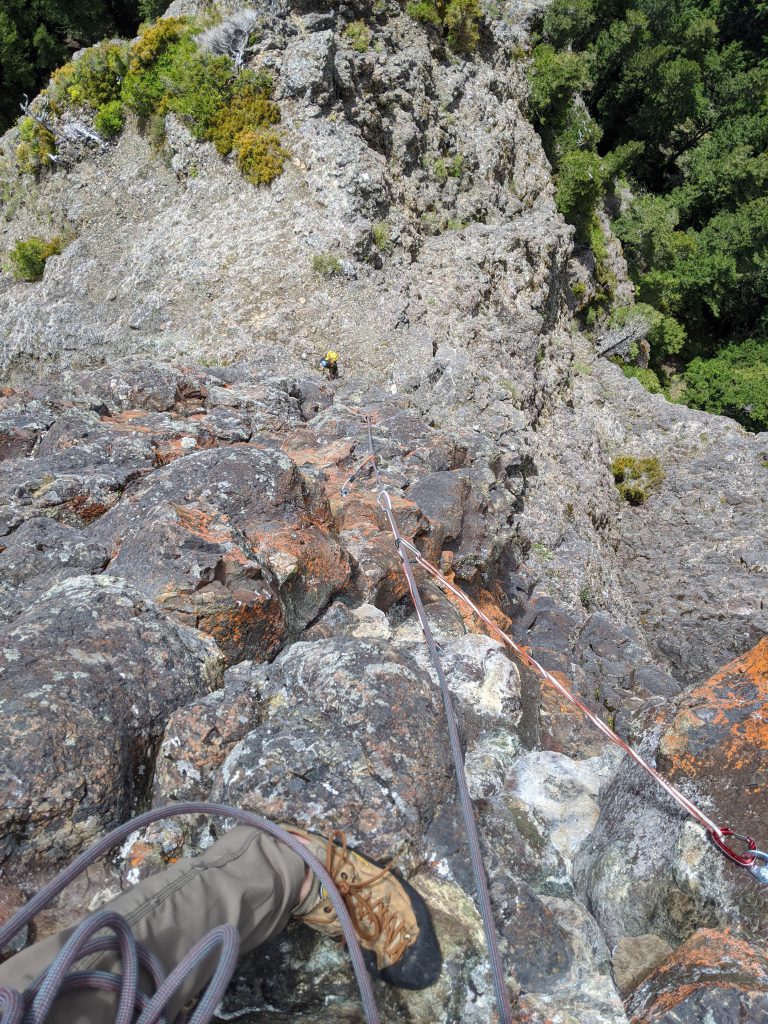
Pitch 7 – 5.6, 50 ft
4 bolts. Shorter pitch, continue up the face. You should combine with the scramble after this.

P7 to P8 scramble – Class 3, 60 ft
Straightforward class 3 scramble on the ridge, not bolted but really no reason to protect it. Works well combining P7 with this scramble!
Pitch 8 – 5.7, 50 feet
5 bolts. Shorter route, a few tough moves but pretty straightforward. You can continue past the first anchor on class 4 terrain past one more bolt for a 115 foot pitch (7 bolts including the anchor you climb past). That gets you up to a better spot to relax and end the climb.
Rappelling
It’s important to read the rappel notes! Single 60m rope works. It took us 1:30 hours from the top of the climb to the base on our second time up here.
If you went to the second (higher) anchor on P8, you’ll have to rappel or downclimb to the lower P8 anchor first.
From the lower P8 anchor, rappel P8 and the scramble in one rappel… I think a single 60m rope will just exactly reach the end of the scramble.
Rappel P7 and P6 (two rappels).
From the bottom of P6, the rappel route diverges from the climbing route. All rappels from here are close to full rope length. Use the rappel anchor at the bottom of P6, and rappel climbers right, and stay far right, such that you’re against the vertical wall on your right. You don’t want to go straight down, you want to rappel diagonally for this one. At about 28 meters, behind a bush near the wall, the next anchor is on the vertical wall to the climbers right.
The next rappel goes mostly straight down, close to full length rappel, however stay climbers left if anything… don’t follow down the gulley.
On the next rappel, immediately trend climbers right, stay right over the buldge at the start. The next anchor is inside a small rock gully climbers right of the previous anchor. If you stay left, you’ll find a tree with a sling, that’s not the correct anchor.
The next rappel goes straight down, exactly at your rope end (exactly, it’s a rope stretcher), you’ll find the next anchor! There’s ants at this anchor, so move quickly.
Then rappel straight down through the trees. I stayed a bit climbers left, seems like any option will get you to the ground.
A less-than-5-minute walk will bring you back to the base of the climb! It’s kinda steep and loose dirt, so a bit of an annoying walk, but short!
Double rope rappel variation
If you happen to have two 60’s (group of 4 or whatnot), you can link some rappels…
- Single rope rappel P8+scramble
- Double rope rappel P7-P6 (skip a hanging anchor!)
- Single rope rappel the diagonal rappel that diverges from the route
- Double rope rappel close to full length, skipping an anchor
- Double rope rappel full length to the ground, skipping the anchor with ants!
Reports
Junior's Farm round 2!
Super quick this time! We even hiked Hurricane Ridge first in the morning and then climbed. Alexis and I swapped leads. I didn’t hang this time on P1! It was still difficult though. P1 + scramble: Andrew P2: Alexis (hung at cruxy bit) P3: Andrew P4 + traverse: Alexis P5: Andrew P5 to P6 scramble:…
Junior's Farm 2020
SO MUCH FUN! Not sure why it’s rated PG13, super well bolted, all the “traverses” were super easy too. A true hidden gym. Plus it was only a 5 minute walk from the car! Pitch ratings are our best guess after climbing the route. Gear Brought 12 quickdraws, including 3 alpine singles and 1 double.…
Plans
Port Angeles 2021
Multi-day trip to Port Angeles! Things to do… Junior’s Farm with the boys (1:10 hr drive from Port Angeles) Try out Steeple Rock – Wings (5.8, 3 pitches, I guess sport but bring a single rack + nuts just in case, ~20 min approach, walk off descent, 45 min drive from Port Angeles) The sport…
Junior's Farm round 2!
Update: Doing the little ridge hike first, so schedule below should be flipped 4:00 AM – Depart6:30 AM – Arrive7:00 AM – Climbing1:00 PM – Summit3:00 PM – Base3:30 PM – Drive to Hurricane Ridge4:30 PM – Hike hurricane (3 miles RT)5:30 PM – Drive home7:30 PM – Home