Overall
3,500 ft of pure climbing! You don’t even have to move belays once! Yes, the climbing is all quite easy… yes, the 5.10 portion of the hard pitches are short and not sustained (some might complain too easy)… yes, there is some loose rock you have to be careful about, and yes the descent has ~30 mins of steep loose gravel/rock down a gully. But where else can you find that much pure climbing with a <25 min approach and all super well bolted with nice belay ledges and good views?
Credit
Huge credit (and huge thanks) to the route setters, Brent Nixon, Lisa Newhook, Sean Draper, Kate Naus (May 22, 2022)! Amazing route, perfectly bolted! And all credit to the pitch descriptions below go to the route setters, I’ve combined/tweaked the descriptions slightly where I found useful, but they did an incredible job writing it up!
Technique
Most parties simul-climb the 5.8/5.9 and under pitches and link some of the 5.10 pitches, reducing the climb to more like 11 or 14 “pitches”. The cruxes on pitches are short and very well bolted (every 5 feet). Most parties agree the route is graded soft (a.k.a. it’s easy for a 5.10d). I thought it has maybe 10 feet of 5.10d moves total. If you’ve climbed other multi-pitch 5.10 sport and trad climbs before, you should zoom up this route (especially if you simul-climb the easier pitches).
Key notes
- 15-25 min approach on good trail
- ~6-10 hours of climbing for most parties
- Super moderate climbing, goes fast simul-ing even if you aren’t a 5.11/5.12 climber!
- Really well bolted. Cruxes are every 5 feet and even non-cruxes are typically every 8 feet
- Great anchor ledges. Only P23 anchor was a hanging belay.
- Cruxes are short on each pitch. There’s never sustained 5.10d climbing on any pitch.
- Loose rock actually wasn’t too bad! Definitely want to be careful what you pull on, but overall only about 5 pitches had 10 foot sections where I was particularly concerned about the rock quality.
- Descent is down a steep loose gully. If you don’t like steep loose gullies, be warned that there’s ~30 minutes of teeth-clenching steep loose dirt that you might find yourself butt scooting sometimes. Descent could take up to 3 hours total depending on your comfort level and breaks along the way. Super well marked descent though.
- Sunlight/shade: Route stays shaded for quite a while! On 7/16/2022…
- 4:35 – Dawn
- 5:13 – Sunrise
- 9:00 – Sun at trailhead
- 9:50 – Sun on first ~6 pitches
- 10:25 – Sun on some of the final P26-33 ridge
Gear
- Single 70m rope (needed if have to rappel)
- Up to 24 quickdraws (if you want to simul/link, which you should)
- Including 9 single alpine draws and 3 double alpine draws. Pitches are mostly straight, but extending bolts can be useful. Most draws I used was when simul-ing from P26 to the top in one go (I used 23 draws, skipped several bolts).
- Two anchor cords (bolted anchors are all positioned quite nicely, work perfectly with typical sport anchor cords)
- 1.5L water per person on cooler days (when high is 70 or less and starting early), probably more on hotter days
- Radios useful when linking pitches
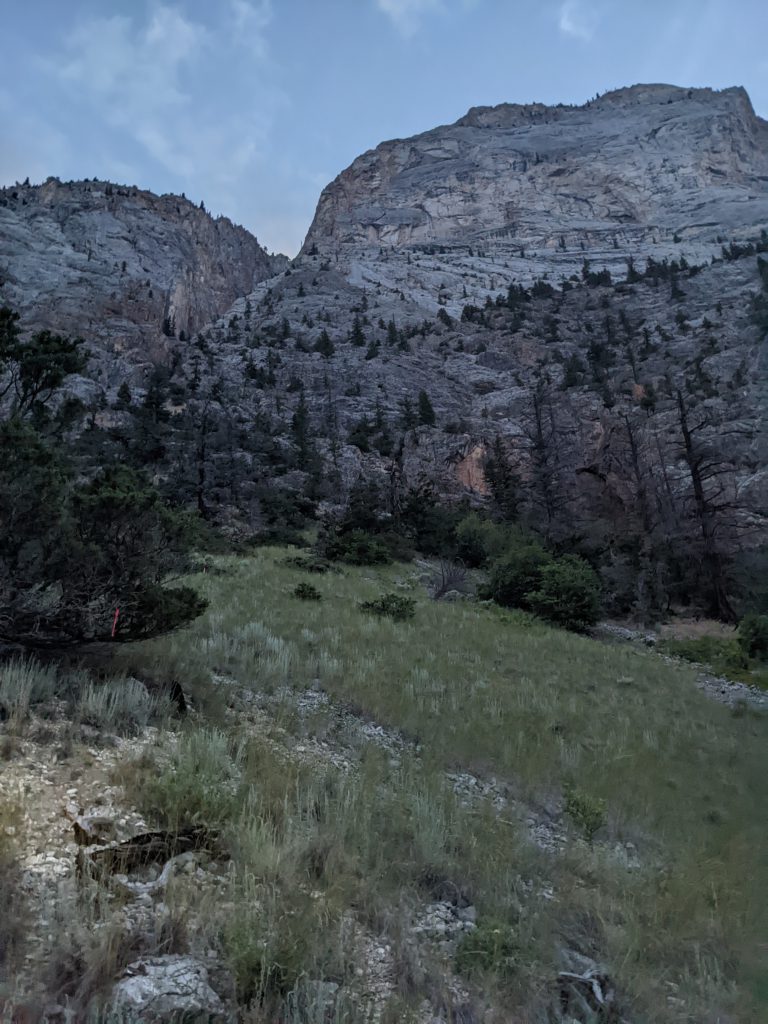
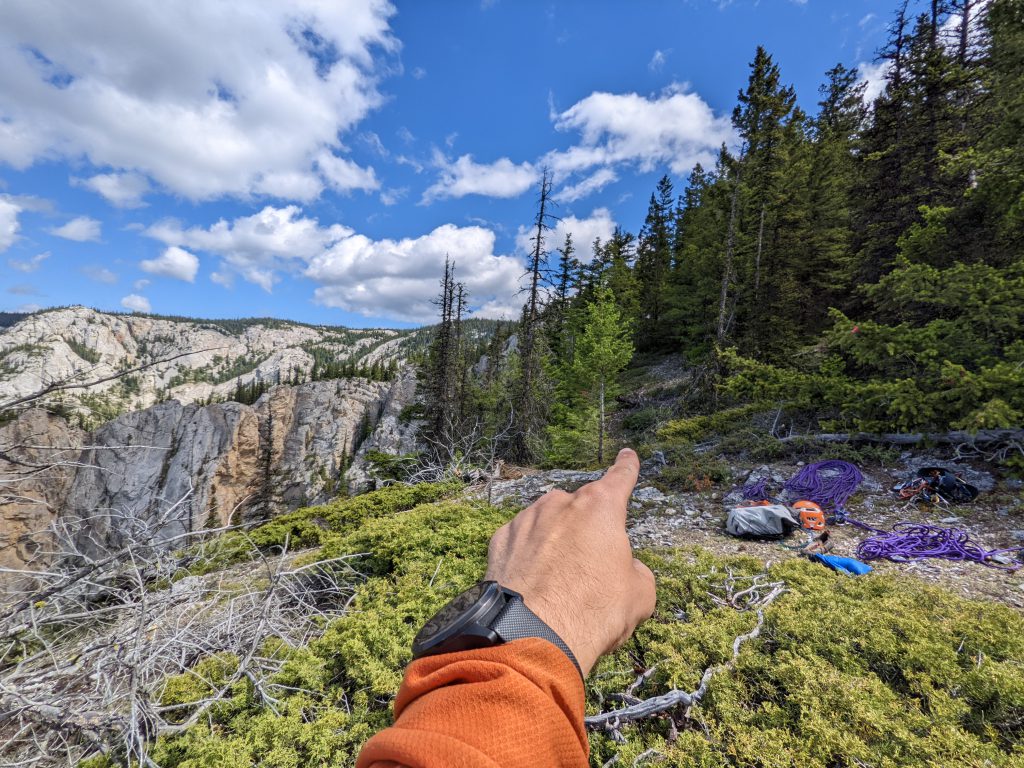
Approach
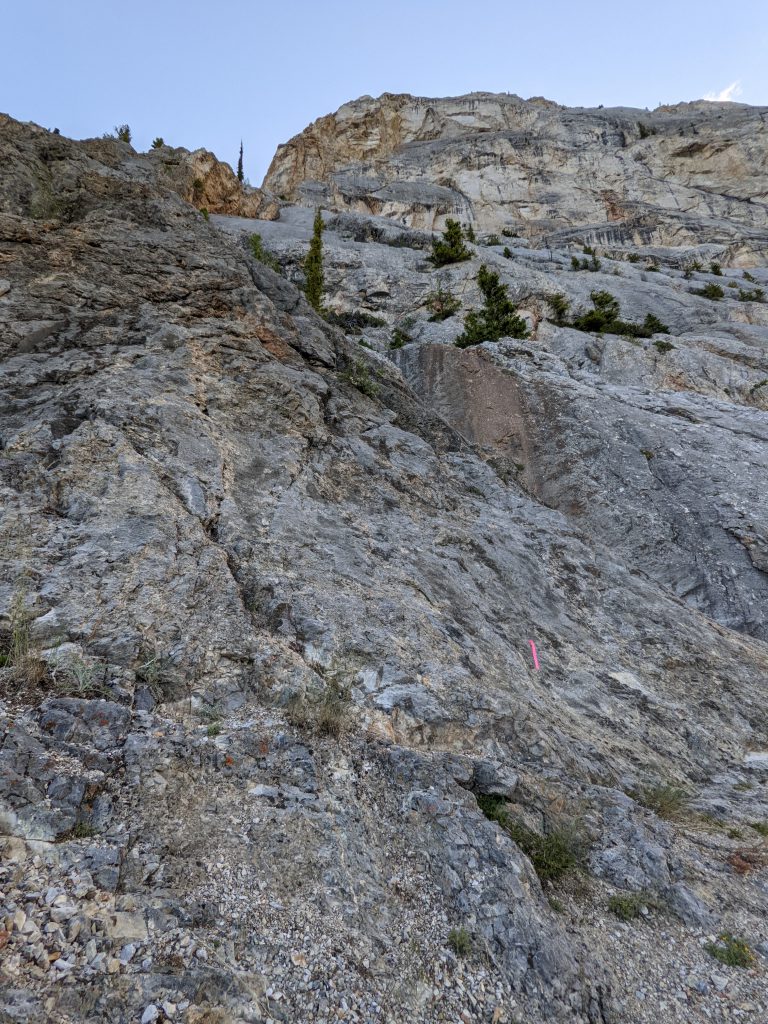
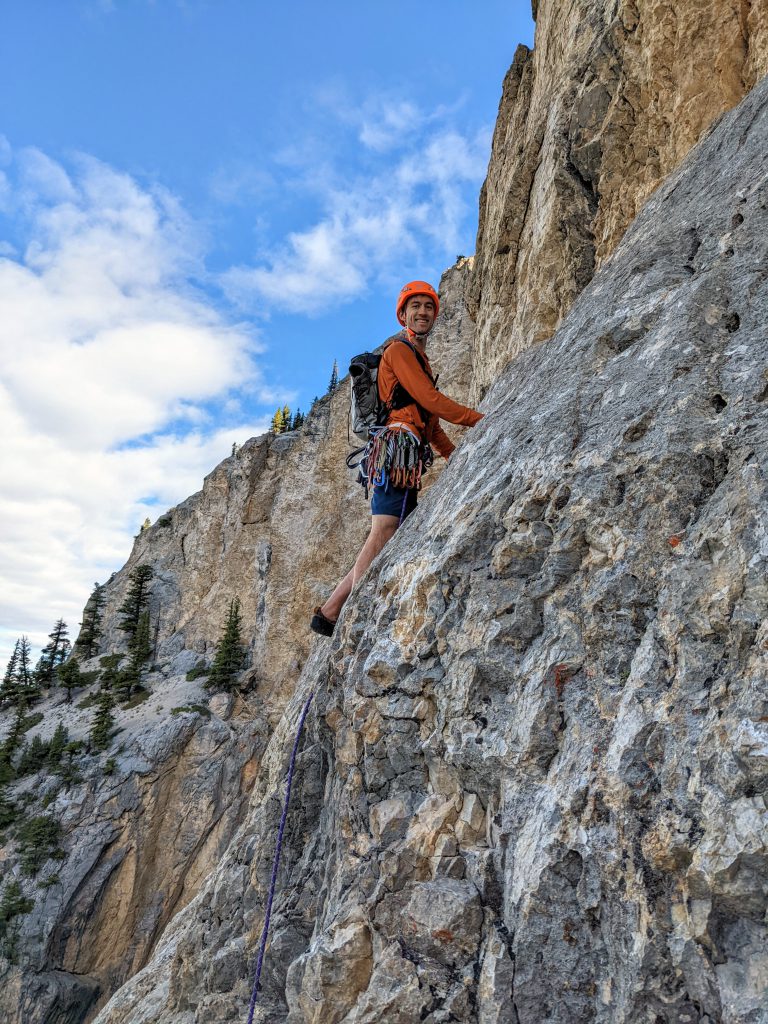
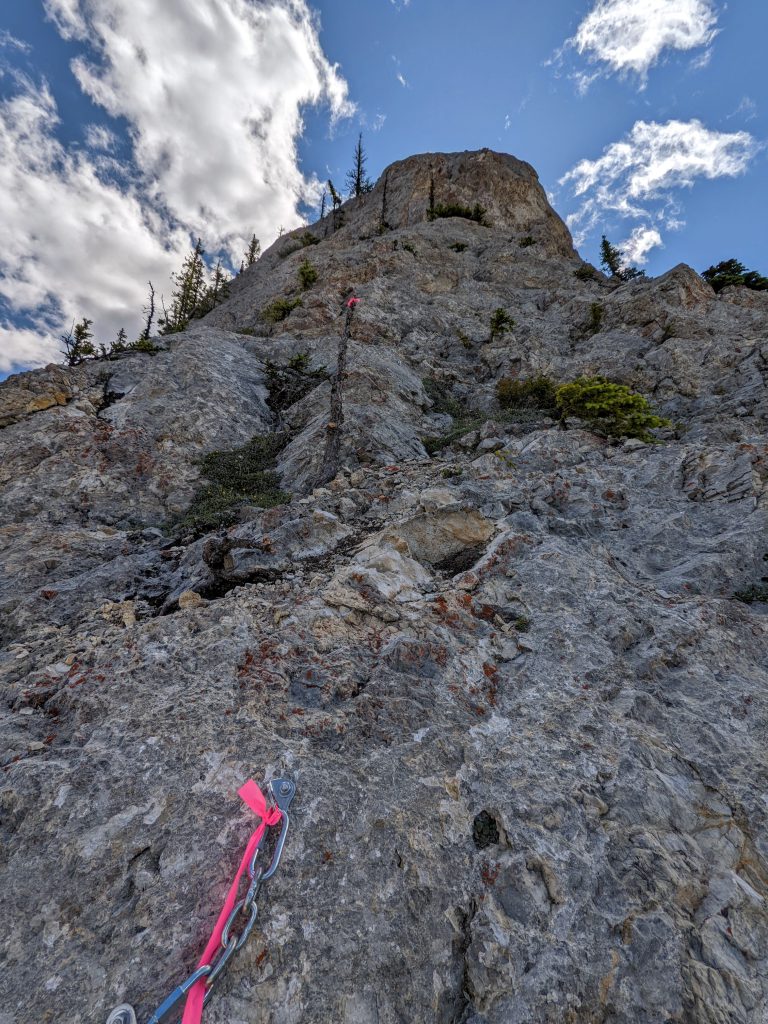
25 minutes at a casual pace, 15 minutes if you book it (or even less). Very nice approach! From the road sign listing the kilometers to 4 of the cities, head straight up following the cairn and the obvious trail, eventually turning right near the end toward the red looking cliff and P1 that goes up the ramping left corner.

Recommended pitch linking…
11 “pitches” if you follow this plan. Suitable plan for a 5.10 outdoor sport/trad multipitch climber.
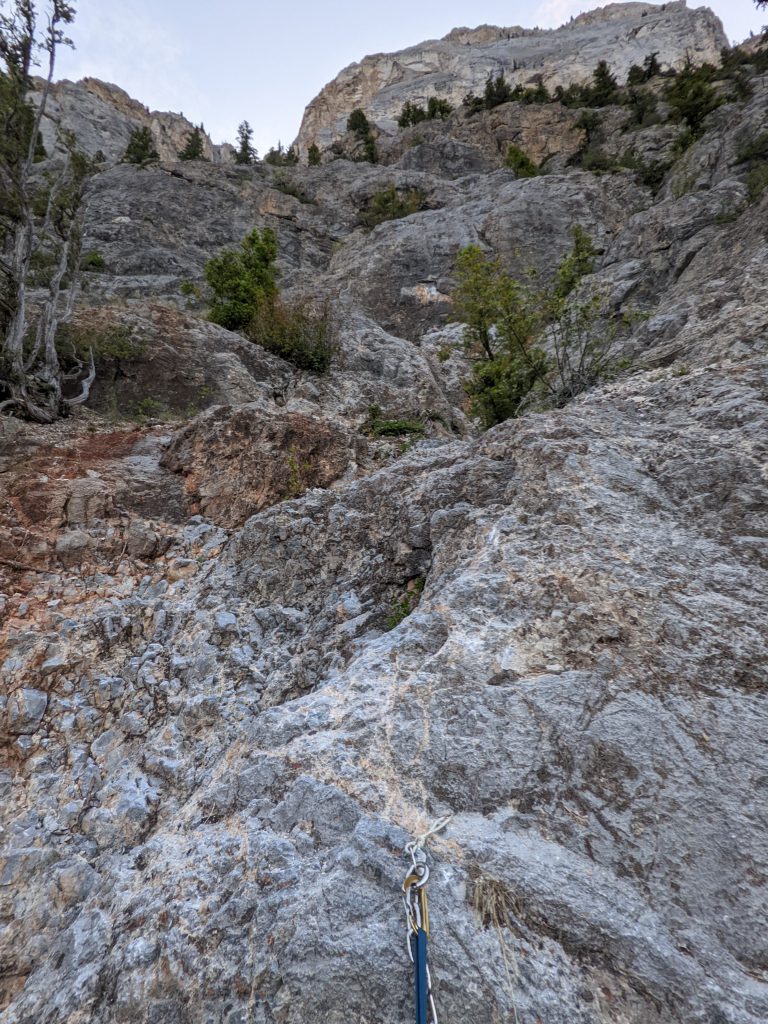
P1-2 LINK (5.6/5.10a, 63m, 15 bolts)
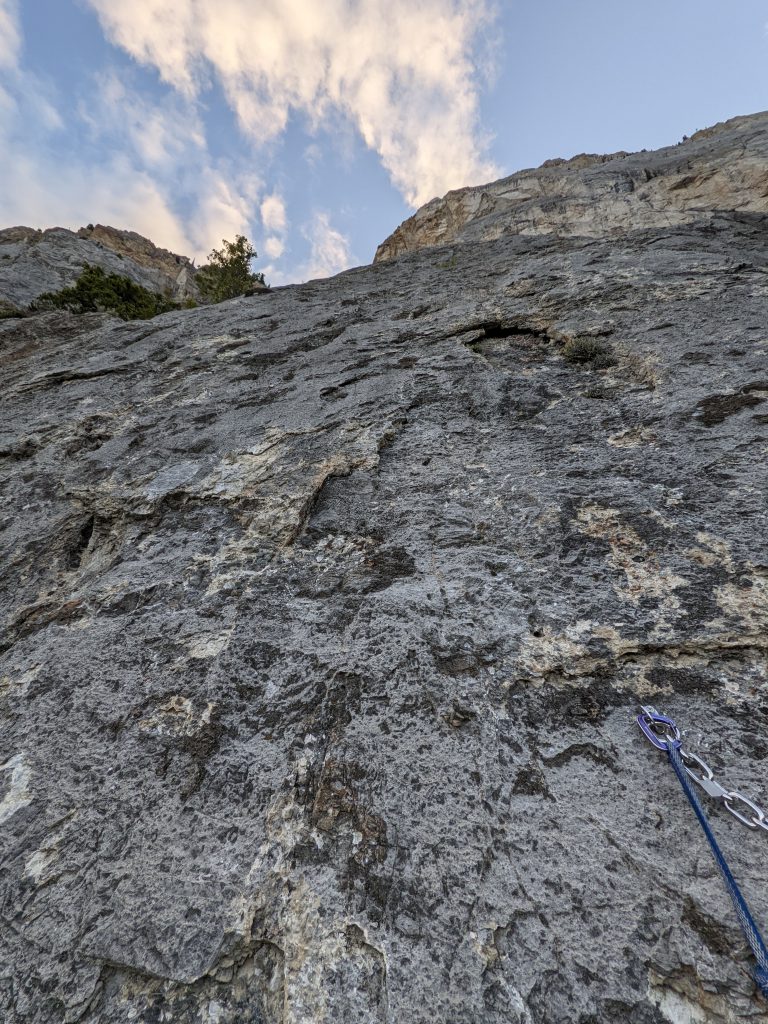
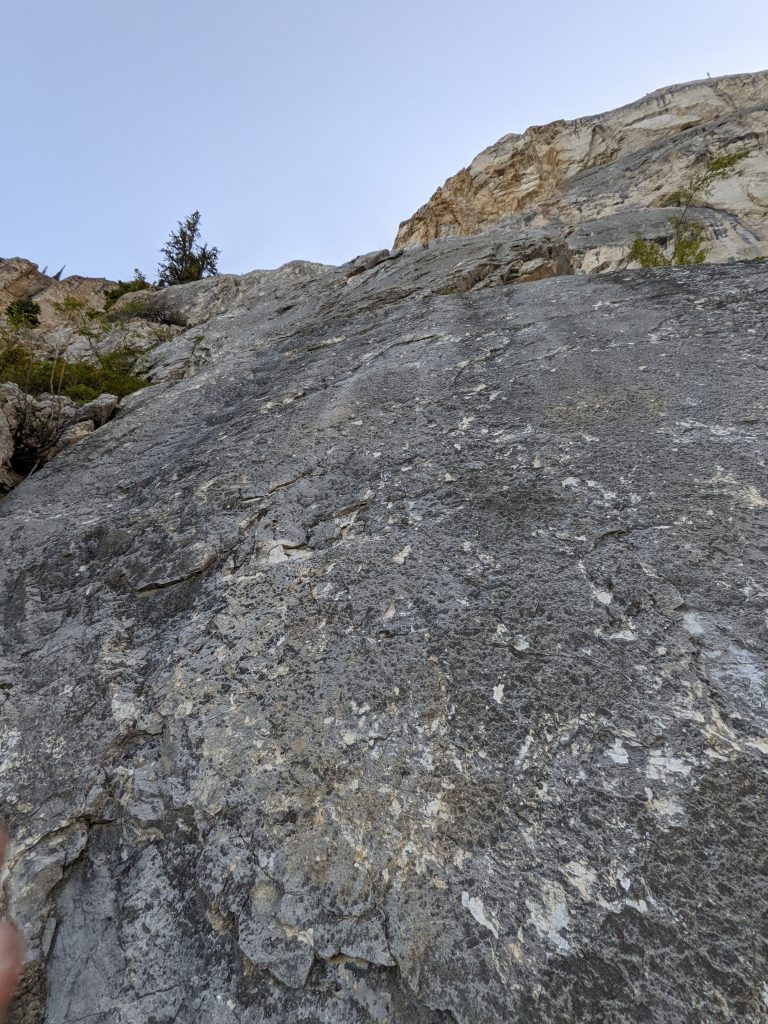
1. 5.6, 30m (4 bolts) Grey slab on the left of a steep red wall. Easy climbing on a featured slab with good holds. Bolted belay/rap station on a small stance beside a dead tree. WARNING: P2 traverses back right from top of P1, so extend your draws.
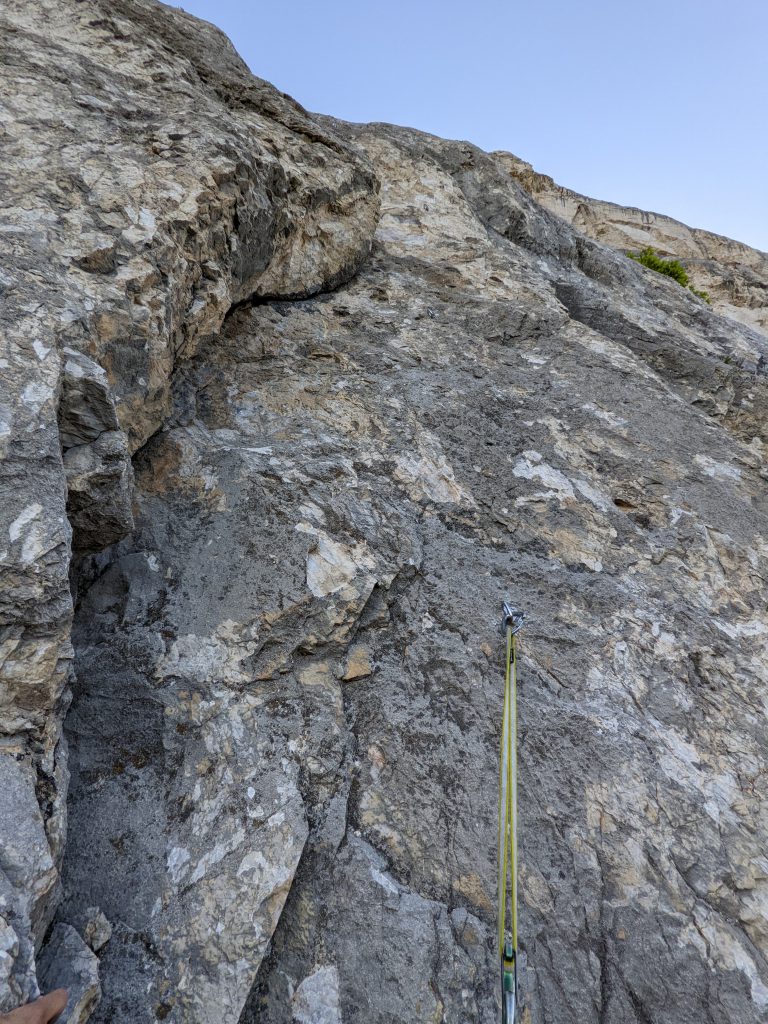
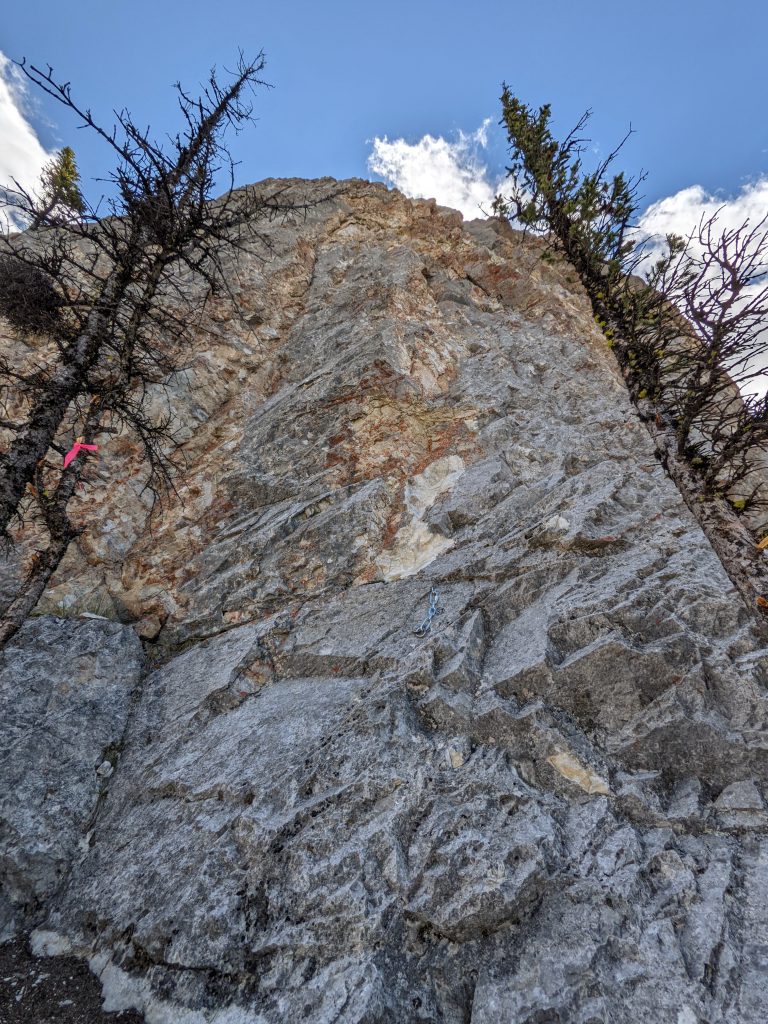
2. 5.10a, 33m (11 bolts) Climb the grey limestone wall on the right. Steep climbing traverses up rightward along the lip of the overhanging wall. Great exposure. Continue up rightward. Bolted belay/rap station on the smooth slab. You’ll end straight above your belayer, be careful about loose rocks.
P3-5 SIMUL (4th/5.6/5.6, 95m, 15 bolts)
3. 3rd-4th, 25m (no bolts) Scramble up the gully feature heading left along a steep little wall between a bush, wrapping up around right to the base of the next wall. Loose scree – step careful and mind ropes. No belay/rap station.
4. 5.6, 33m (7 bolts) Follow bolts on the wall above. Solid grey stone leads up to a great belay ledge. Bolted belay/rap station.
5. 5.6, 37m (8 bolts) Move 6ft right to a small tree then up diagonal left into an alcove above the belay. Follow beautiful grey slab up leftward to a great belay ledge. Bolted belay/rap station.
P6-8 SIMUL (5.5/5.8/5.7, 102m, 17 bolts)
6. 5.5, 35m (5 bolts) Continue climbing up leftward through easier broken slab terrain. Head up to the belay below a steep wall split by a shallow chimney feature. Great belay ledge with bolted belay/rap station.
7. 5.8, 35m (5 bolts) Head straight up the shallow chimney on fun rock to broken 4th class terrain above. Scramble straight up to a tree. Chain belay on tree.
8. 5.7, 32m (7 bolts) Continue straight above with excellent holds. Stucco limestone and protruding black edges make for fun climbing. Arch leftward near the top to a small belay ledge. Bolted belay/rap station.
P9 – 5.9, 33m, 9 bolts
Loose crimpy rock for several bolts makes this pitch worth pitching out. Move left off the belay then straight up on slabby, textured grey stone (with several loose crimpy edges). Climbing eases higher up at a break. Head up to a big belay ledge. Careful for loose scree – mind your rope. Bolted belay/rap station on a small wall.
P10-14 SIMUL (5.6/5.6/5.6/5.7/5.10b, 164m, 37 bolts)
This is a LONG simul, but it actually works really well since it’s on such easy terrain till the end, and then the 5.10b part is really well bolted every 5 feet and only lasts for ~3 bolts, and actually only felt 5.9 (I later discovered it was supposedly 5.10b). With 24 quickdraws, I think I still had 3 left at the end of this!
10. 5.6, 38m (8 bolts) Easy climbing straight above leads up on good holds to a great belay ledge. Bolted belay/rap station.
11. 5.6, 34m (7 bolts) Continue straight up on similar terrain with great holds and easy climbing. Belay on a great ledge. Careful for scree – mind the rope. Bolted belay/rap station.
12. 5.6, 33m (6 bolts) Move the belay 10m right to a single bolt (good ledge). Climb straight up to the adjacent face, then angle up left on the face following big holds to a great belay ledge. Bolted belay/rap station.
13. 5.7, 31m (8 bolts) Climb straight up into orange rock. Somewhat friable loose rock but good holds and fun climbing. Take caution. Angle up left near the top to a great belay ledge. Bolted belay/rap station.
14. 5.10b, 28m (8 bolts) Head straight up above the belay, stemming an easy orange groove (rotten rock) to a steep grey wall above. Follow excellent stucco rock with pockets and solution holes up the steep section to a huge belay ledge and bivy spot. Bolted belay/rap station.
P15 – 5.10b, 32m, 7 bolts)
This one feels more 5.10b, and has a bouldery mantle move further left before cutting right that would make linking or simul-ing feel uncomfortable. Scramble above the belay to scree ledge. Head up an easy v-slot to another big scree ledge. Scramble back to a steep grey wall with a series of 3 bouldery mantles – super fun. Great belay ledge above. Bolted belay/rap station.
P16-19 SIMUL (5.7/3rd/5.10b/5th, 158m, 18 bolts)
16. 5.7, 33m (7 bolts) Climb the slab on the right upward to a corner then small steep wall. Boulder up the wall to a scree ledge and tree. Straight up slab for a few moves to a 3-bolt left-angled traverse. End on a huge scree terrace. Bolted belay/rap station on a small wall.
17. 3rd, 60m (no bolts) Head straight left from the belay along the small rock wall. Wrap around up right on scree, scrambling straight up toward left-side of a big tree at the base of a steep wall. No belay bolts. Flat rock to flake your rope.
18. 5.10b, 35m (9 bolts) Go straight up a left-arching crack/layback feature. Fun climbing, well featured and feels secure enough to simul. Easy traverse 15ft left on shrubby ledge to line of solution pockets and ledges straight up. Boulder up small steep walls to a nice belay ledge above. Bolted belay/rap station (base of slab).
19. 5th, 30m (2 bolts) Head up the grey slab on excellent rock toward the headwall. Angle rightward near the top – up a small step to a great belay ledge at the base of a grey corner. Bolted belay/rap station.
P20-21 LINK (5.10b/5.10a, 58m, 18 bolts)
20. 5.10b, 33m (11 bolts) The immaculate grey corner above is one of the best pitches. Suddenly the exposure feels real as you climb steeply onto the headwall. Fun jug-hauling in yellowish rock above the corner. Angle right across a rotten orange rock streak, then up to a nice belay ledge hard left. Bolted belay/rap station.
21. 5.10a, 25m (7 bolts) Step back right, then straight up into a slabby corner. Angle hard right near the top of the slab then straight up steep, but loose, yellowish jugs. Angle up and leftward to the alcove belay. Bolted belay/rap station.
P22-23 LINK (5.10d, 63m, 16 bolts)
22. 5.10d, 30m (9 bolts) Step left then straight up slab to the steep, foreboding wall. A crack feature splits the wall. Powerful pulling on solution pockets and mini tufa lips lead upward (5.10d for first three bolts). Climbing eases higher, following broken terrain up to a small belay stance on the left. Bolted belay/rap station.
23. 5.10d, 33m (11 bolts) (feels easier, more like 10b) “Wrap Around Pitch” Climb straight up the slot/crack to fun face, jug hauling on lower angle terrain. Near the top of the triangular face, climb good holds directly on the corner of the west and south faces with insane exposure as you “wrap around” onto the west face. Stay high on slab feet to find an excellent secret handhold through the crux. Angle up left to a hanging stance. Bolted belay/rap station. Note that linking 23-24 would likely have a lot of drag since 23 traverses left, and 24 traverses back right. But linking 22-23 and 24-25 works well!
P24-25 (5.10d/5.9, 40m, 15 bolts)
24. 5.10d, 28m (12 bolts) (feels easier, more like 10b) Climb up 2-bolts, then traverse right back toward the insanely exposed south face. Head up a shallow, grey corner feature on the apex of the west and south faces. A cruxy sequence leads around up into the shallow corner. Fun, exposed climbing leads straight above to belay at a small stance. Bolted belay/rap station.
25. 5.9, 12m (3 bolts) Climb up on grey slab. The wall steepens as you enter a finger crack. Traverse left into an orange scree trough above to a good belay stance. Bolted belay/rap station.
P26-33 SIMUL (5.4/5.7/5.9/3rd/5.6/5.3/5.3/5.9, 266m, 44 bolts)
This is a LONG simul, but on such easy terrain, and takes you straight to the top in one go! The two 5.9 pitches are quite easy too, with good rock quality. With 24 quickdraws, I had exactly one left after only clipping every 2nd or 3rd bolt on the easier pitches (try to save 5-6 draws for the final 5.9 pitch).
26. 5.4, 28m (4 bolts) You are now on the final ridge section. Room to bivi here. Scramble straight up the ridge surmounting a small step to belay beside a dead tree. Bolted belay/rap station.
27. 5.7, 33m (7 bolts) “Edge Of Time” Fun climbing leads up excellent grey flowstone in a very exposed position near the edge of the south face. Near the top, scramble leftward up a scree slope to belay on a small ledge near the “blow hole”. The blowhole is a wild natural rock hole dropping all the way down Main Wall. Bolted belay/rap station.
28. 5.9, 31m (9 bolts) The “Blow Hole pitch” Angle up leftward to the middle of the steep face. Straight up, surmounting a small overlap near the top. Scramble easy broken slab to belay right of small trees. Bolted belay/rap station.
29. 3rd, 50m (no bolts) Scramble up the ridge, wrapping right above a tree to a small belay ledge. Bolted belay/rap station.
30. 5.6, 33m (6 bolts) Slab climb up rightward on excellent, grey stone to a steep, small step. Climb this, traversing right to a tree, then hard left straight up to a nice alcove belay above. Bolted belay/rap station.
31. 5.3, 33m (6 bolts) Head straight up the ridge on easy, juggy rock to a nice alcove belay. Bolted belay/rap station.
32. 5.3, 33m (4 bolts) Continue straight up the ridge on juggy stone. The angle eases as you reach the base of the final steep pitch. Belay at a great ledge beside a tree. Bolted belay/rap station.
33. 5.9, 25m (8 bolts) The crowning pitch is one of the best. Steep climbing on good rock, interspersed with jugs and incredible exposure along the way, leads to the top. Enjoy the fantastic views (or stars). Bolted belay/rap station.
Pitch-by-pitch description (with photos)
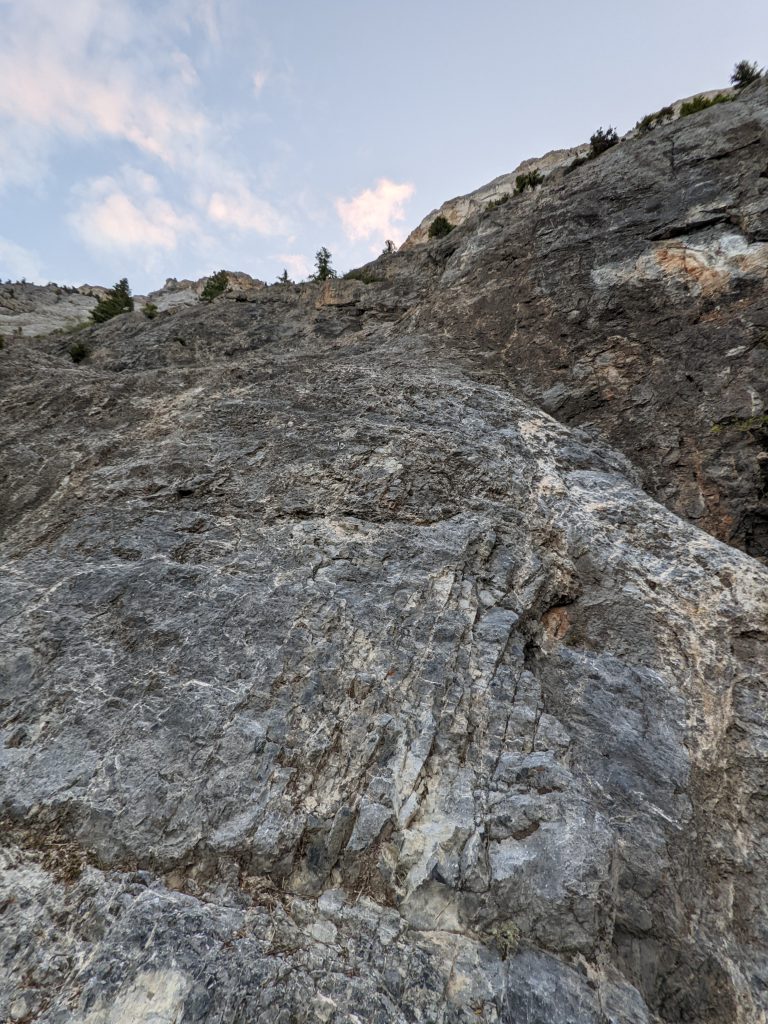
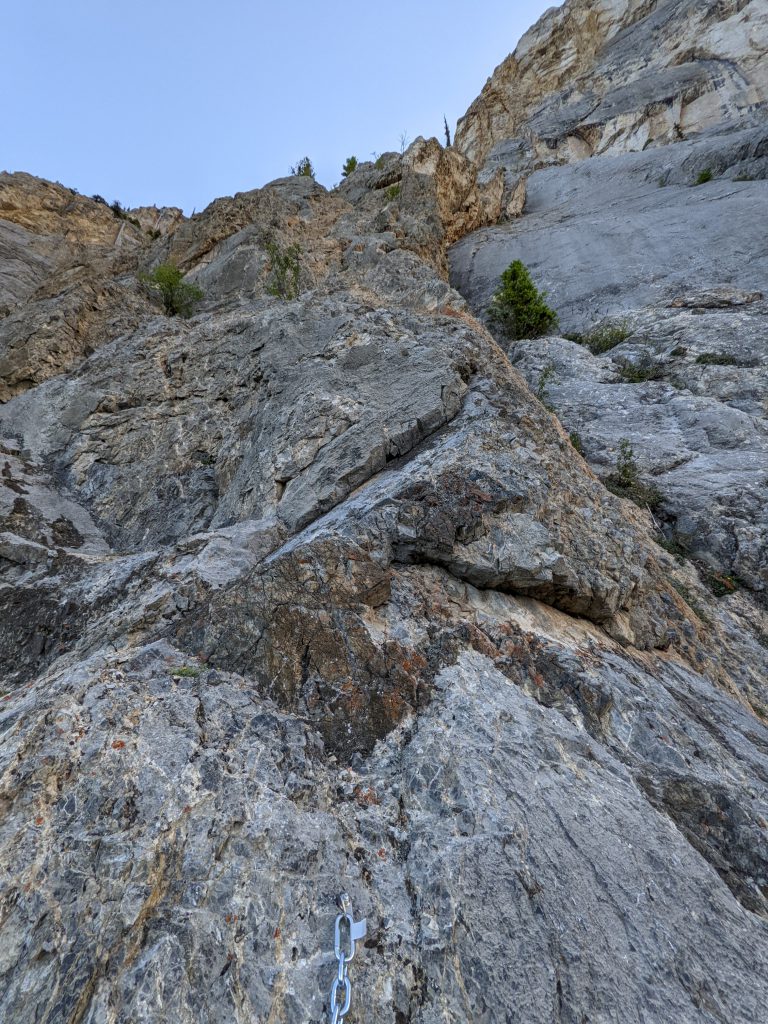
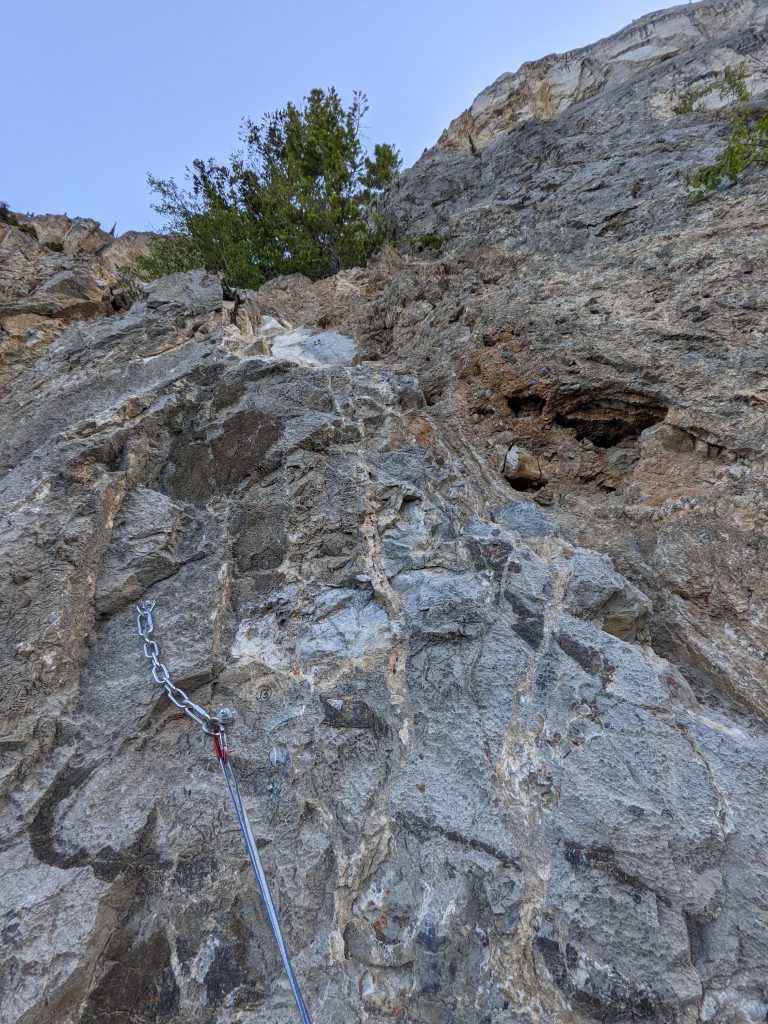
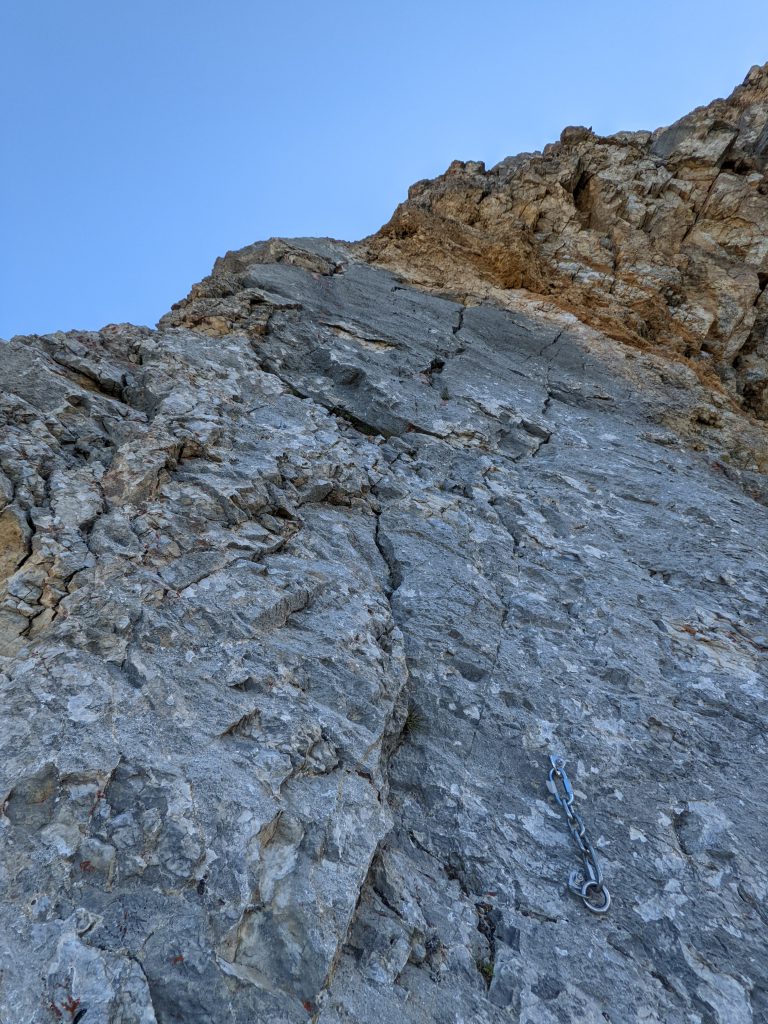
1. 5.6, 30m (4 bolts) Grey slab on the left of a steep red wall. Easy climbing on a featured slab with good holds. Bolted belay/rap station on a small stance beside a dead tree.
2. 5.10a, 33m (11 bolts) Climb the grey limestone wall on the right. Steep climbing traverses up rightward along the lip of the overhanging wall. Great exposure. Continue up rightward. Bolted belay/rap station on the smooth slab.
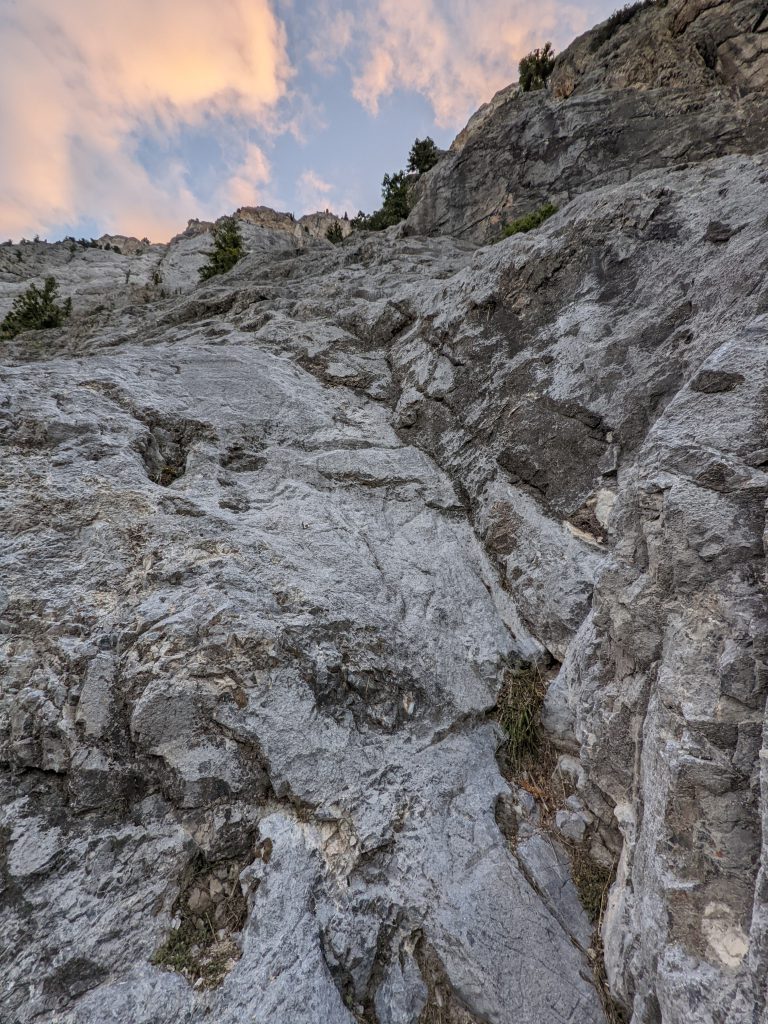
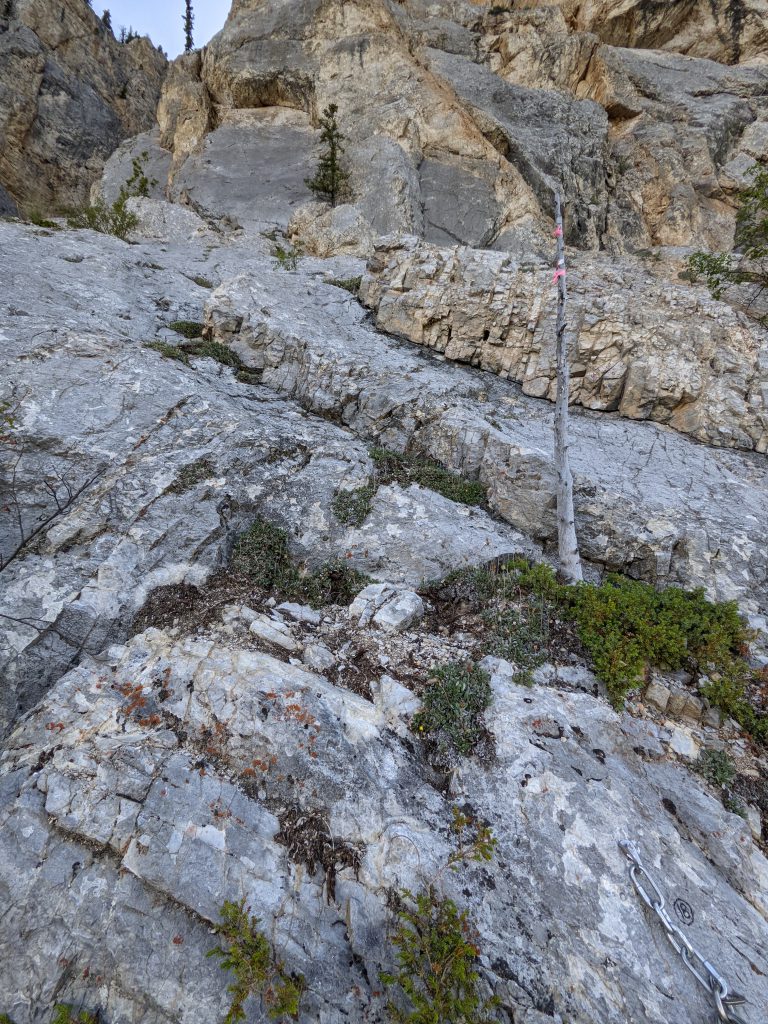
3. 3rd-4th, 25m (no bolts) Scramble up the gully feature heading left along a steep little wall between a bush, wrapping up around right to the base of the next wall. Loose scree – step careful and mind ropes. No belay/rap station.

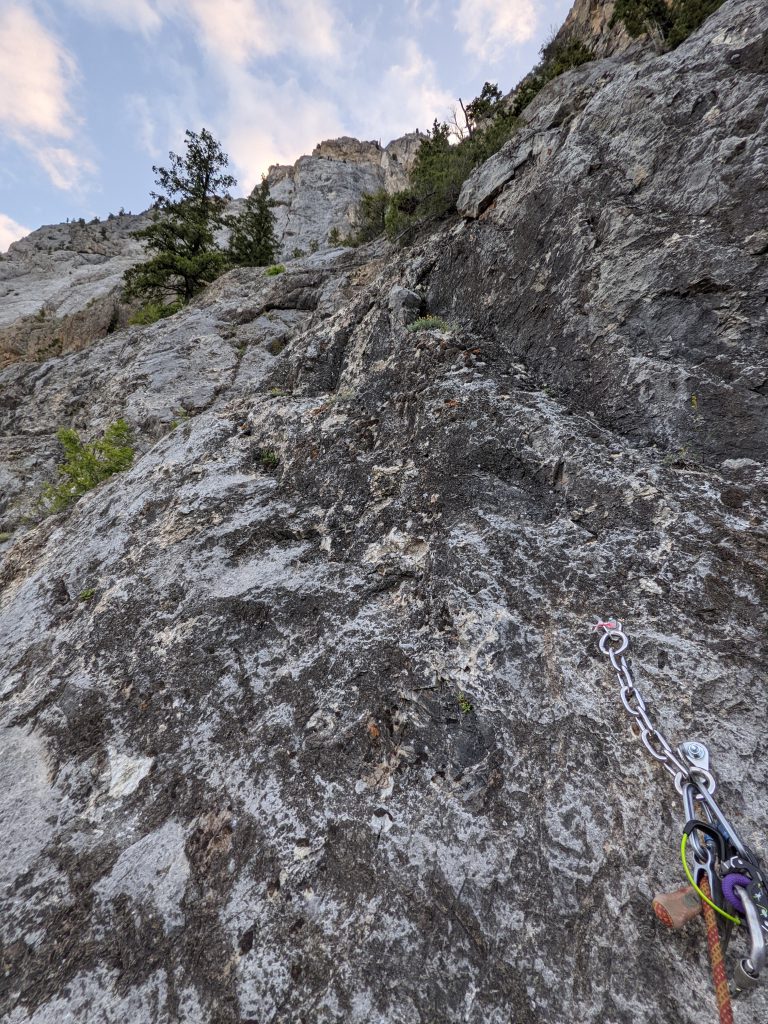
4. 5.6, 33m (7 bolts) Follow bolts on the wall above. Solid grey stone leads up to a great belay ledge. Bolted belay/rap station.

5. 5.6, 37m (8 bolts) Move 6ft right to a small tree then up diagonal left into an alcove above the belay. Follow beautiful grey slab up leftward to a great belay ledge. Bolted belay/rap station.

6. 5.5, 35m (5 bolts) Continue climbing up leftward through easier broken slab terrain. Head up to the belay below a steep wall split by a shallow chimney feature. Great belay ledge with bolted belay/rap station.

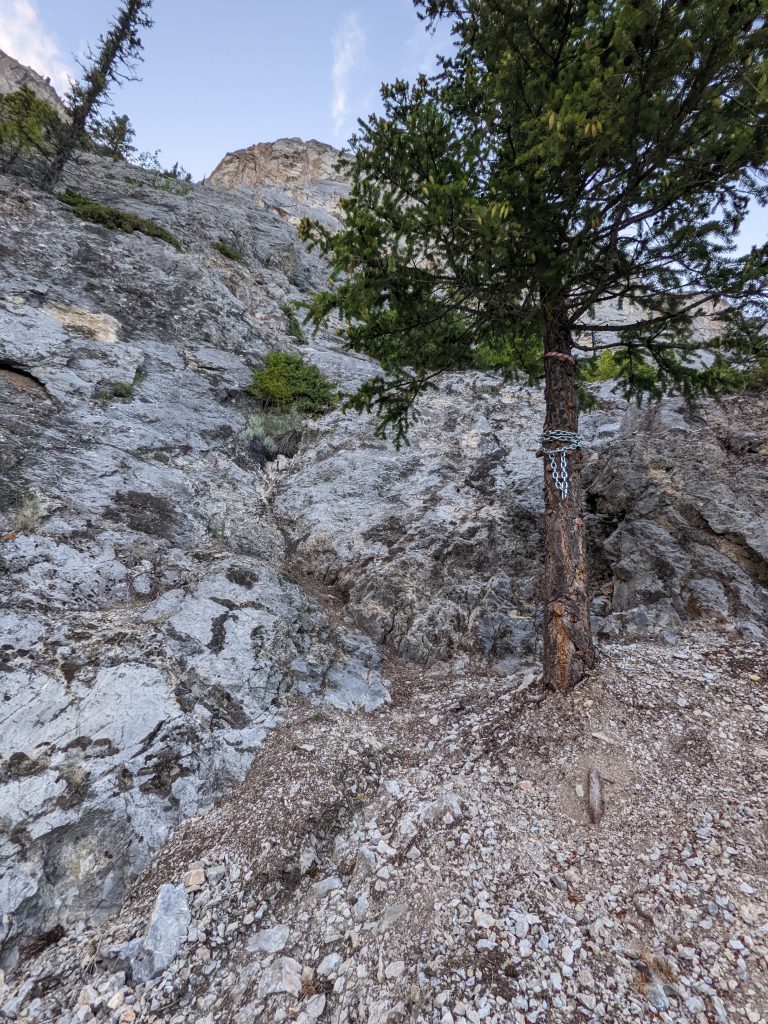
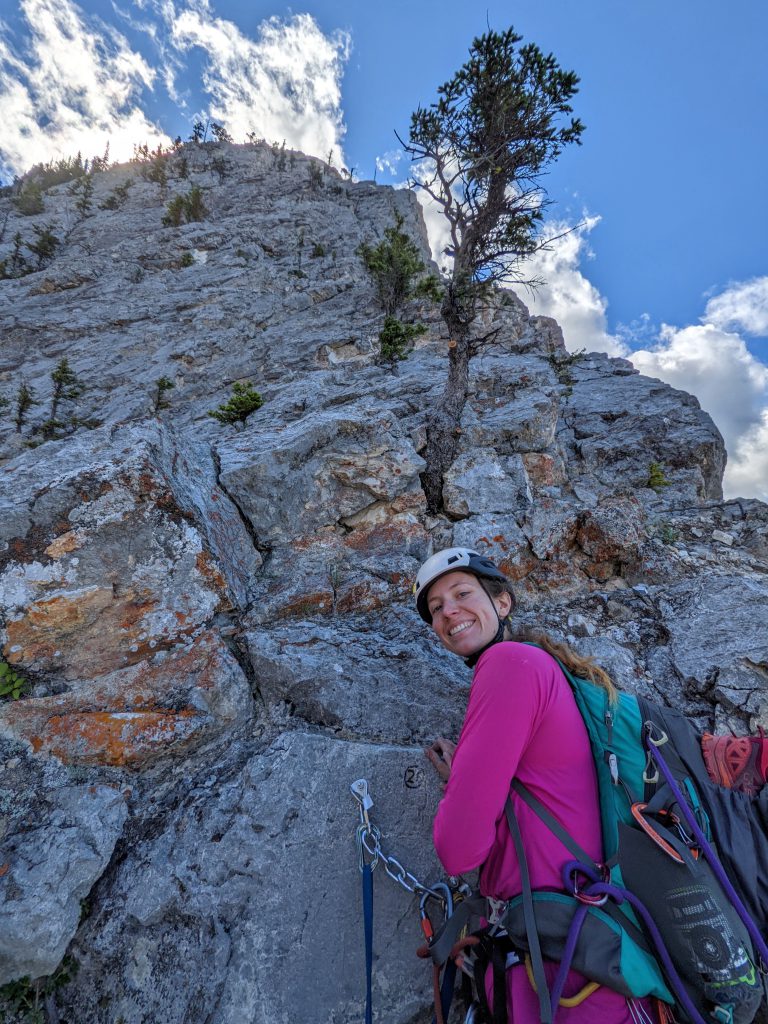
7. 5.8, 35m (5 bolts) Head straight up the shallow chimney on fun rock to broken 4th class terrain above. Scramble straight up to a tree. Chain belay on tree.
8. 5.7, 32m (7 bolts) Continue straight above with excellent holds. Stucco limestone and protruding black edges make for fun climbing. Arch leftward near the top to a small belay ledge. Bolted belay/rap station.

9. 5.9, 33m (9 bolts) Move left off the belay then straight up on excellent, textured grey stone. Climbing eases higher up at a break. Head up to a big belay ledge. Careful for loose scree – mind your rope. Bolted belay/rap station on a small wall.

10. 5.6, 38m (8 bolts) Easy climbing straight above leads up on good holds to a great belay ledge. Bolted belay/rap station.

11. 5.6, 34m (7 bolts) Continue straight up on similar terrain with great holds and easy climbing. Belay on a great ledge. Careful for scree – mind the rope. Bolted belay/rap station.

12. 5.6, 33m (6 bolts) Move the belay 10m right to a single bolt (good ledge). Climb straight up to the adjacent face, then angle up left on the face following big holds to a great belay ledge. Bolted belay/rap station.

13. 5.7, 31m (8 bolts) Climb straight up into orange rock. Somewhat friable loose rock but good holds and fun climbing. Take caution. Angle up left near the top to a great belay ledge. Bolted belay/rap station.

14. 5.10b, 28m (8 bolts) Head straight up above the belay, stemming an easy orange groove (rotten rock) to a steep grey wall above. Follow excellent stucco rock with pockets and solution holes up the steep section to a huge belay ledge and possible bivi spot. Bolted belay/rap station.

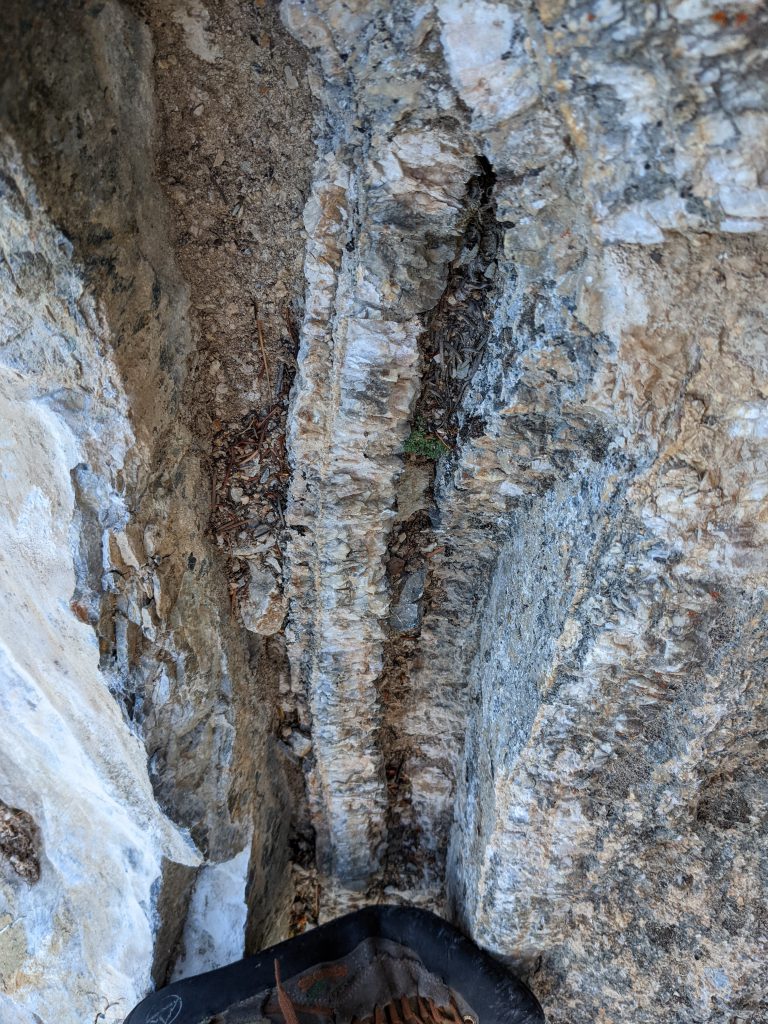
Crystals on P14 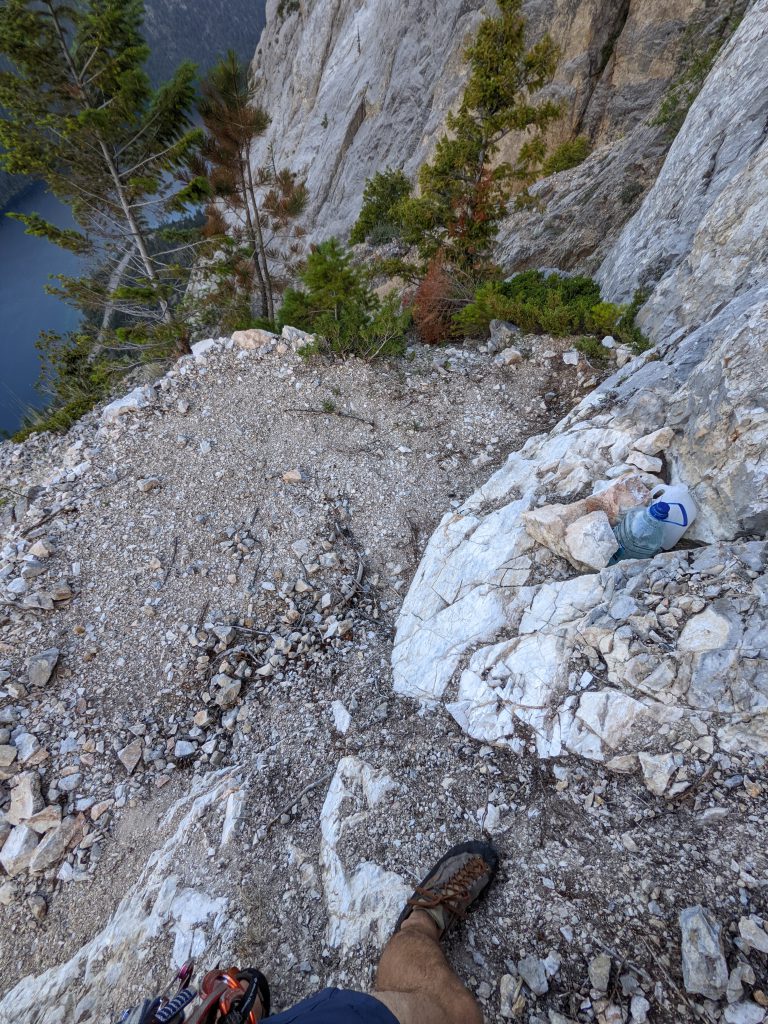
Nice bivy ledge on top of P14 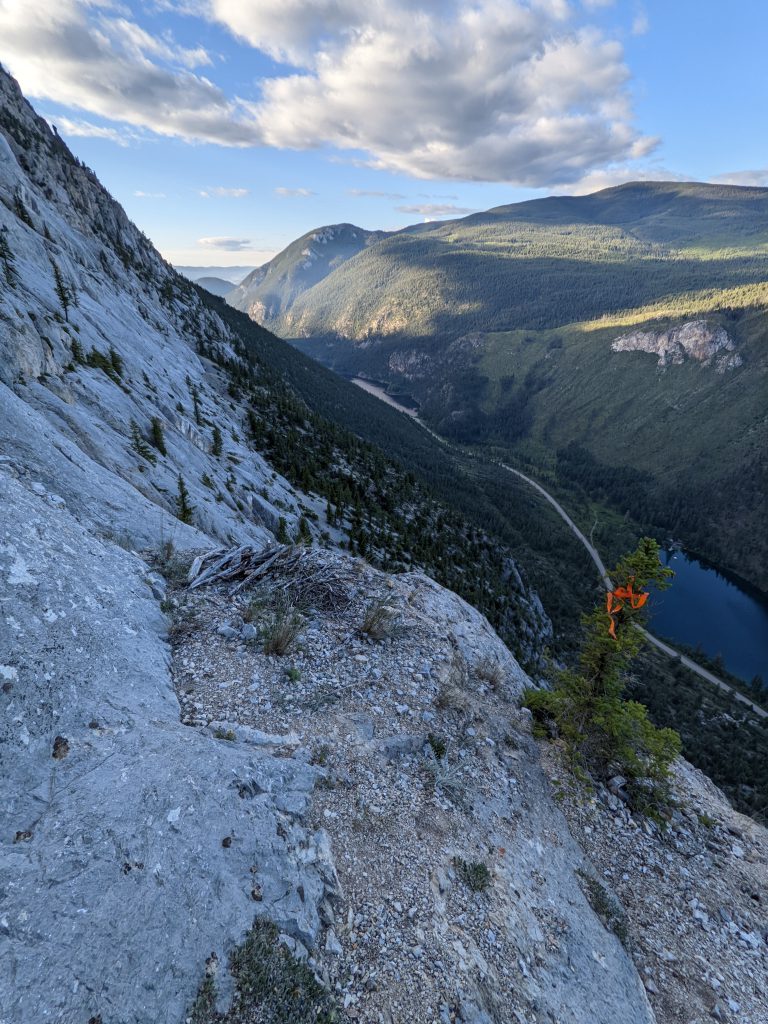
Firewood for bivy ledge with great views
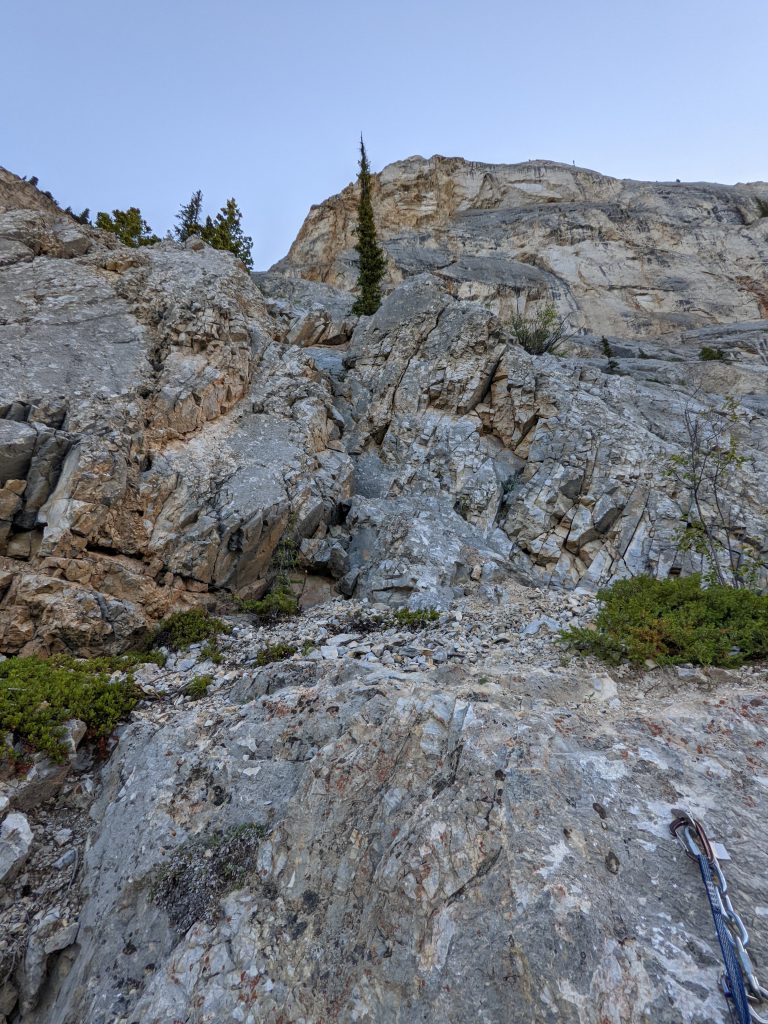
15. 5.10b, 32m (7 bolts) Scramble above the belay to scree ledge. Head up an easy v-slot to another big scree ledge. Scramble back to a steep grey wall with a series of 3 bouldery mantles – super fun. Great belay ledge above. Bolted belay/rap station.


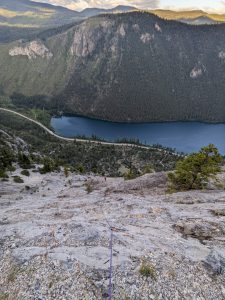
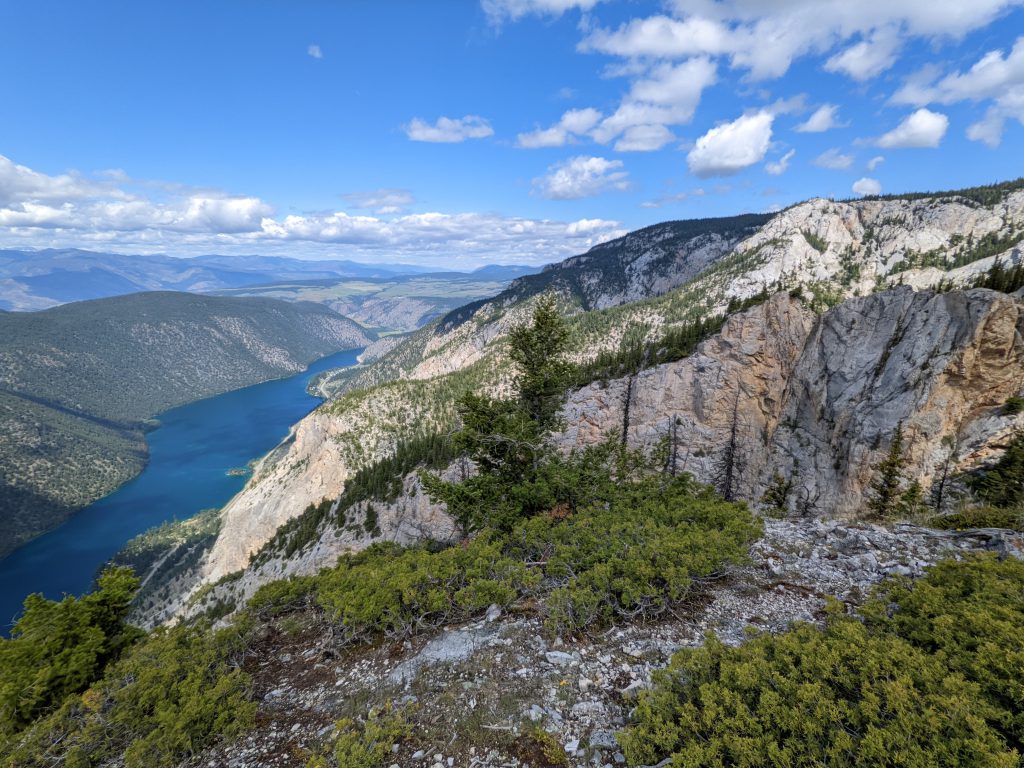
Great views! 
Bouldery moves of P15
16. 5.7, 33m (7 bolts) Climb the slab on the right upward to a corner then small steep wall. Boulder up the wall to a scree ledge and tree. Straight up slab for a few moves to a 3-bolt left-angled traverse. End on a huge scree terrace. Bolted belay/rap station on a small wall.

17. 3rd, 60m (no bolts) Head straight left from the belay along the small rock wall. Wrap around up right on scree, scrambling straight up toward left-side of a big tree at the base of a steep wall. No belay bolts. Flat rock to flake your rope.


18. 5.10b, 35m (9 bolts) Go straight up a left-arching crack/layback feature. Fun climbing. Easy traverse 15ft left on shrubby ledge to line of solution pockets and ledges straight up. Boulder up small steep walls to a nice belay ledge above. Bolted belay/rap station (base of slab).

19. 5.10, 30m (2 bolts) Head up the grey slab on excellent rock toward the headwall. Angle rightward near the top – up a small step to a great belay ledge at the base of a grey corner. Bolted belay/rap station.

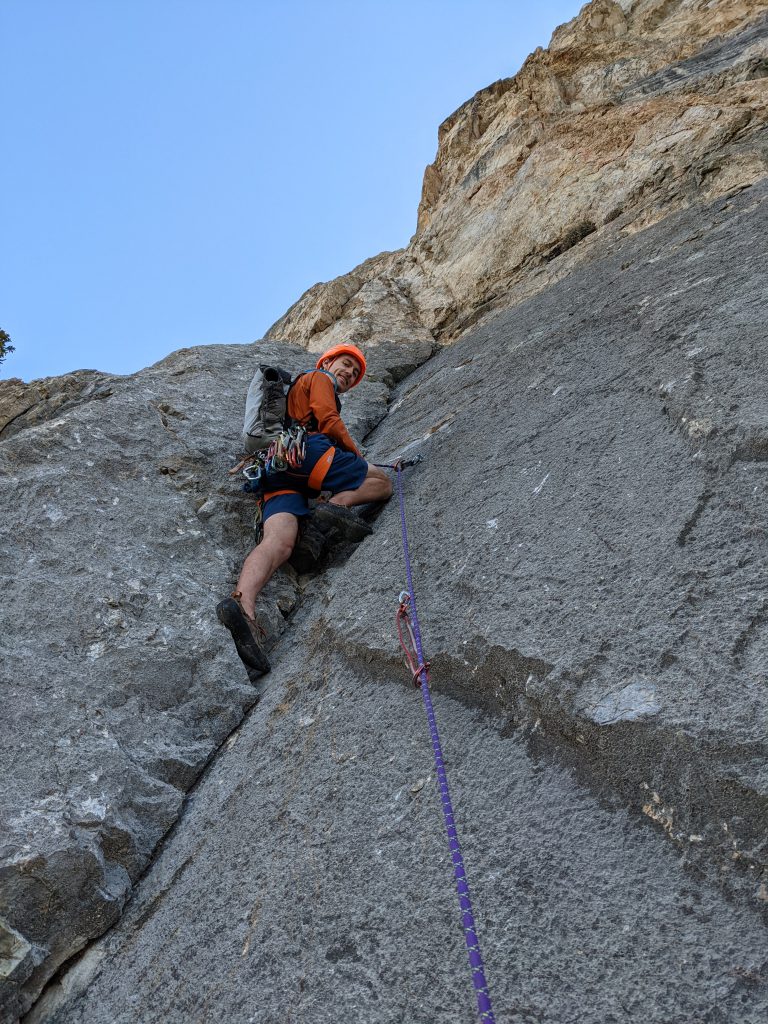
20. 5.10b, 33m (11 bolts) The immaculate grey corner above is one of the best pitches. Suddenly the exposure feels real as you climb steeply onto the headwall. Fun jug-hauling in yellowish rock above the corner. Angle right across a rotten orange rock streak, then up to a nice belay ledge hard left. Bolted belay/rap station.

21. 5.10a, 25m (7 bolts) Step back right, then straight up into a slabby corner. Angle hard right near the top of the slab then straight up steep, but loose, yellowish jugs. Angle up and leftward to the alcove belay. Bolted belay/rap station.
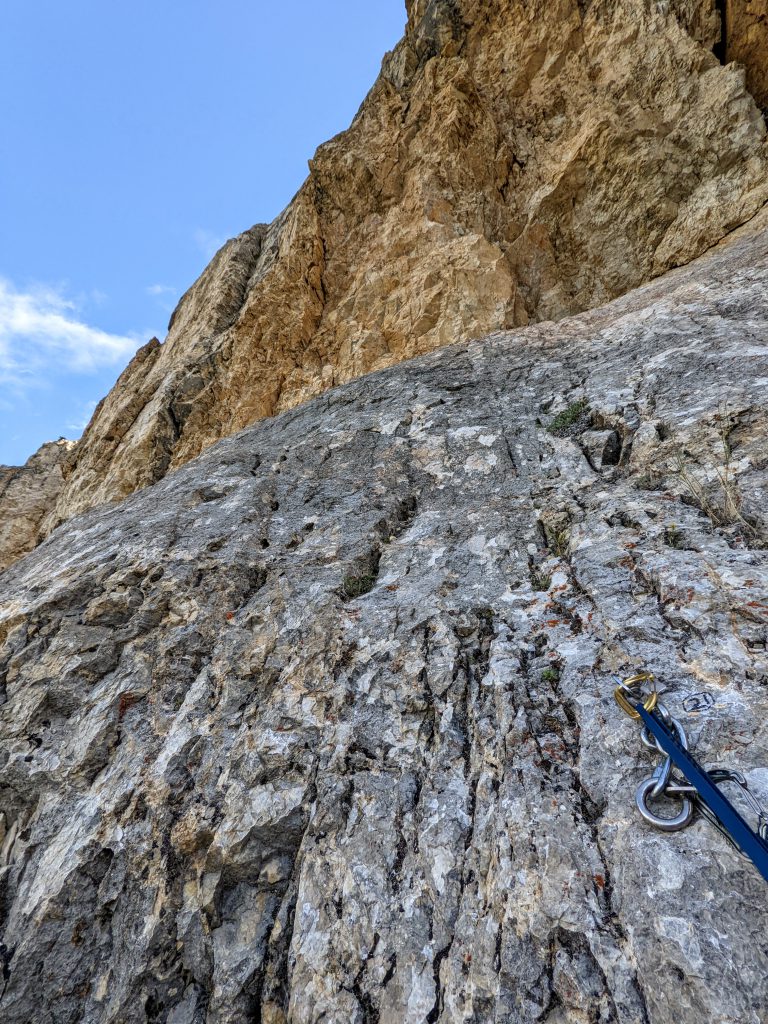
22. 5.10d, 30m (9 bolts) Step left then straight up slab to the steep, foreboding wall. A crack feature splits the wall. Powerful pulling on solution pockets and mini tufa lips lead upward. Climbing eases higher, following broken terrain up to a small belay stance on the left. Bolted belay/rap station.

Stepping left from the belay 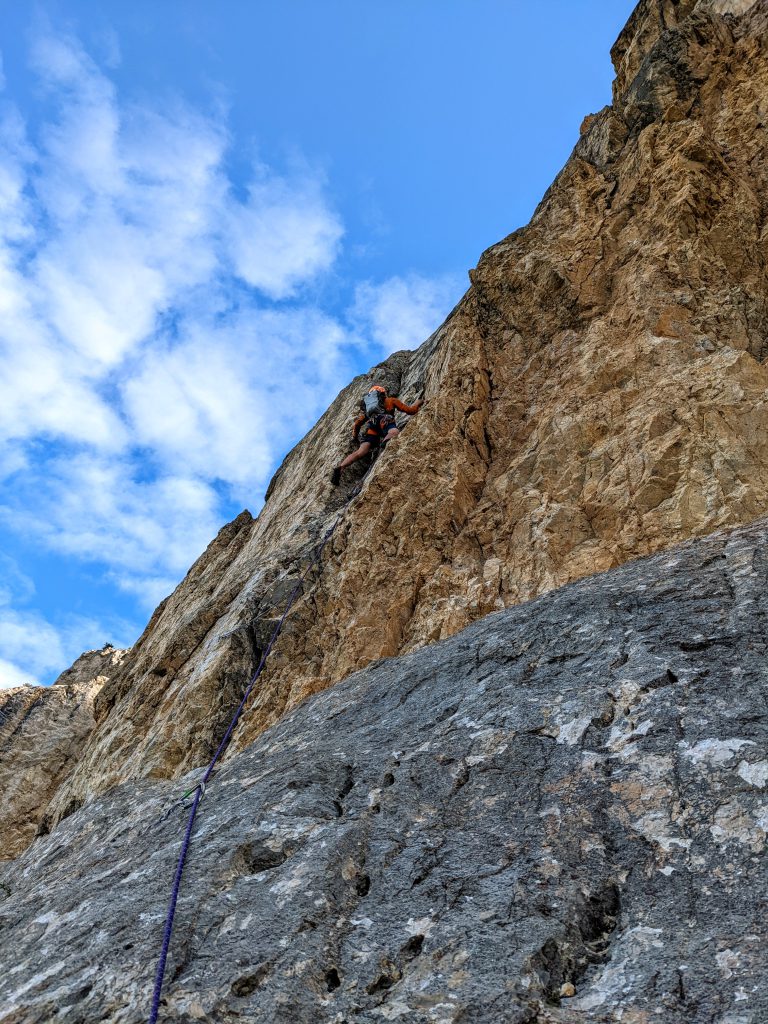
Just above the crux
23. 5.10d, 33m (11 bolts) “Wrap Around Pitch” Climb straight up the slot/crack to fun face, jug hauling on lower angle terrain. Near the top of the triangular face, climb good holds directly on the corner of the west and south faces with insane exposure as you “wrap around” onto the west face. Stay high on slab feet to find an excellent secret handhold through the crux. Angle up left to a hanging stance. Bolted belay/rap station.
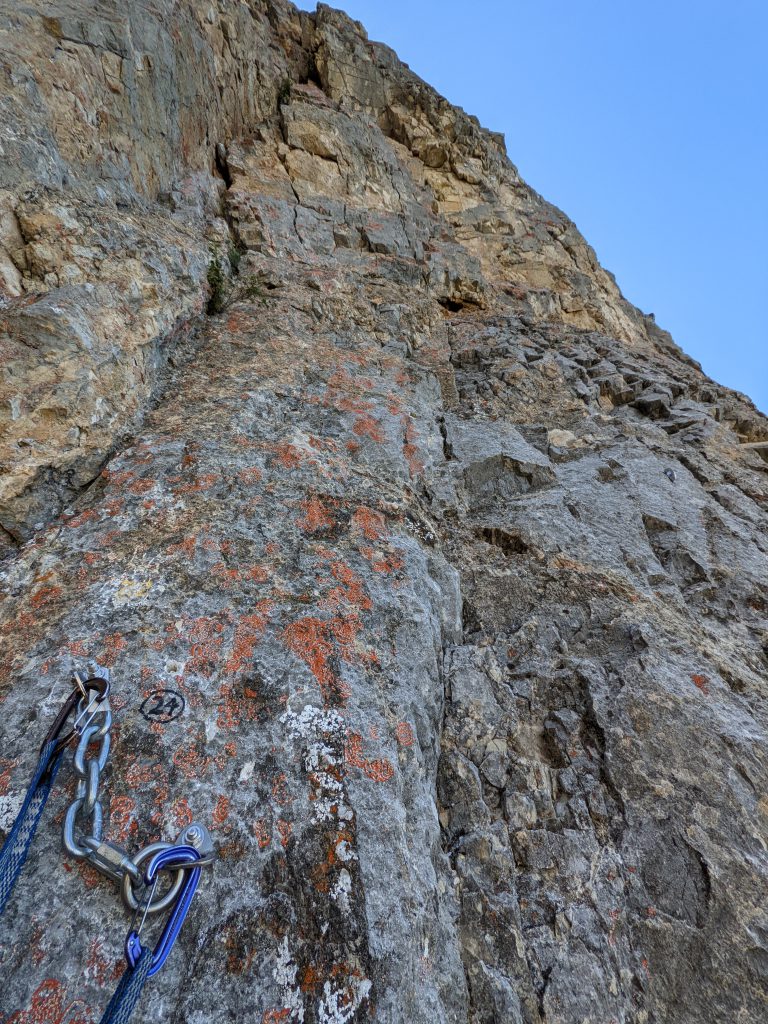
24. 5.10d, 28m (12 bolts) Climb up 2-bolts, then traverse right back toward the insanely exposed south face. Head up a shallow, grey corner feature on the apex of the west and south faces. A cruxy sequence leads around up into the shallow corner. Fun, exposed climbing leads straight above to belay at a small stance. Bolted belay/rap station.

25. 5.9, 12m (3 bolts) Climb up on grey slab. The wall steepens as you enter a finger crack. Traverse left into an orange scree trough above to a good belay stance. Bolted belay/rap station.

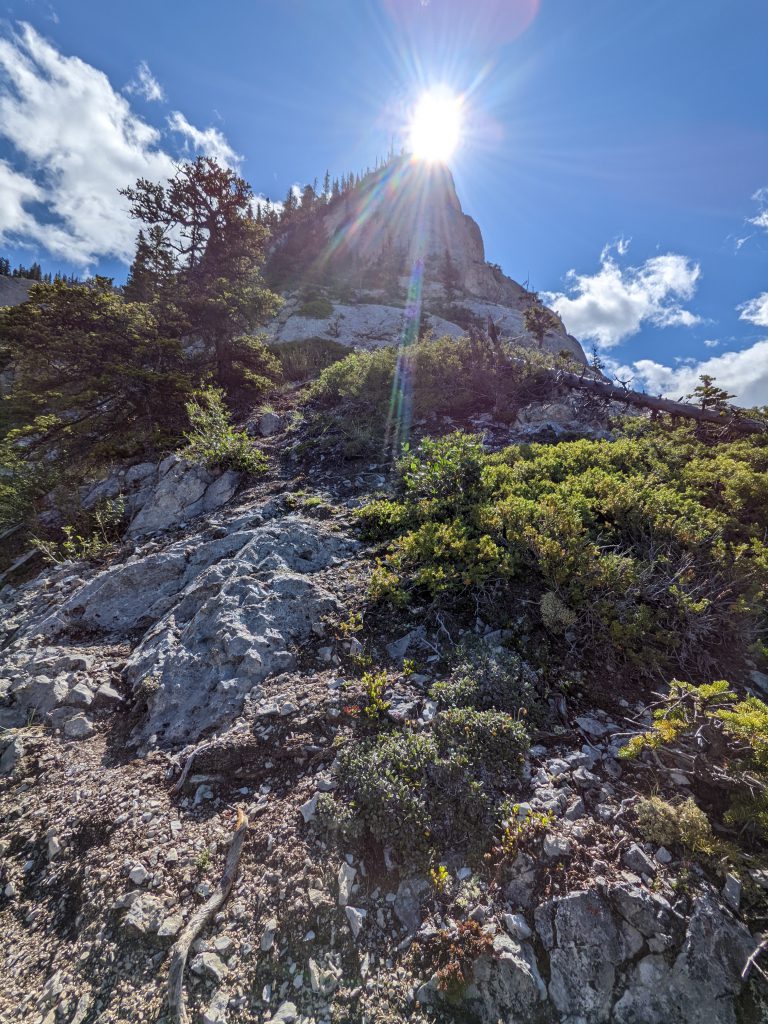
26. 5.4, 28m (4 bolts) You are now on the final ridge section. Room to bivi here. Scramble straight up the ridge surmounting a small step to belay beside a dead tree. Bolted belay/rap station.

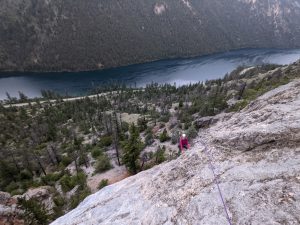
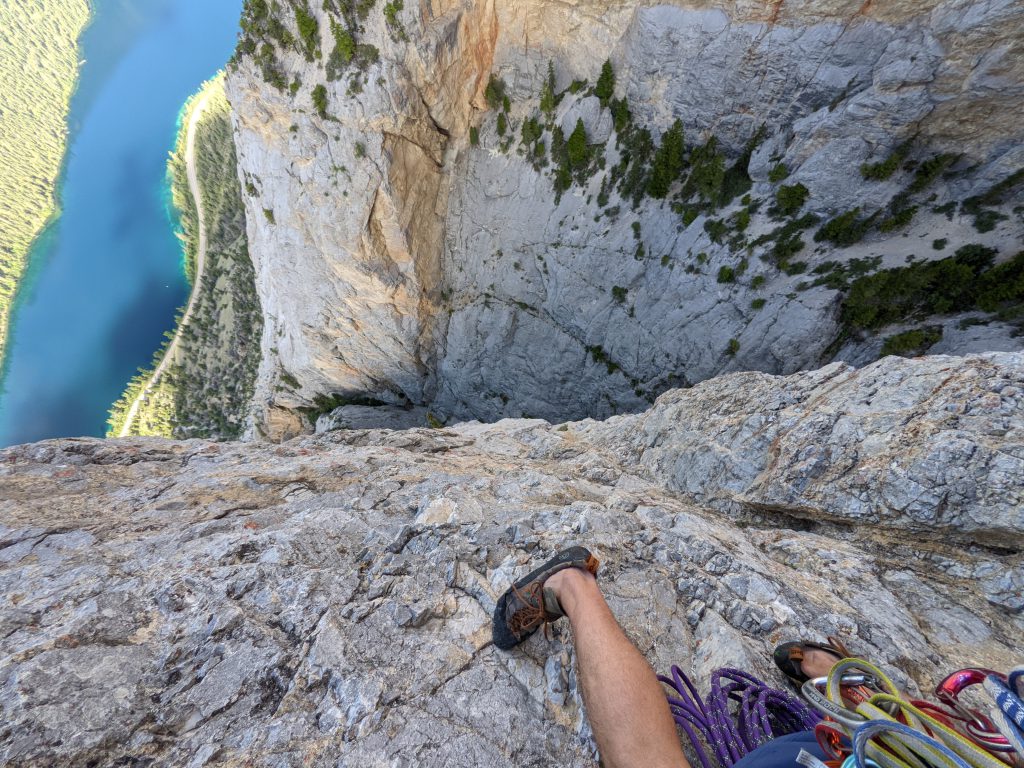
27. 5.7, 33m (7 bolts) “Edge Of Time” Fun climbing leads up excellent grey flowstone in a very exposed position near the edge of the south face. Near the top, scramble leftward up a scree slope to belay on a small ledge near the “blow hole”. The blowhole is a wild natural rock hole dropping all the way down Main Wall. Bolted belay/rap station.
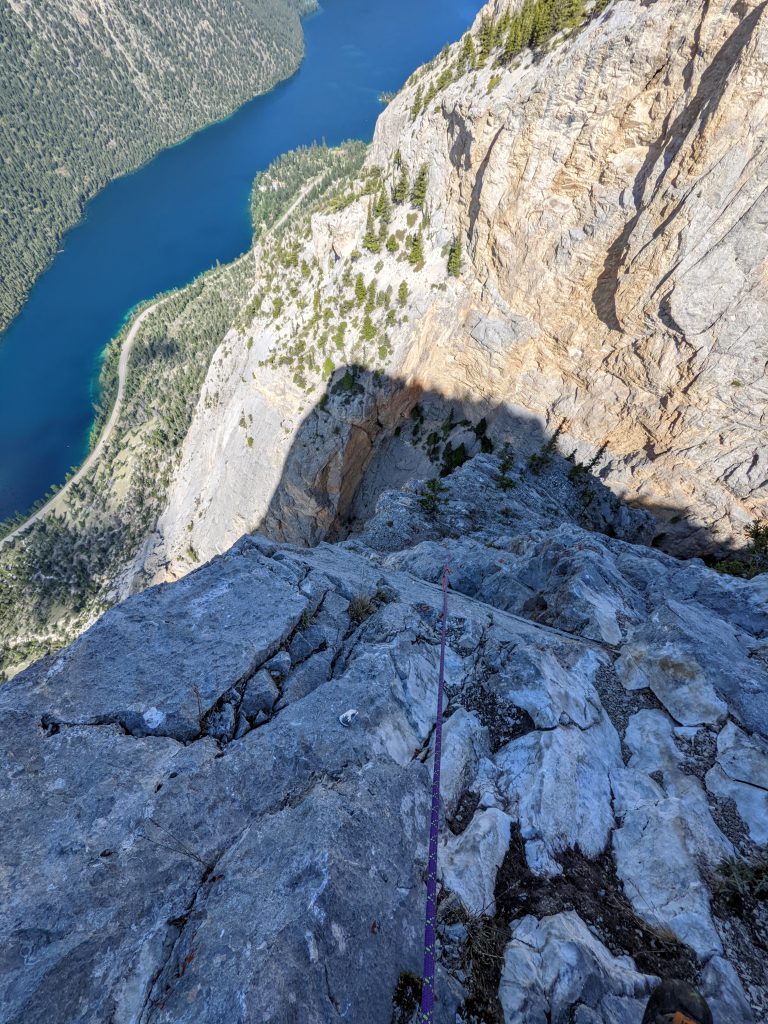
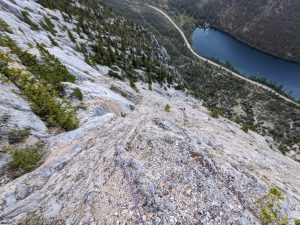
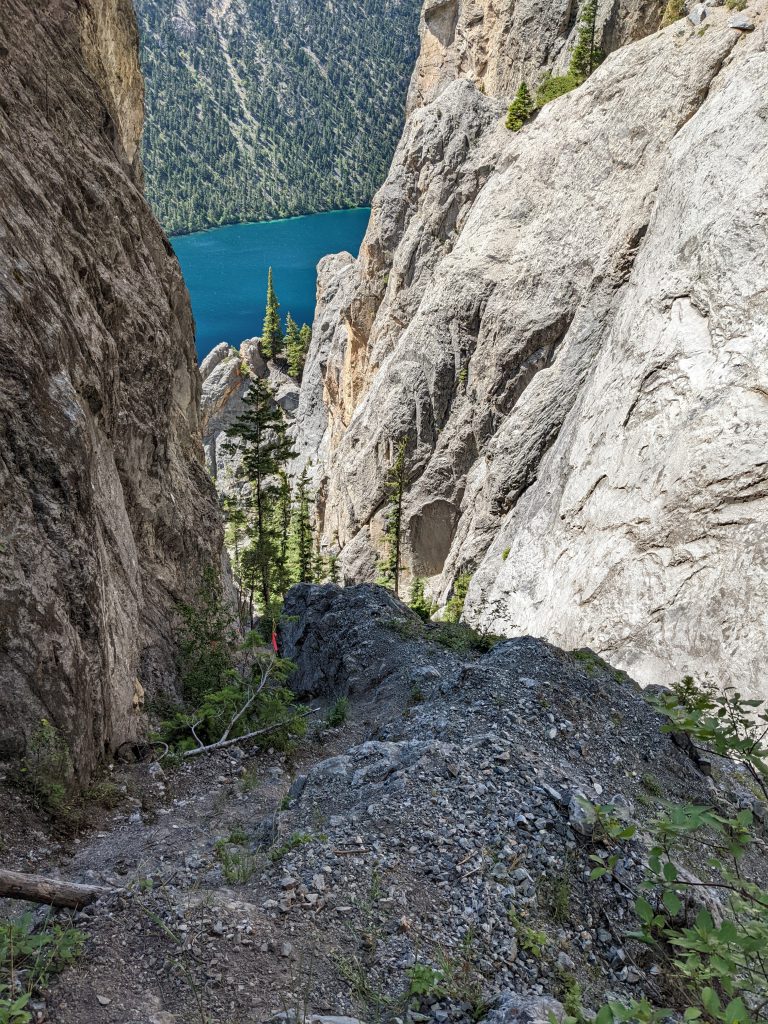
Looking down midway up P27 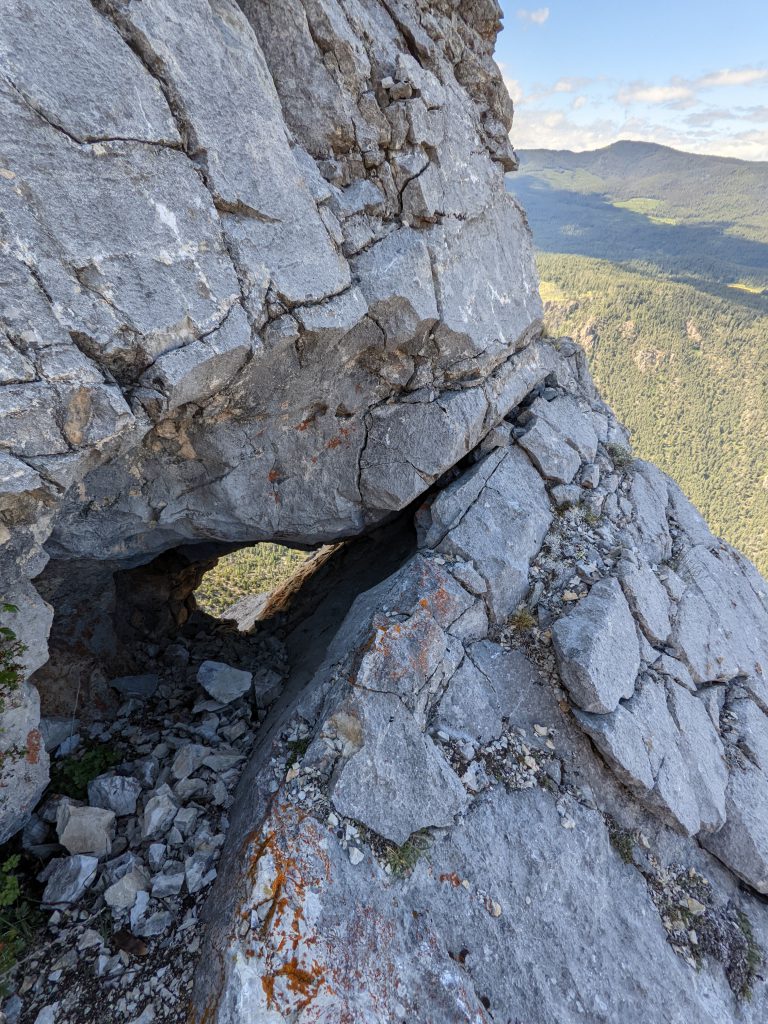
Arch at top of P27
28. 5.9, 31m (9 bolts) The “Blow Hole pitch” Angle up leftward to the middle of the steep face. Straight up, surmounting a small overlap near the top. Scramble easy broken slab to belay right of small trees. Bolted belay/rap station.

29. 3rd, 50m (no bolts) Scramble up the ridge, wrapping right above a tree to a small belay ledge. Bolted belay/rap station.

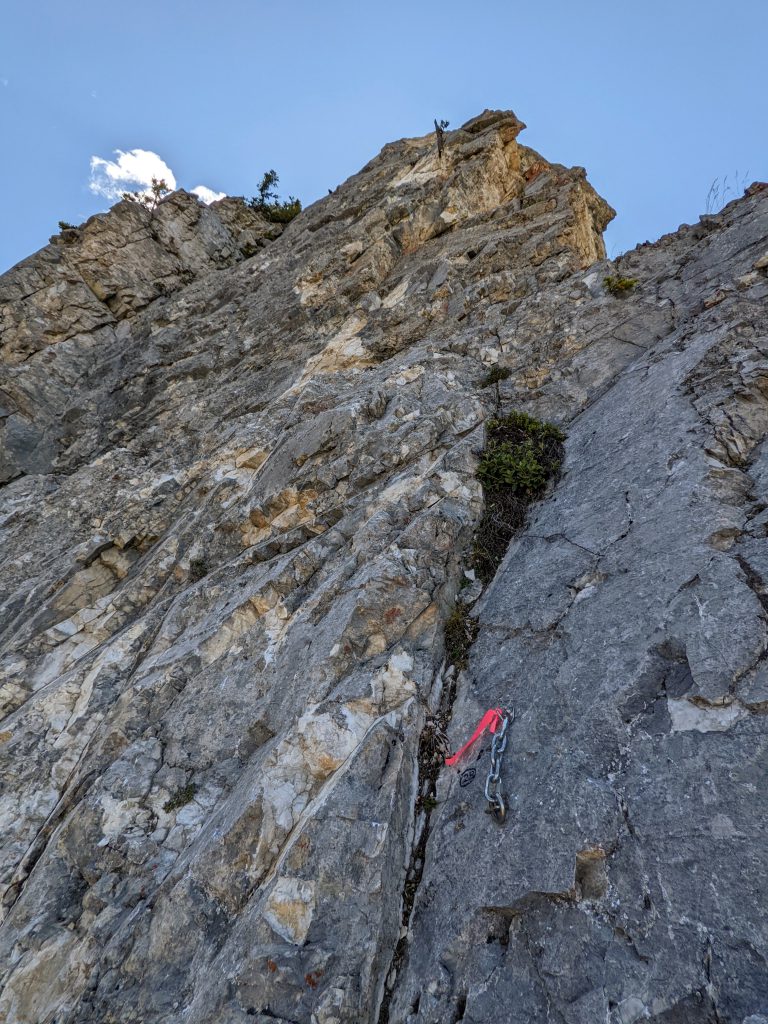
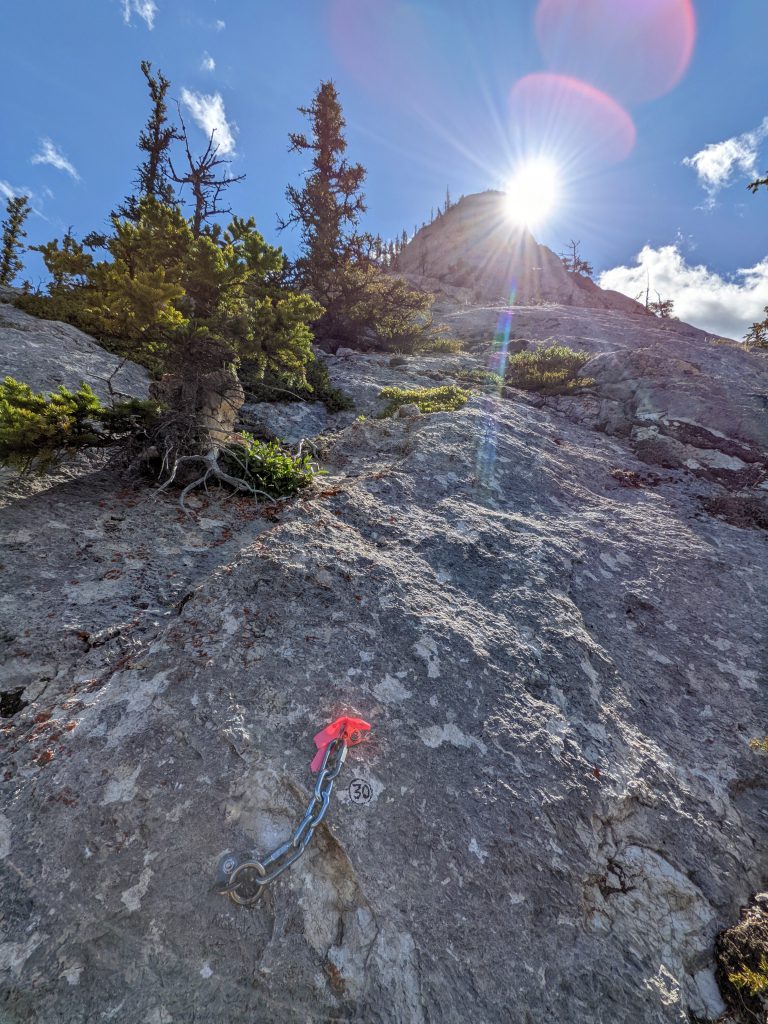
30. 5.6, 33m (6 bolts) Slab climb up rightward on excellent, grey stone to a steep, small step. Climb this, traversing right to a tree, then hard left straight up to a nice alcove belay above. Bolted belay/rap station.

31. 5.3, 33m (6 bolts) Head straight up the ridge on easy, juggy rock to a nice alcove belay. Bolted belay/rap station.


32. 5.3, 33m (4 bolts) Continue straight up the ridge on juggy stone. The angle eases as you reach the base of the final steep pitch. Belay at a great ledge beside a tree. Bolted belay/rap station.

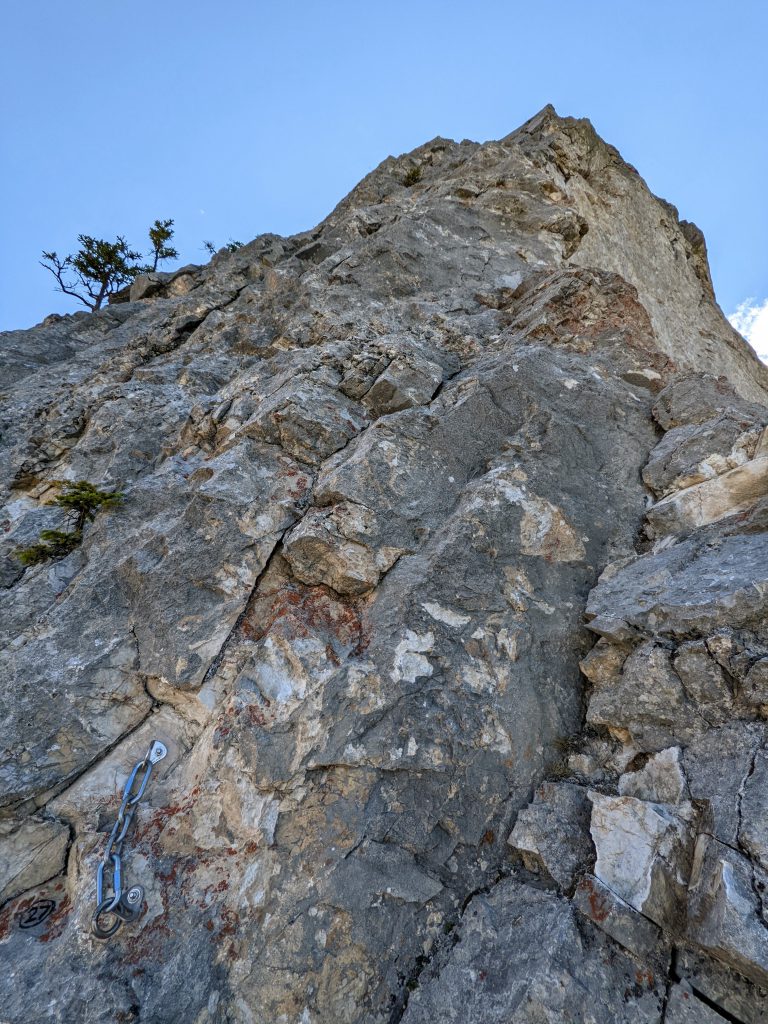
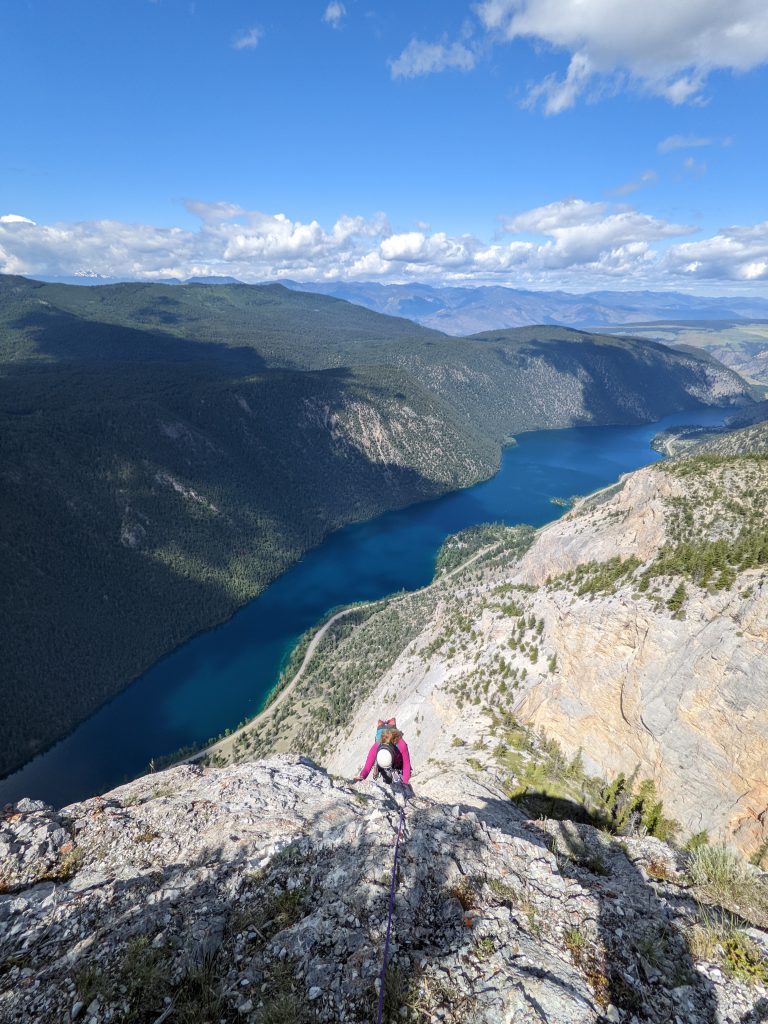
33. 5.9, 25m (8 bolts) The crowning pitch is one of the best. Steep climbing on good rock, interspersed with jugs and incredible exposure along the way, leads to the top. Enjoy the fantastic views (or stars). Bolted belay/rap station.

Top!
Descent
⭐⭐ 2 out of 4 star descent because of the section of steep loose dirt/gravel. I’d do the descent again, it’s well marked, doesn’t require rappels, etc, but I wouldn’t enjoy doing it.
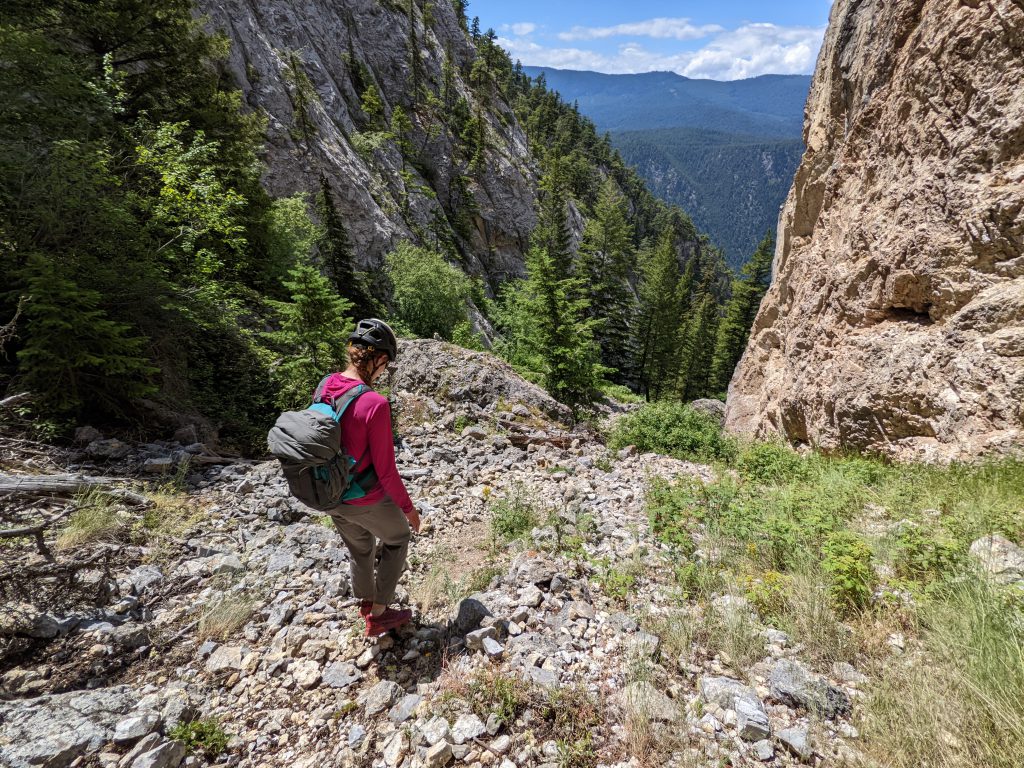
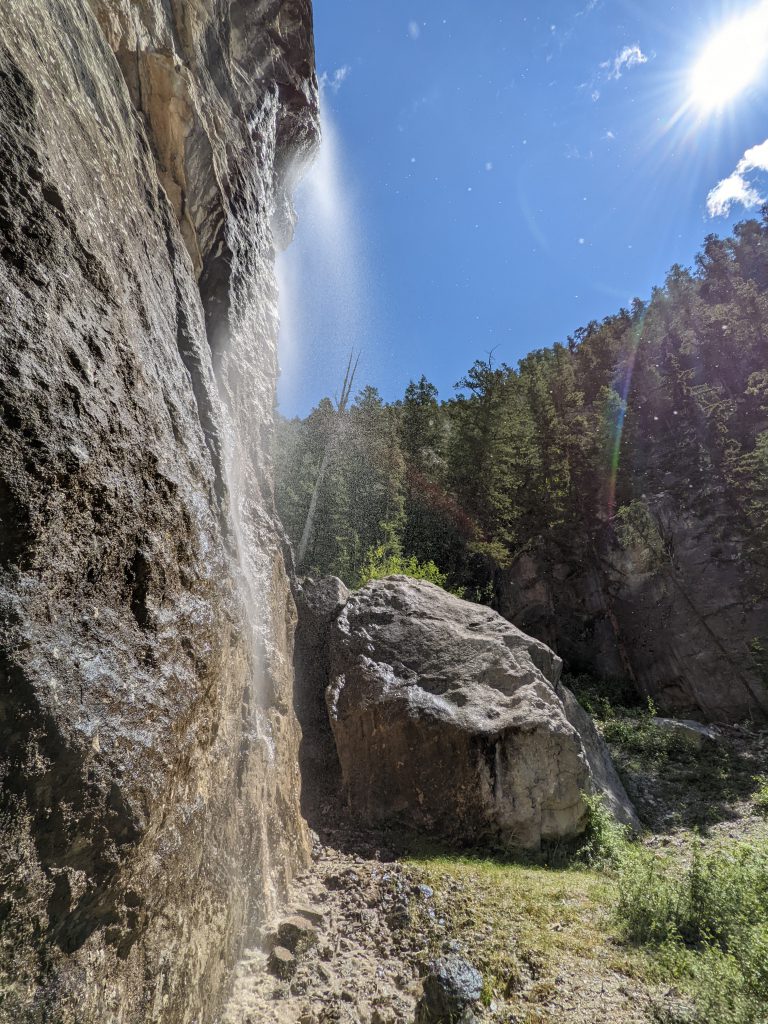
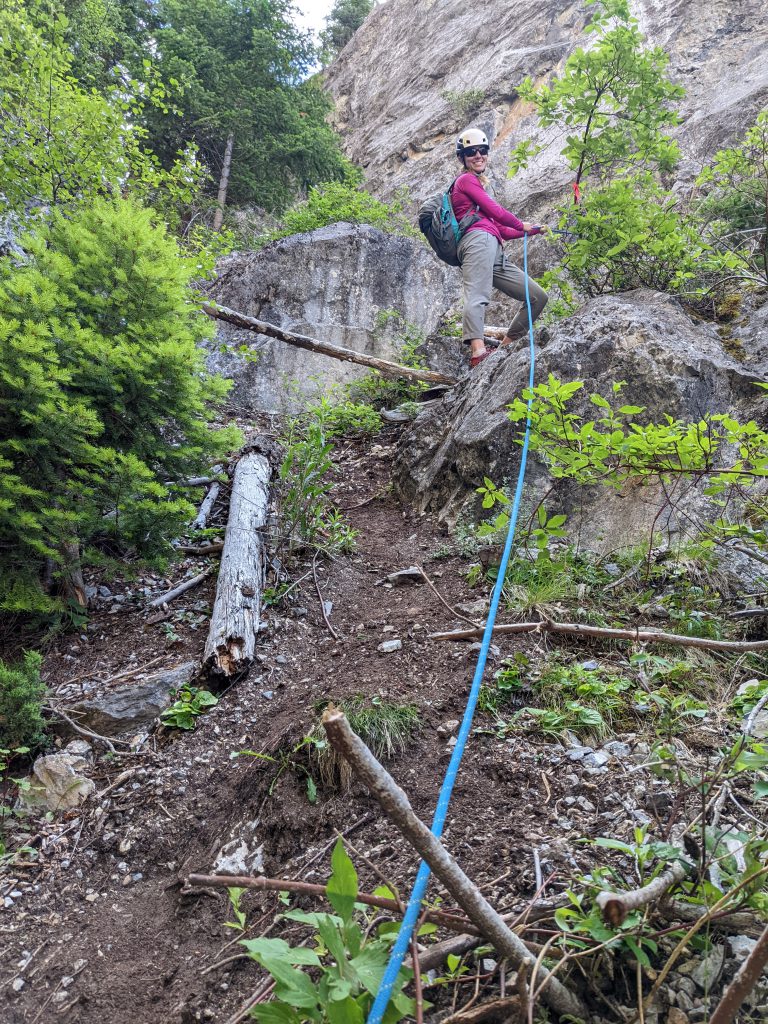
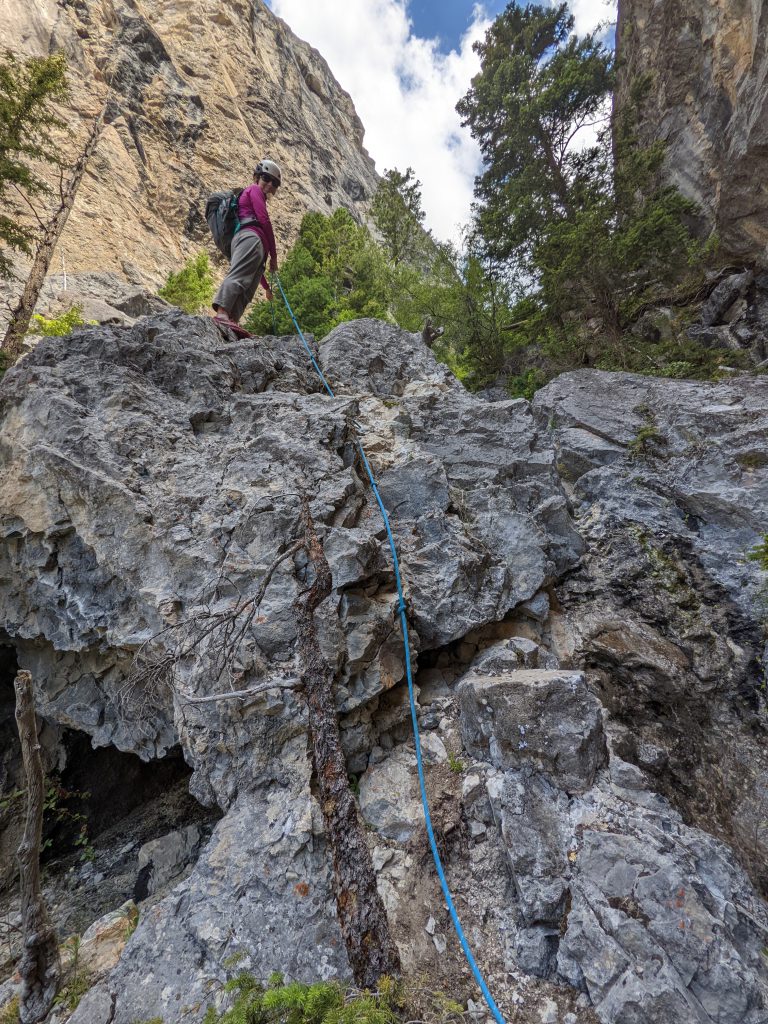
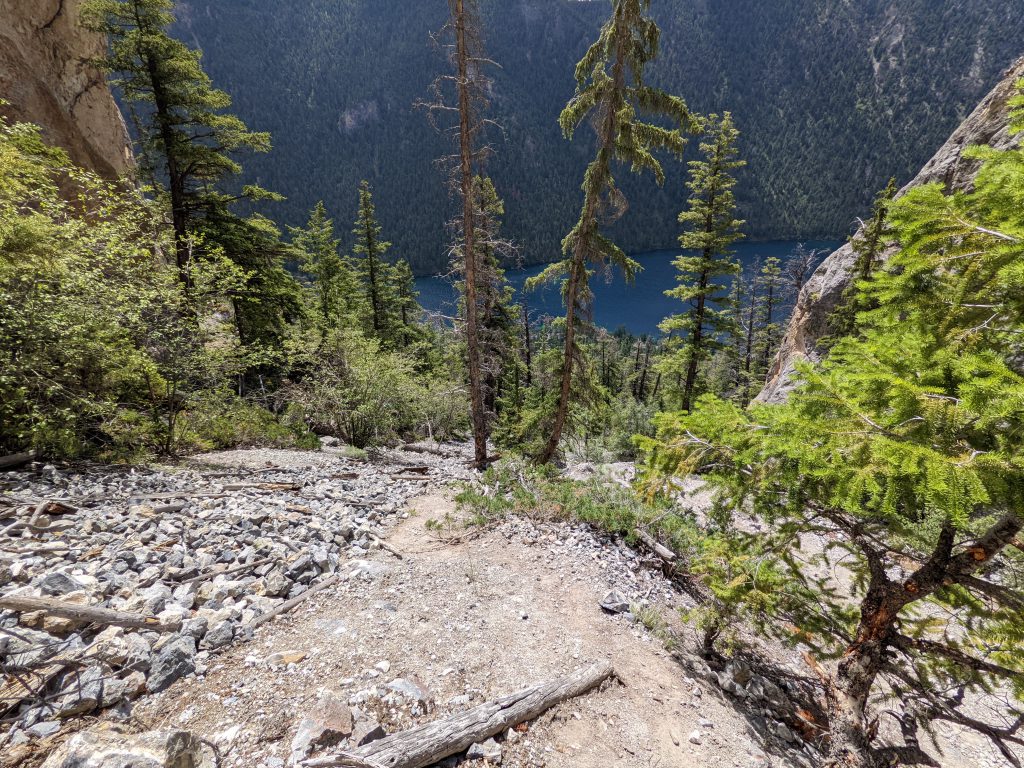
~2:20 hours for an average party. Could be 1:30 hours or less if you love going down steep gullies, or up to 3 hours if you really don’t like steep loose gullies. The “5th class section” of fixed lines also has several steep loose dirt/gravel/rock sections where a slide wouldn’t be fun. At a slow pace, there’s about 30 minutes of teeth clenching descending on steep loose terrain (starts soon after the waterfall).
From the top of the climb, continue straight up 10 meters and then find the obvious trail with the tree markers heading slightly left. Follow the well marked trail uphill for about 7 mins, and then follow it as it traverses left (North) through slightly downhill terrain for 10 mins until you’re on the north side of the Great Gully. Follow the well marked trail steadily downhill through this gully for about 90 mins. You’ll encounter the waterfall halfway down, and then encounter the fixed lines and steep loose terrain. Finally, 30 mins of trail down to the road and car!
Reports
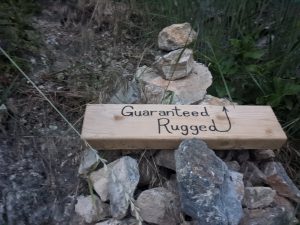
Guaranteed Rugged 2022
We did it! 33 pitches in 6 hours and 10 minutes! And it was EASY! Everything was super fun and good except for the descent, really hated that steep loose gully where it was really bad for a 30 min section of the gully. WHY TO DO IT: 3,500 ft of pure climbing! You don’t…