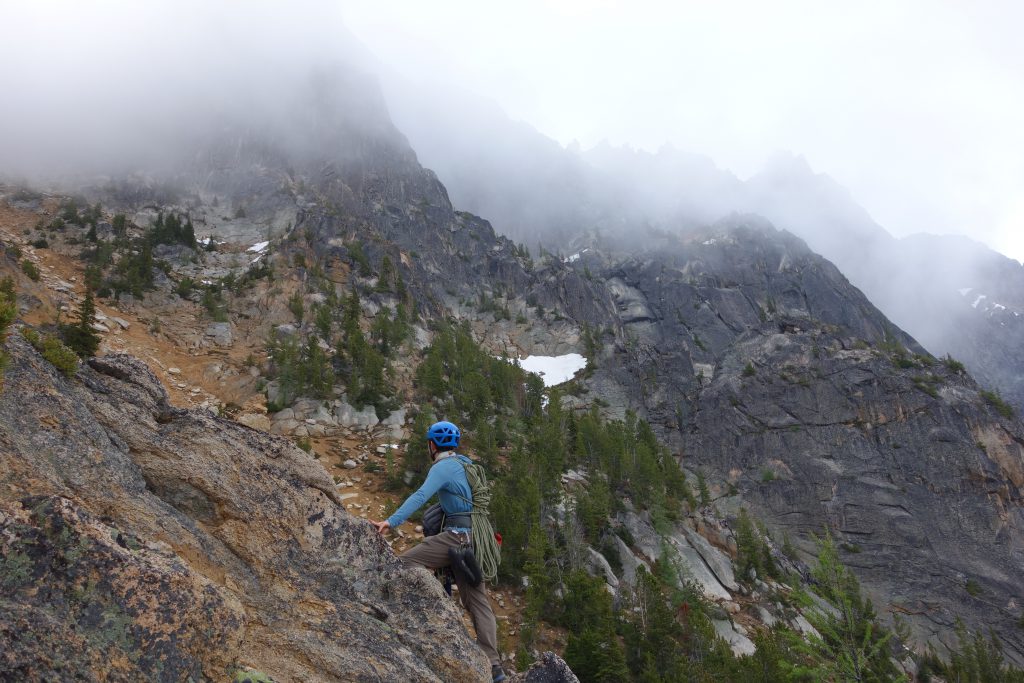
Approach: at head toward Burgundy Col, at 7,650ft traverse down toward the start of the route. Sounds like some a steep gully that can be a little sketchy, start of route can be hard to find. “The start of the route is located at 48.553059,-120.594153 (elevation 7448′), uphill from the large notch on the ridge.”
Approach
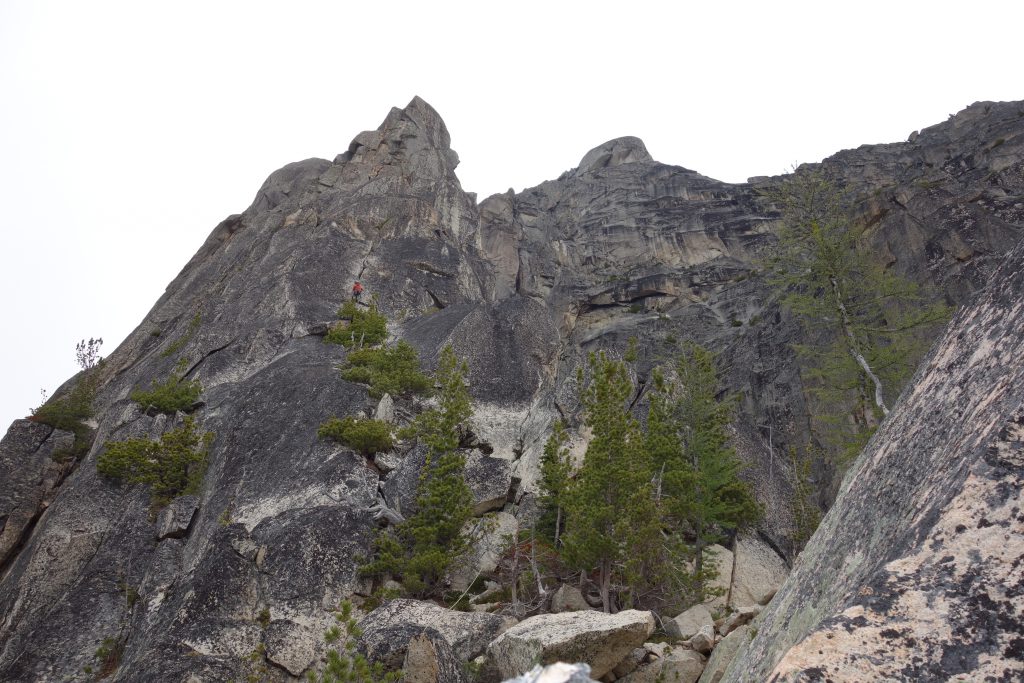
The start of the climb is just to the right of the snow patch in the center of the photo. 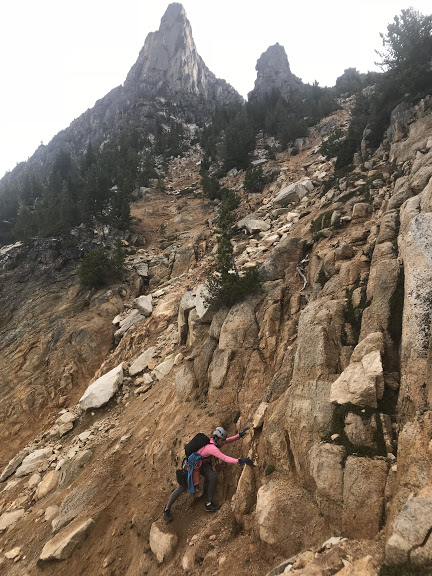
Pitch 1 – 2


The first two pitches are tree battling mixed with quality rock. First pitch is 125′, start by following a white streaked S-shaped crack up past a tree, about halfway up there are a few face moves of 5.8+.
Pitch 2 – 5.7, 160-200′
Pitch 2 is 160′ mostly 3rd class climbing with little 5.7, 200′.
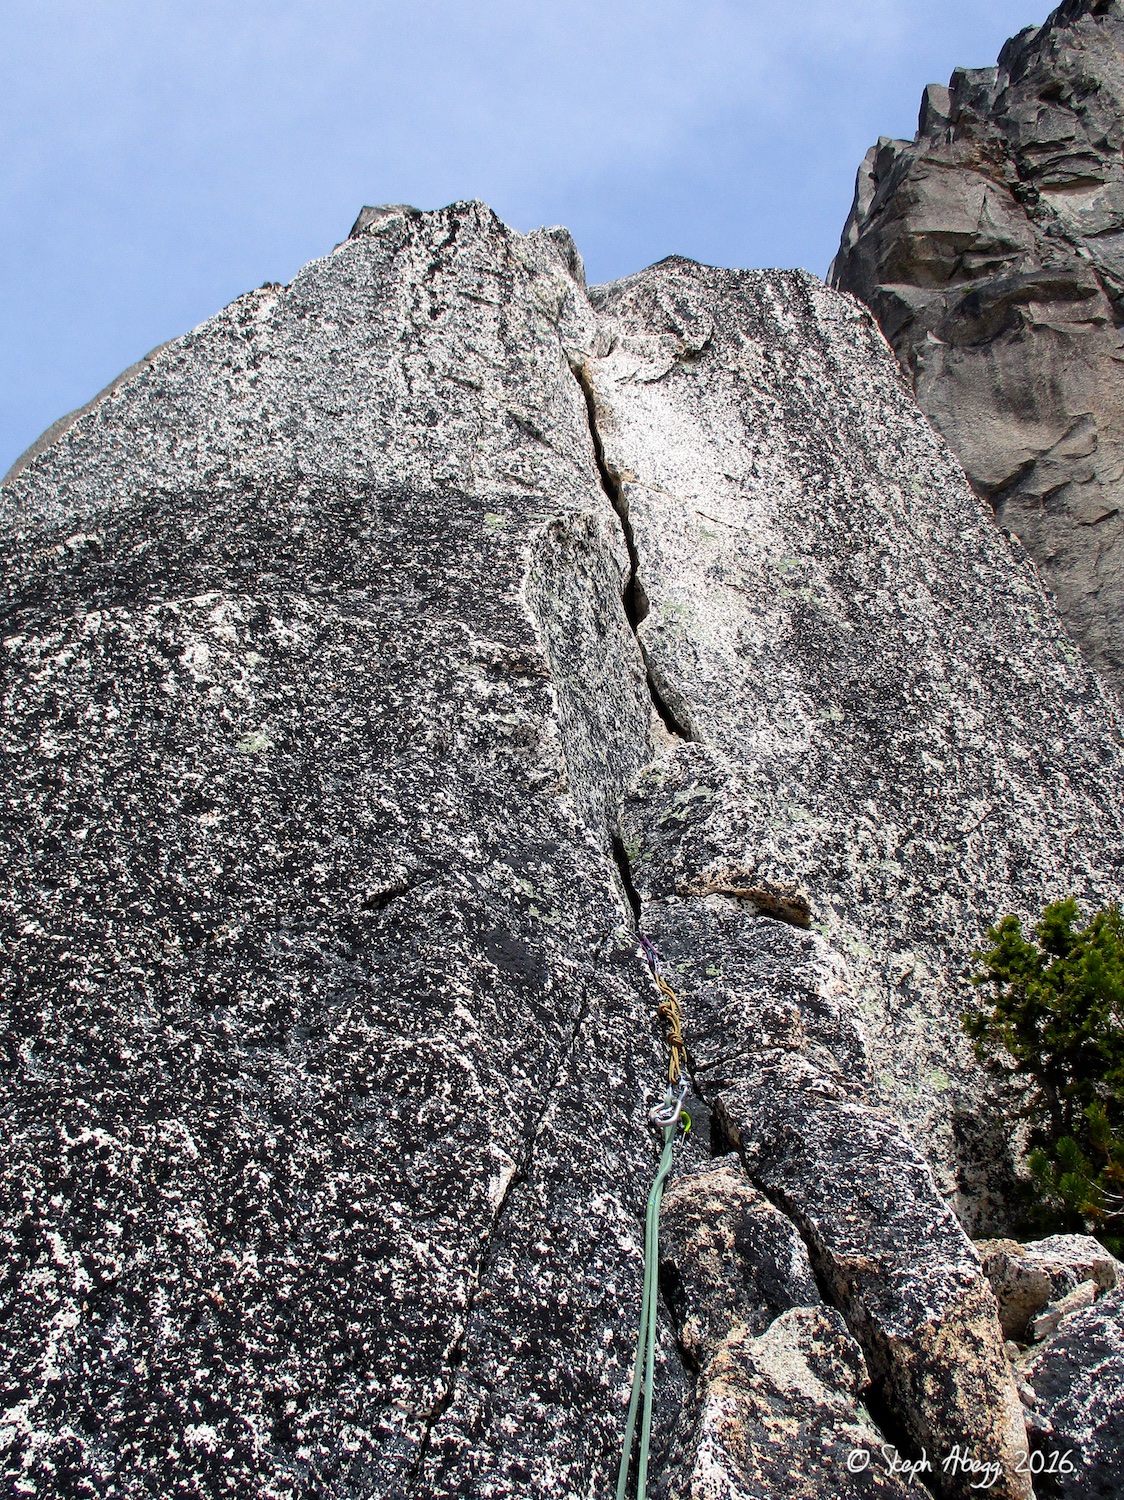
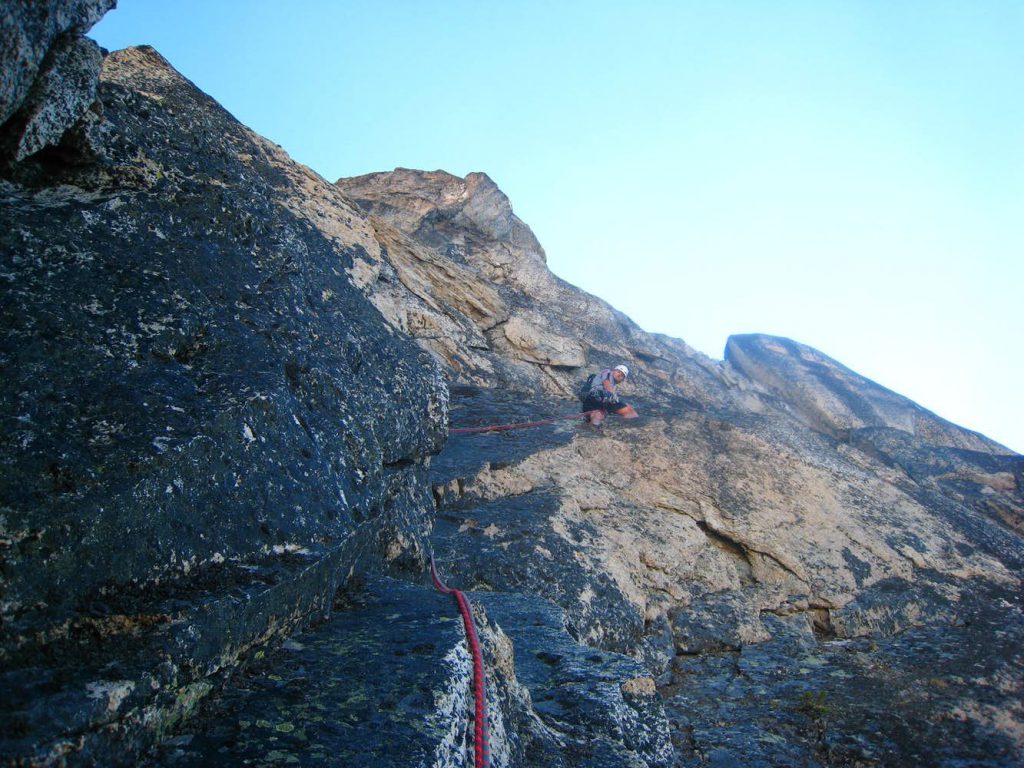
Pitch 3 – 5.7
Sustained 5.7-5.8 crack on excellent rock.
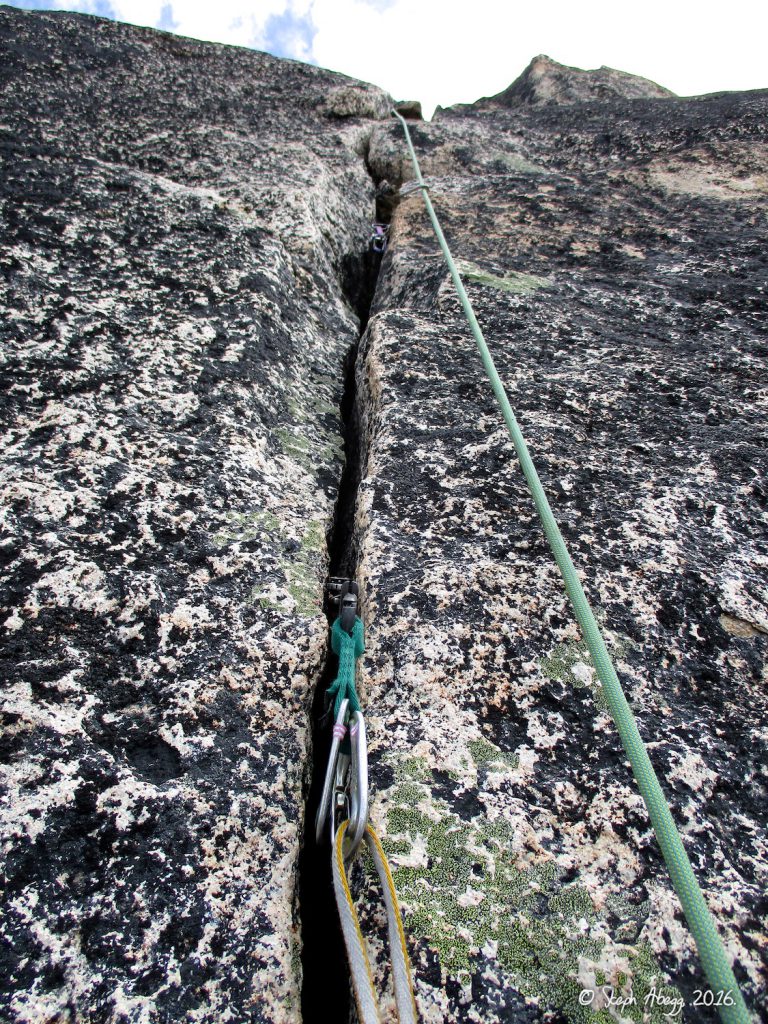
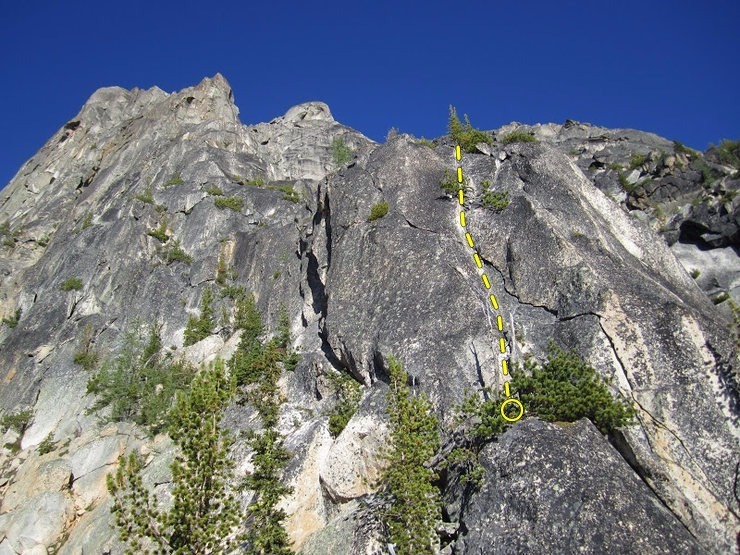
Pitch 3 of West Ridge of Paisano Pinnacle. 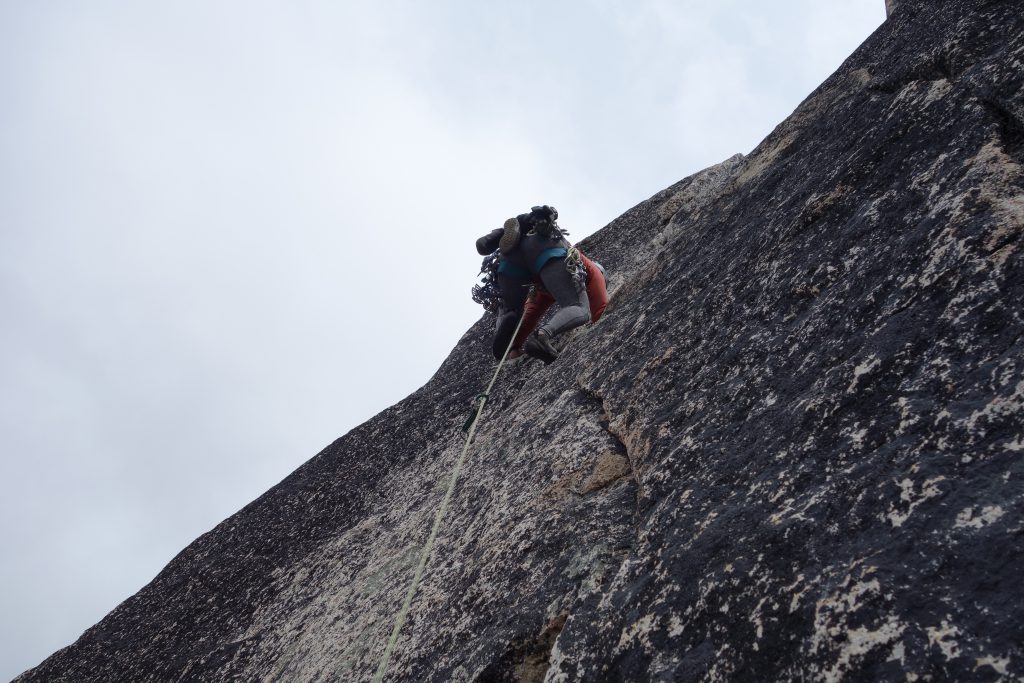
Starting up P3
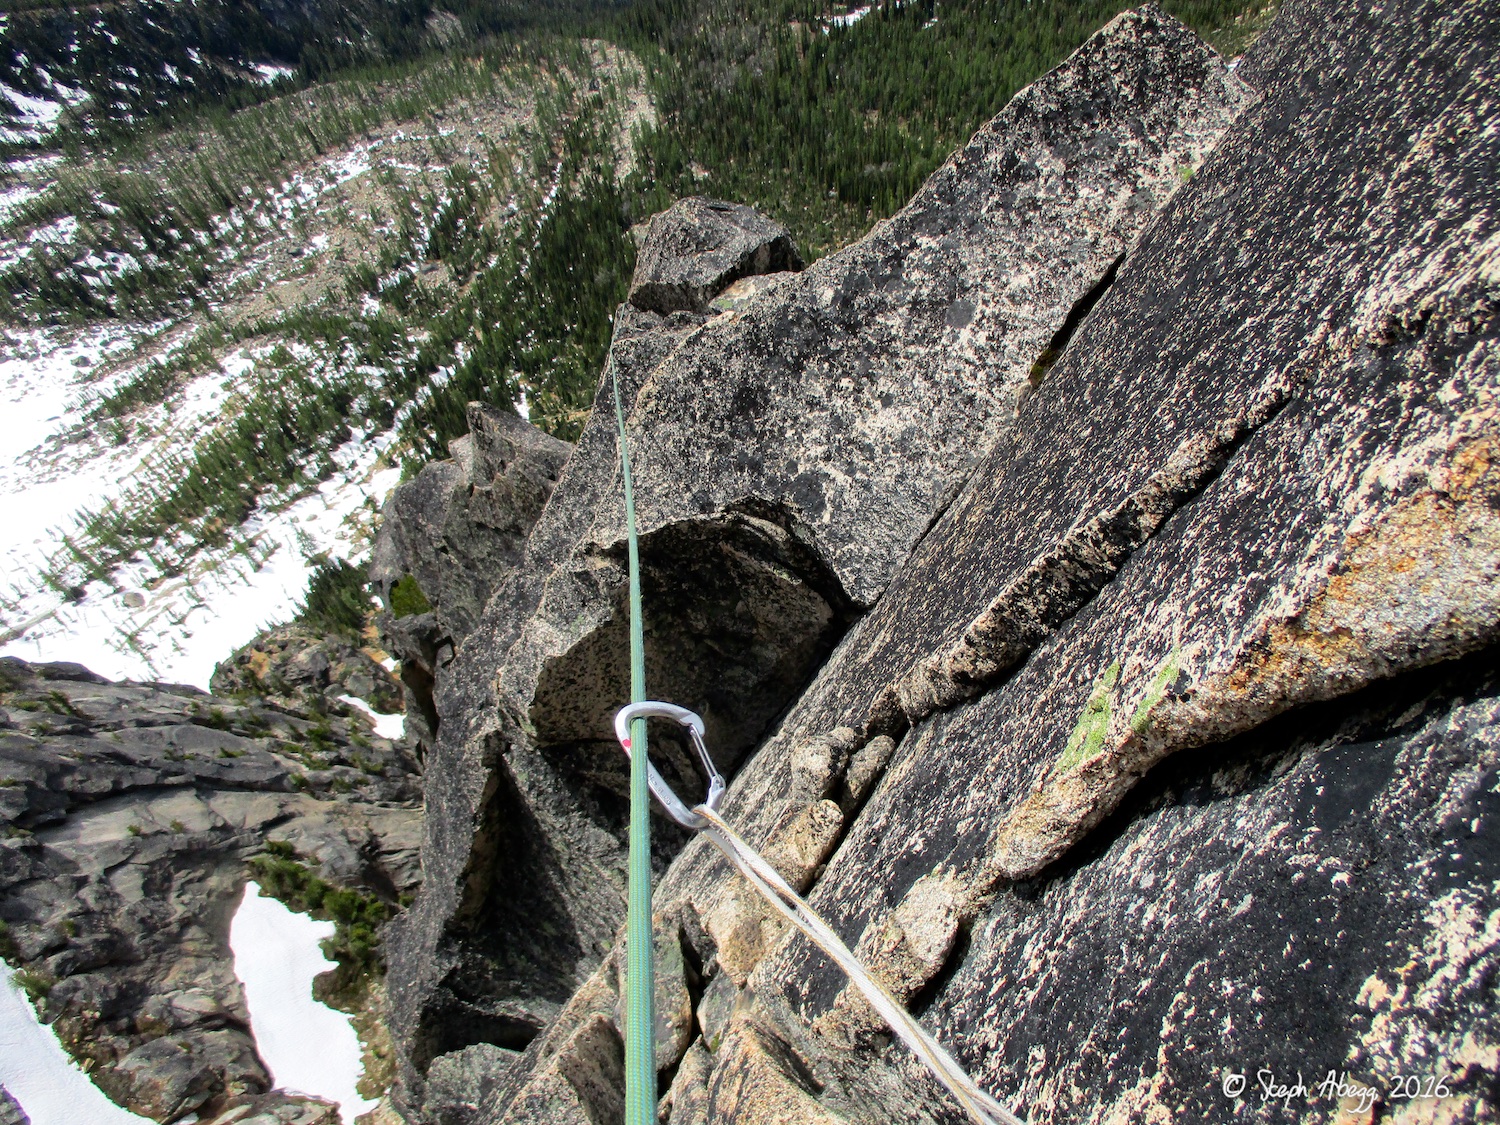
Pitch 4 – 5.8+/5.9-
First crux pitch. Awkward pair of steep double cracks, can be pumpy but there are some good rests. After the cracks and above the dihedral you’ll see horns, from there leave the ridge and traverse to climbers left to a ledge out on the face with a tree, belay here 125′.
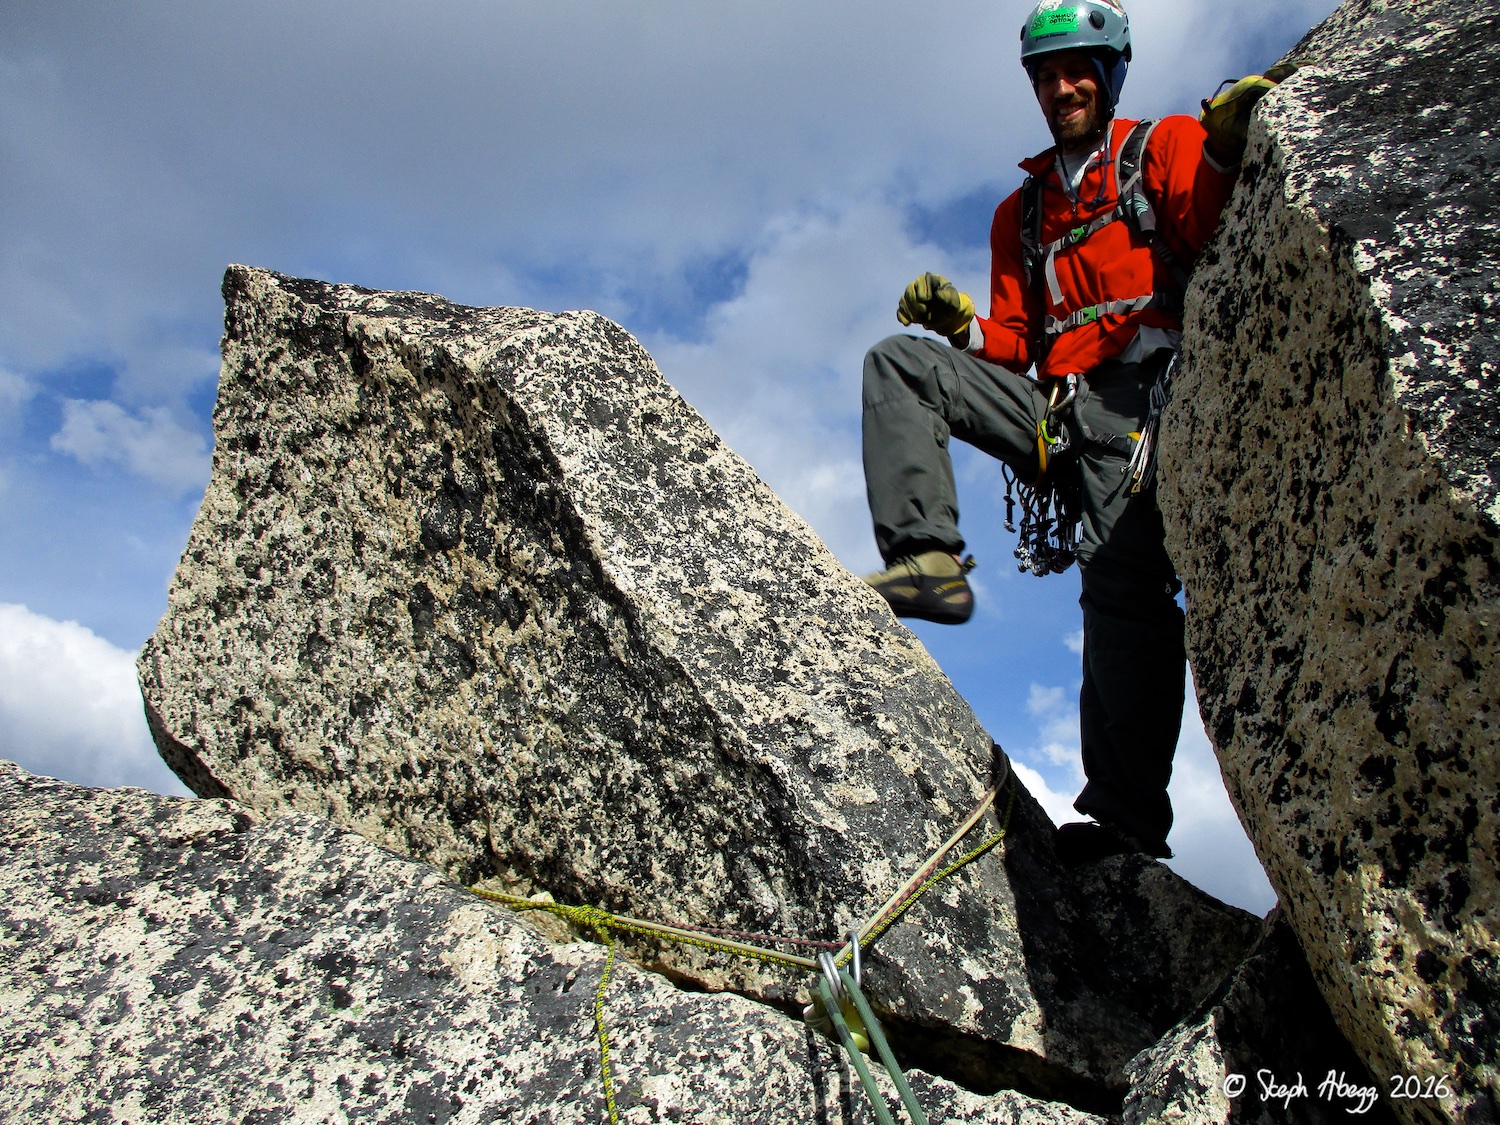
Pitch 4, Crux 5.9 pitch. 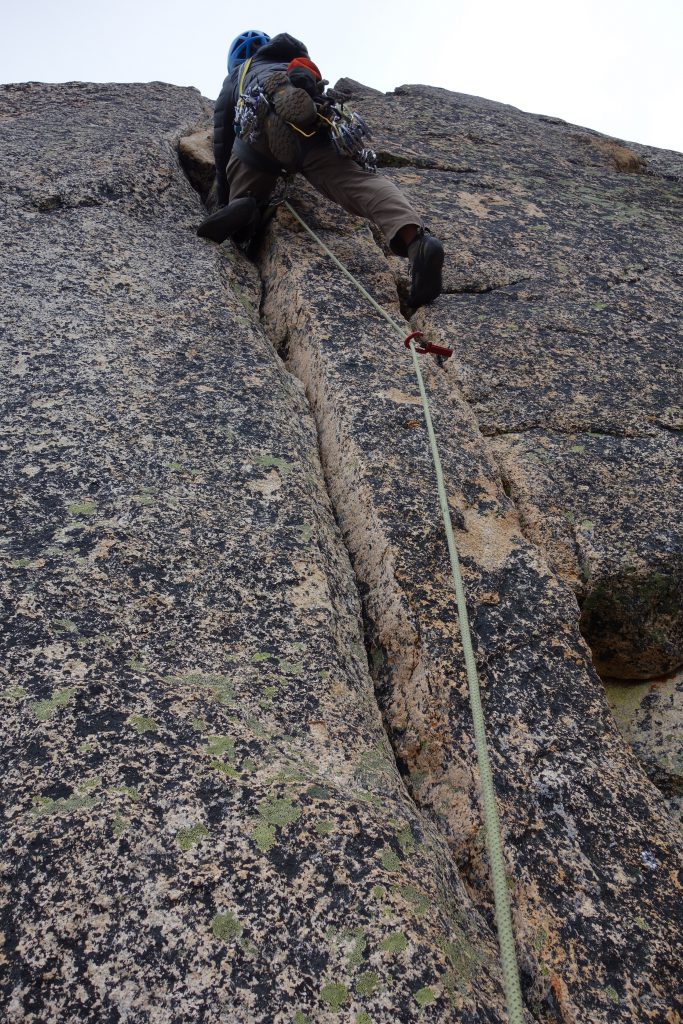
Sam following the double cracks of Pitch 4.
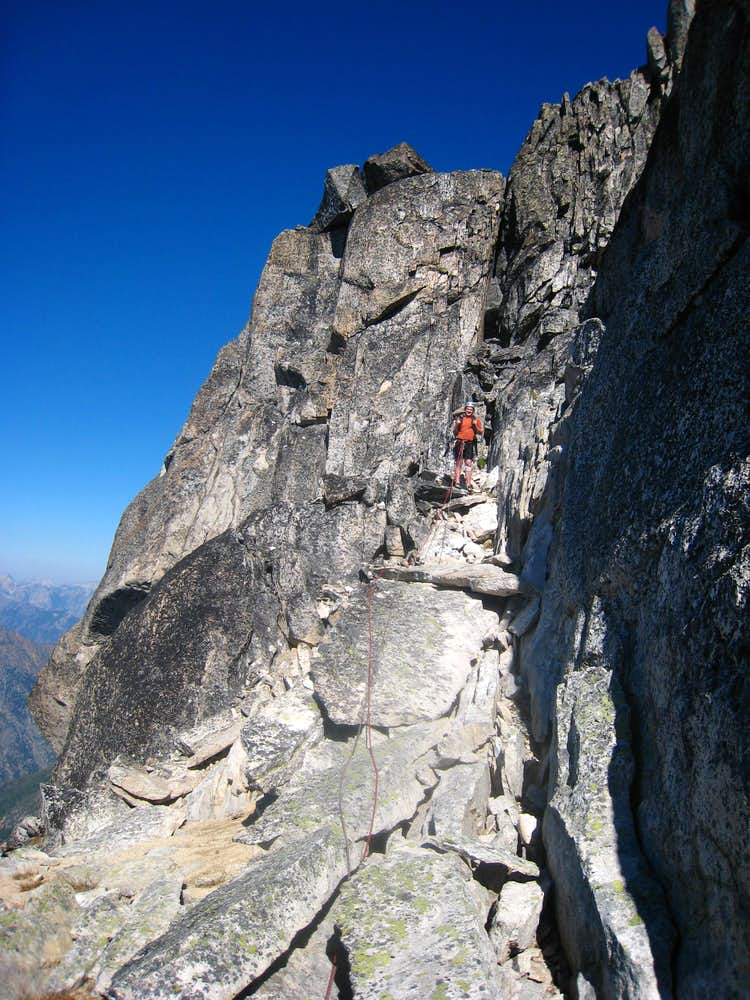
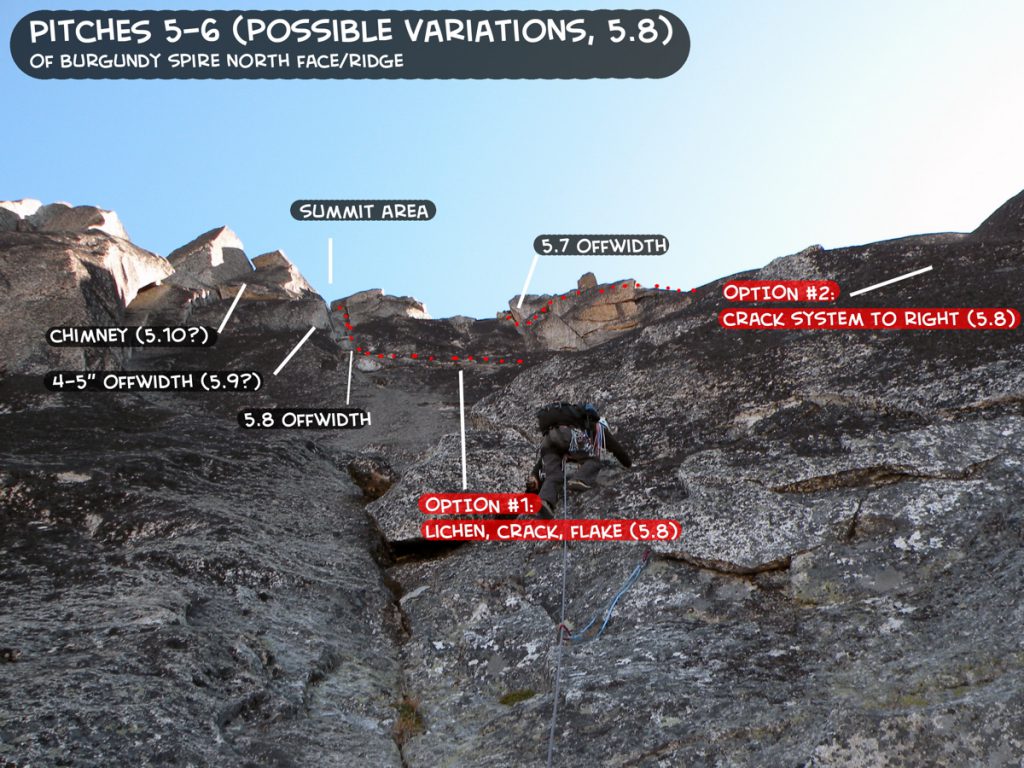
Pitch 5 – 5.8+
Second crux, most difficult. Two main options.
Option 1: start with a short and funky 4th class traverse, rope drag potential.
Option 2: starts hard but quickly eases, have to hunt a little for pro but they say there’s enough to keep it from being runout.
80′ pitch.
Pitch 6 – 5.6
Ascend a mostly 4th class ridge until a step with a 5.6 splitter crack. Above this step is a small gendarme in the ridge. Make an easy but exposed traverse on the right (south) side of it. Some 5th class climbing leads to the belay. 165′ pitch. Watch rope drag.
Pitch 7 – 5.7
Steming that goes up double 5.7 cracks for 100ft to belay.
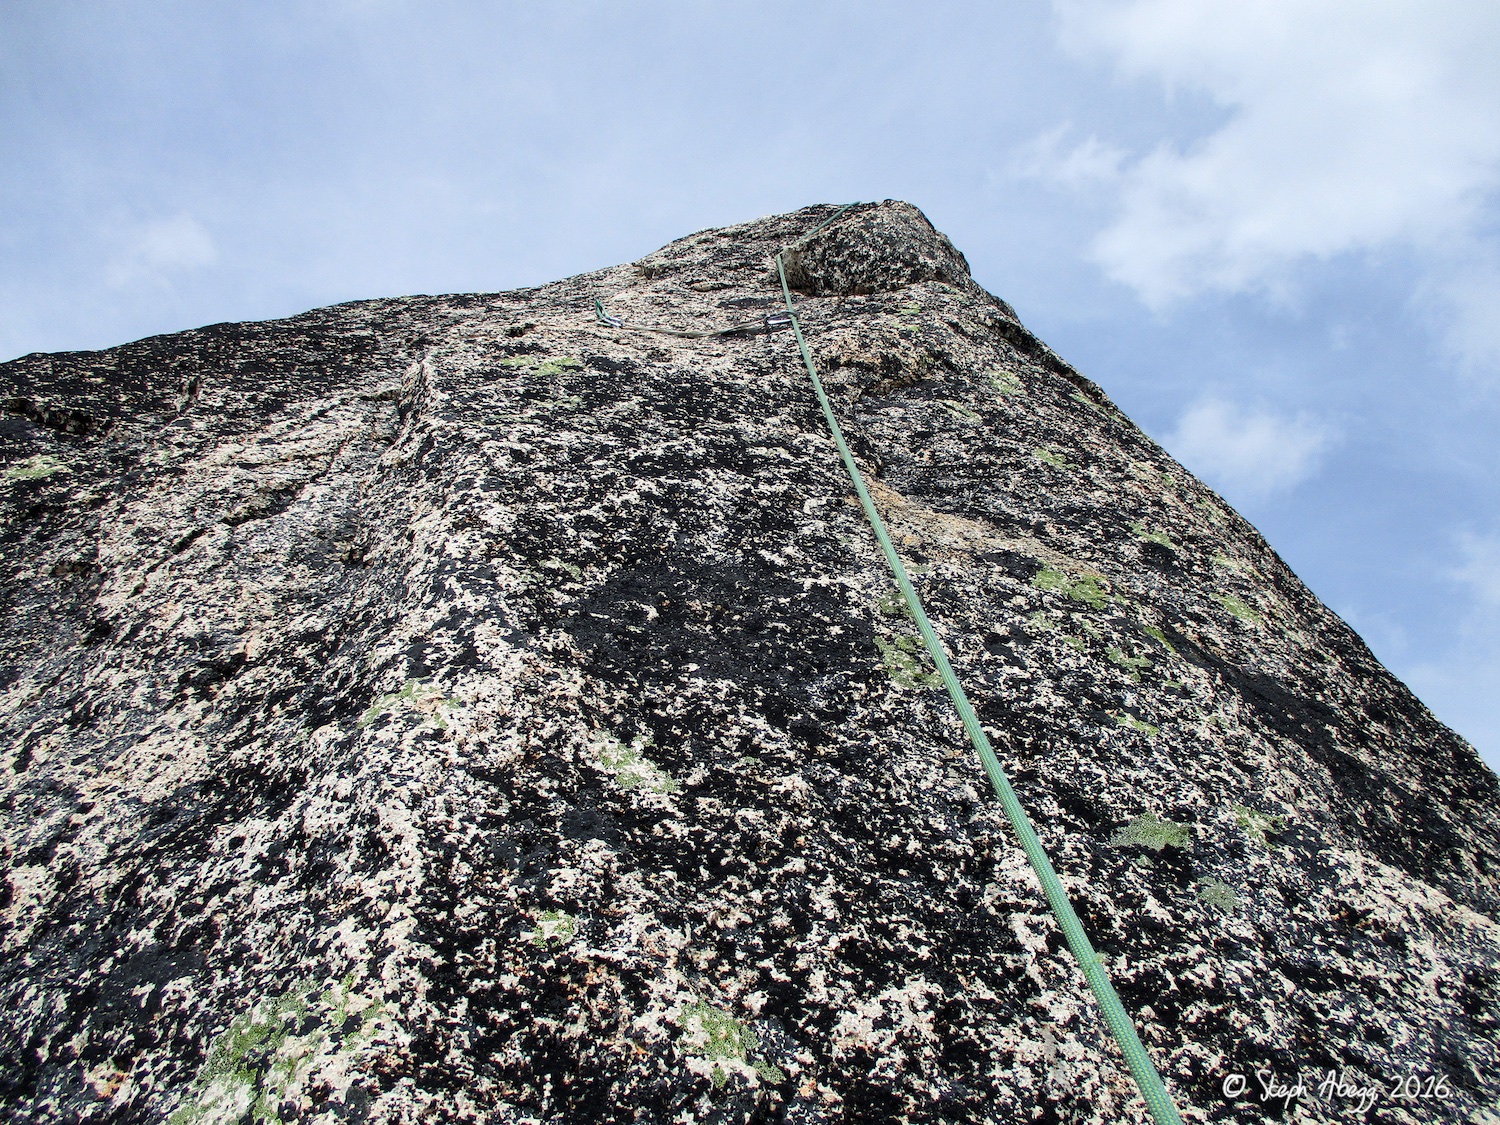
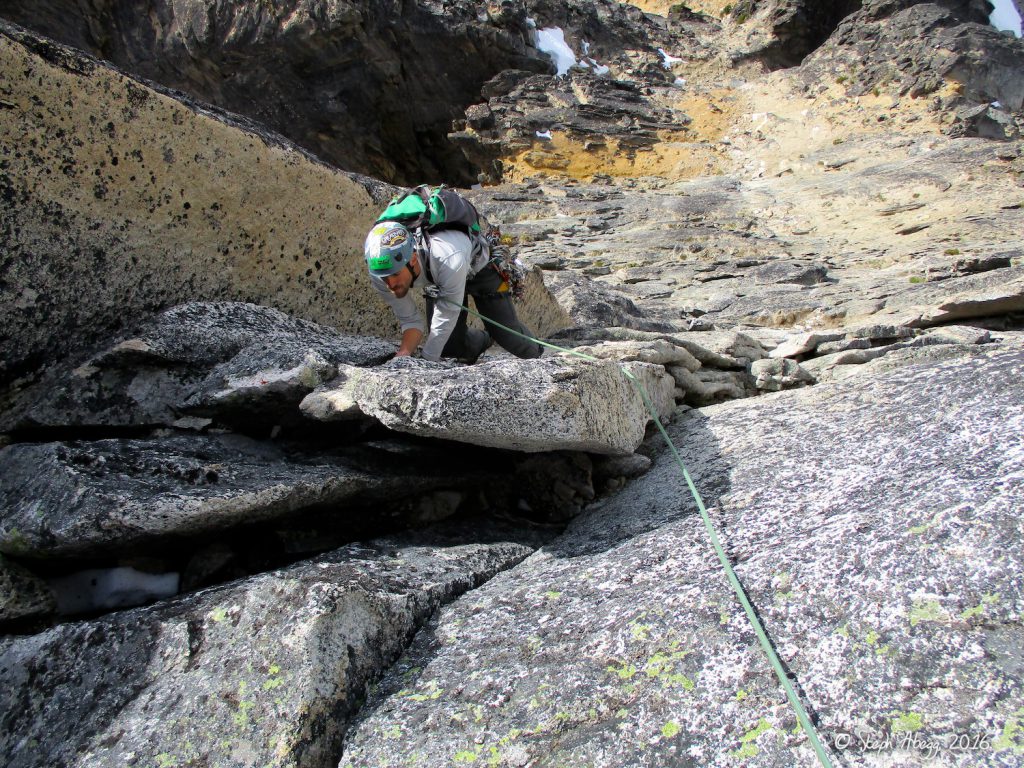
Pitch 8 – 5.8
Mental crux, climb a widening crack that grows from 4 to 6 inches. Place biggest cam as high as possible with long sling so it doesnt walk. Then get to some 5.8 face climbing. Near the end of the most challenging section you might be able to get in a micro nut that may or may not do any good. One more crux move, key is to get a small hold with right hand then get other foot to just below waist level and rock up. After this is 5.6 easy climbing. 85′ pitch.

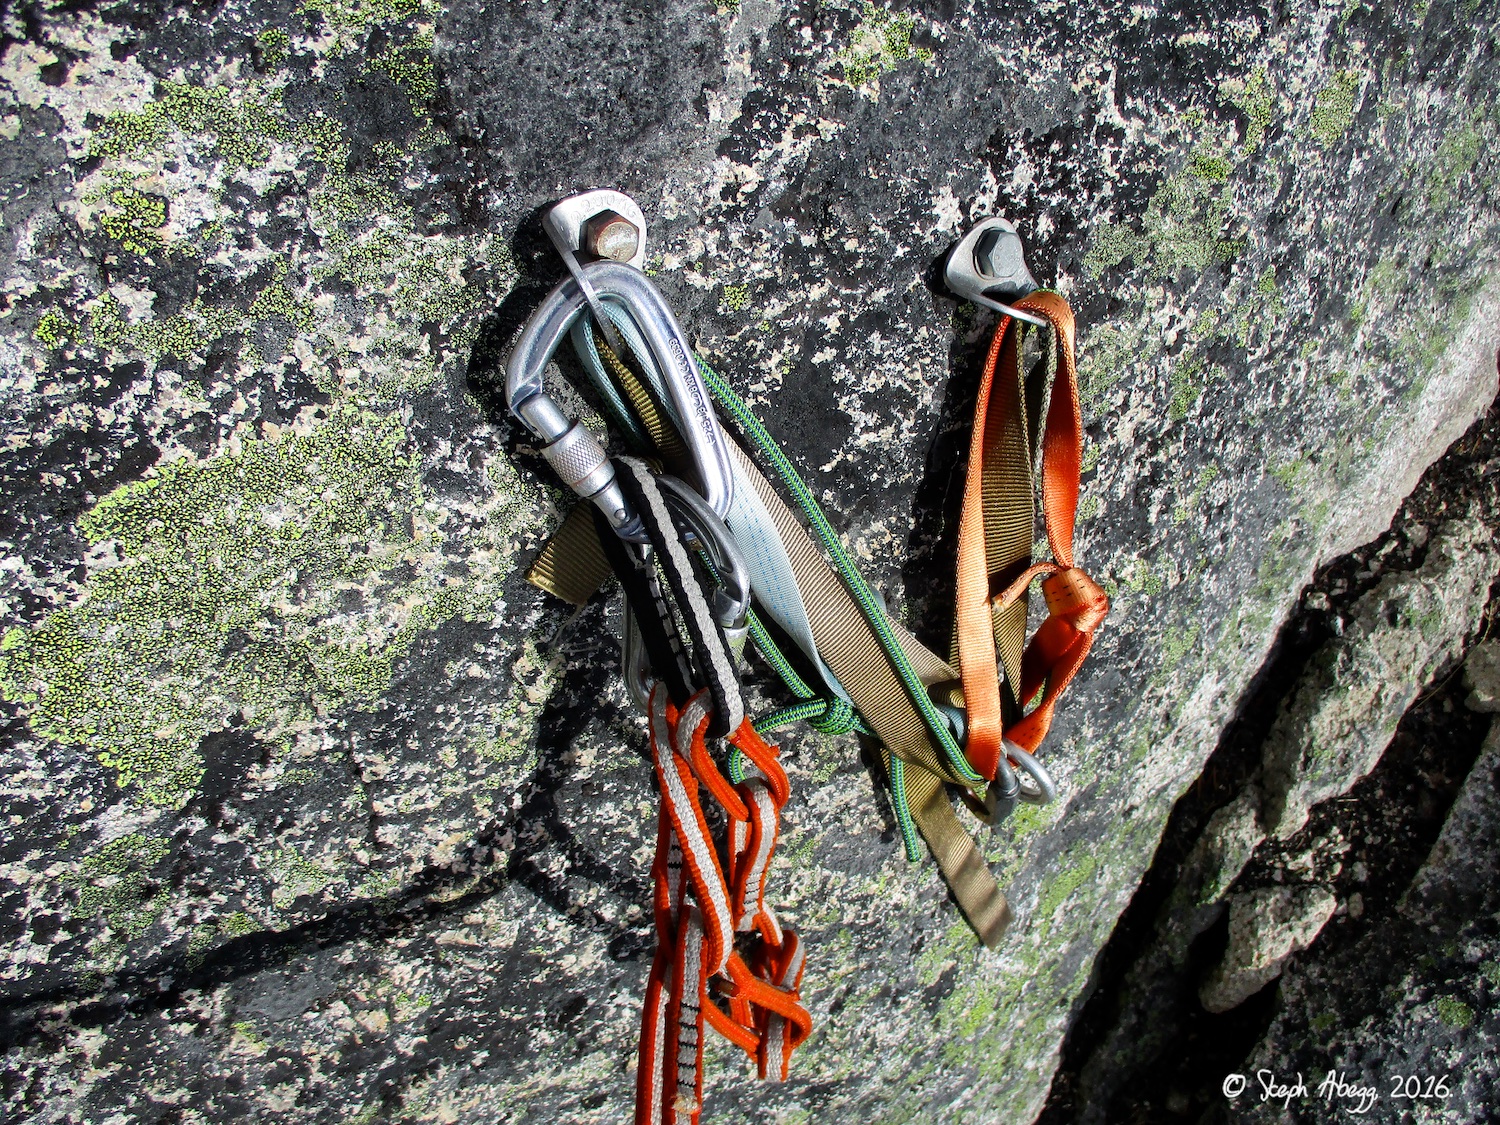
Descent from here: From the summit of Paisano, downclimb easy terrain until you’re below the NF of Burgundy. You will see rap slings on horns. Do not climb up the sub-peak north of the NF (there may be tat there, but don’t use these). Make one 30m rap down down to a ledge, downclimb to the next anchors, then make one more 20m rap down to the ground.
MP comment:20 feet of sloping steps in a gully littered with ball bearing death scree above a 100 foot drop didn’t look too inviting between rappels. Instead, on the first rap, after less than 10 meters, stay on your rope and walk left over large blocks and around a corner to find a hidden sling anchor
Burgundy Spire
Approach: “From Paisano Pinnacle, it is a hop, skip, and a jump to the start of Pitch 3 of the North Face of Burgundy Spire.” You have to descend some 4th class first.

Pitch 3 – 5.8+
Start on Pitch 3 of Burgundy North Face 140′. Many variations possible, there’s a layback.
LemkeClimbs – This pitch starts by climbing the sketchy flakes just above and veering left on a ledge to the base of a near vertical, right facing crack system. Be very careful how you grab these flakes at the base of this pitch. They are great holds but many of them are hollow and ready to break. After 40 meters, reach the near vertical dihedral and belay. Sparse pro.
P3 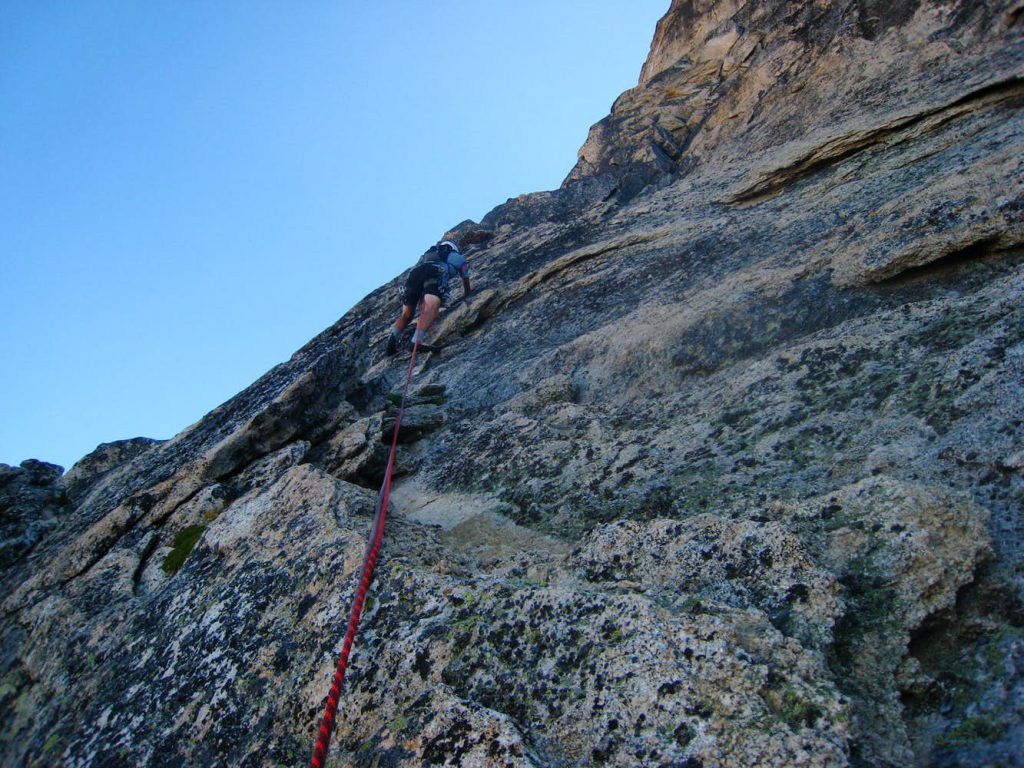
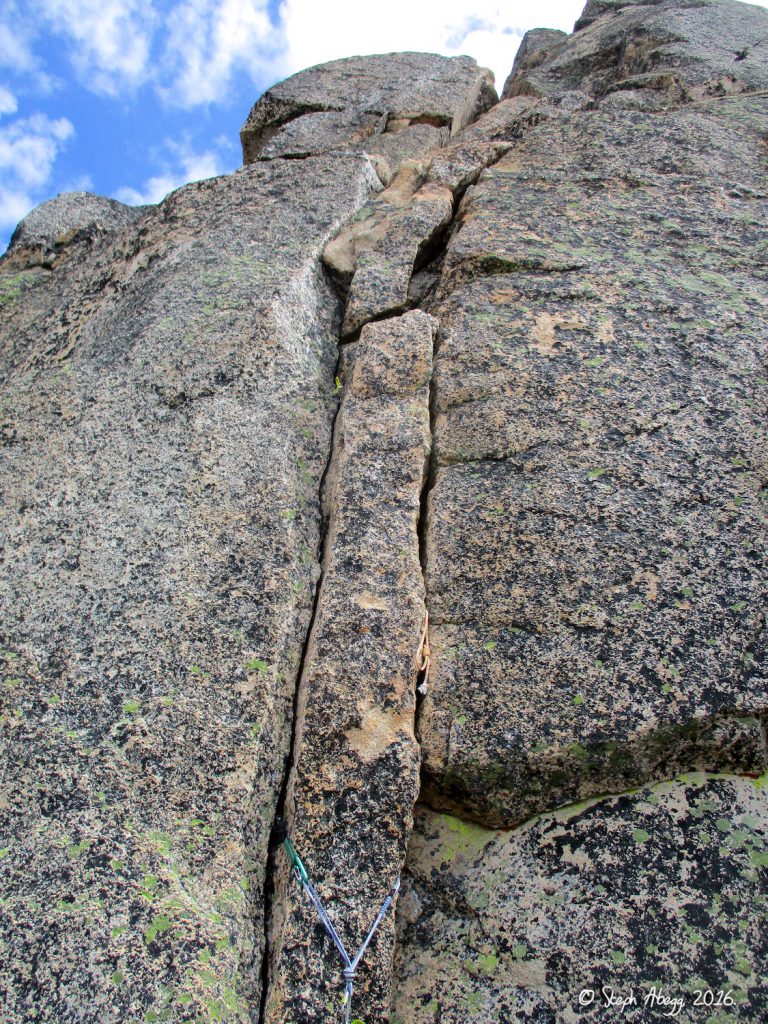
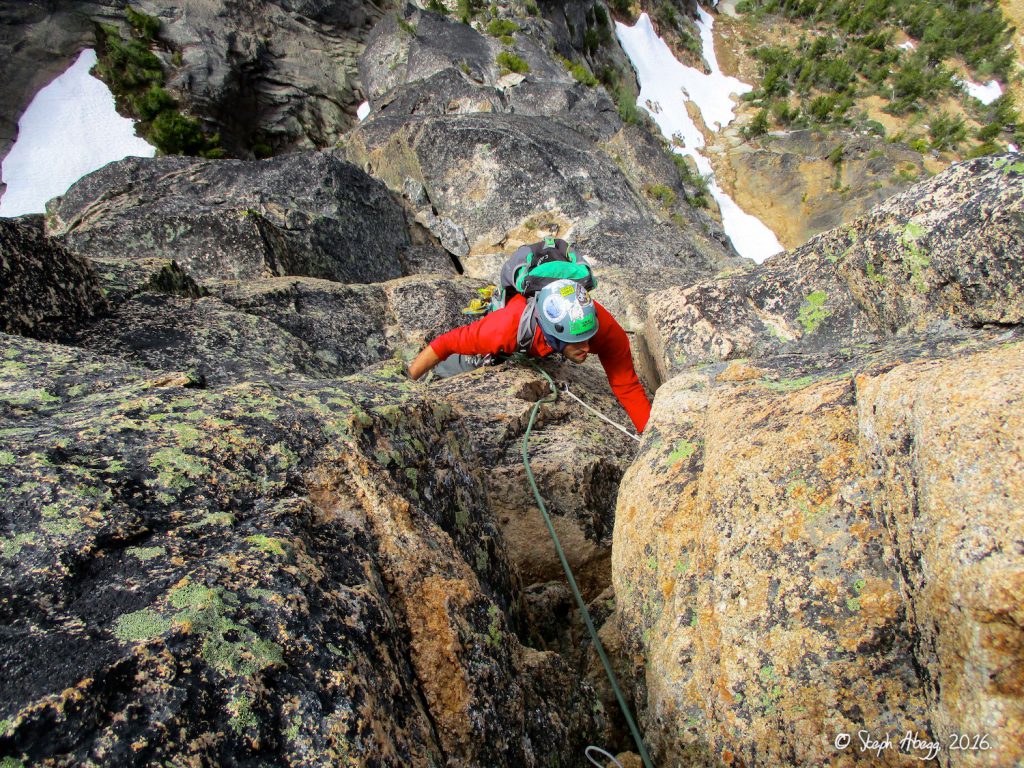
Pitch 4 – 5.8
LemkeClimbs – Now the fun begins! Climb straight up the crack system for about 20 feet and traverse back to the right on a nice ledge. Climb up a tricky 10 foot crack to reach a second ledge and continue on the rightward traverse on this narrow ledge as it descends slightly. At the end of this ledge you’re at the base of a large crack and flake system with a large block with numerous slings wrapped around it. Climb these cracks and flakes to the huge boulder and belay here. Be sure to place adequate protection on the rightward traverse to avoid a pendulum fall for your second. 45 meters total length and plenty of pro options. Rope drag becomes pretty bad.
5.8 crack and layback once you get around a bulge.
Sam climbing Pitch 4 of North Face of Burgundy Spire. 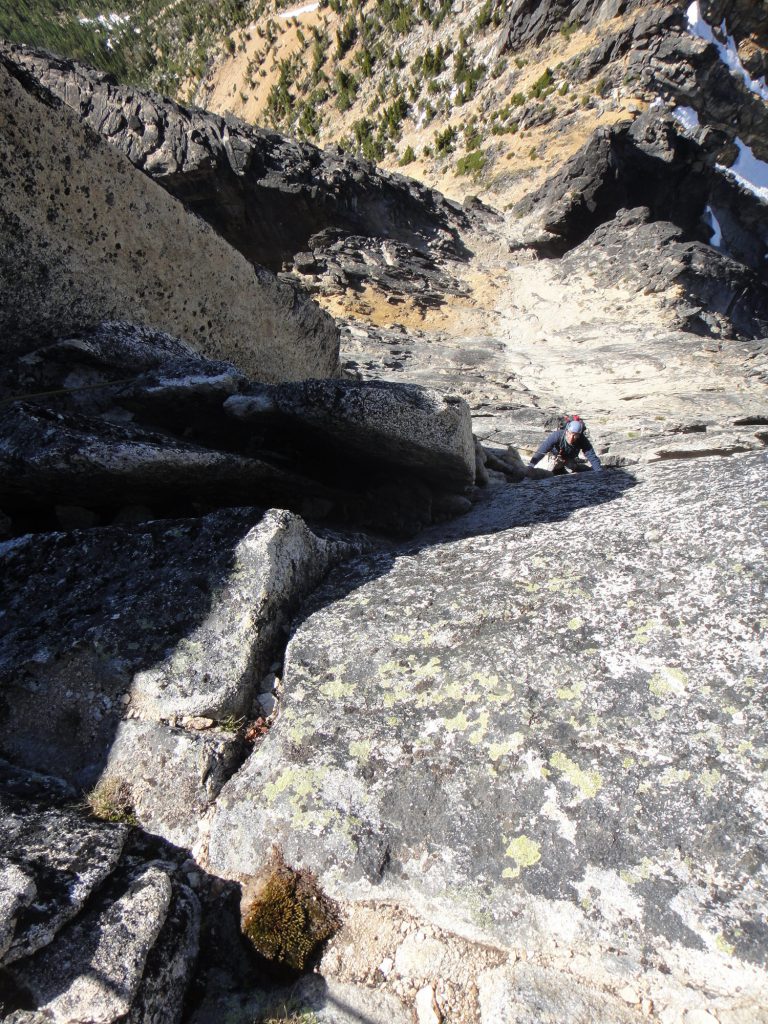
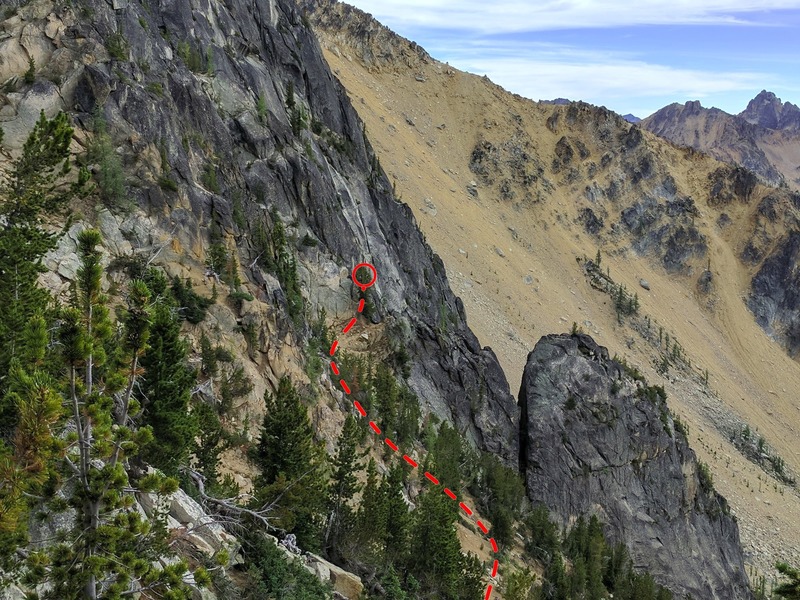
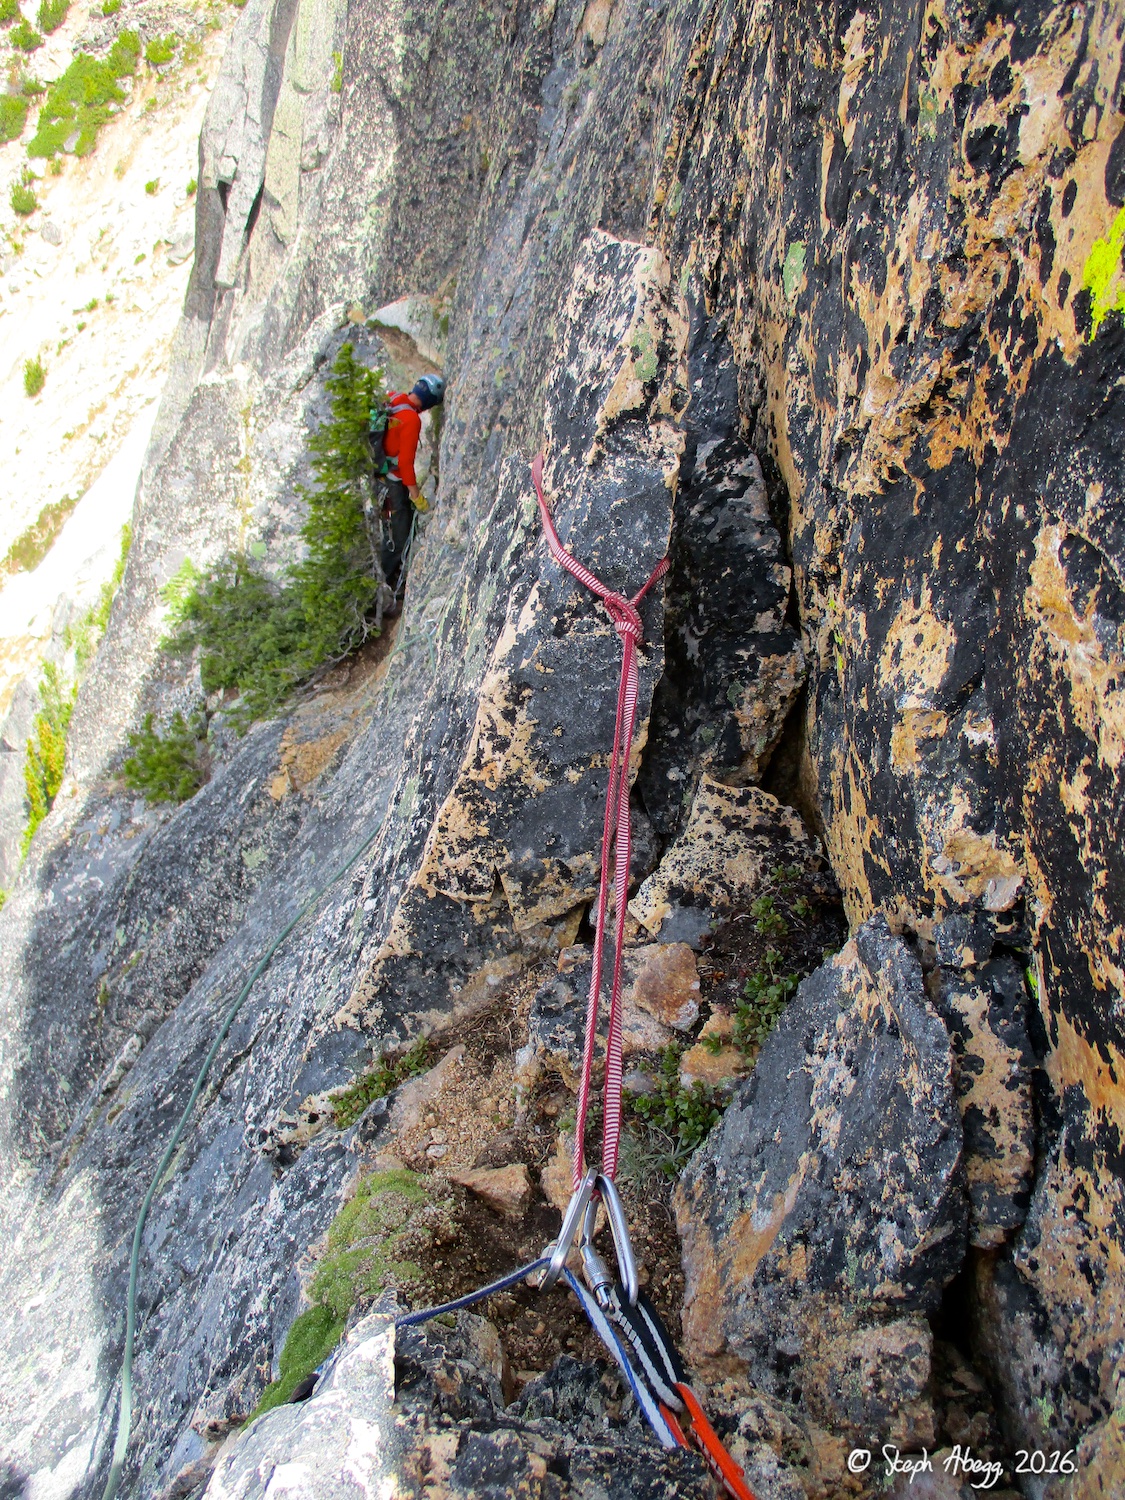
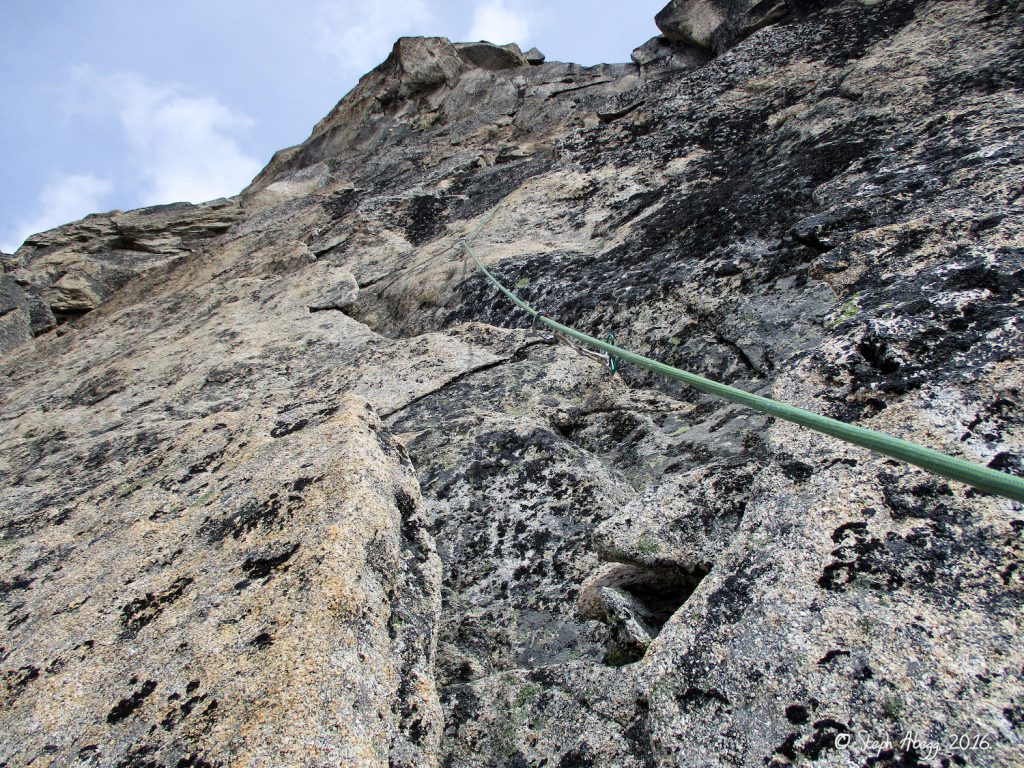
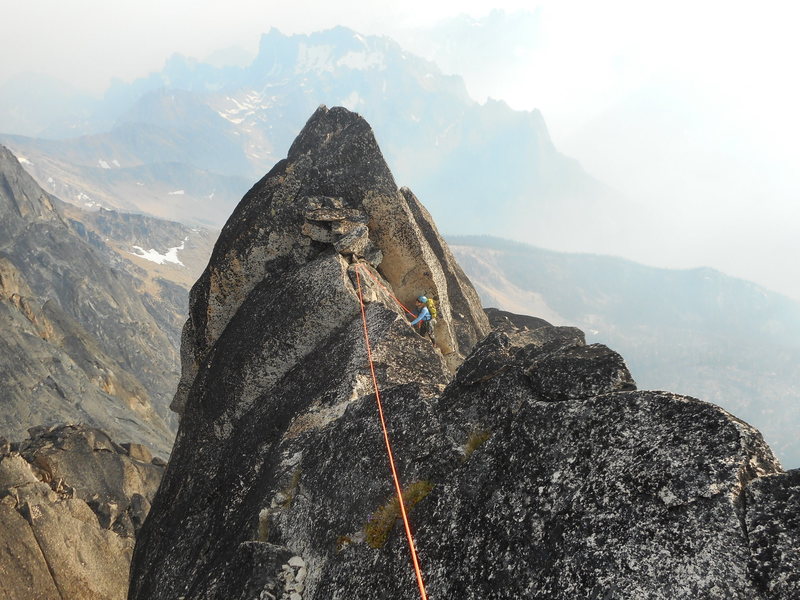
At the top of P4 traverse west down a short step (10′ down climb chimney) and under a large boulder, route finding becomes challenging 200′.
LemkeClimbs – This pitch doesn’t have any climbing but it is very important you get this right. Traverse the huge ledge to the right for a long ways…more than you think you need to. You will be forced to descend about 15-20 feet midway across then re-climb a short ways and pass under a gigantic block that makes a large archway. Once you pass under this locate another small slung horn and belay for the 7th pitch here. This ledge traverse is best done un-roped. The photo below shows this arch.
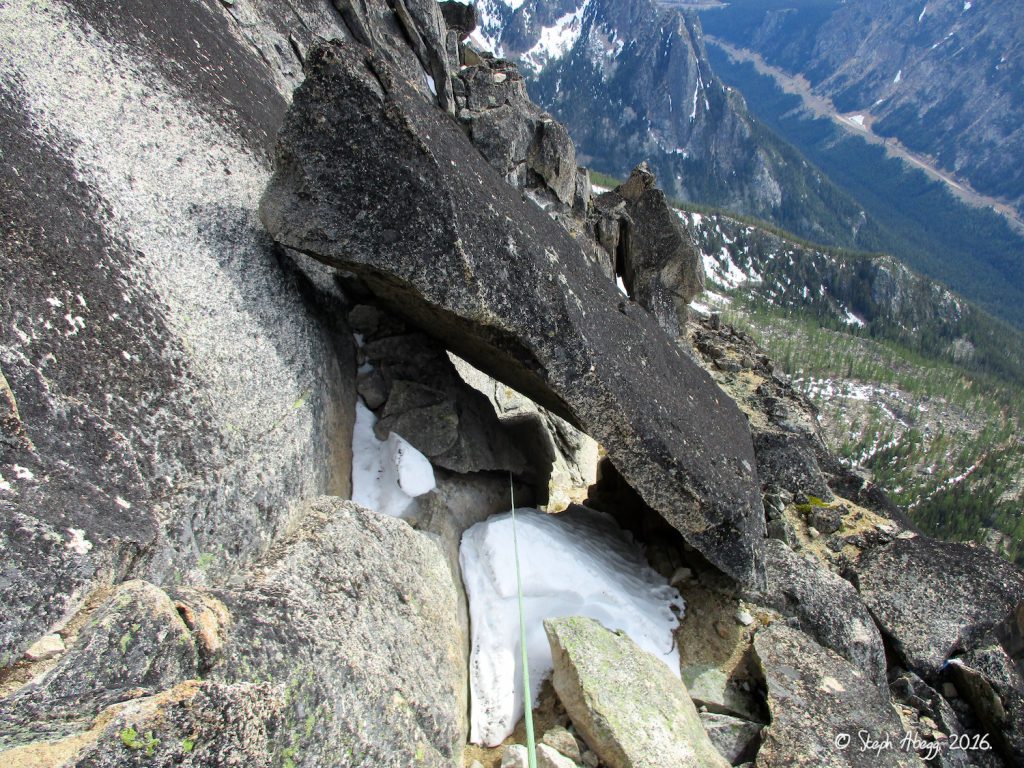
Giant boulder on ledge, go underneath to access Pitches 5 & 6 of North Face of Burgundy Spire. 
Pitch 5
Can be linked with P6. Option #2 on the right sounds the most fun with good crack systems, Option #1 has some loose flakes I believe and is scarier slab.
ClimberKyle – This leads to a large ledge where there are three potential summit variations. The left is a 5.10 chimney, which of course Beckey took. The middle is a scary 5.8 slab. The right, although indirect, is 5.8 cracks, so we choose that one. The party ahead of us apparently took the 5.10 chimney, and the follower was moaning and groaning very loudly as it flared up high. Then she saw us and seemed embarrassed. We congratulated her on the send!

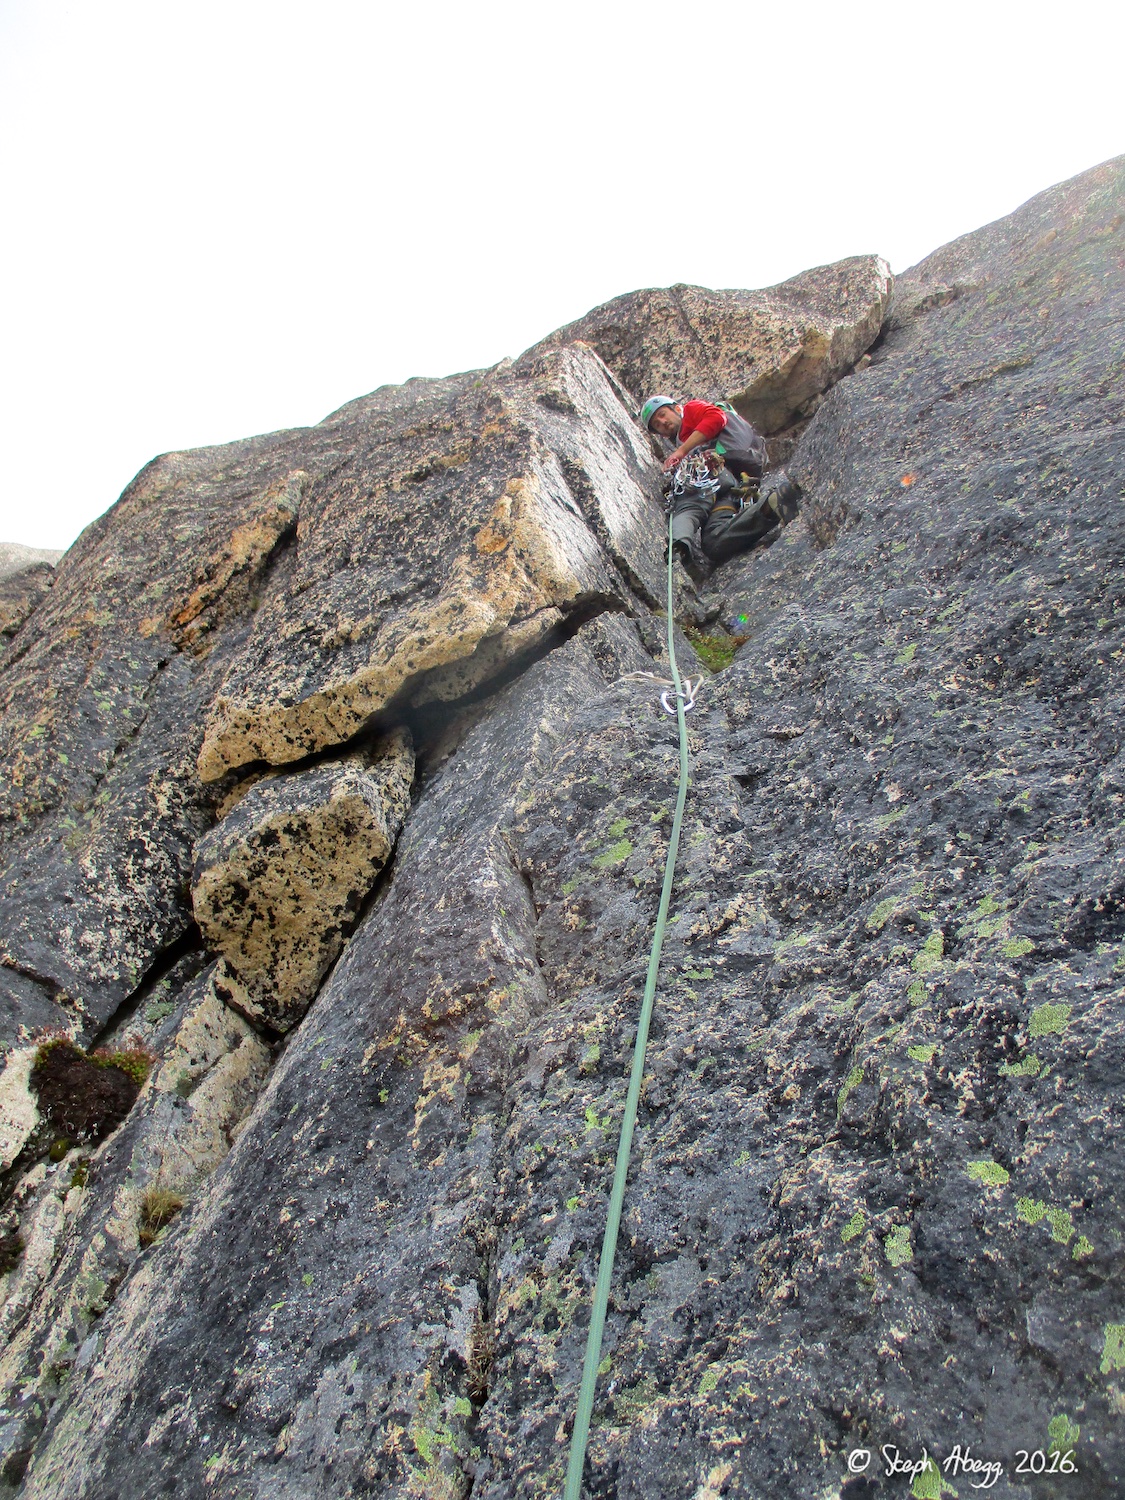
Pitch 6 – 5.8+
Traverse up and to the right to an easier corner, not easily visible form the ledge. Sling block for belay.
LemkeClimbs – From the belay just across the arch, begin climbing up a big flake just above and to the right. Continue traversing to the right more than you think you need to until a crack system appears. Don’t let the blank, lichen covered rock above you get to your head. Just keep traversing around the corner. Once at the base of the crack system, begin climbing an open dihedral, passing by a fixed piton and reaching a nice big ledge with your first views of Silver Star Mountain to the south. Belay here. 45 meters total length with somewhat sparse but good pro.
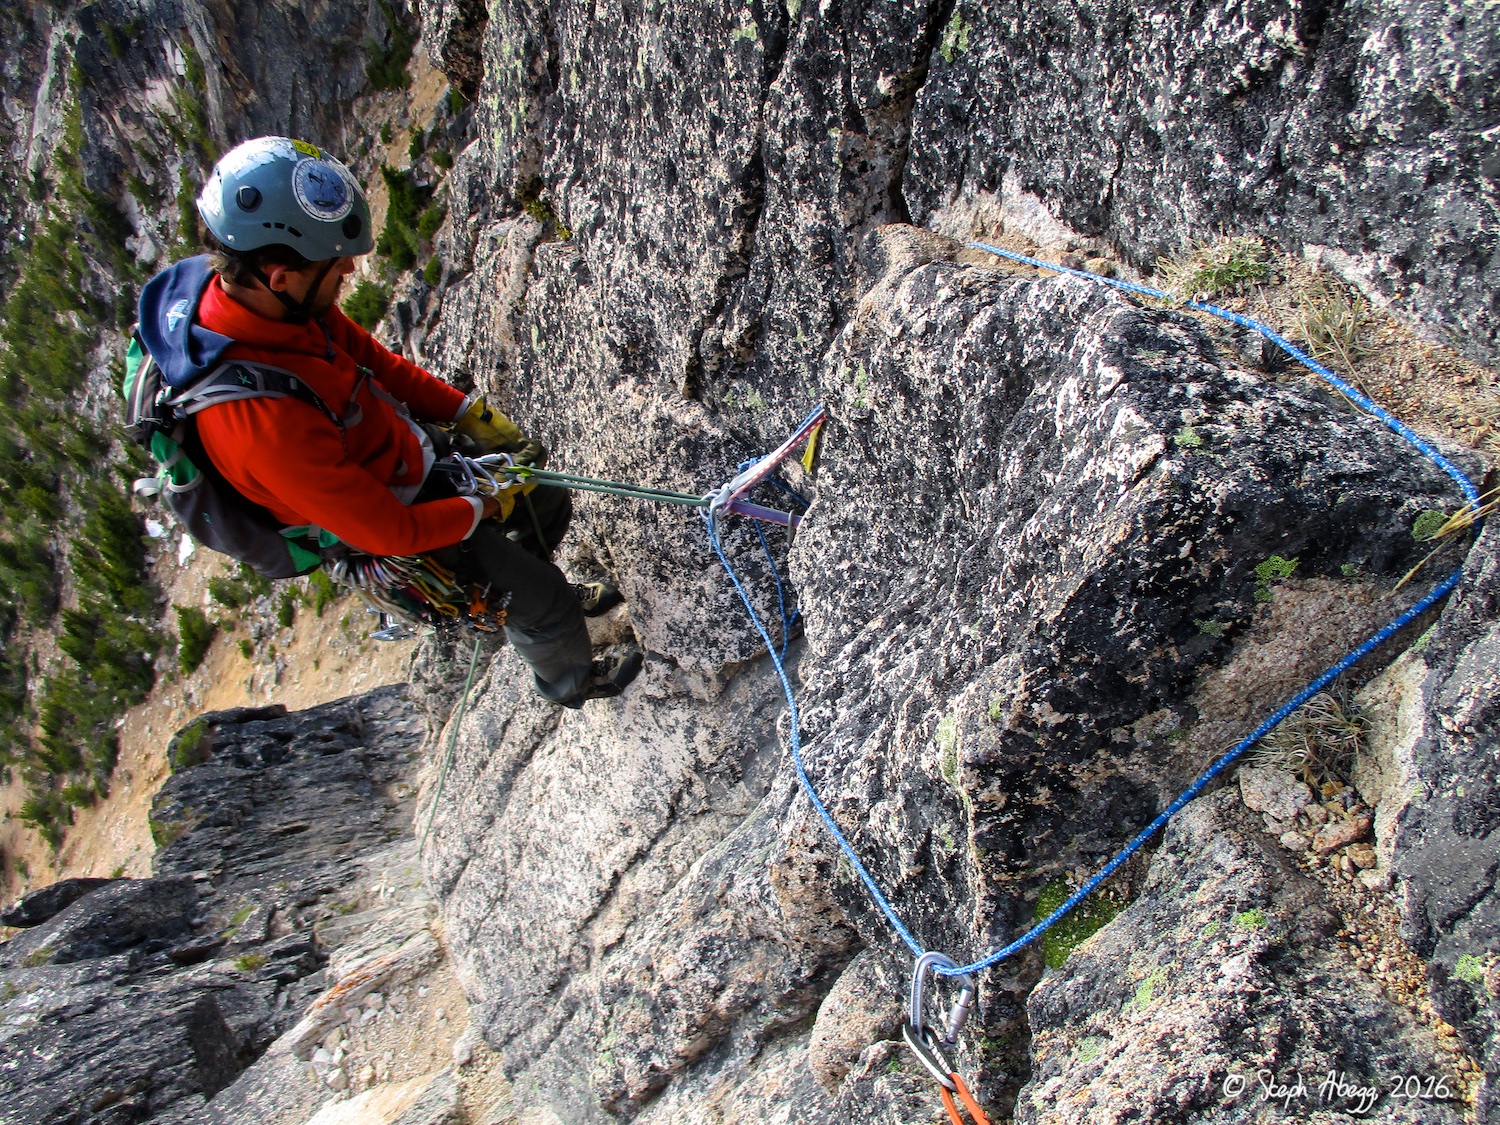
Start of P6 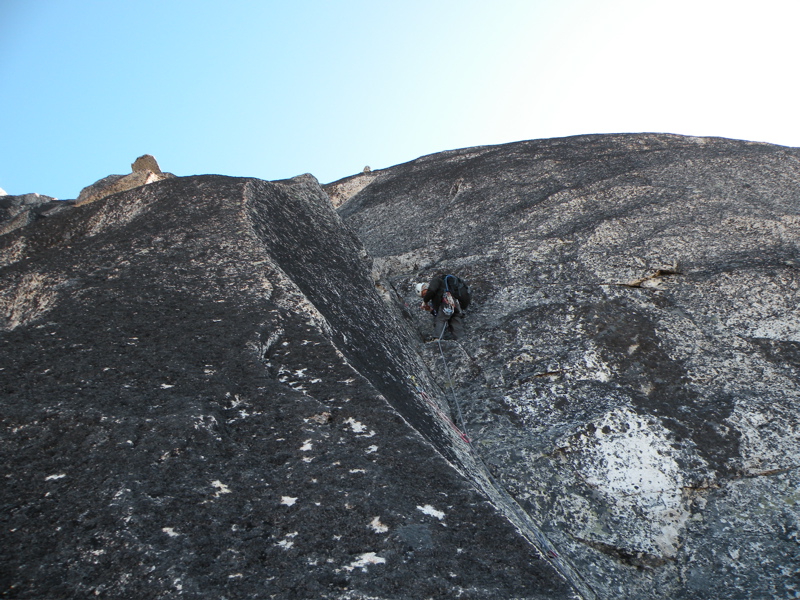
Start of P6 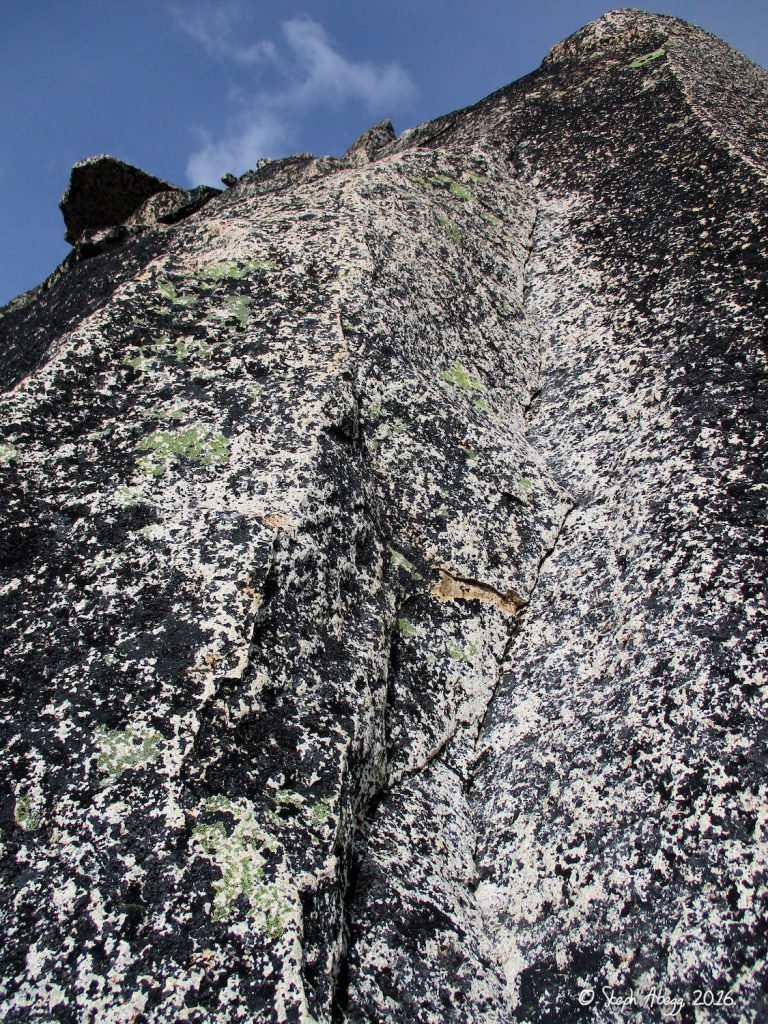
Corner at the end of P6 of North Face of Burgundy Spire. We climbed this as the first part of P7.
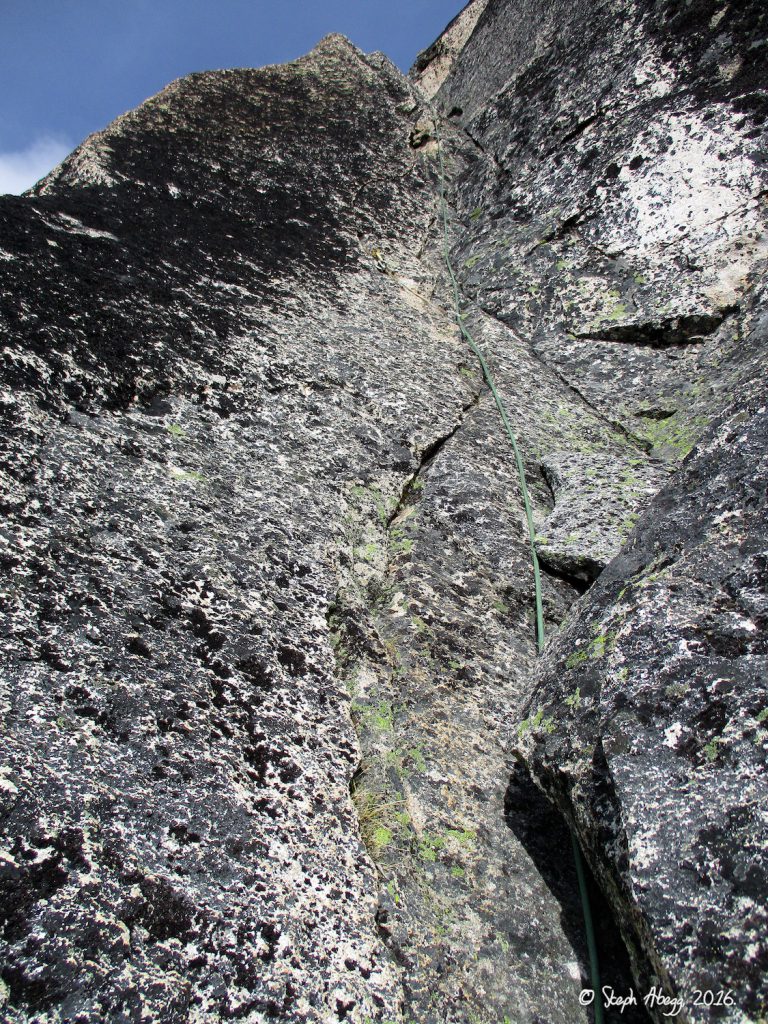
Pitch 7 – 5.8
Offwidth crack, short and protects well with a #4 or 5. Finish with exposed 3rd class.
LemkeClimbs – This pitch is probably the crux of the route. From the giant ledge where you are greeted with your first views of Silver Star Mountain, climb a thin finger crack (shown at left). If you have small fingers this works well but if you are tall, use the face holds just to the left of the crack. There are just enough holds to keep the route at 5.8. Above this, continue up near the crest of this ridge and when you reach a huge fin, traverse left around it and finish the climb on a 25 foot off-width crack (shown below) which dumps you off on the summit ridge to which the summit is a short stroll away.

Start of P7, thin finger crack 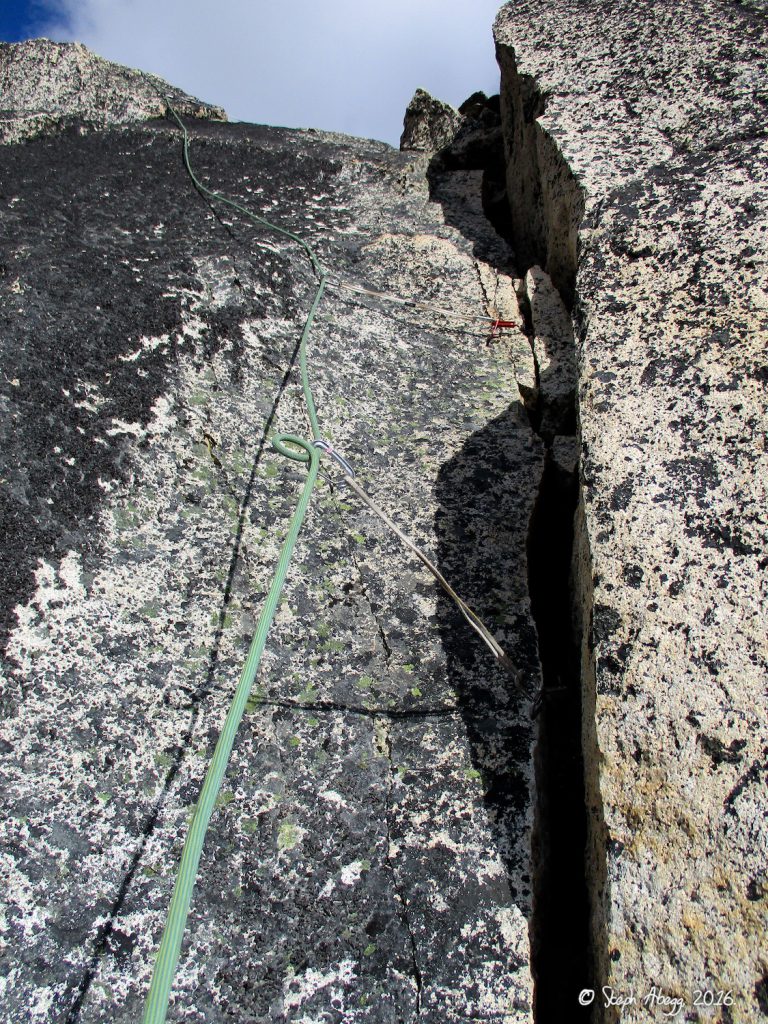
Off-width crack near the end
Decent
70m rope is ideal
Plans
Paisano + Burgundy
Open questions Do we need a 70m rope for rappeling? “You can make it down with a 60 but you might have to do a little downclimbing in places. having a 70 was nice. lots of places to get the rope stuck, be careful when you pull.” “We rapped the route with one 60m rope…