Considered PG13, has some runout. Steph has done it 4 times, and even on her 4th time, she says “never seems as trivial as its grade”.
Resources / Credit
- Mountain Project
- Steph
- https://www.lemkeclimbs.com/snow-creek-wall-orbit-58.html
Getting there
- 2:10 hour drive from home
- 2:00 hour hike?
- 2.5 miles, 2,200 ft gain, Mountain Project says +/- 1.5 hours
- 8:00 hrs climbing (7 pitches)
- 1:30 hrs descent
- 1:30 hr hike back
- Car-to-car estimate: 13:30 hrs
- Home-to-home estimate: 18:00 hrs
Average climb times
- 20 hrs car-to-car
- 15 hrs car to car
- 3 hrs climbing
- 6 hrs climbing
Gear
- Nuts (they say double set of nuts)
- Doubles of #0.2 – #2 (emphasis on finger and small hand sizes)
- Single #3
Start
Orbit begins on the left side of Snow Creek Wall. Once you follow the main climber’s trail to the base of the wall, follow a trail to the left traversing under the wall. To find Orbit, we looked for the “S-shaped” tree marking the beginning of the route as well as the prominent Mary Jane Dihedral in line with the start of the route. (credit to Steph)
Pitch 0 – 5.6, 180 ft
Scramble up to the large tree slightly right of the Mary Jane dihedral. Move left and enter a 4th class gully. Follow this up toward the distinctive ‘hanging’ tree at the top. Sling the flake and/or the tree. (Some route descriptions omit this pitch, or call it the scramble to the first belay station.)


Pitch 1 – 5.8+, 90 ft
Move right of the tree to the main ledge and proceed up corners and slabs to the crux of this pitch, an ‘awkward’ roof which can be negotiated via the slab on the left, or stemming high and pulling over the roof. Once past this, climb 30 easy feet to a small ledge directly below the Mary Jane dihedral.
Steph: Move up the slabs and cracks directly above the belay ledge. Enter a dihedral which becomes progressively more difficult. Crux move is pulling onto an upper ledge using a stemming/chimneying move to bypass a small “roof”. You’re now about 30 ft below MJ Dihedral.
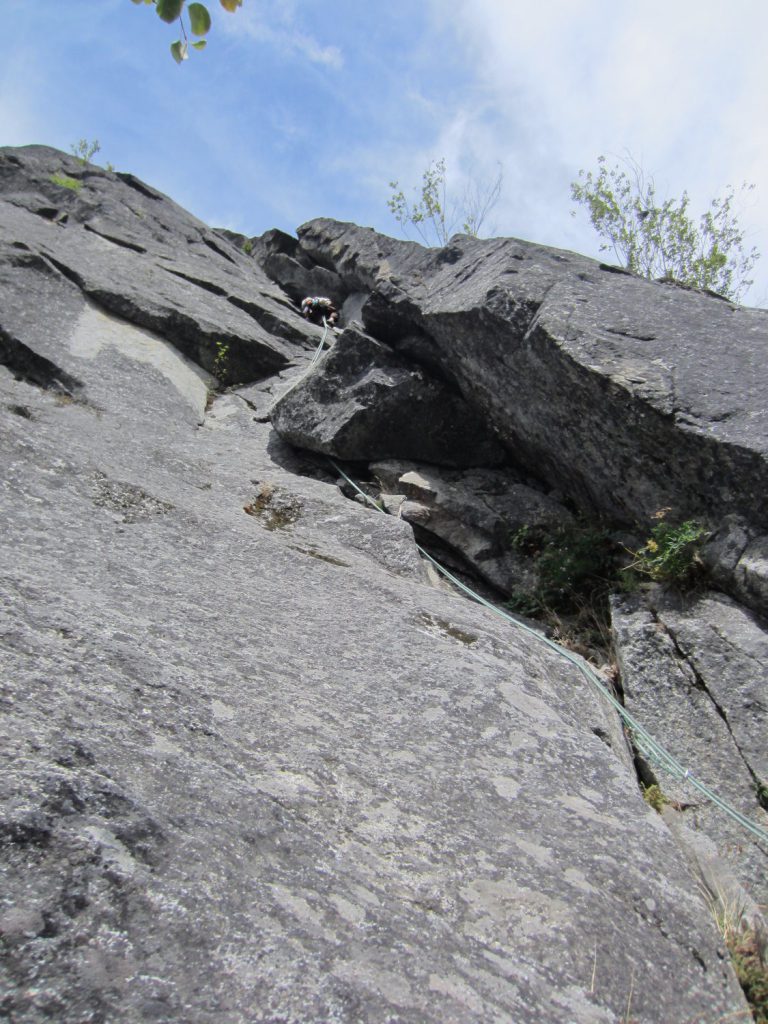
Approaching crux of P1 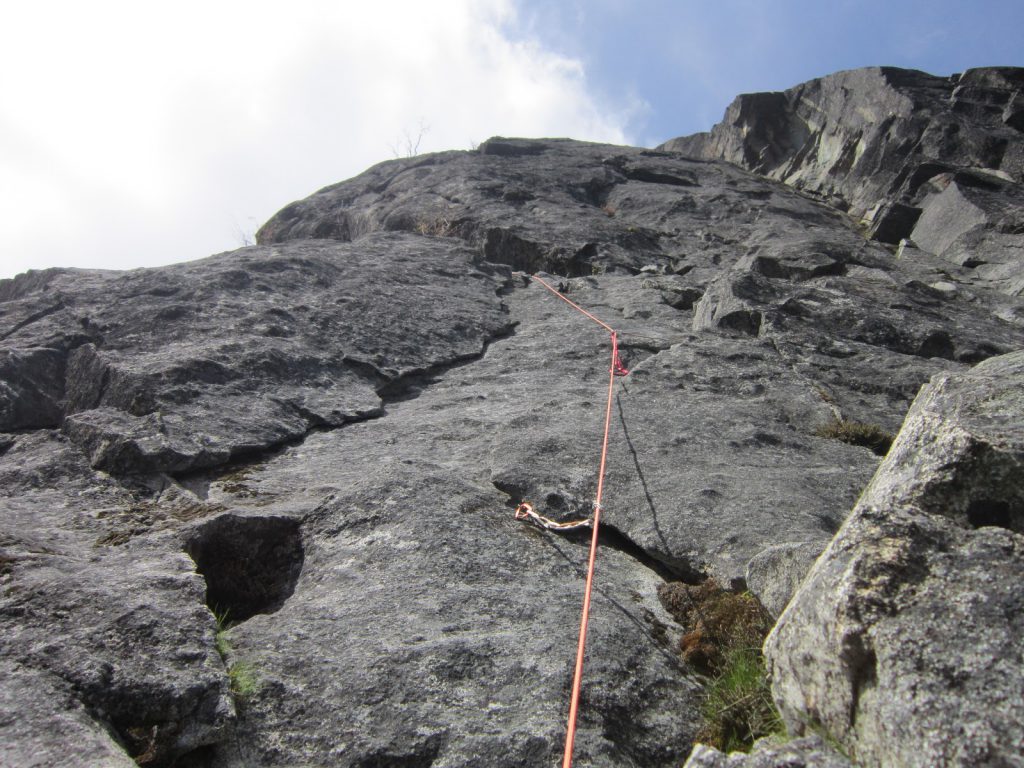
Looking up second half of P1 after the awkward chimney
Pitch 2 – 5.8/5.9, 150 ft
Find the easy overhung traverse moving left and up at a diagonal. After 90 feet or so, you’ll find yourself at the foot of a fantastic 5.9 finger crack system which presents the technical crux of the pitch, in the form of another ‘awkward’ transition leftward when the finger crack system peters out.
Set belay on the ramp with bushes above the finger crack, and chill in the slot behind the large flake. (an alternate to the crack system is to continue traversing left, then climb up low-fifth class blocks to the belay).
Steph: Climb up to the base of the MJ Dihedral (low 5th) and head up a ramp to the left (low 5th) for 50 ft to the base of the 5.8 finger crack system (c. 30 feet of it). Climb the thin finger cracks (left crack easier, right crack with fixed cam is harder) moving slightly left near the top. Gain a small ledge with a mid-sized bush just above it. This is a fun pitch!
Leftward traverse at start of 2rd pitch 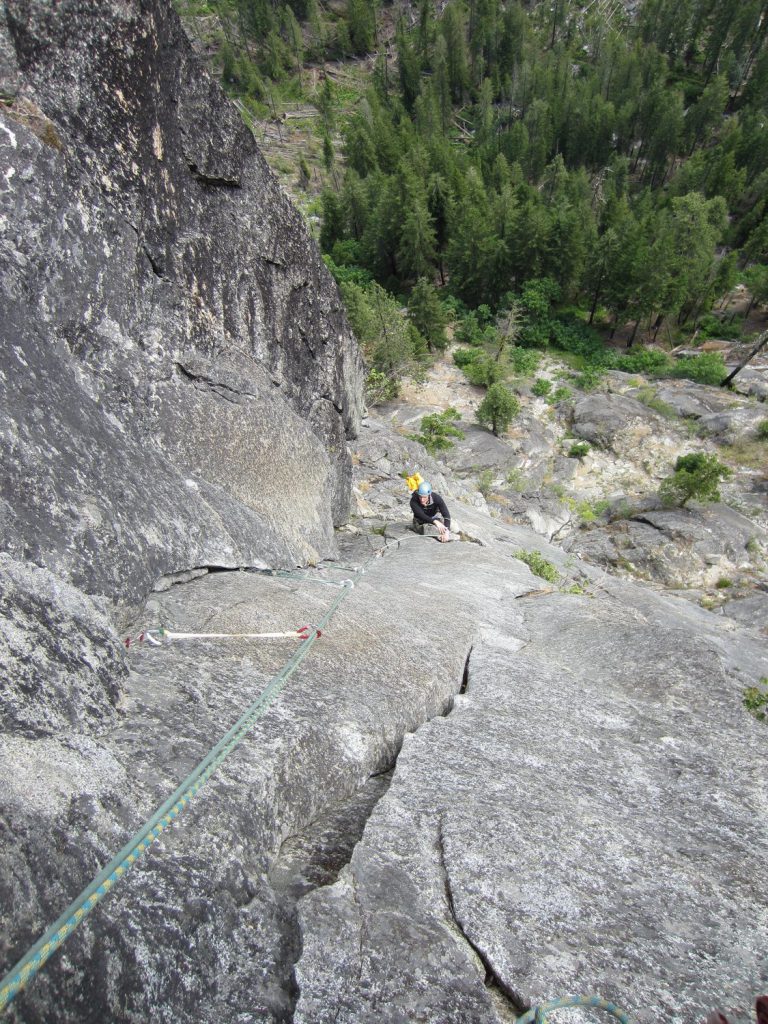
Follower mostly finished with P2 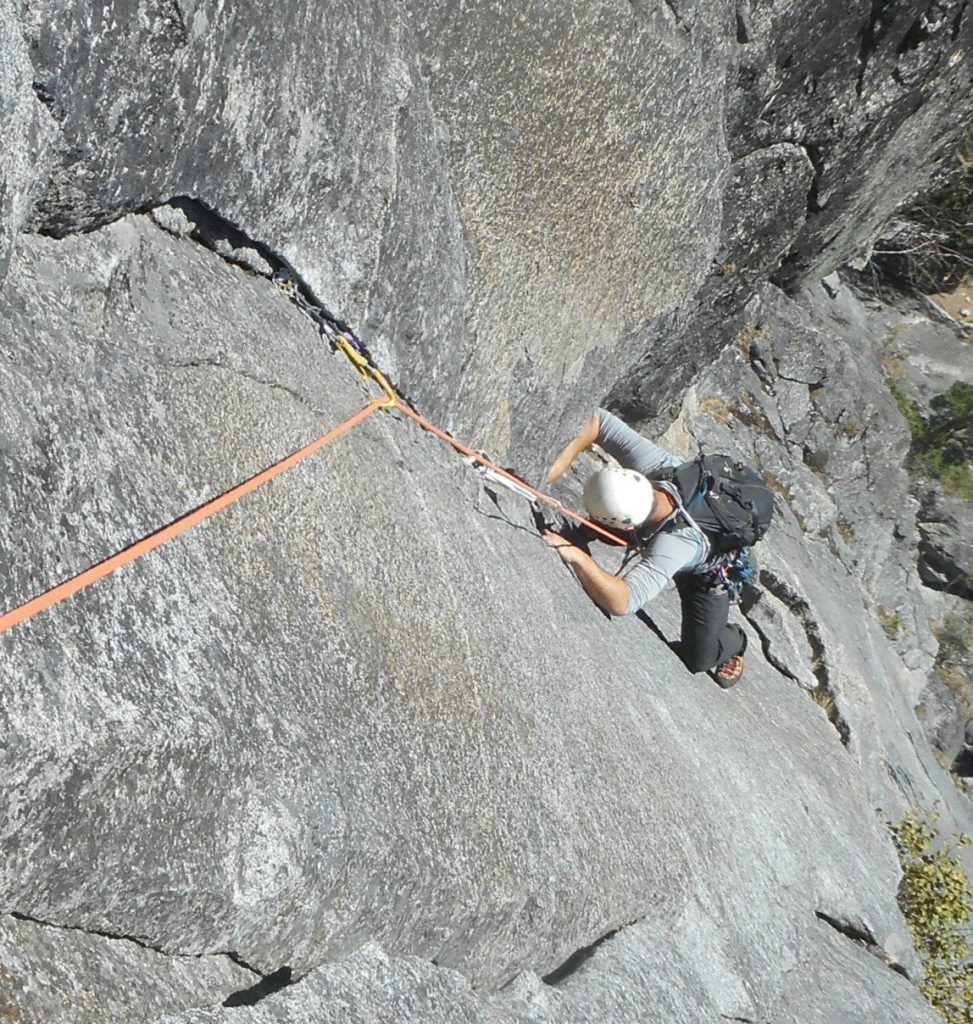
Follower finishing P2 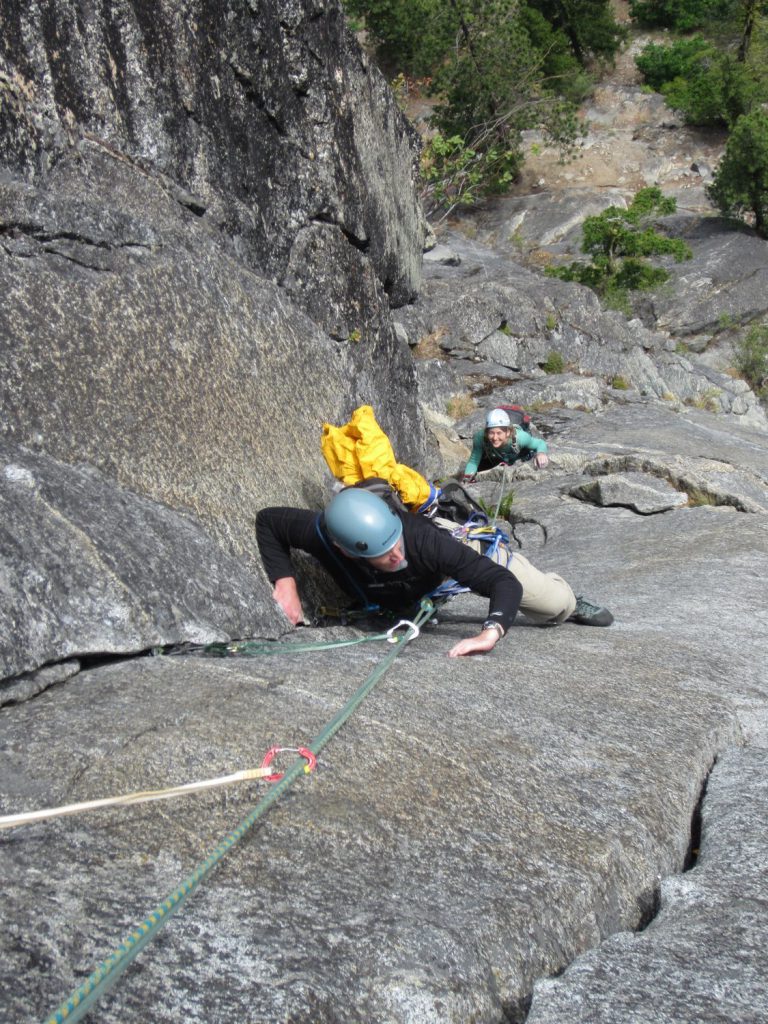
Two climbers finishing P2
Pitch 3 – 5.8+, 180 ft
Take an airy, exposed step up and right to a slab which progresses about 40 feet up to a roof. Clip the bolt, skip the buttonhead, and when the slab begins to roof out, move right around the arete.
If the fingercracks of the prior pitch are the technical crux of the route, the face climbing above the arête in this pitch are the mental crux. Proceed directly up the face (small cams for pro here) through some fun mantling moves to a dihedral with a small ledge and vertical and horizontal cracks. This will be your most-exposed feeling belay station.
Steph: Move up and right from belay ledge to gain the low angle slab with a thin finger crack down its center. Climb up the slab (thin cams) past a one good bolt + one “nail”. The slab bypasses minor roofs on the right. About 10 ft above the bolt, move right around the arete. Climb up the face on the right side of arete (thin cams). Clip a piton and climb 10 more feet to gain a narrow stance that is to be your belay station. The stance comes equipped with two rusty, old, thin bolts. (I seem to remember that just about 10 ft above this was a much nicer ledge you can belay from if you have enough rope).
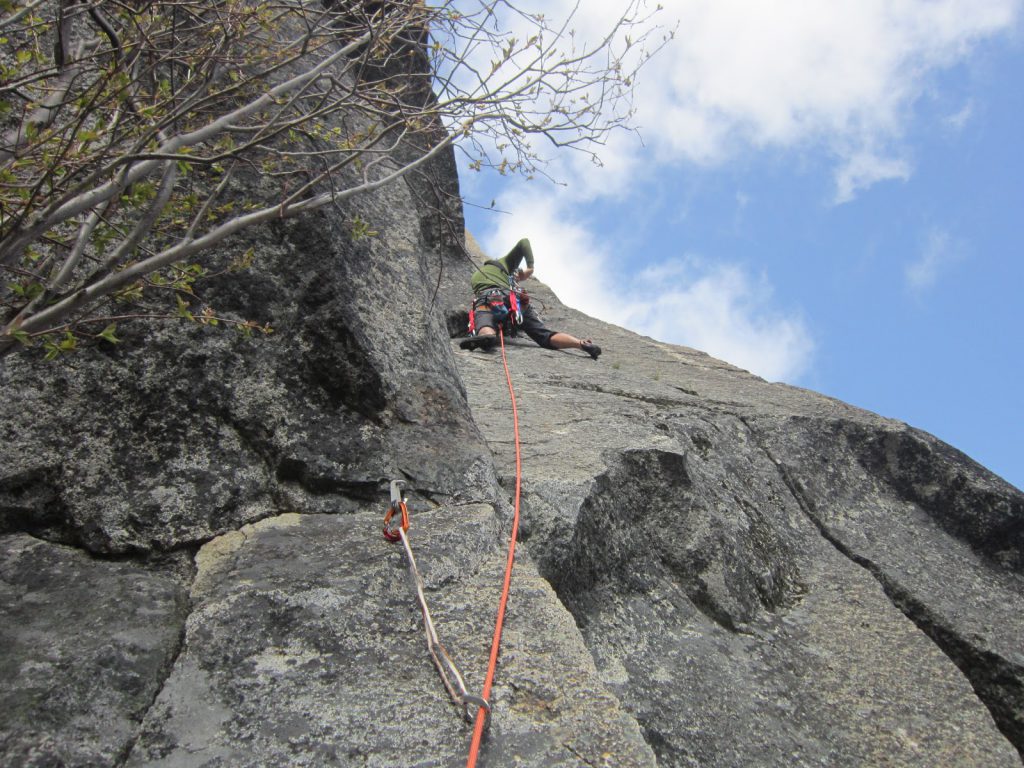
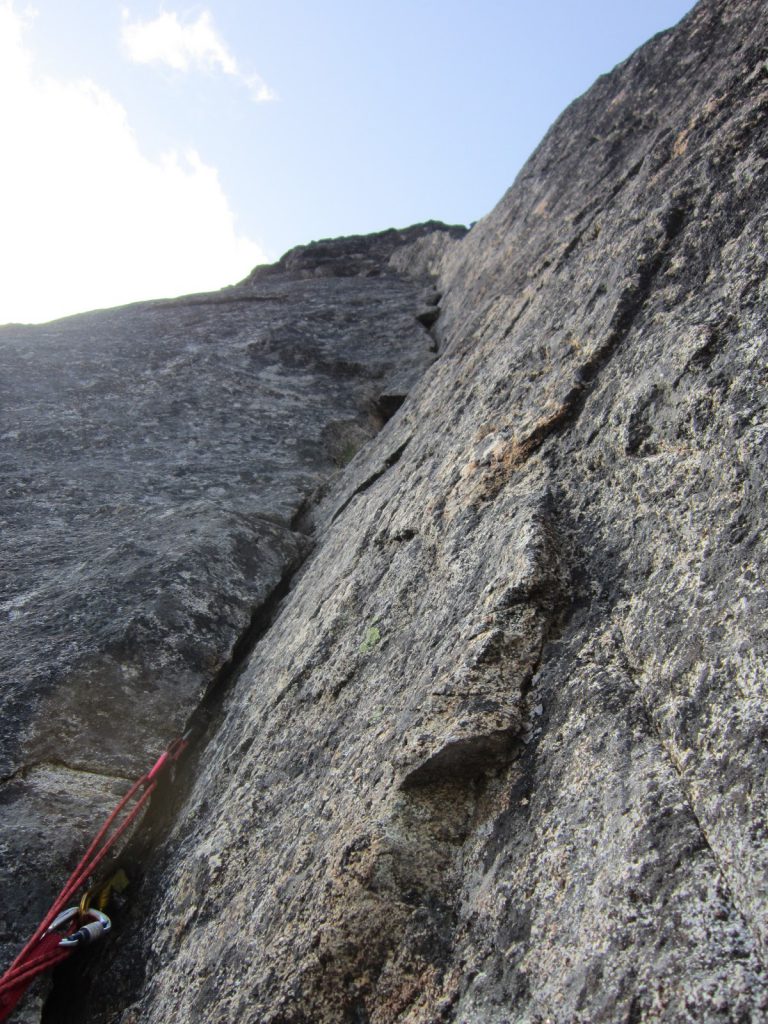
Thin slab at the start of P3 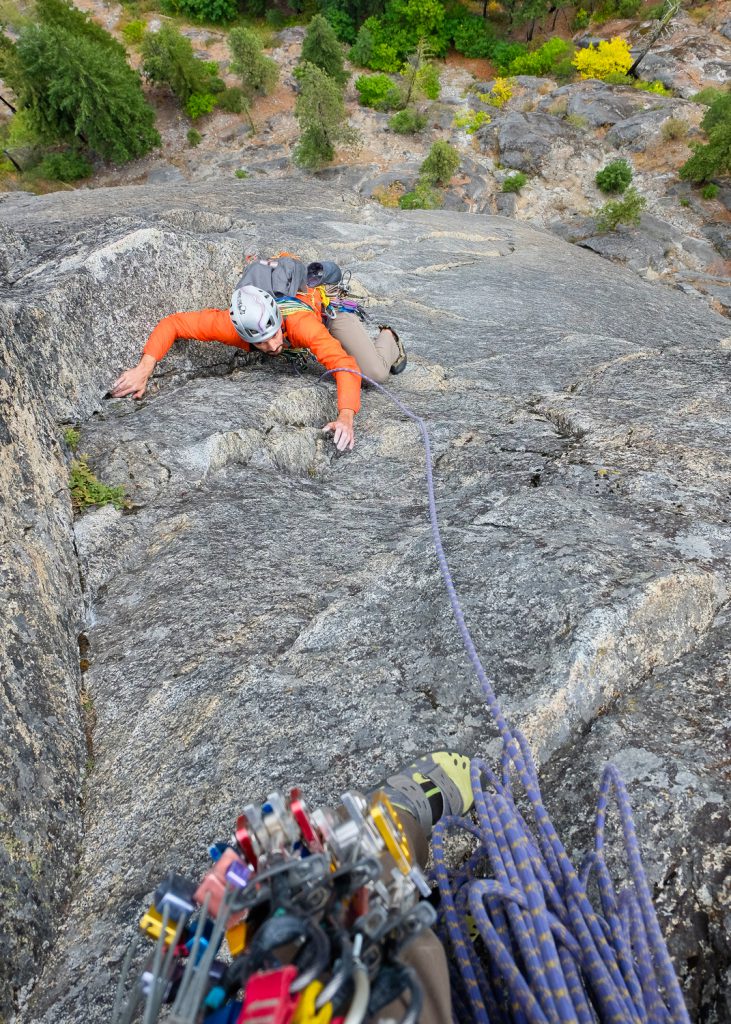
Follower finishing P3 
Exposure on pitch 3 after coming around the arete into the corners. 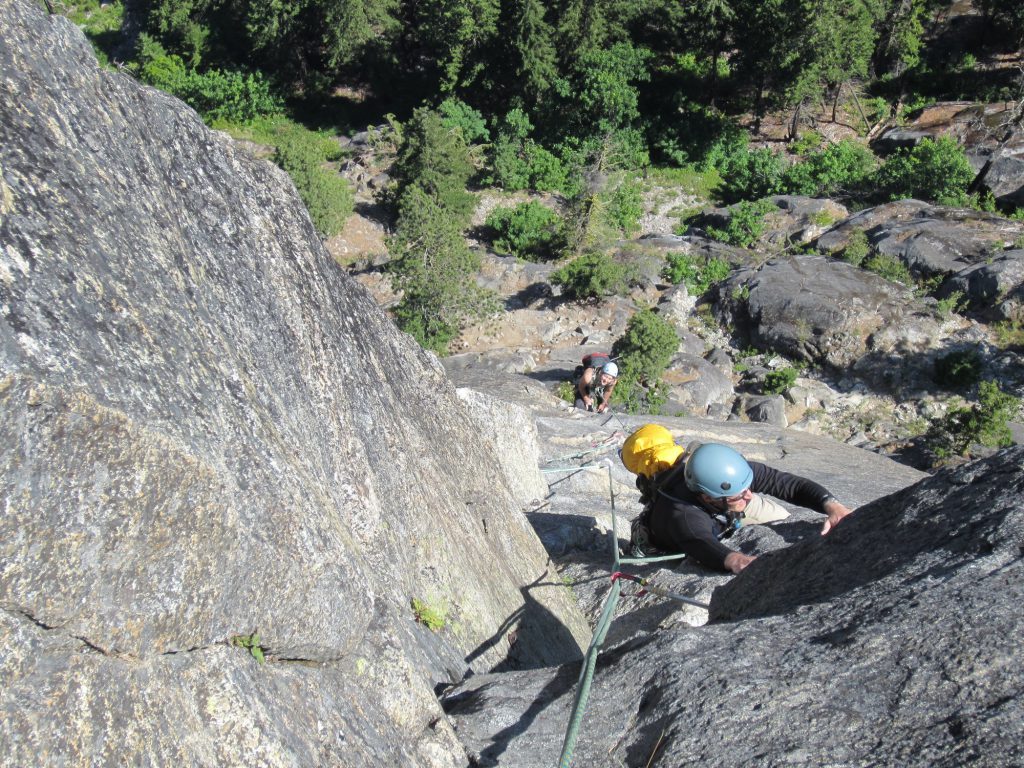
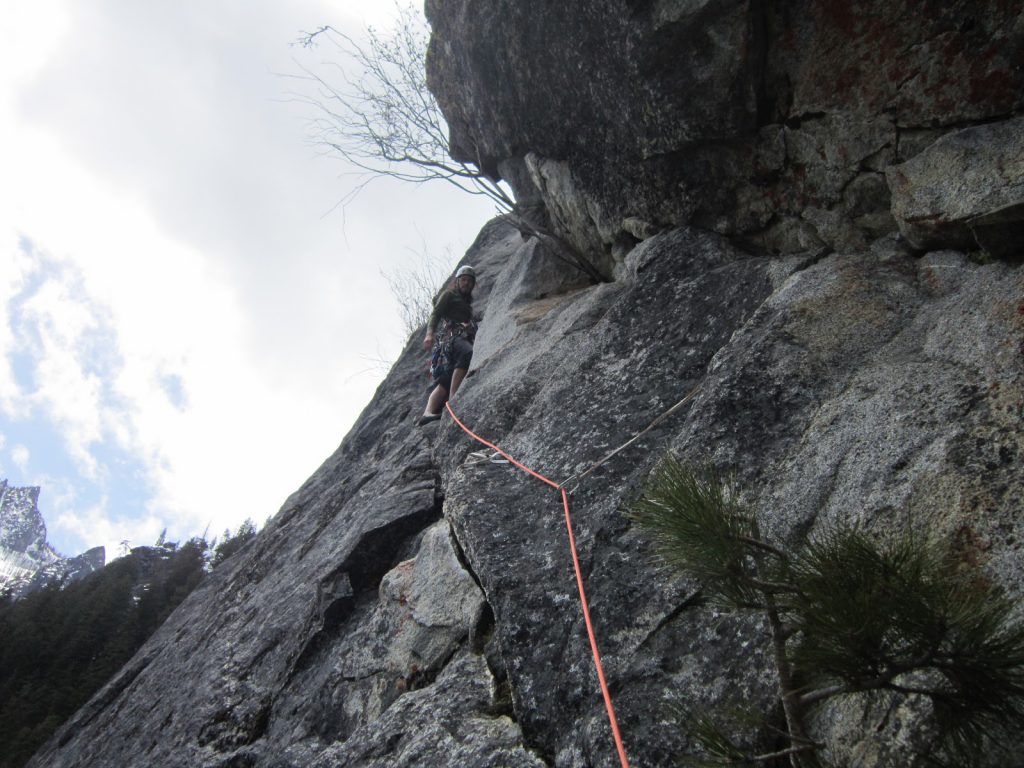
Pitch 4 – 5.8, 90 ft
From your belay, climb straight up the dihedral. When crack in the corner runs out, move up and to the right to gain the knobby face, and marvel at the beginning of a sea of chickenheads. Pull over an easy roof and continue up the 5.5 face to the large ledge with an overhanging roof and obvious right ramp. Belay from the ledge.
Steph: From belay, climb straight up the easy dihedral (5.6). The dihedral becomes thin (5.8) after about 40 ft. Move right to gain the knobby face. Continue up the face. Pull over an easy “roof” (maybe 5.7) and continue up the chicken head studded face (sparse pro, easy climbing) to gain a large ledge below a large roof. Belay.
Start of P4 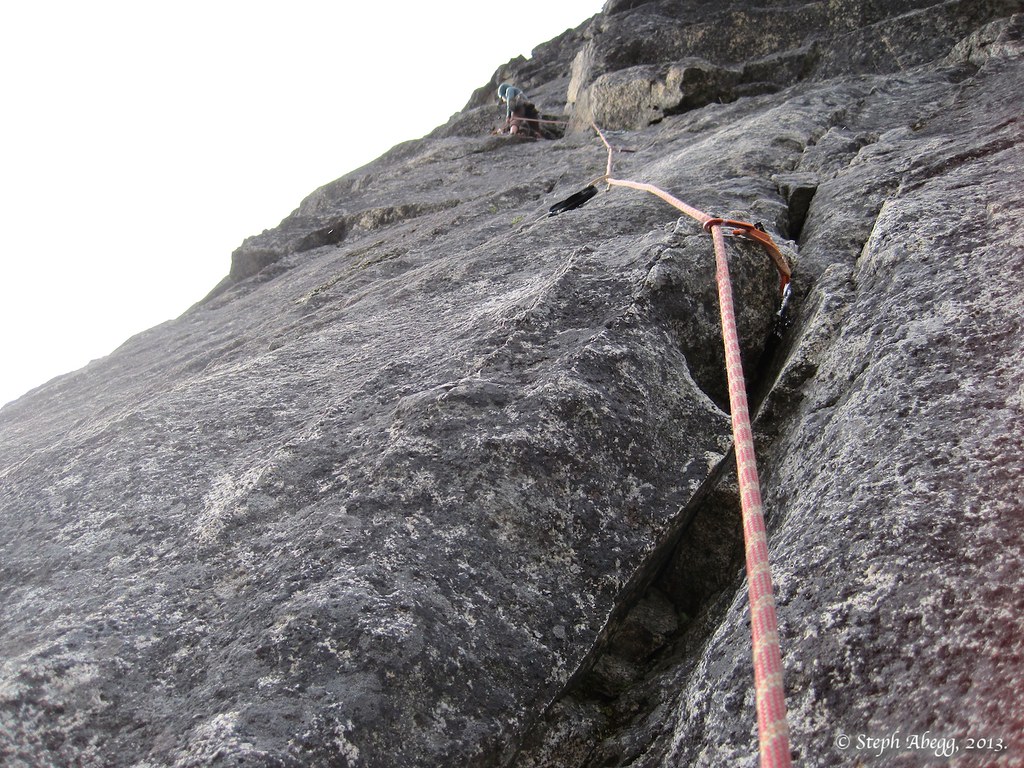
Looking up at the airy P4. 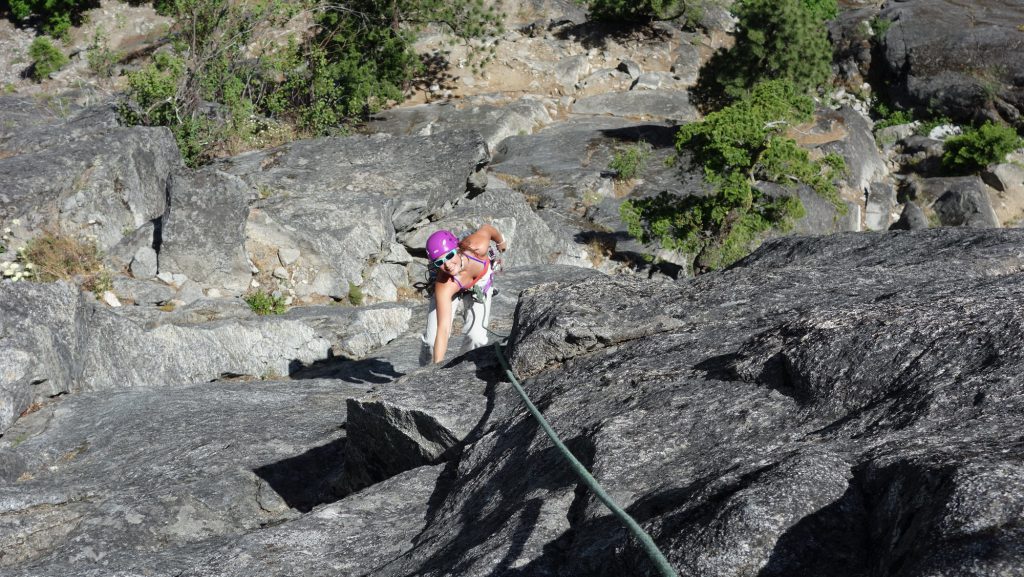
Follower finishing P4
Pitch 5 – 5.6, 200 ft
Move up the ramp on the right side of the ledge and marvel at the endless chickenheads in front of you. Pro is very sparse- sling the occasional chickenhead- and move generally left, following the easiest path. Climbing will become progressively easier from here, and eventually you’ll reach 3rd-class jumbles of blocks- go as far as you have rope and set belay.
Steph: From belay, move right and up bypassing the large roof on its right side. Climbing goes on easy chicken heads but pro is sparse. Run out the rope generally bearing up and left (follow easiest line). Belay when you’re out of rope (should be enough to reach 3rd class ledges up top).
Pitch 6 – Low 5th, 150 ft
Climb generally up and left toward the top, then head right up one of the gullies to the sandy summit.
Steph: More chickenhead climbing on low angle (but exposed) terrain brings you to the sandy summit area of Snow Creek Wall.
Easy chickenheads
Descent
From the summit, move left to find the cairn-marked descent trail, which will lead you across the top of the gully at the base of the wall and onto the rib across from the wall. Take a moment to enjoy the view, and follow the cairn-trail down. Some of this will be 4th class scrambing but if done right will not require a rappel.
Near the bottom, enter a narrow gully and work left (back toward your packs). A short scramble (watch for the cairns!) over a fin ridge will gain you the flank at the foot of the wall- continue down and left until you reach your starting point. If you proceed too far, you’ll be cliffed out.
Reports
Orbit 2020
Gear 60m rope Doubles of #0.3-1, and a single #0.2 and single #2… I actually meant to bring doubles of #2 and a single #3, but I’m glad I didn’t, this gear was perfect!! No reason to bring those other two cams! Nuts with doubles of two of the medium-small ones Radios! Useful! Basically each…
Plans
Orbit
Itinerary 3:25 AM – Leave home (2:10 hr drive) 5:35 AM – At trailhead 5:45 AM – Hiking (2 hours? 2.5 miles, 2,200 ft gain, Mountain Project says +/- 1.5 hours) 7:45 AM – At base 8:00 AM – Climbing (55 degrees, sunny) (45min per pitch, 7 pitches, 5:15 hr) 1:15 PM – Summit 1:45…