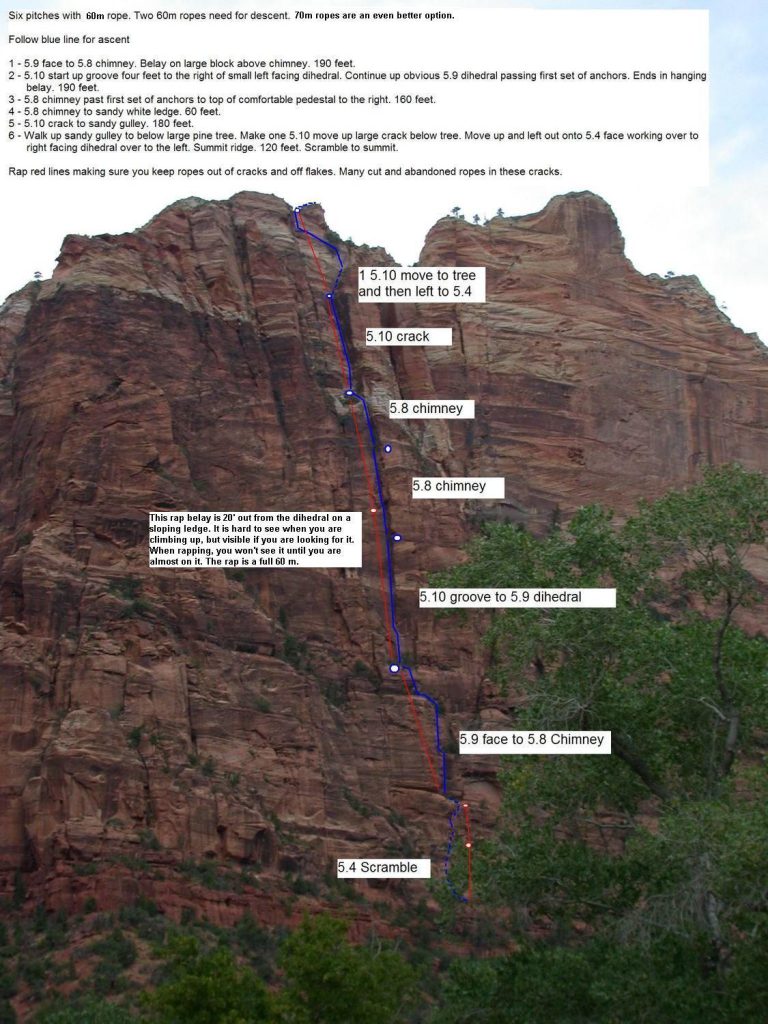
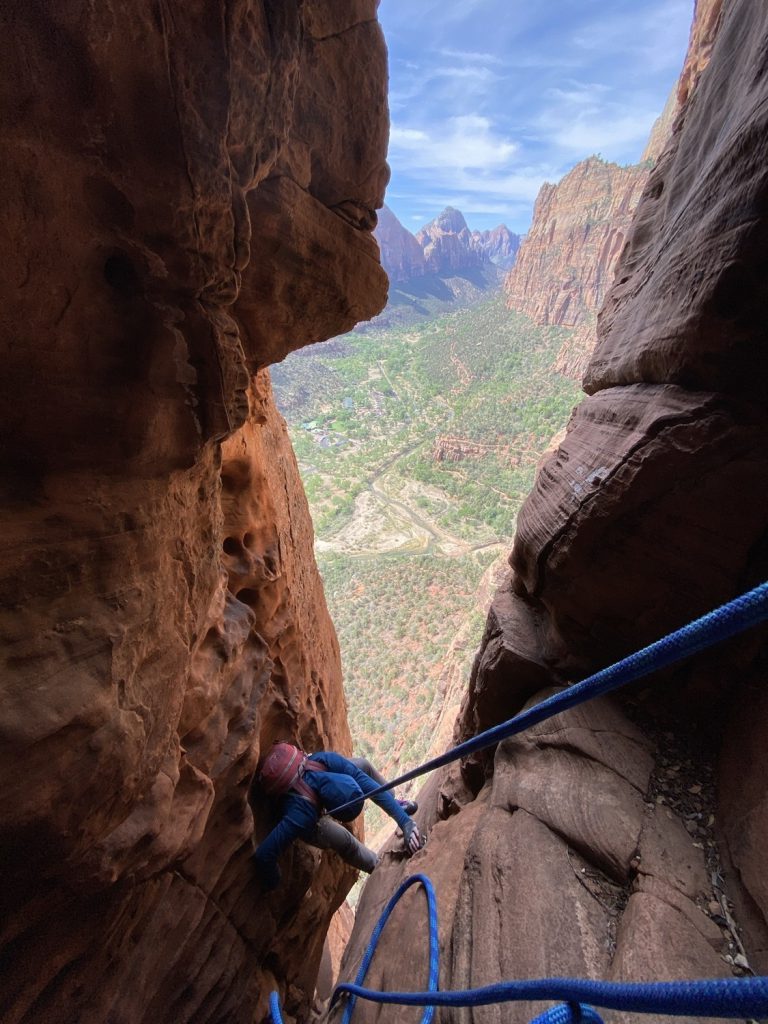
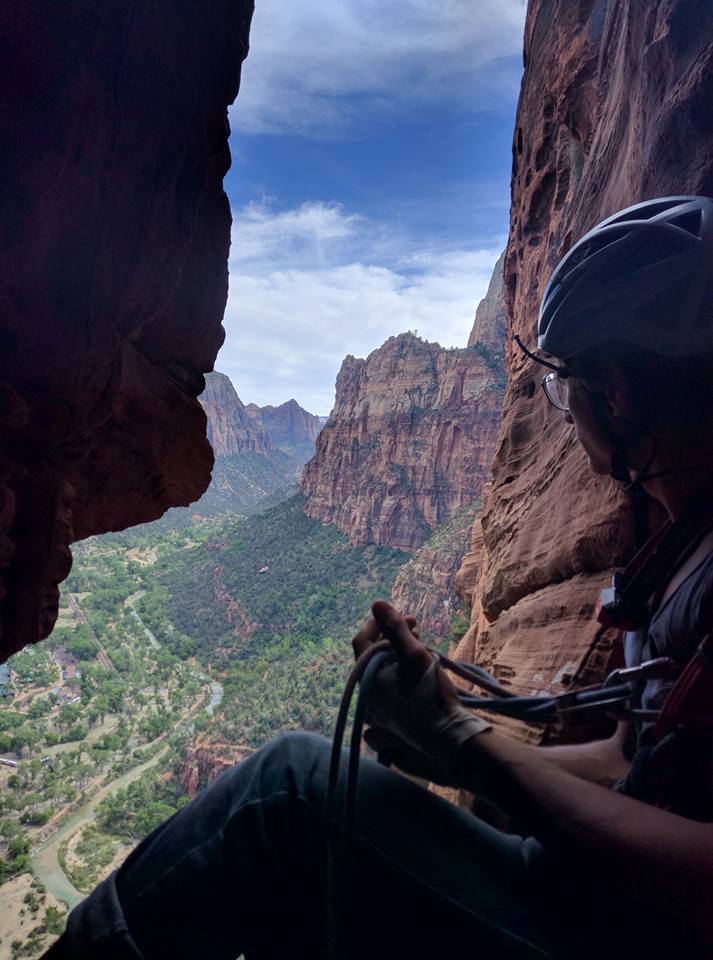
Supertopo: This is an excellent and popular route by Zion standards. People who normally don’t enjoy chimney climbing seem to have a good time on this route. Iron Messiah was a proud solo effort by Ron Olevsky. Expect to find clean features due in part to the number of ascents this climb receives. Retreat is possible from every belay making this route less committing than some others of a comparable grade. Iron Messiah follows the prominent 700-foot left-facing corner system left of the major gully or cleft that cuts through the Spearhead formation just left (down canyon) of the summit. View Iron Messiah from the paved pullout on east side of the road, 200 yards up-canyon from the Zion lodge shuttle stop.
The first 300 feet of the route are comprised of a right-leaning, left-facing corner and ramp system. This section is often soloed. However, the exposure may cause some parties to opt to rope up. What is commonly considered the first real pitch of the route begins off a huge ledge and is a bolted 5.9 face just right of a right-facing corner. The next pitch climbs the double cracks in the left wall of the huge right-facing corner. On Pitch 3 the original route climbs up a crack to the left for a pitch and then pendulums into the chimney/corner, most parties climb the Aluminum Messiah variation. The Aluminum Messiah variation skips the pendulum. You’ll want to traverse right on a foot rail and climb a thin crack that leads you directly into the obvious left-facing corner that comprises the rest of the route. Most parties stop at the top of the main dihedral system. However, it’s possible to climb to the summit of The Spearhead via some reportedly run-out 5.10 climbing.
Approach
0.6 miles, 350 ft gain, 20 mins?
- Take shuttle to Stop 6
- Cross the river, then head left for 0.3 miles till you spot the climbers trail heading up to the right
- Gain 220 ft going straight up to the base of the wall

Scramble – 4th class, 200+’
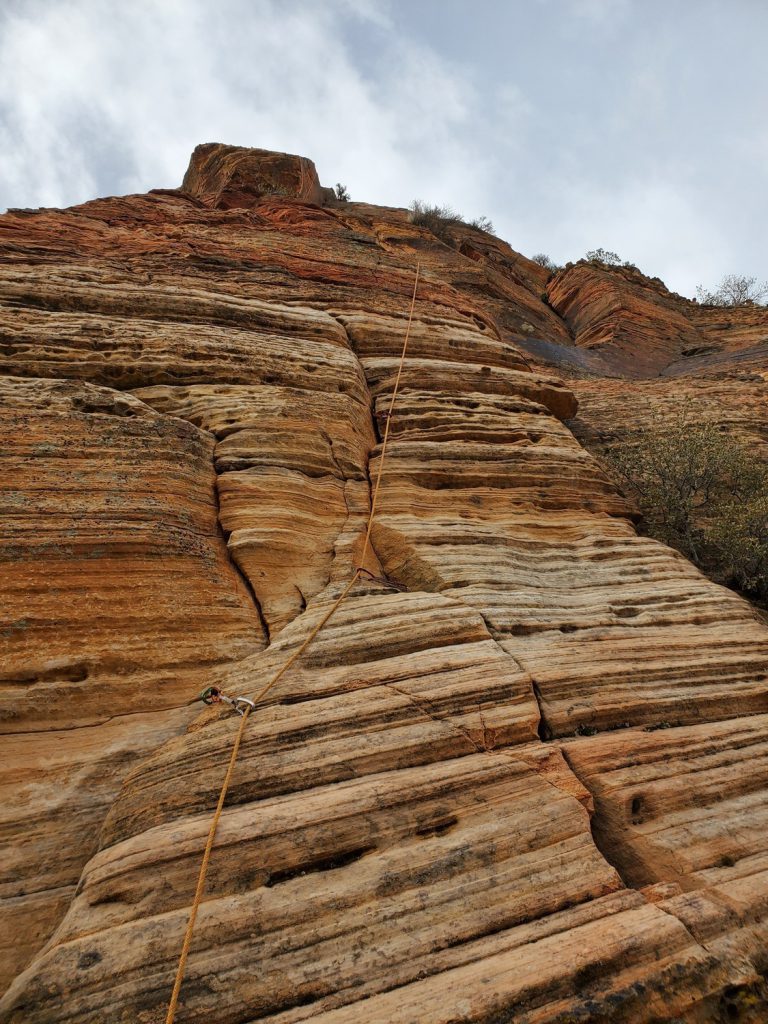
Clamber up the ramp to a large ledge. The ledge contains a tree with rap slings. Above the ledge is a Red Rocks-like face with some drilled angles. MP description calls this P1. Worth roping up for, someone’s died here.
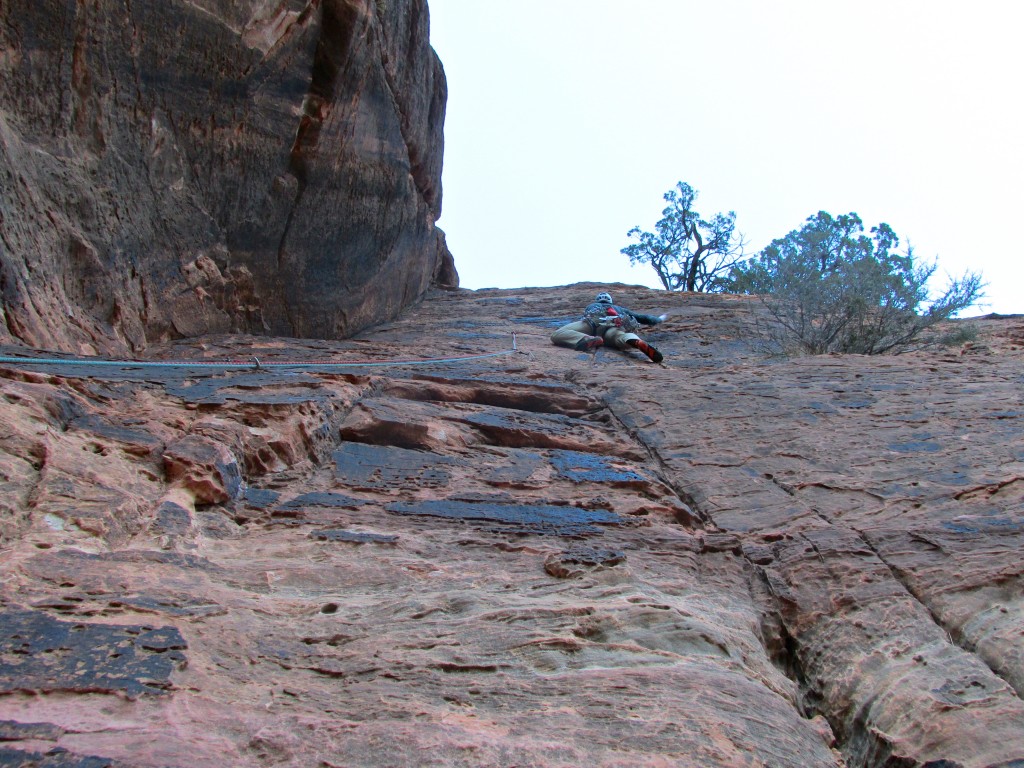
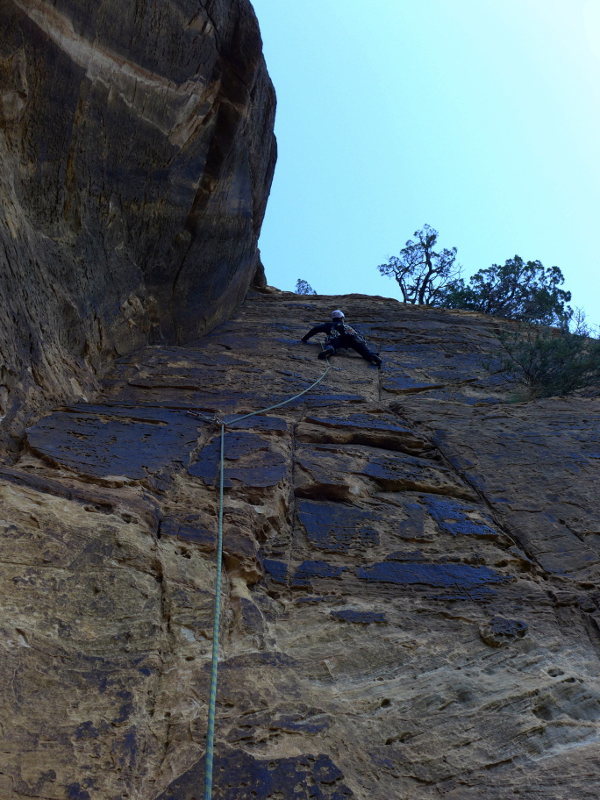
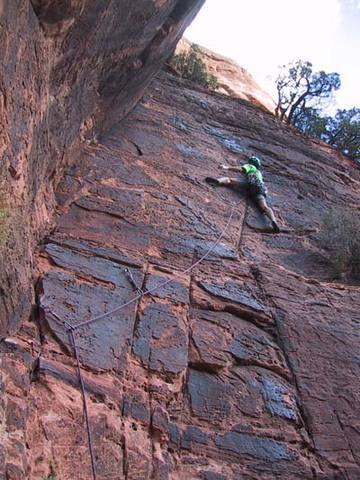
P1 – 5.9 (tough), 60′, sport
Some say the best (and hardest) pitch on the climb. Climb the crimpy sustained varnished face clipping 5 drilled pins to a ledge.
Link with P2 (190′ combined).
P2 – 5.8, 130′
The climbing on this pitch is fairly laid back. Place a few pieces as you overcome a short overhang section and pull yourself into an easy-going chimney. Placing gear is easy when and where you want until you reach a tree belay at the top. Do not get sucked left onto a ledge about ¾’s of the way up where there are pins, those belong to an aid route of some sort. Stay in the wide chimney until you reach a large treed ledge below the route’s dihedral above.
P2 to P3
Follow a vague trail clockwise (right) about 50′ through the bushes and establish a new belay at the base of the main wall.
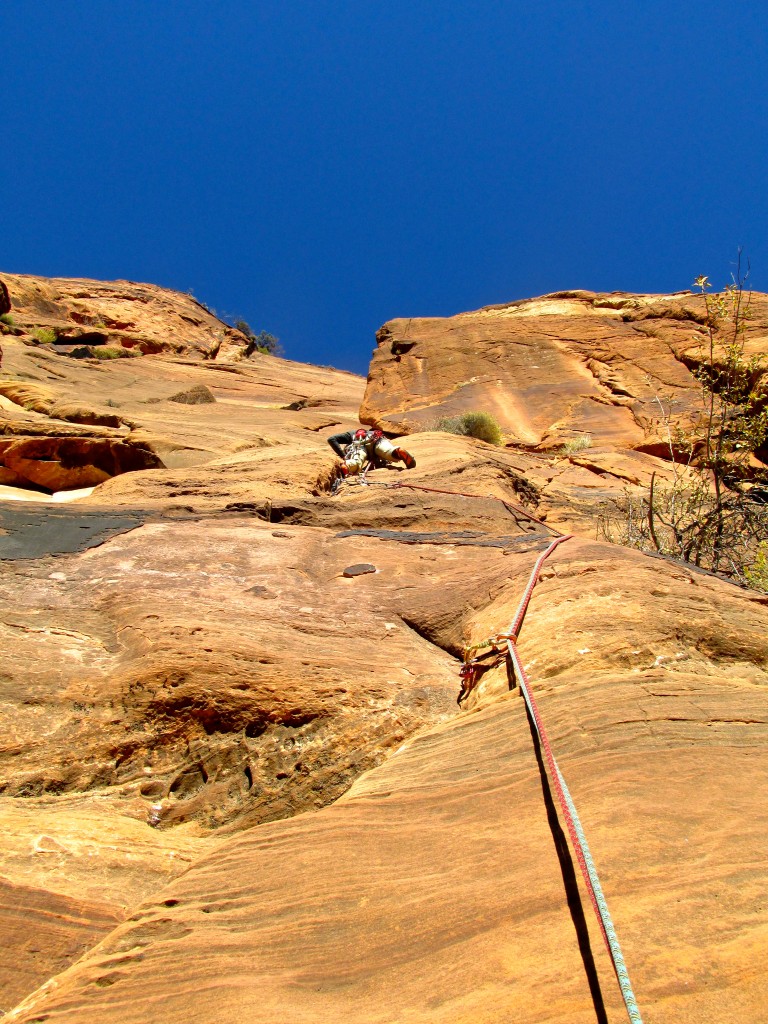
P3 – 5.10, sandy groove pitch, ~95′
Although mentioned as the crux lead in the Falcon Guide, several, including myself disagree. Most concur that it is pitch 8. The 3rd pitch is one of the shorter pitches, but not one to combine.
Wander up an unprotected section of the wall directly below the dihedral (1st chimney) into a sandy groove. You can protect the groove in about three spots, but the marginal aspect of the protection lends to the pitches rating. The 5.10c section is short and kind of reachy. I thought the rating should be a little less severe. Another crux, albeit much more fun, is the start move it takes to access the first chimney. Once in the left facing dihedral, continue up easy ground to a hanging belay on the wall to the left.
DON’T link with any pitches? That’s what one person recommended. Could link with P4 as 190′ though. But not linking this pitch avoids a hanging belay.
Start of P3 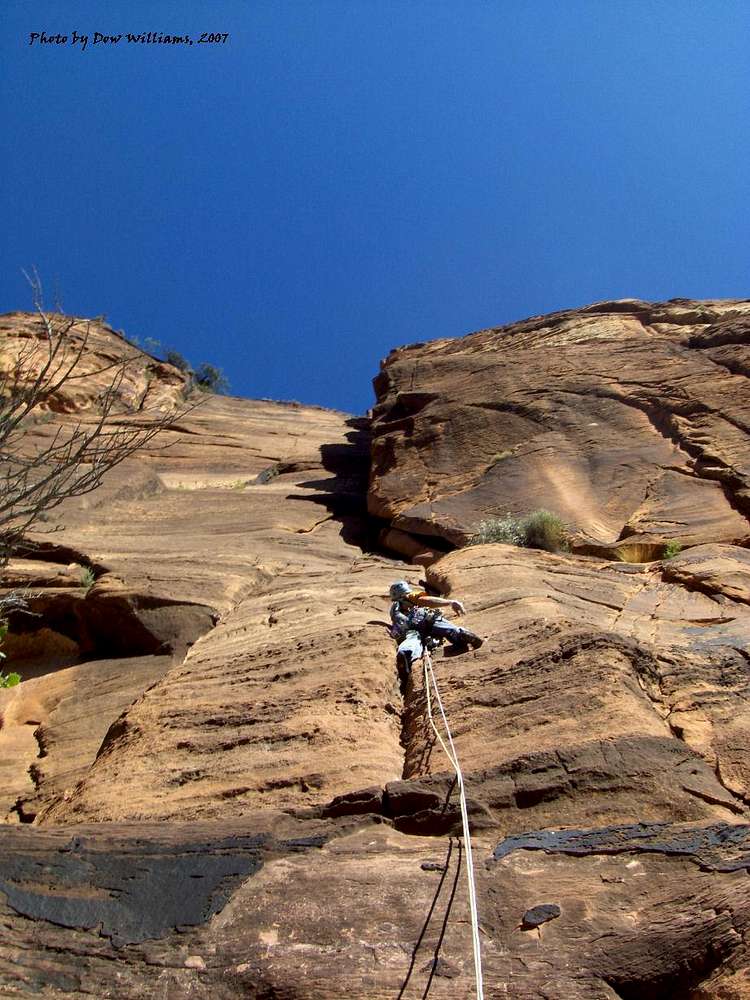
Start of P3 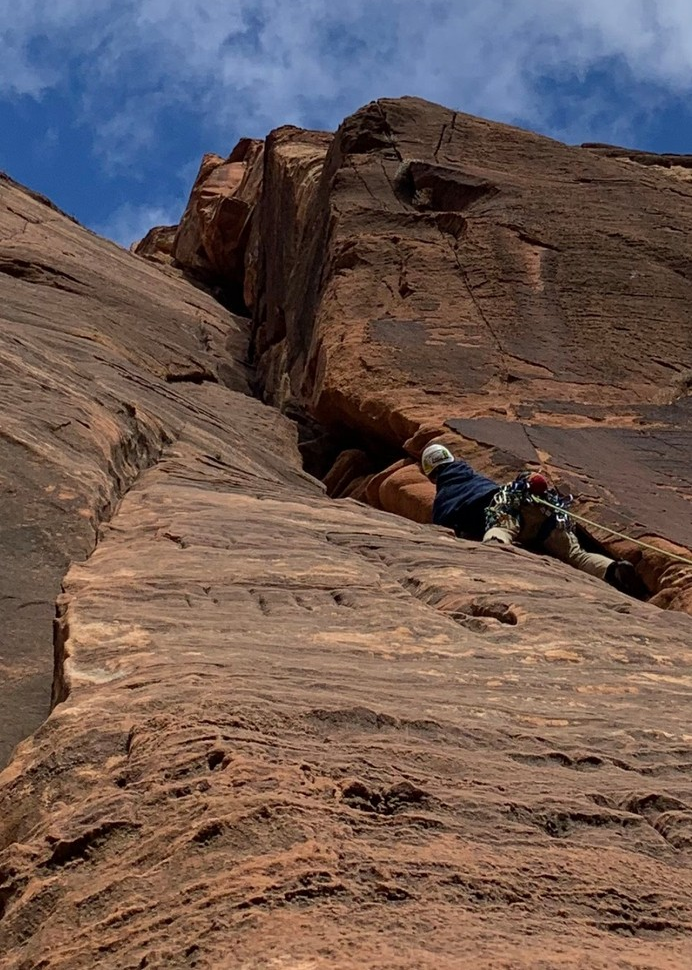
P3? 4? 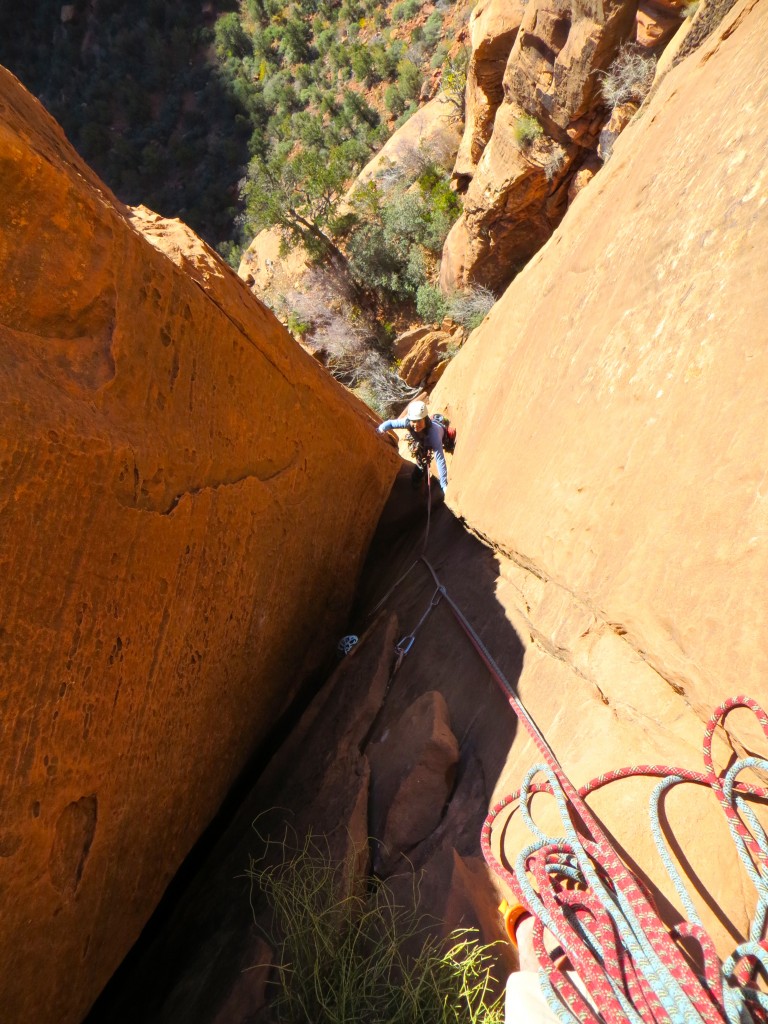
End of P3 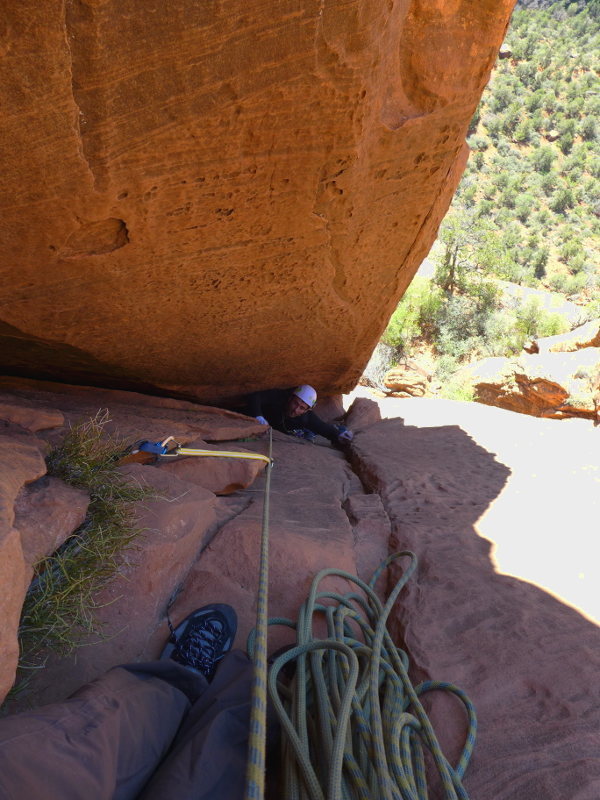
End of P3
P4 – 5.9, ~95′
Easier stemming, cracks, and chimneys. Aesthetic pitch up blocky fragmented rocks that run parallel to the dihedral, easy to place gear. Hanging belay to the left in a small indent.
LINK with P5 (skips a hanging belay).
Start of P4 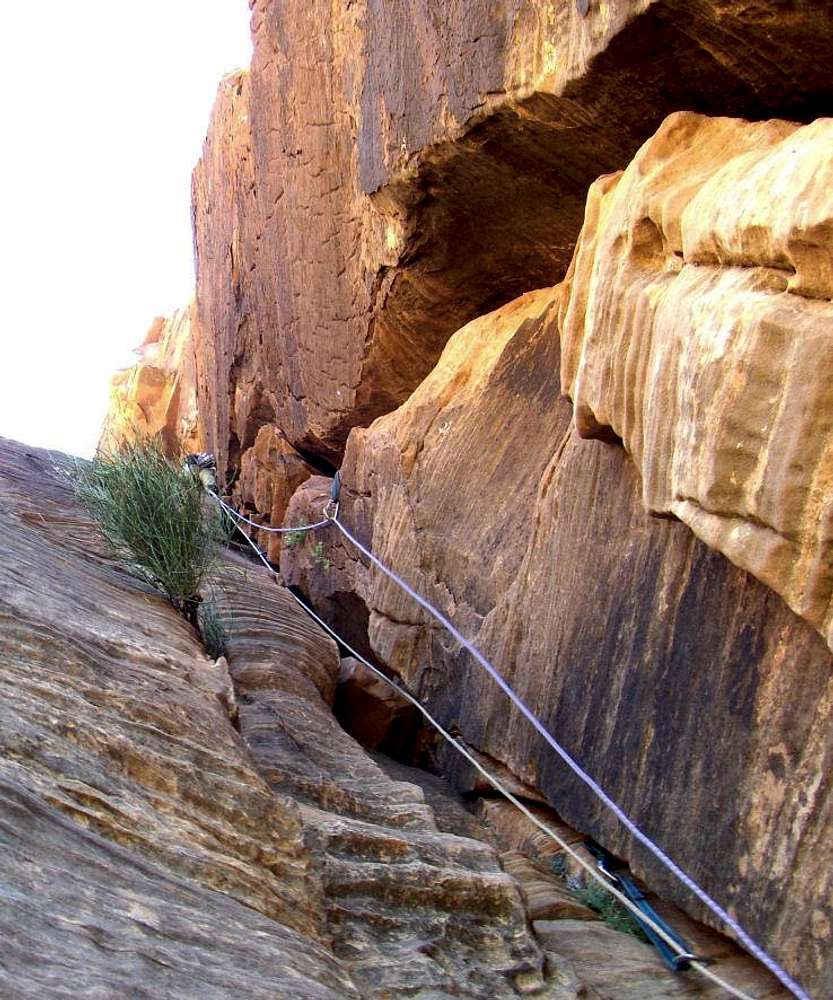
P5 – 5.9-, 160′?
Start is the crux, then it’s fairly smooth. I think you pass one set of anchors. Look to the right for a standing belay in the chimney.
Top of P5 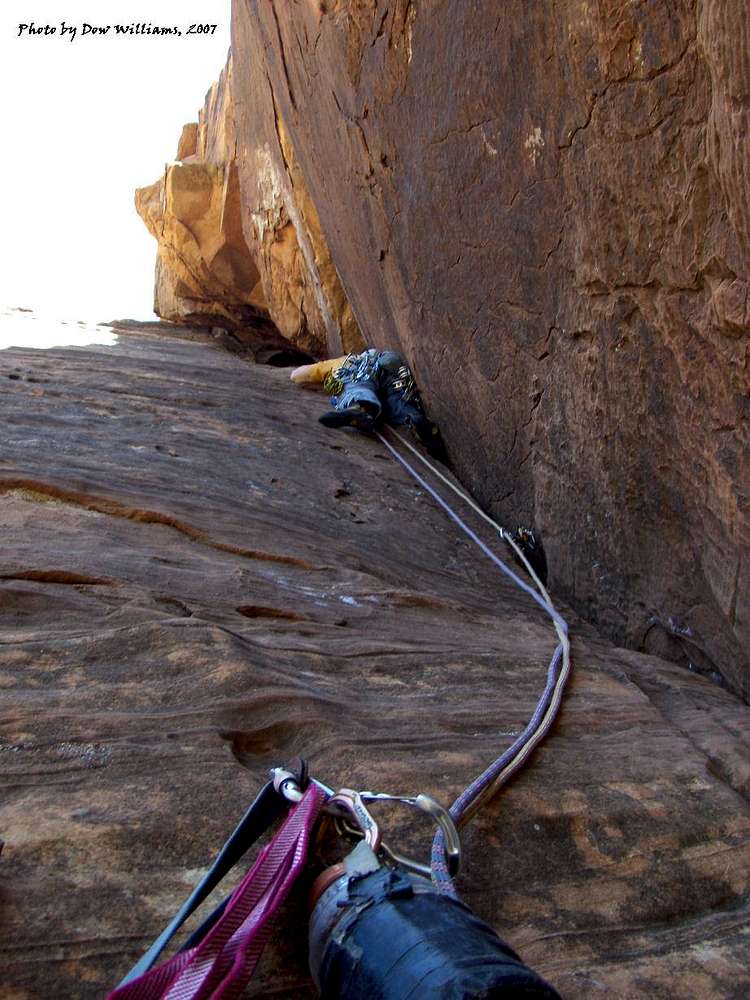
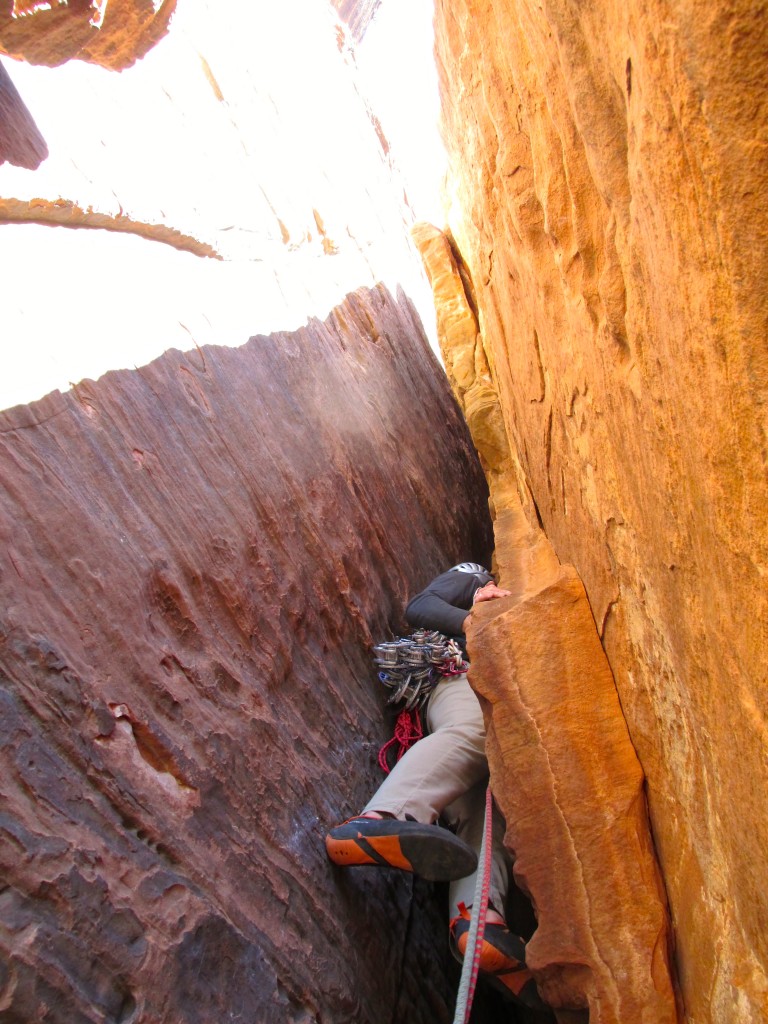
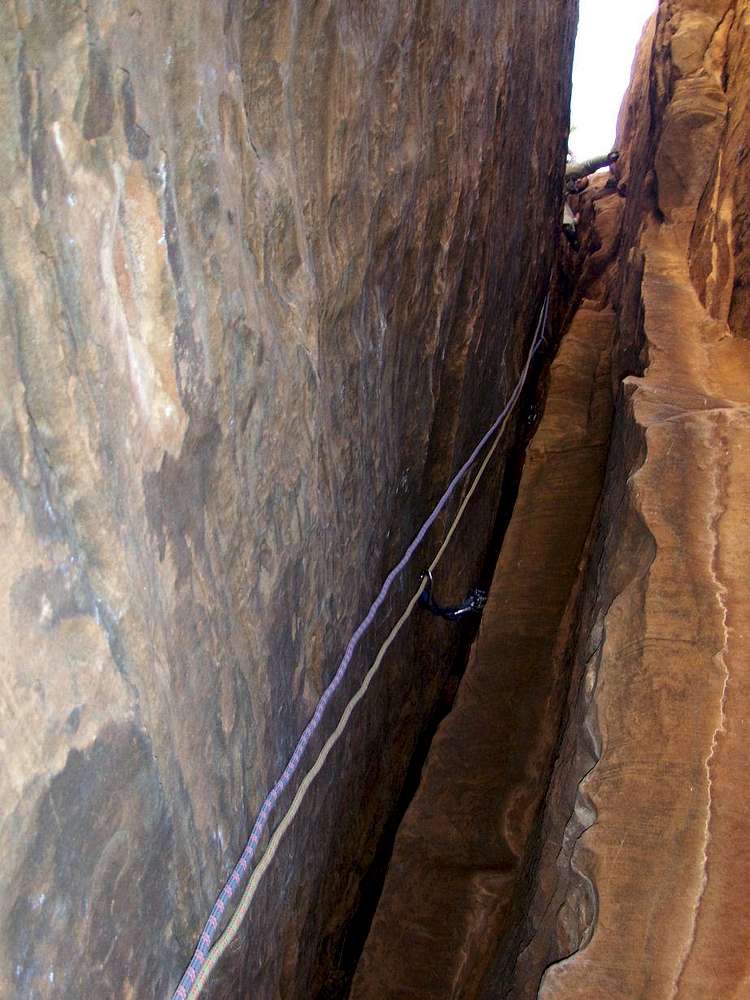
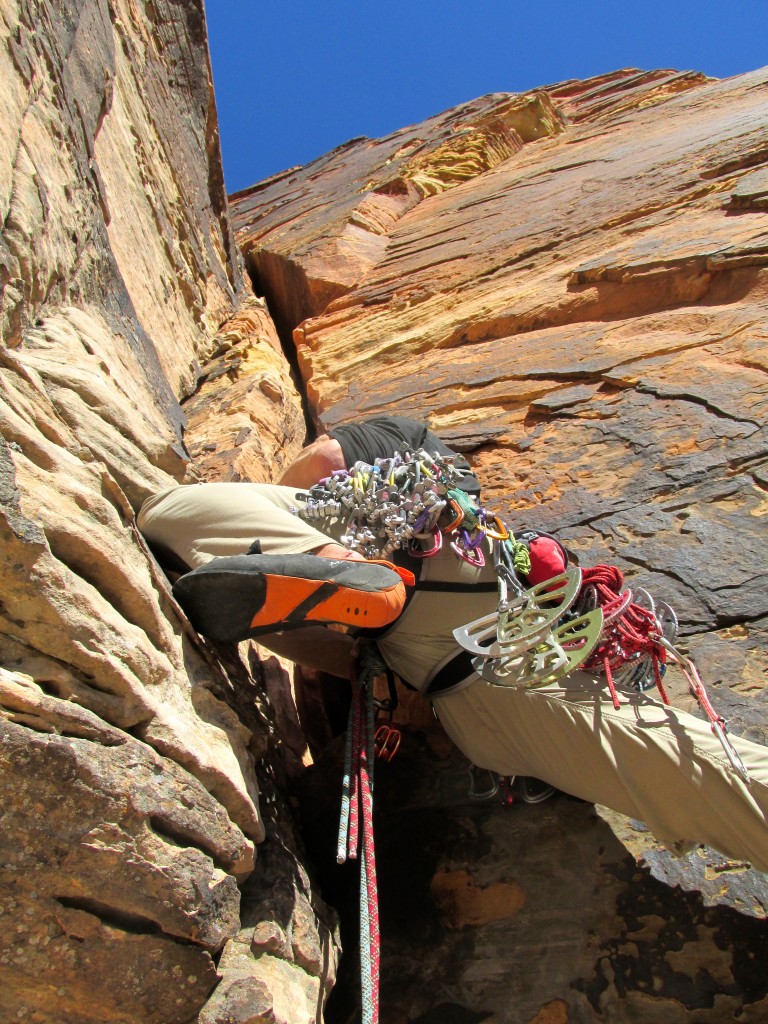
P6 – 5.8, chimney, 60′?
Fun but pushy chimney squeeze straight up and further into the chimney. Keep your gear to the sides and scrape for every conceivable feature to stem, squeeze and stuff yourself higher with. Hard to place gear, but you can use your #4 and #5 and a pin awaits you as you move out and on top of the chimney onto whitish/sandy rock. Turn left and continue up past one bushy ledge to the next for your belay. Stay left versus right here to stay on route. The sandy and loose section will give you several gear placements.
LINK with P7 (120′?)
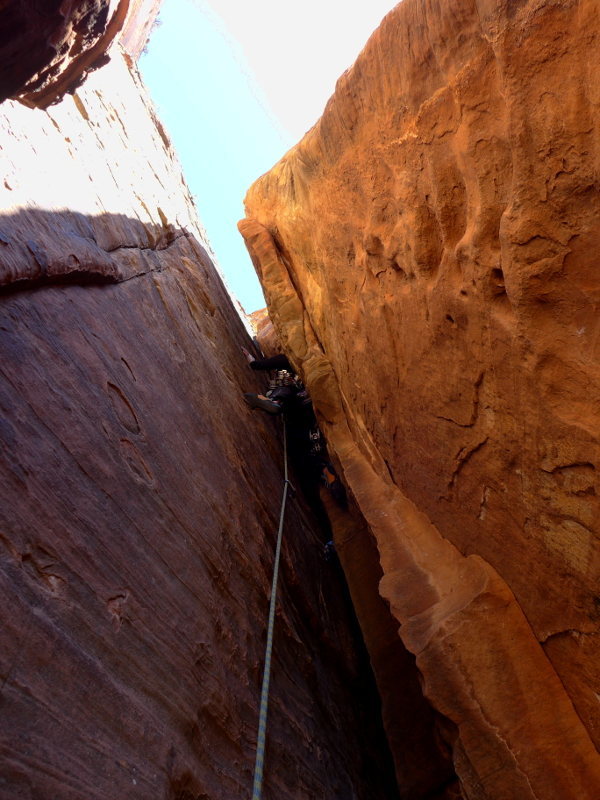
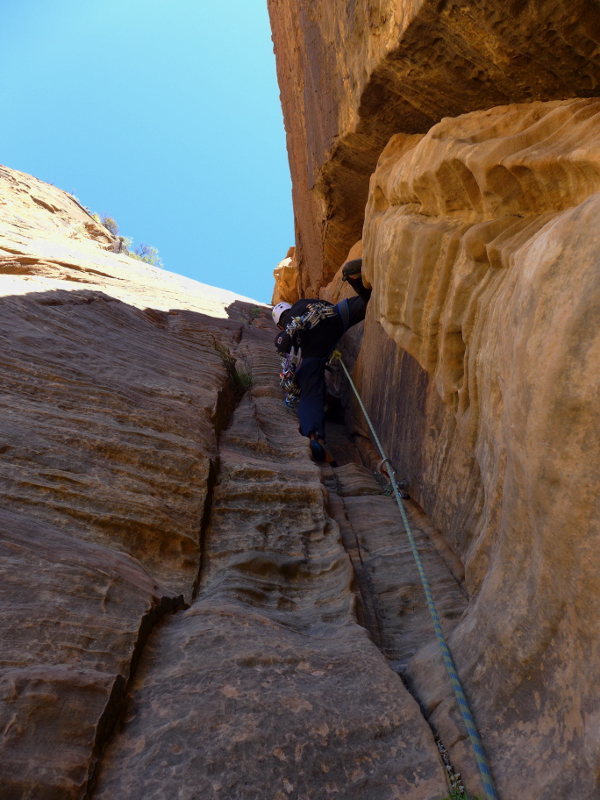
P7 – 5.10b, 60′?
The crux route and most desired climbing/rock of the day. Takes some time thinking about the unlocks here towards the top. Good gear placements.
Start of P7 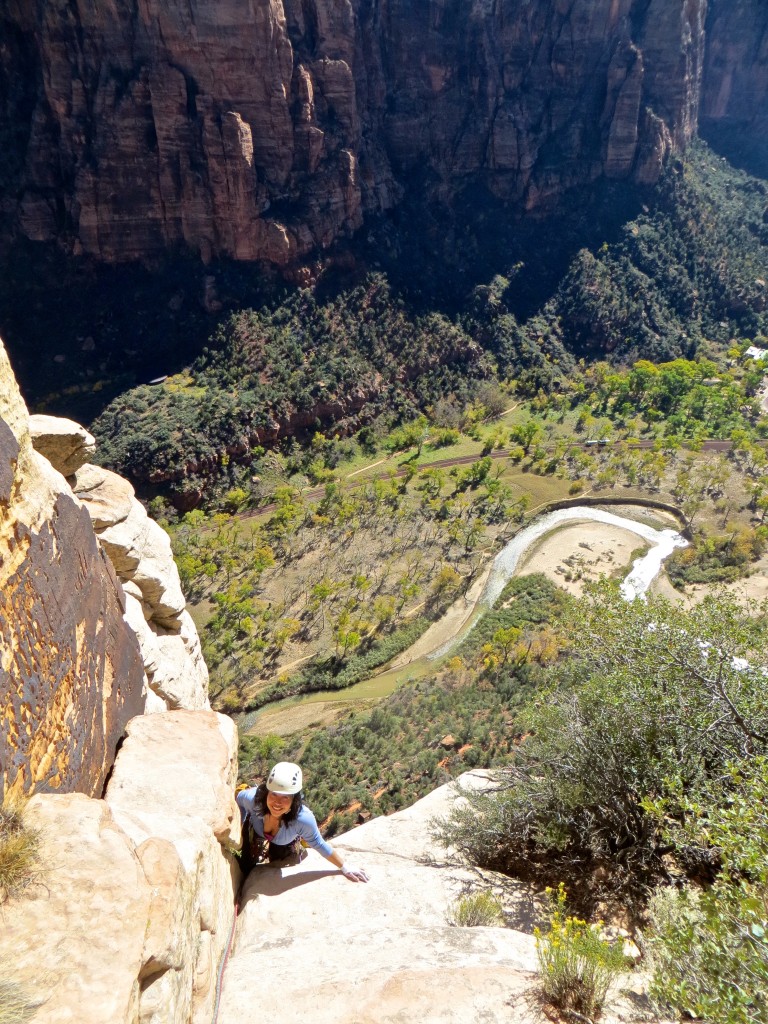
Top of P7
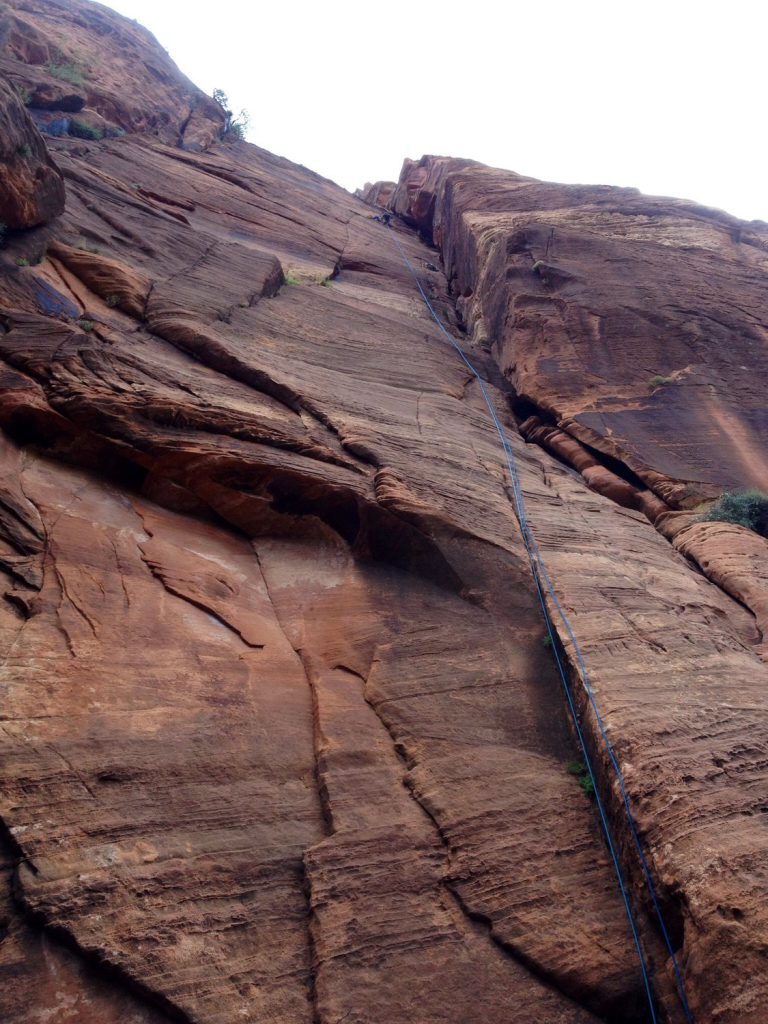
P8 – 5.10b, 180′
More dihedral. Last pitch with real climbing.
Start of P8 
Top of P8
P9 – 5.10
These last two pitches are less interesting, one person describes them as “wrestling moves”. A short scramble along the sandy gully to the right after you top out on the dihedral leads you to what the Falcon Guide refers to as a sandy crack; I call it an ugly sandy flake. Whip out your number 5 Camelot again and make an awkward move or two to swing into the flake and climb it to the top with a belay station on a large pine tree. It is best for both of you to scramble to the base of this crack, so you can combine these last two pitches.
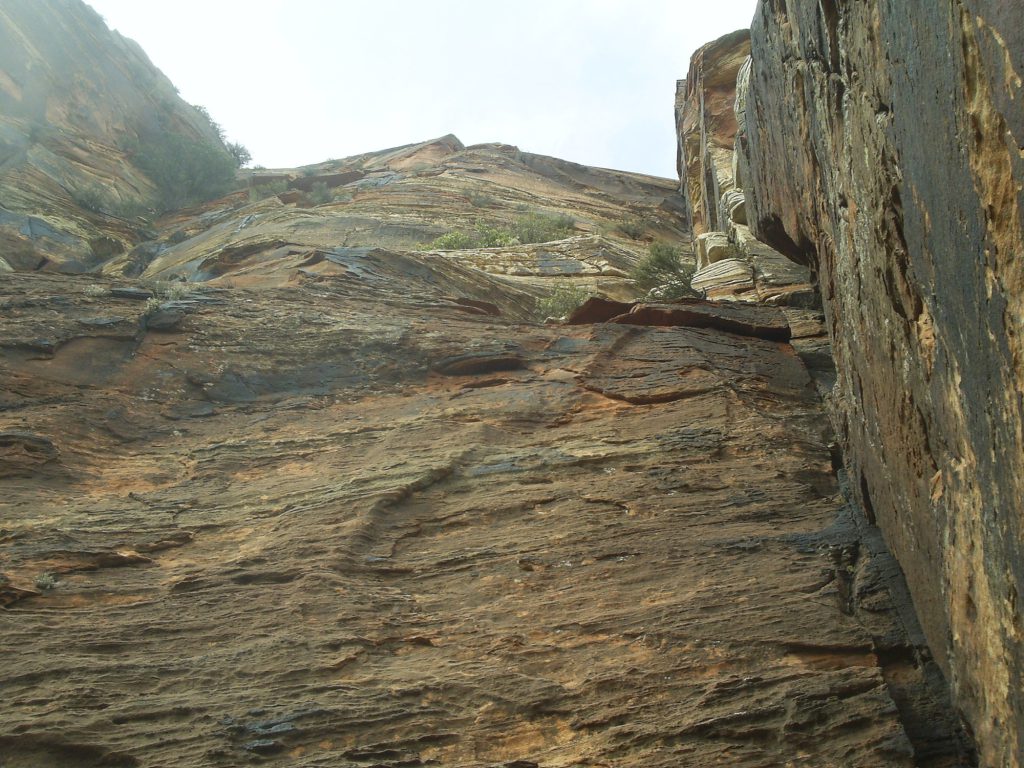
Optional P10 – 5.4R
The last pitch is a run out 5.4 to the top which you can scramble to the “summit” (it’s not any much more of a summit, and NOT worth doing, someone in 2018 fell 30′ and broke several bones. Crumbly sandy rock.
Looking up at final P10 
End of P9 or 10?
Descent
Two 60m ropes required (single 70m doesn’t reach).
Assuming you don’t do the final two pitches (the sketchy 5.10 and 5.4)…
- R1: 180′ (double 60m) rappel P8 and P7 back to top of P6 (big ledge).
- R2: 60′ rappel P6 (to a ledge)
- R3: 90′? rappel to hidden anchor 30-40′ climbers left of the route, outside of the chimney
- R4: 200′ (double 60m) rappel top top of P2 (big sandy ledges)
- R5-8: 400′? Single rope rappels take you to the ground.