Overall
If it weren’t for the runout, this would be a 4-star route. The approach is super easy, the climbing is overall fun, the belay ledges are nice, the descent (walk off) is super nice, it ends on a summit, etc. But the freaking runout on P4… it was barely within my comfort level (and I consistently climb 5.10+ sport and 5.10- trad at crags). P4 would have been way more fun if there were some bolts there. Not sure I’d be eager to do the climb again, but it was really great otherwise.
Gear
- Cams 0.3-3 with doubles 0.5-2
- Nuts
- 13 draws (mostly alpine with 1 double alpine and a few sport draws)
- Crack gloves (useful a few times)
- 60m rope
- Carry shoes up with you
- Optional small backpack
- NO walkie talkies (communication was good enough)
Logistics
Bring your shoes with you to the top. Since the descent trail takes you close to the base, it’s reasonable to leave other gear at the base (probably only adds 15 mins going back to the base). Alternatively you can bring everything for a slightly speedier descent. You will want a SMALL backpack, as the squeeze through the chockstone can be difficult with a backpack. We were able to keep our backpacks on through the chockstone, but many take their backpacks off for it. Other than that, backpacks are fine.
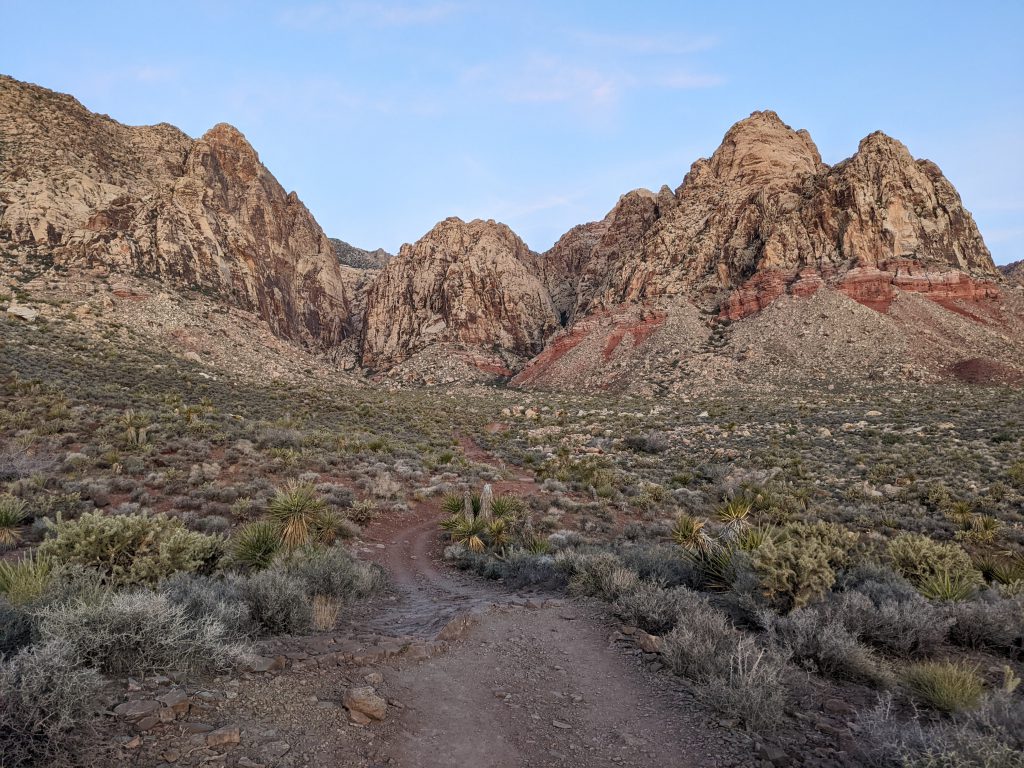
Approach
40 minutes at a casual pace, nice trail. Be sure to use the map though since there are a lot of turnoff trails. Getting to the base of P1 requires one unexposed 5th class move to get up onto the base ledge.

Climb
Most parties will probably take 4-5 hours. The route finding can be a little difficult, the anchors are all trad anchors, and pitch 4’s runout traverses will likely cause hesitation for most 5.10 and under climbers.
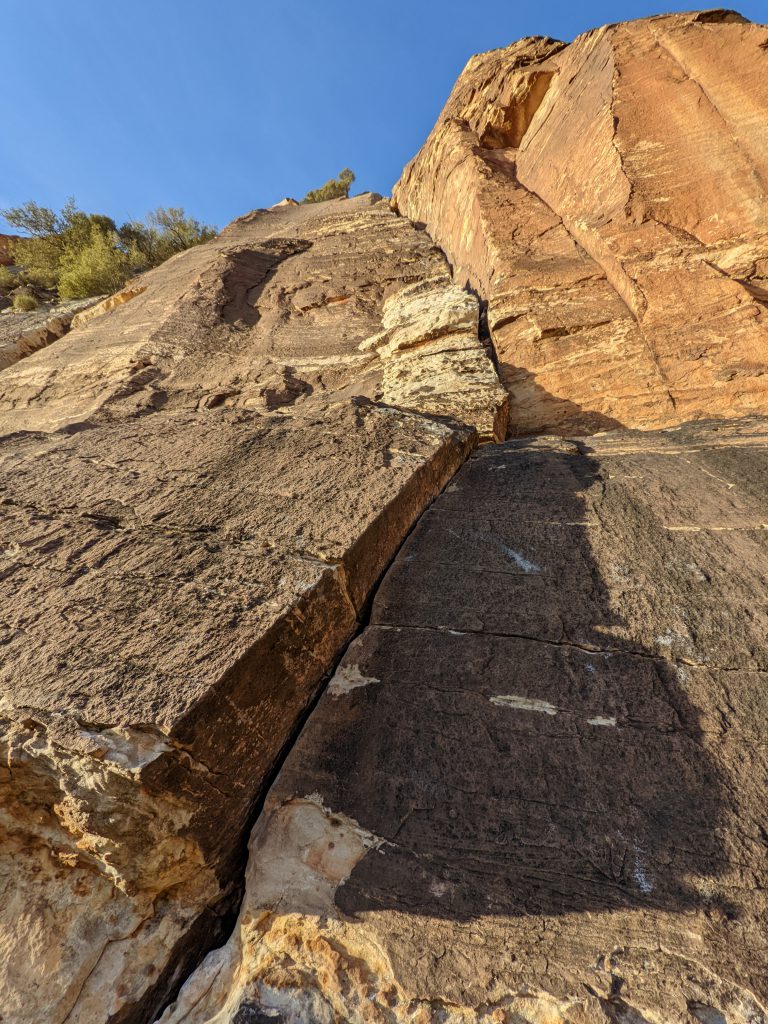
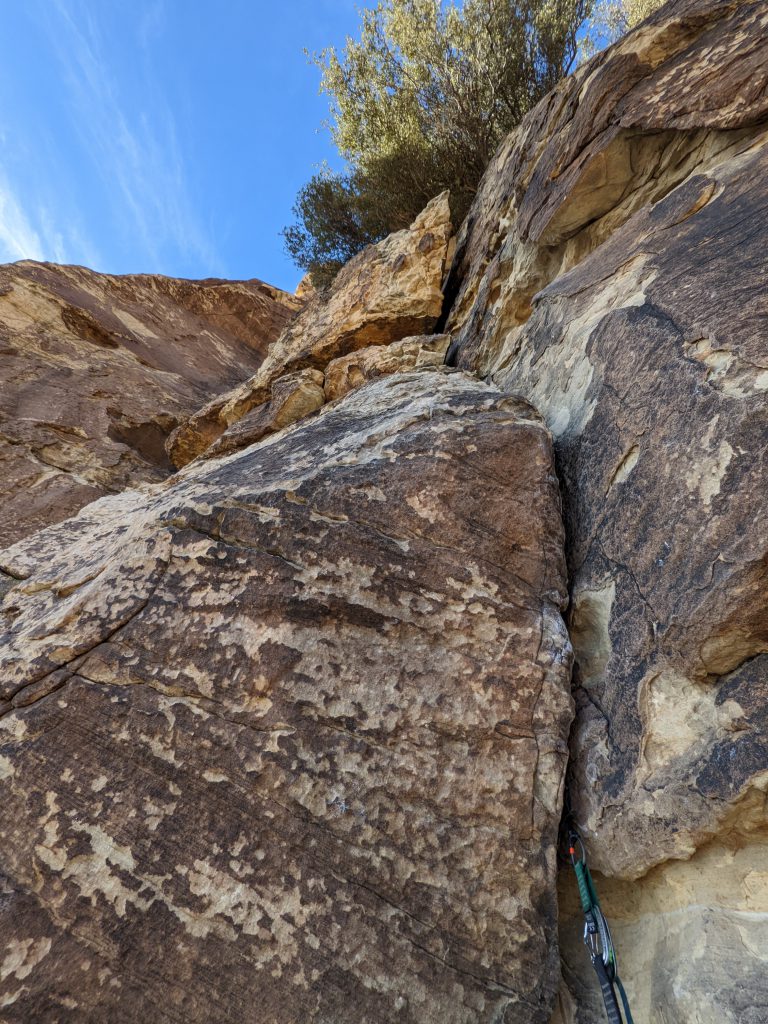
P1 – 5.7, ~150′
Decently sustained pitch, reasonably protected. Climb a crack in a block (awkward) to gain the left-facing corner/crack. Climb this for a nice long pitch and belay on the second of two big ledges using the tree as the anchor.

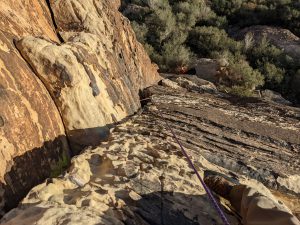
P2 – 5.7, ~120′
I followed up the corner system and ended belaying about 15 ft below the next big tree on a nice ledge.

P3 – 5.6, ~100′
From the belay, I went up 10′ and then traversed left 10′ (easy traverse, big hands and good feet) and then followed up the corner. Belay at the ledge at the base of the first blank P4 face moves.

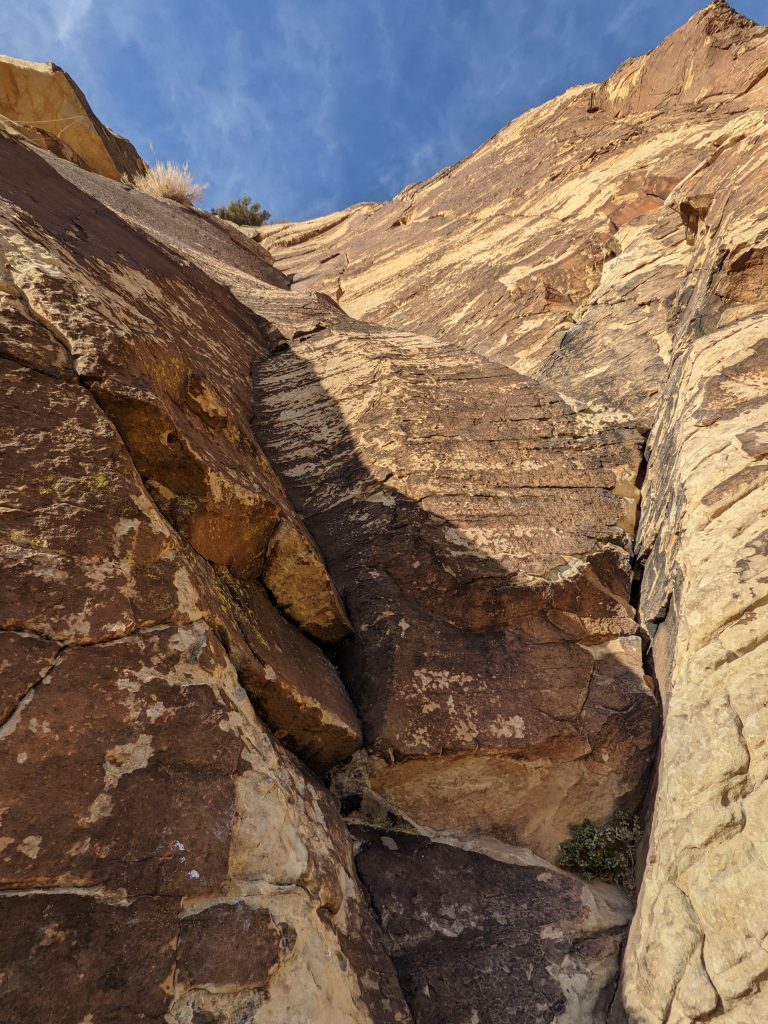
P4 – 5.8 (I’d say 5.9), ~100′
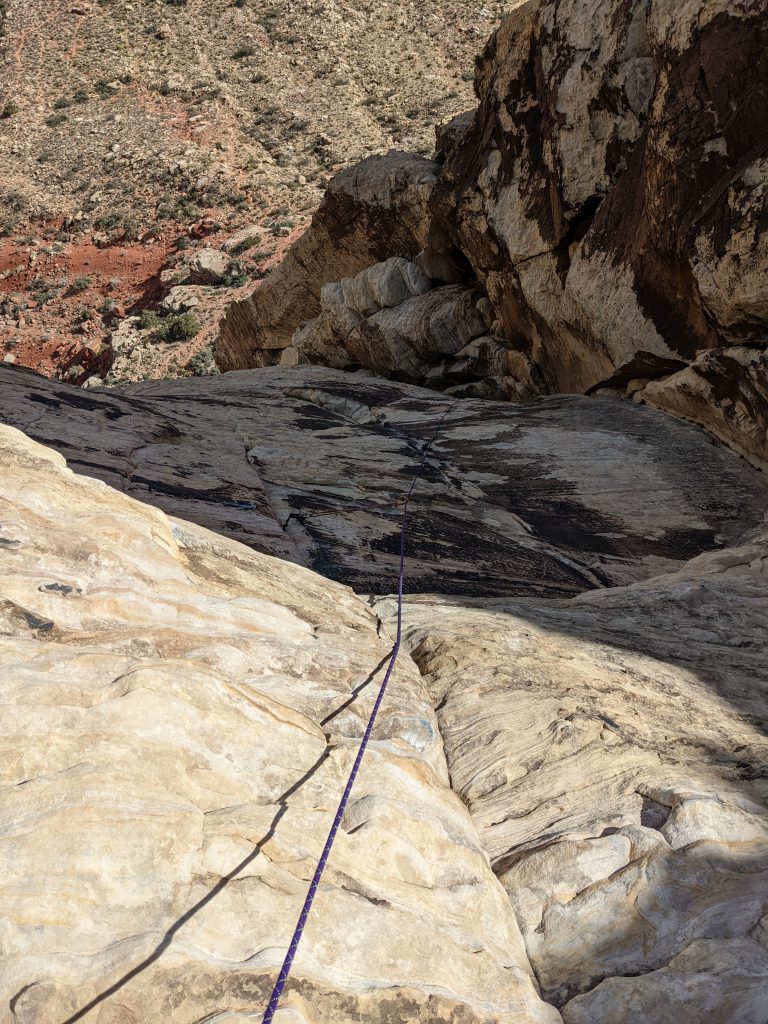
The start of P4 is immediately runout… you climb tiny face moves to the left of the corner without any gear until 15 feet up. It looks absolutely impossible, but it’s actually possible. Start far left, even though it feels safer to be closer to the corner.
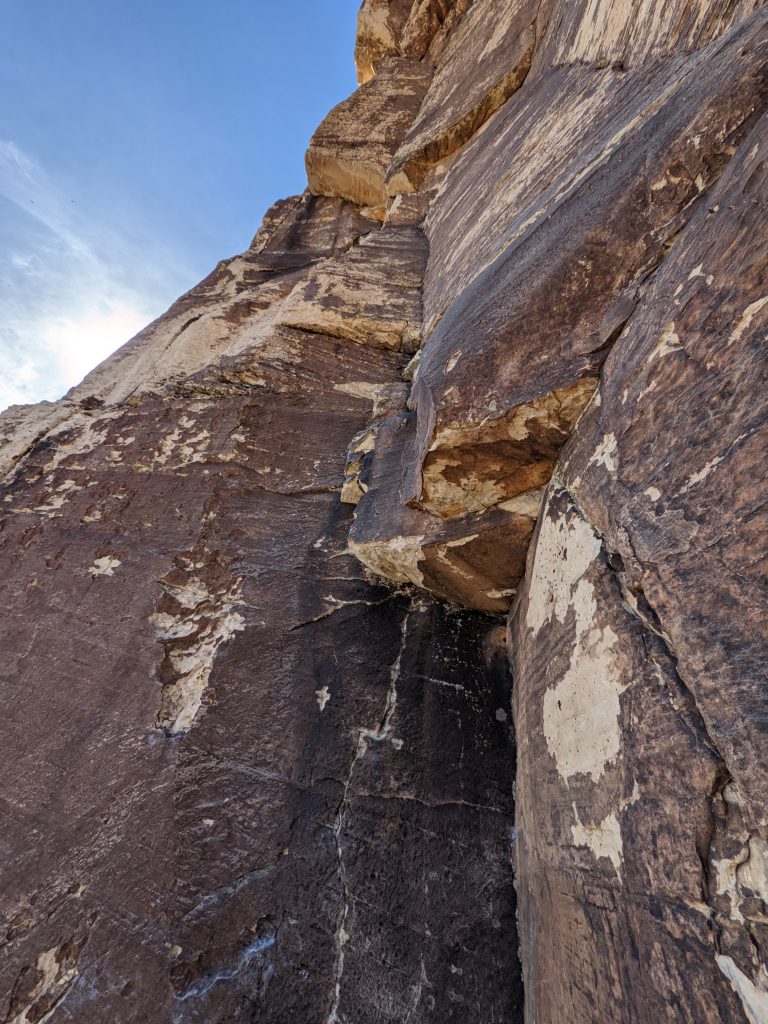


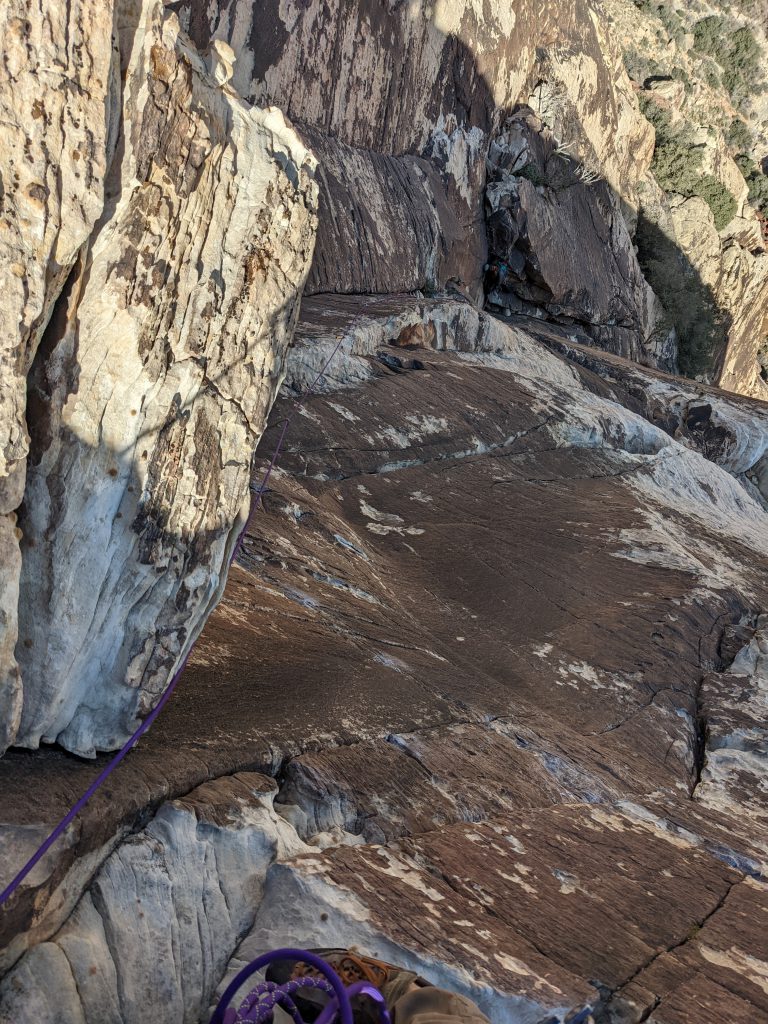
Then there’s the actual traverse, which again is runout. The key is to not go too high. Place a #2 in the crack with an alpine draw, and with your hands just below the #2 keep traversing left. The final step to the left edge is quite the leg reach and quite committing. Once on the arete, you can’t really place any gear till you get higher up, so just keep climbing till you get to the belay ledge just above the roof (you’ll still be able to see your follower).


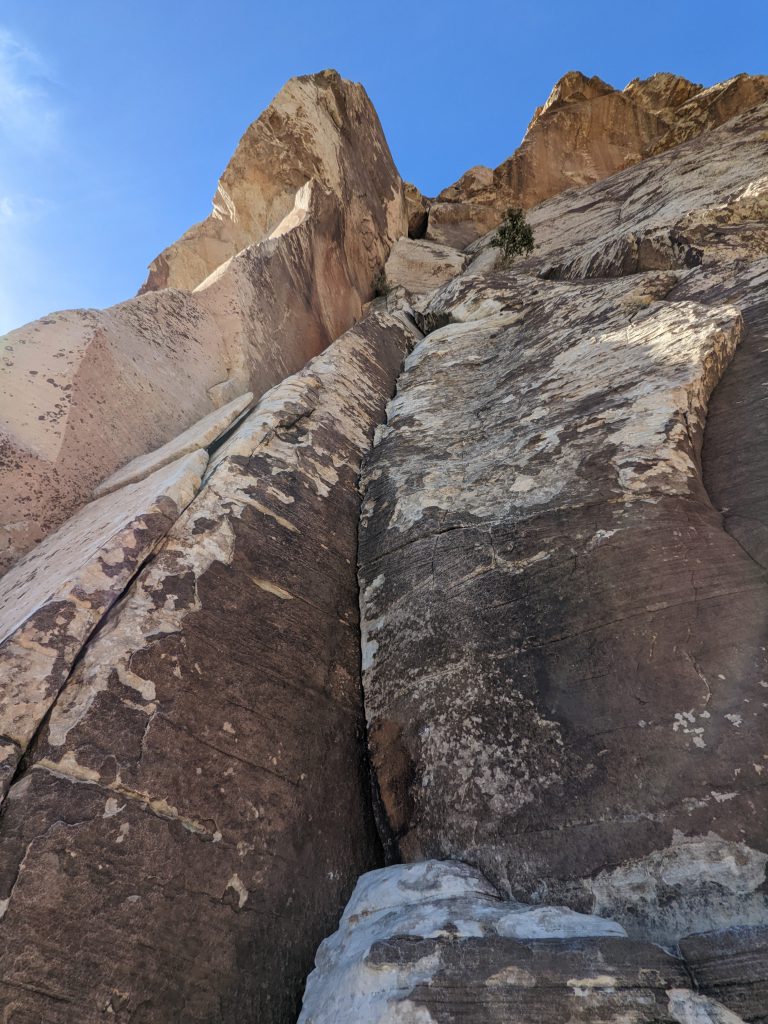
P5 – 5.8, 130′
This has some more runout slabby face, but not nearly as bad as the last. The bolt on the face is a little difficult to reach even as someone that’s 5’10” tall though. And then this goes under the chockstone, which we both were able to keep our small backpacks on for. It’s not as small of a squeeze as some climbs. The chockstone section protects well!

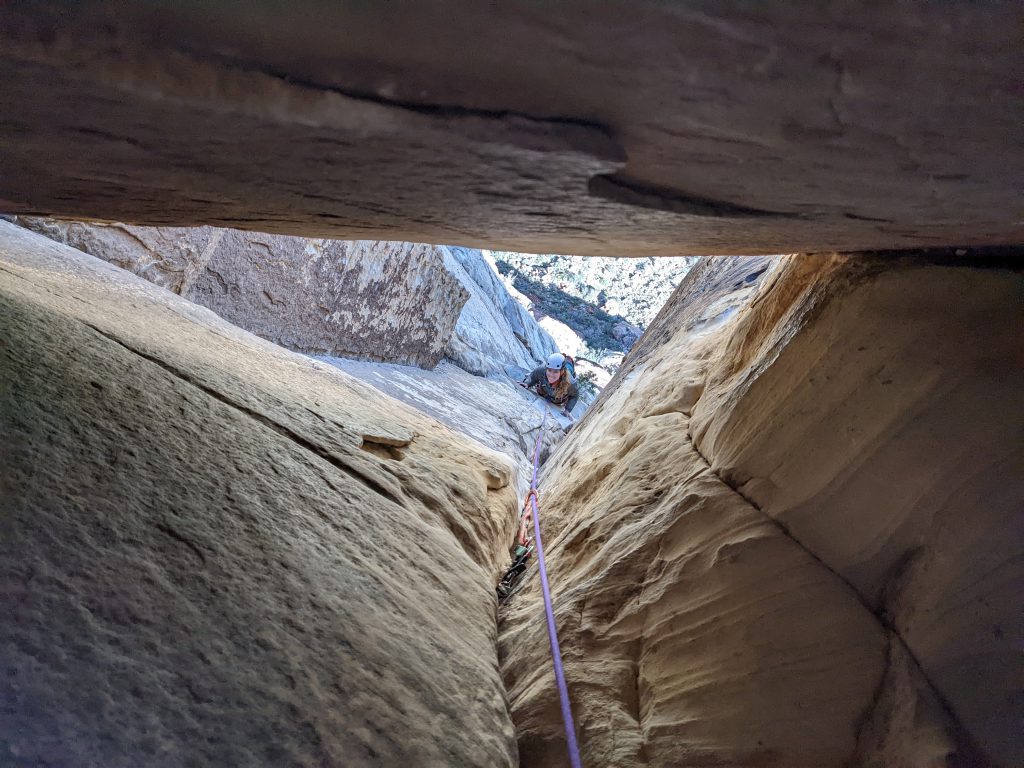
P6 – 5.6, ~190′
The start of the last pitch is a little confusing, after some time I figured out the best way was to climb up the corner and follow under the roof… looks really difficult and impossible, but there’s good hands and feet, and there’s a huge jug on the other side of the roof!
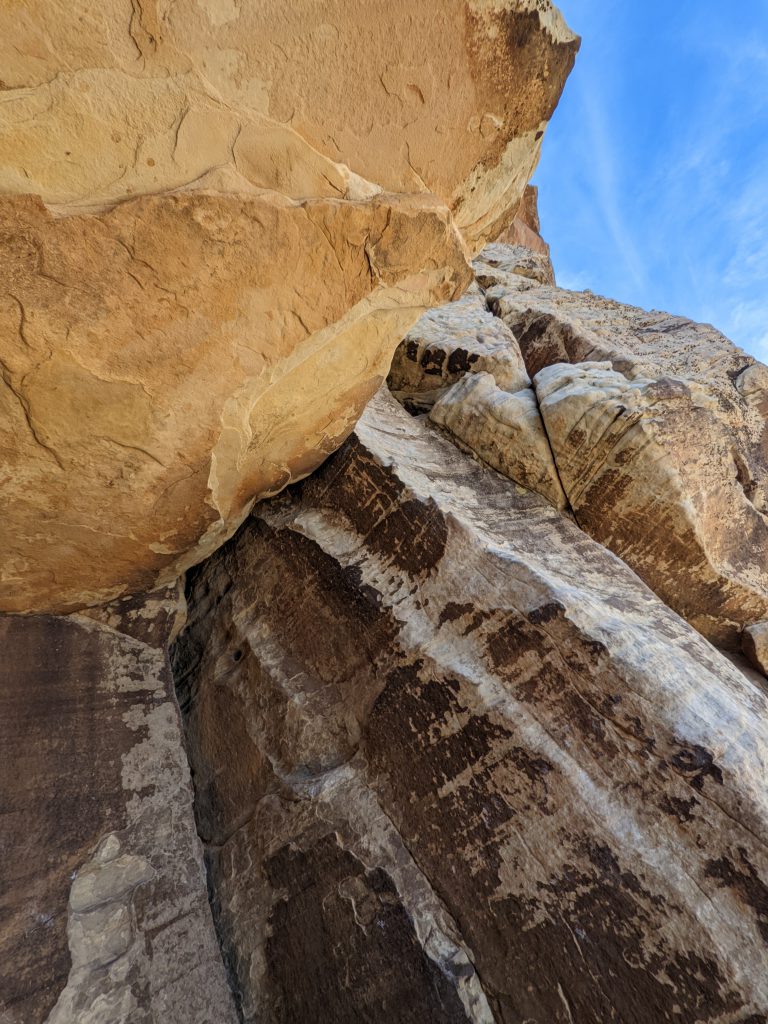

Then there’s some easy slabby face, but you actually can put in a decent amount of gear right till the crux bulge, and the bulge is actually pretty easy. And then it’s easy 5th class terrain to the top!
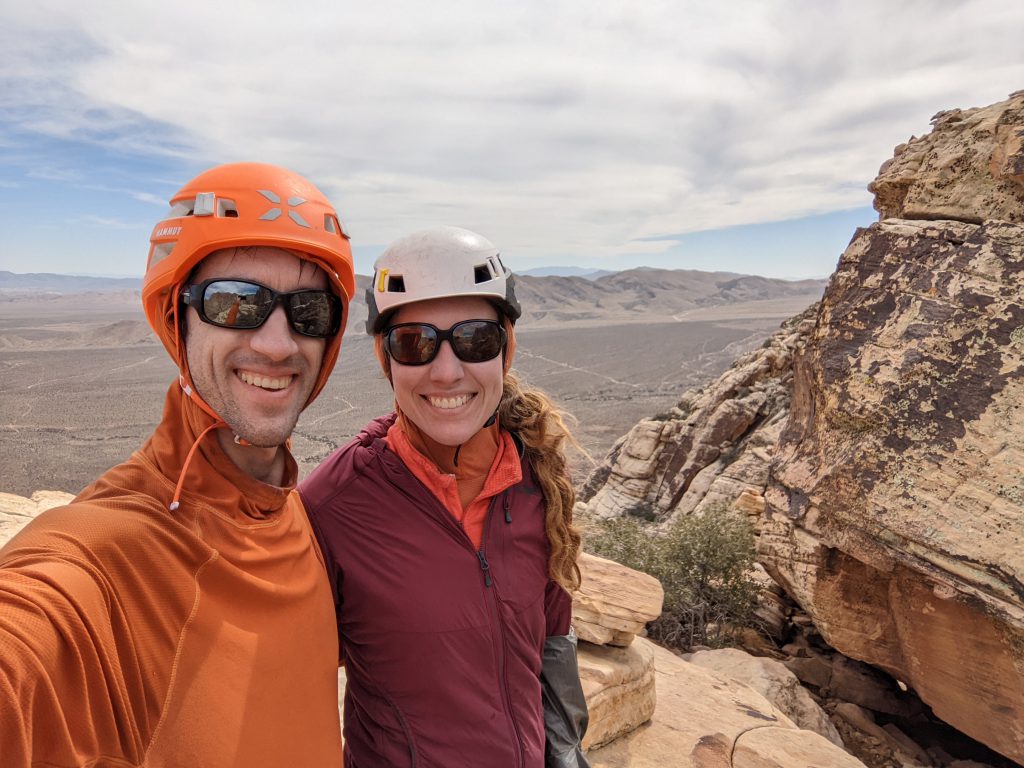
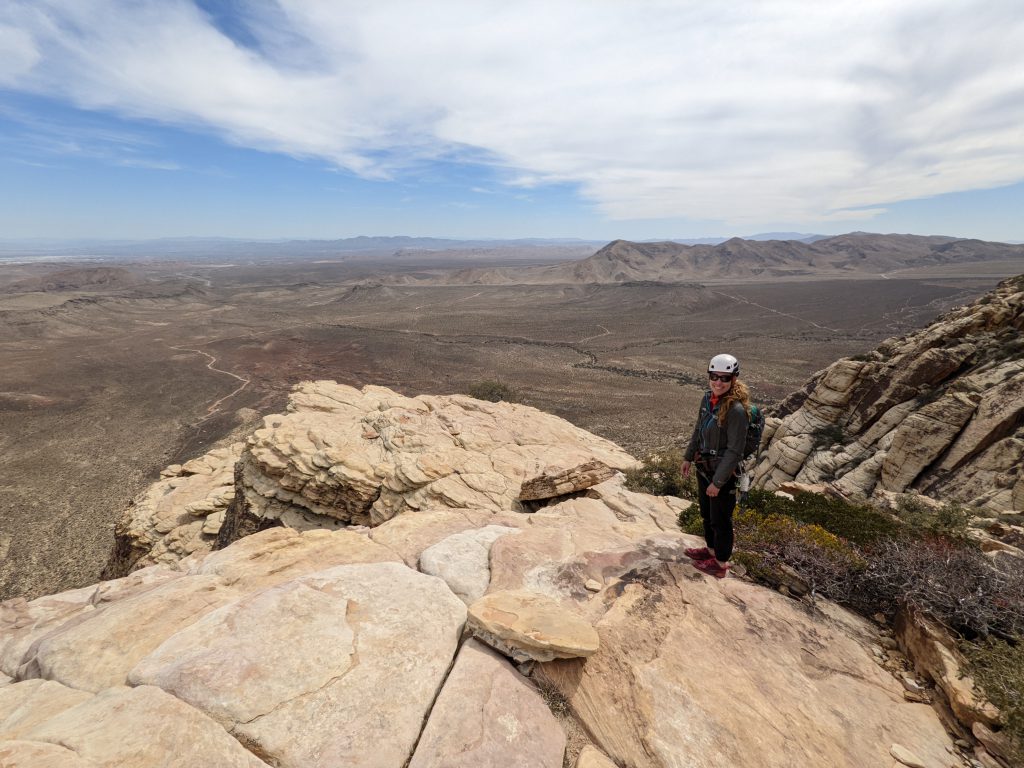
Top!
The summit’s really nice! Plenty of space to lounge around, and a good view of Epinephrine’s peak (which looks crazy long and tall).
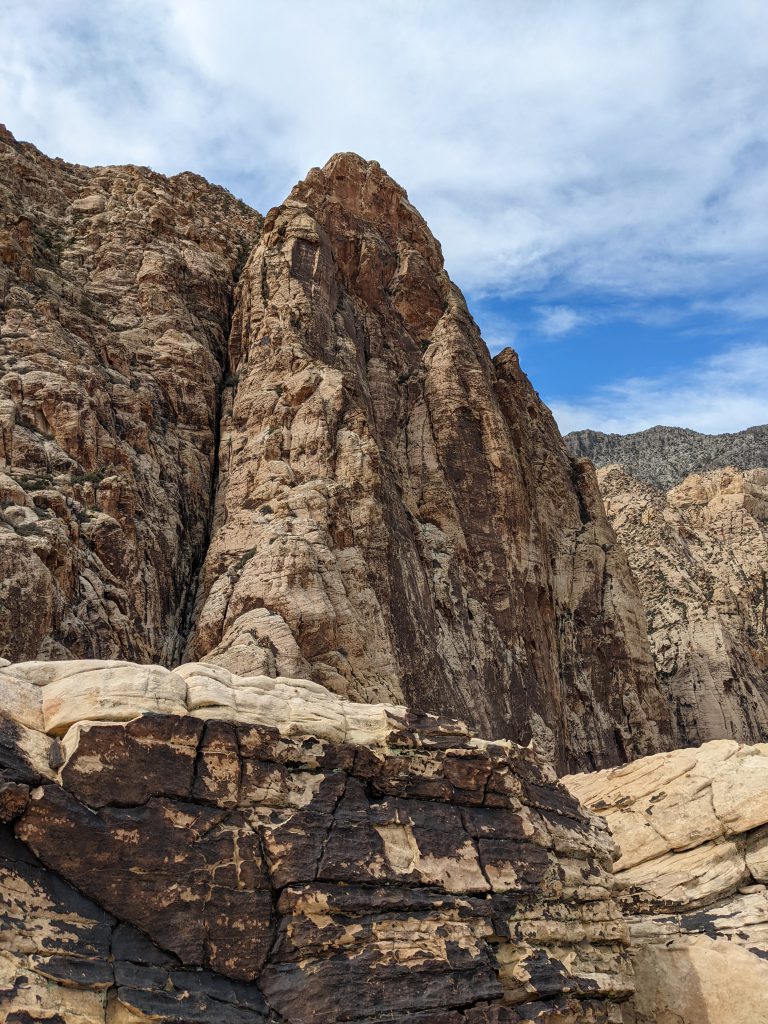
Looking at Epinephrine
Descent
This is a REALLY GOOD descent! 10/10 would do again! There’s like one or two class 3/4 moves, but they’re not exposed at all, and the trail is really obvious and it’s usually quite easy walking, just follow the well cairned path. It took us 50 mins to get back to the base of the climb, and that was at a slow pace while pausing to look at the views multiple times.
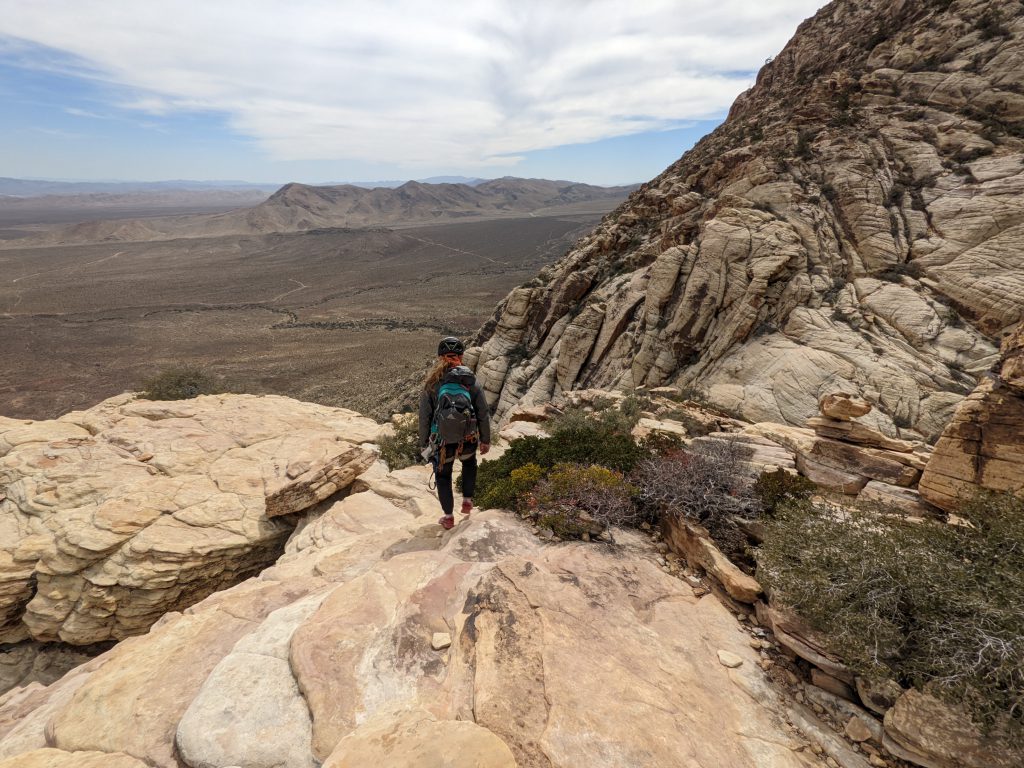
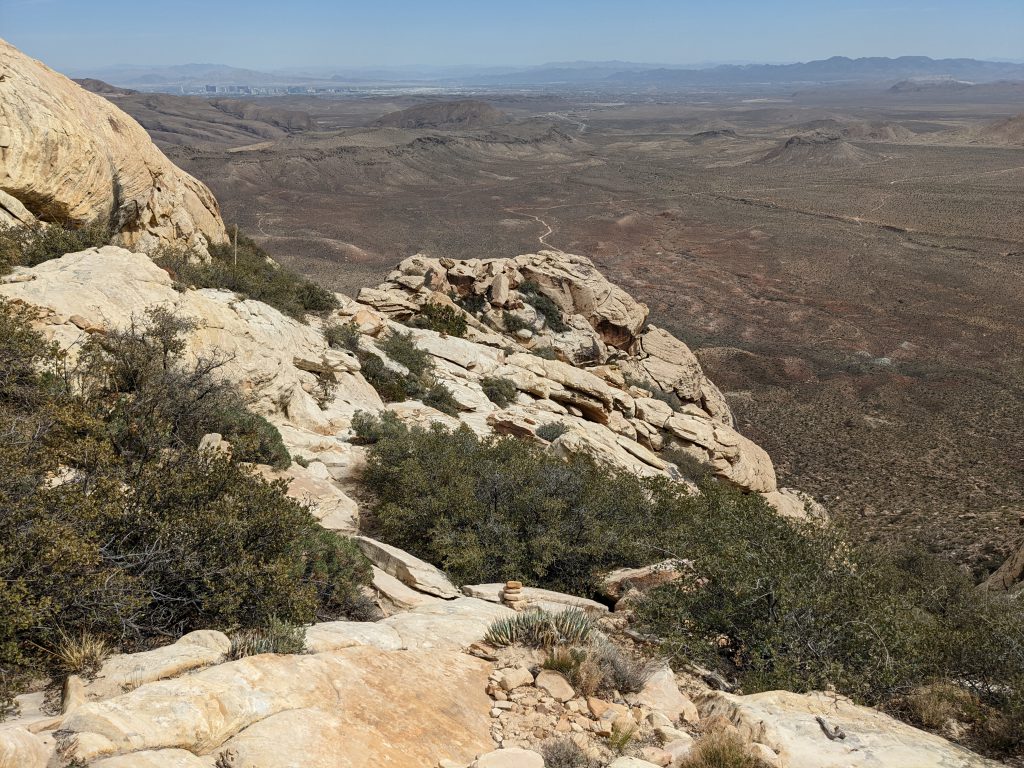
Cairn highway! 
Some non-exposed scrambles down 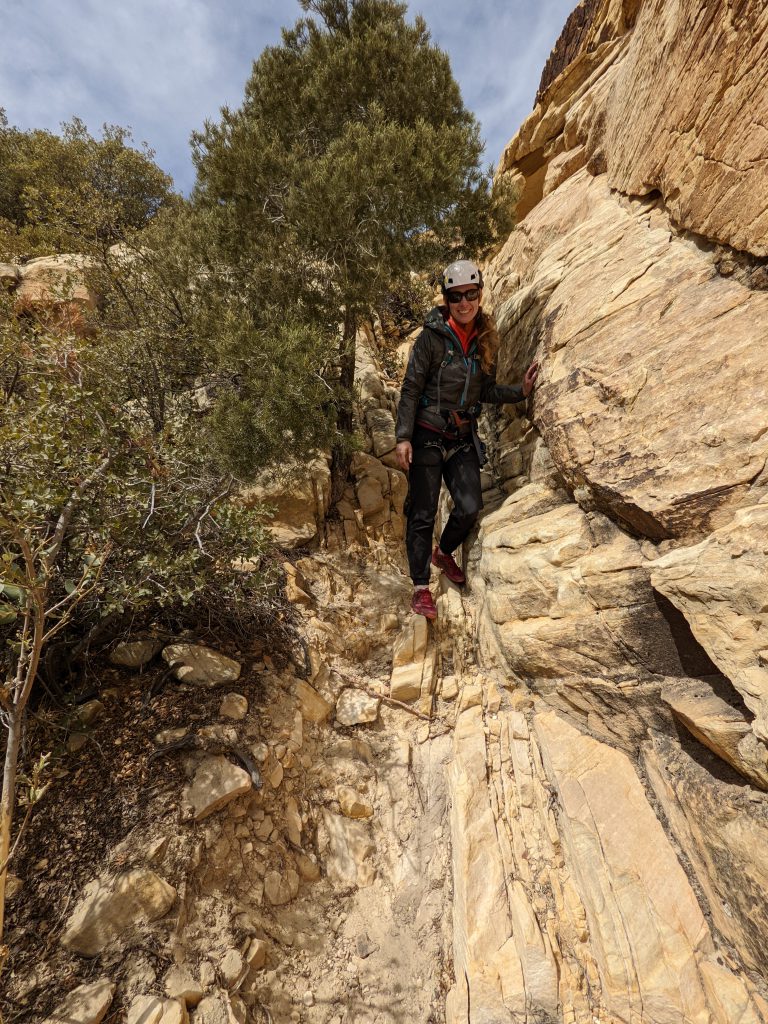
Reports
Frogland May 2022
Overall If it weren’t for the runout, this would be a 4-star route. The approach is super easy, the climbing is overall fun, the belay ledges are nice, the descent (walk off) is super nice, it ends on a summit, etc. But the freaking runout… it was barely within my comfort level (and I consistently…