Resources
- Big credit to American Alpine Institute – Climbing Blog: Route Profile: Angel’s Crest (5.10b, IV), great writeup, most of this info is from them
- Big credit to BC – www.StephAbegg.com – SQUAMISH Climbing (google.com) for all the photos!
Gear
- Doubles 0.3-2 and single #3, no #4 (one person brought it but never placed it)
- Nuts
- Radios?
Approach
0.8 miles, 1,170 ft gain, ~35 minutes.
Alpine Institute: Park at the climber’s parking area below the Apron in Squamish. Exit the parking lot and walk along the dirt road for about ten minutes. You will pass a couple of trails before you get to the right one. The trail that you will use to access the route is on the right side of the road and is near where many people park and pirate camp. There is a sign just up the trail that says, “Angel’s Crest.” Follow the trail up, passing a few trees with an “AC” on them. Eventually you will come to a boulder field with a drainage. You can climb the 5.10b variation at the foot of the buttress (bolts visible) or walk up the drainage to where a tree touches the rock. Most people climb the tree on the first pitch. The approach should take about 35 minutes.
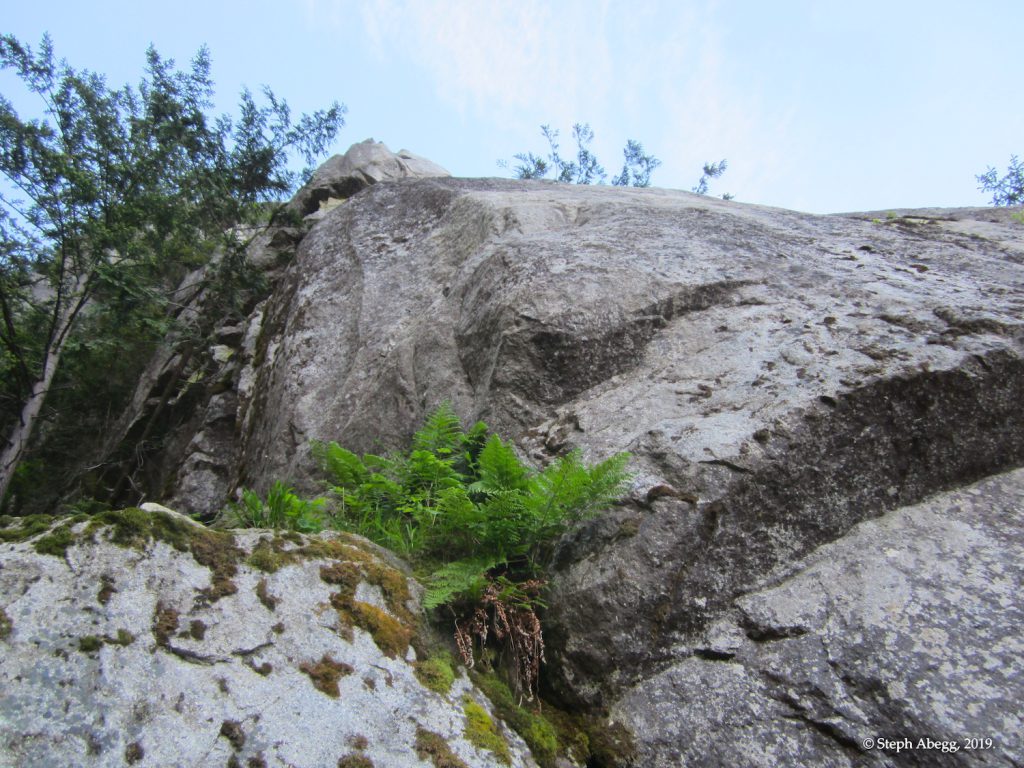
MP: When you reach the large scree field at the base of the wall, the route starts at the climber’s right edge of the scree. There is a clearly marked sign on the rock at the 5.10 slab start.
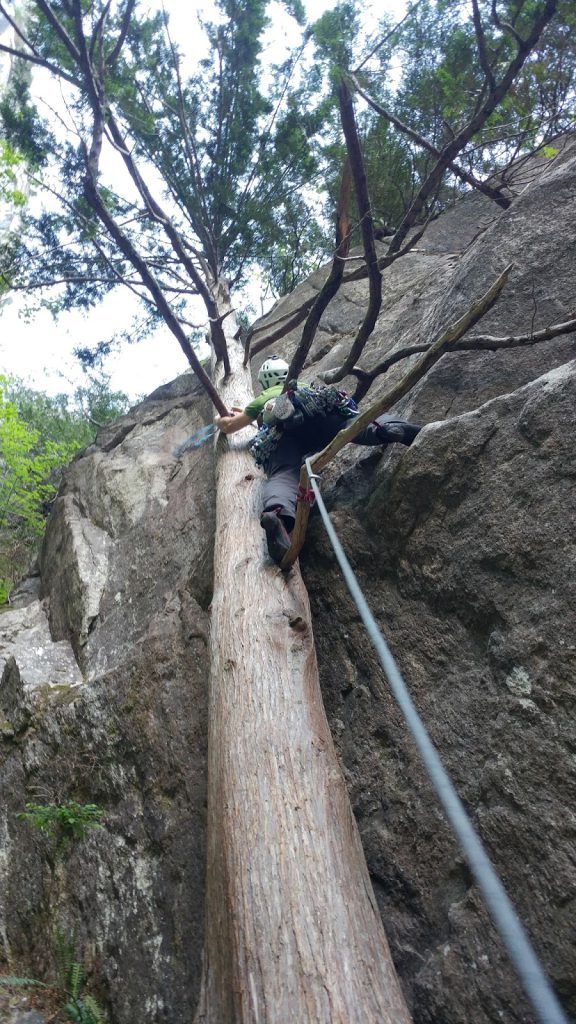
P1 Tree Option – 5.7, 150′
NOT recommended recently. Climb up the tree – which is suprisingly cruxy near the ground – to terrain where it’s easy to access the rock. Traverse right along an easy ledge system. Scramble up to bolts at the end of the pitch. If you climb up anything that’s mossy or weird, you climbed up too early. Stay on the ledge until you find a simple way up to the anchor.
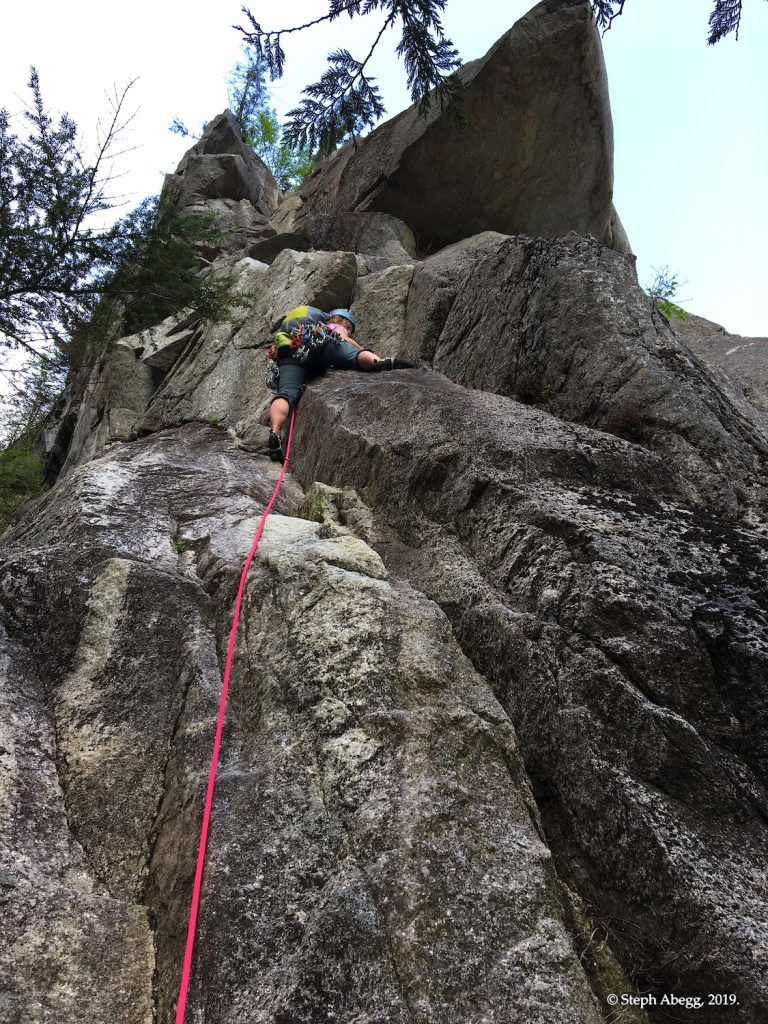
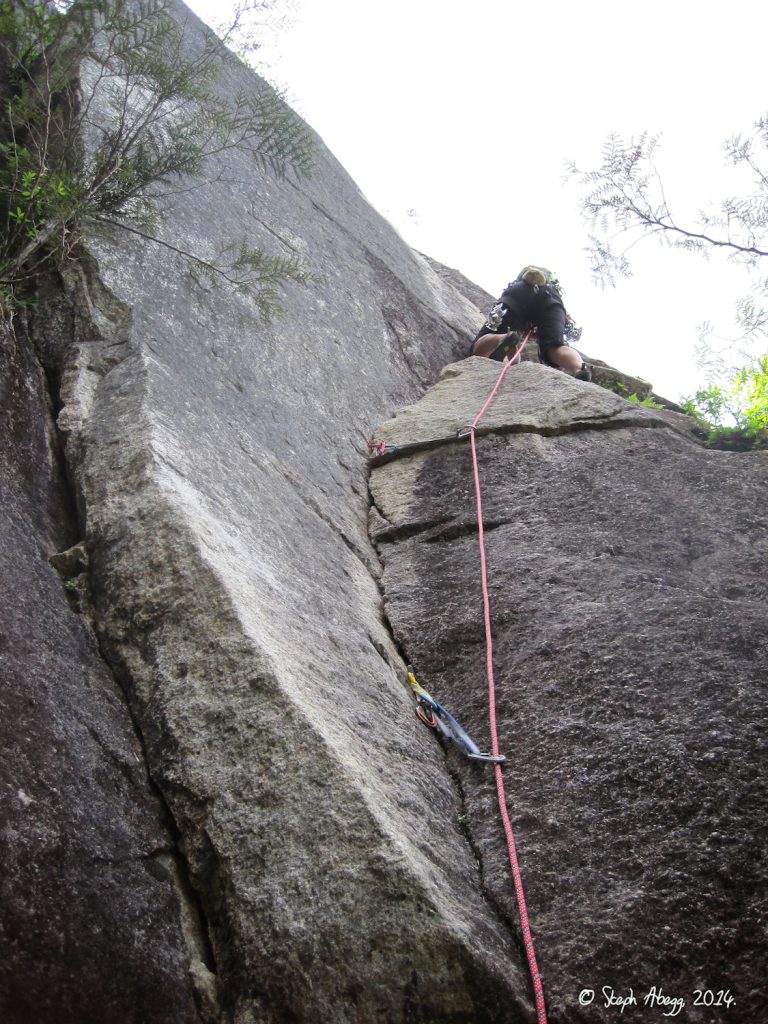
P1 Slab Option – 5.10b
Can be split into two pitches broken by an intermediate bolted anchor. Sounds like it’s bolted reasonably? One person mentions pulling on a bolt, and no one mentions runout, just that it’s a sharp warm up.
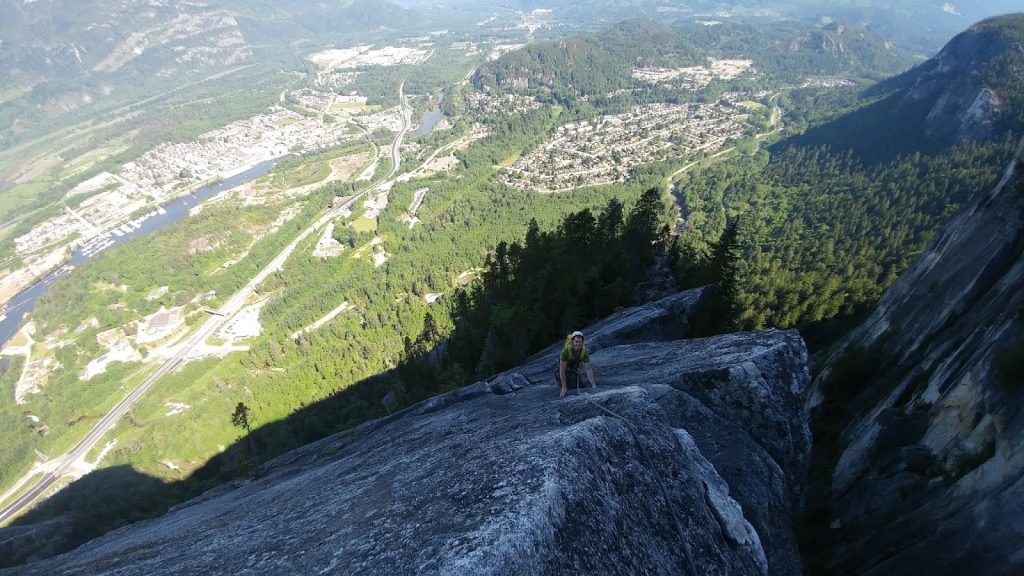
Pitch 1 of Angels Crest, 10b. Hard for me since I am not great at slab. 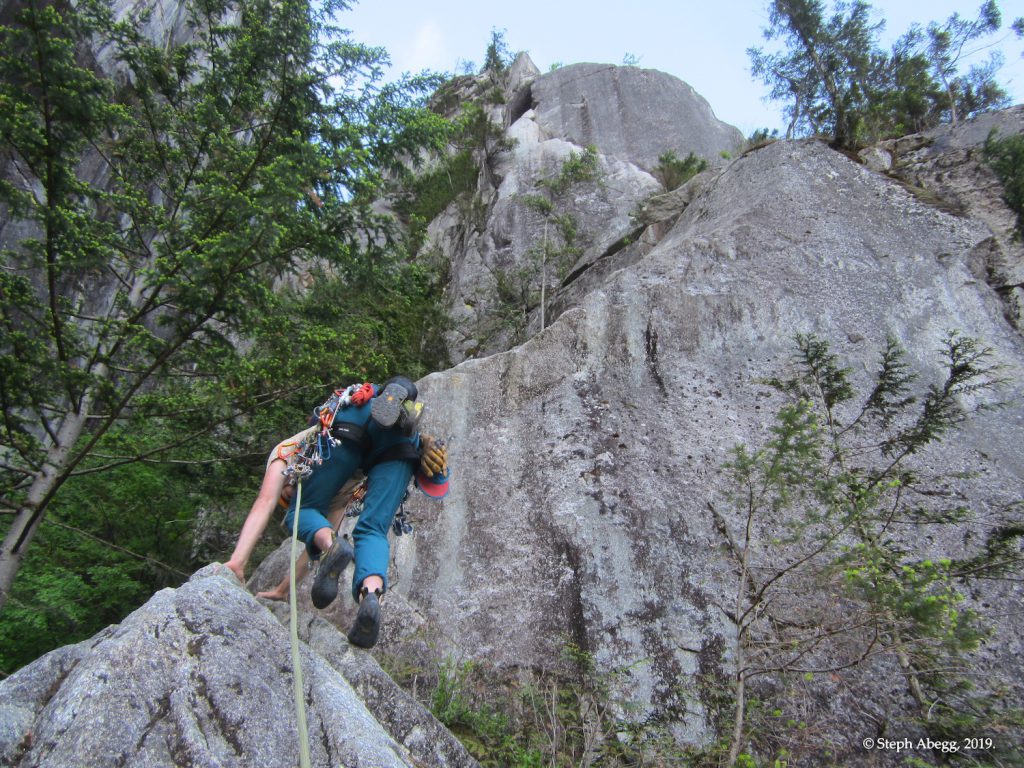
Pitch 1 (part 2) of Angels Crest, 10b. Hard for me since I am not great at slab.
P2 – 5.10b, 60′
Angle up the beautiful Angel Crack. The crack gets harder as you get higher, but the crux is short. Remember to protect your second at the crux as a fall could unravel the rope.
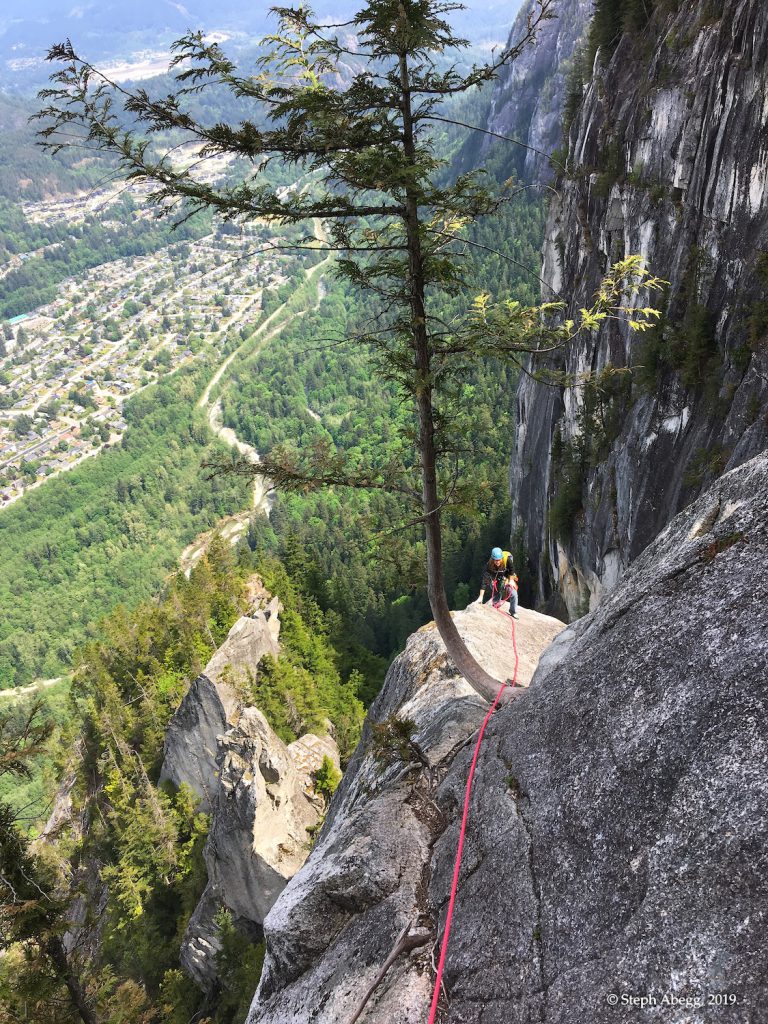
Jessica climbing up Angel Crack (10b), Pitch 2 of Angel’s Crest 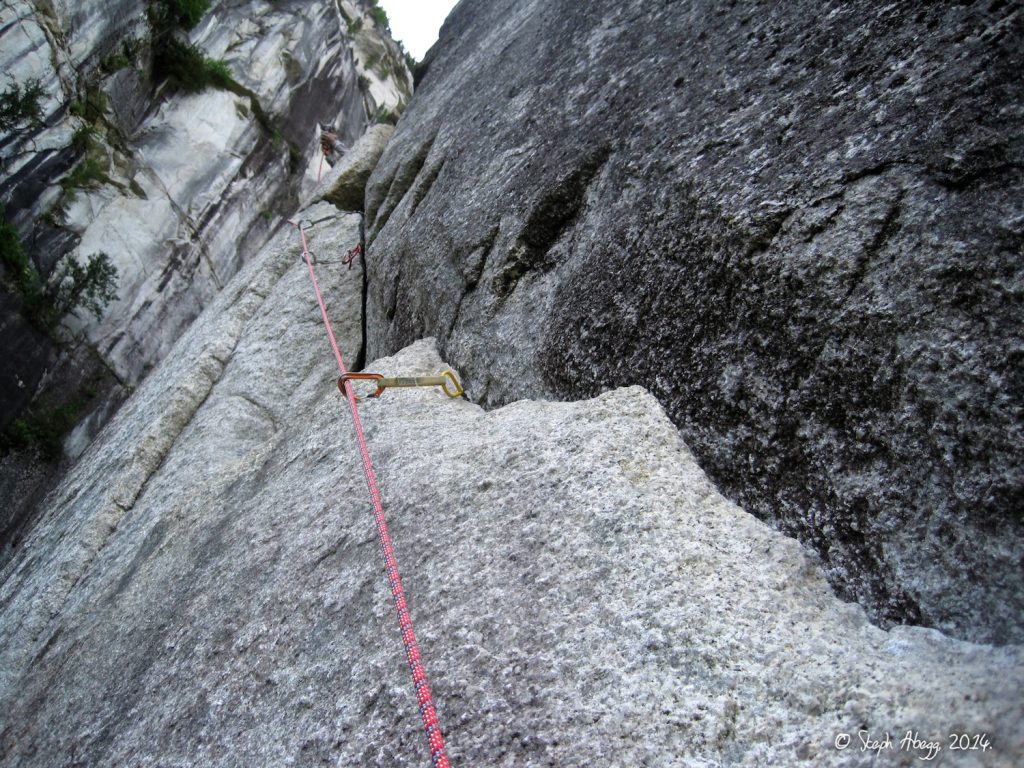
Climbing up Angel Crack (10b), Pitch 2 of Angel’s Crest 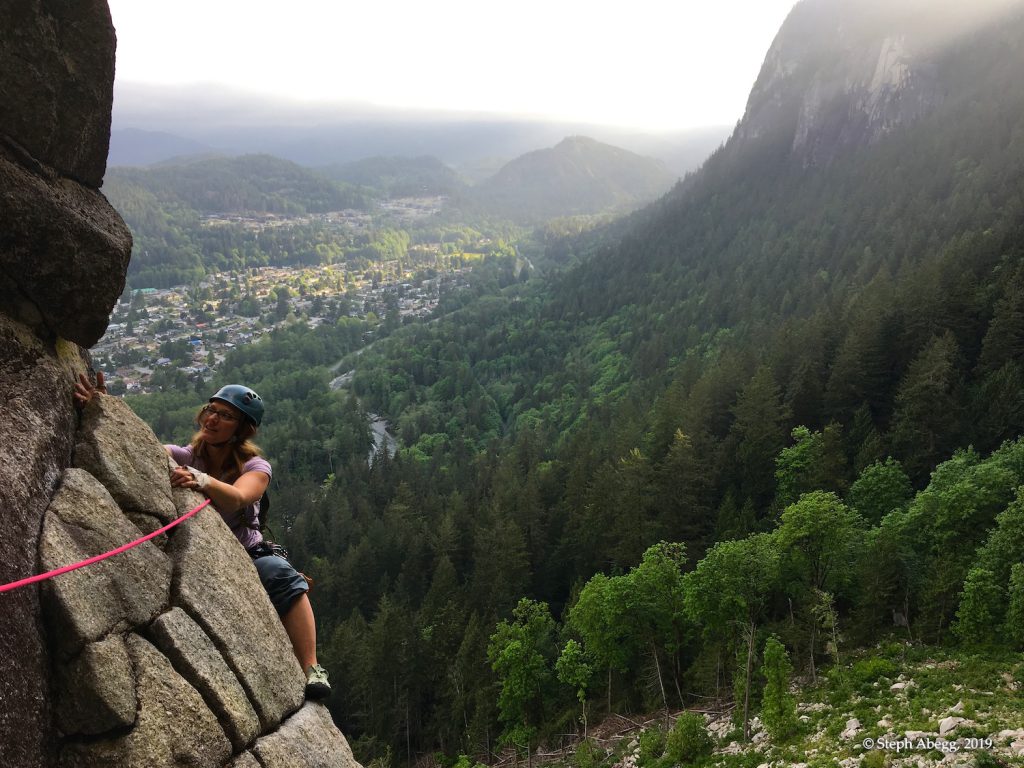
Pitch 2 of Angels Crest.
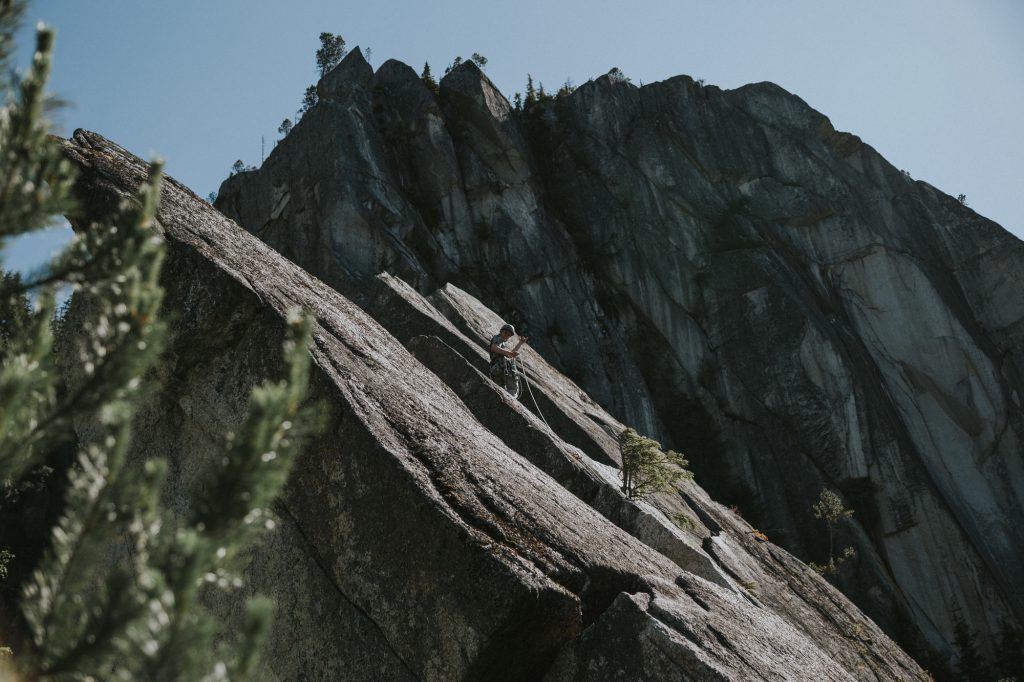
P3 – 5.10b, 60′
Continue up a slab passing two bolts. Continue up a short crack and then traverse to a tree and slung boulder.
Can link with P4
Pitch 3 of Angels Crest.
P4 – 5.7, 100′
Lieback up a 5.7 corner to easy climbing and a belay.
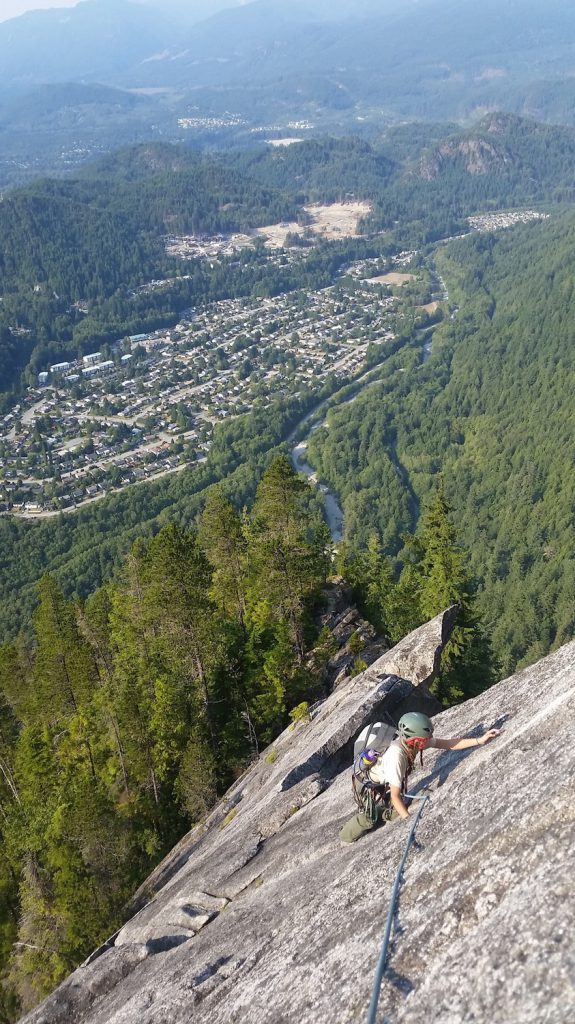
P5 – 5.10a, 100′
Continue up a right facing corner to easer climbing and a ledge.
Can link with P6 (60m works).
Pitch 5 of Angels Crest.
P6 – 5.7, 150′
Ramble up the easiest line to a bushy ledge.
P6 to P7
Move the belay to the base of the next steep groove.
NOTE: You can escape climber’s left into the gully from this point with two rappels.
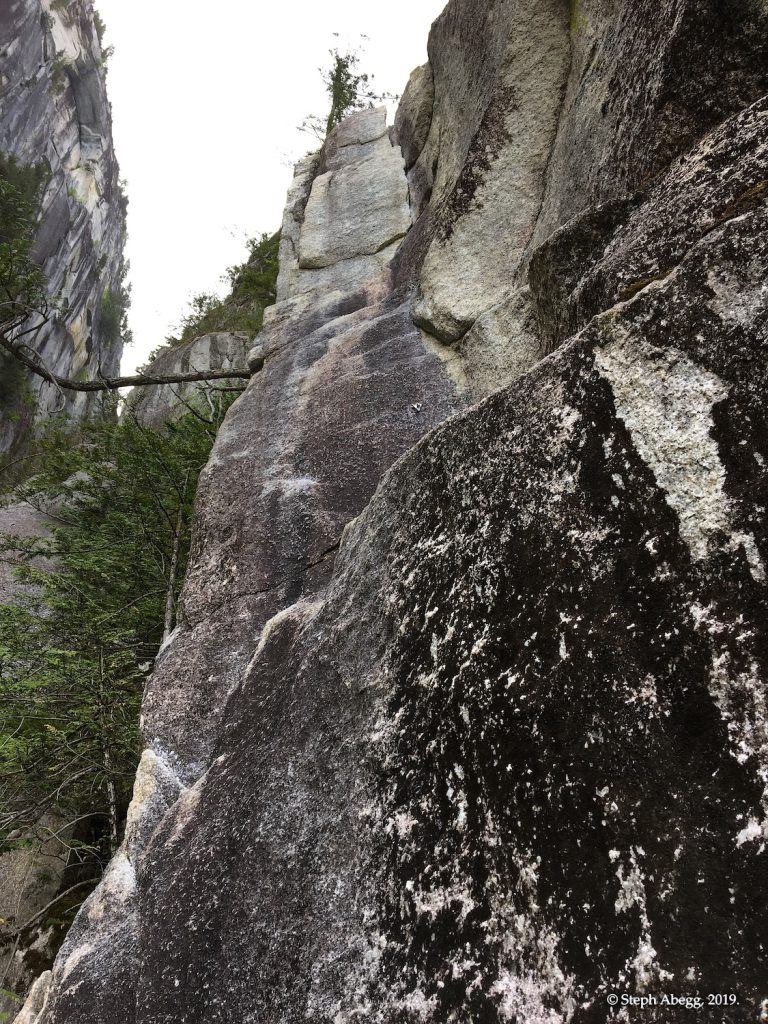
P7 – 5.10a, 100′
This is a harder-than-it-looks pitch. Work up the climb moving over a small bulge on the left. Continue up into a corner and belay in the trees above.
Tricky. Take the ramp until possible to exit right via a layback bulge to another rampy corner. Climb to its top until a pull right gains an easier groove. Scramble onward to a cracked corner and belay beside a 9″ offwidth.
Pitch 7 of Angels Crest.
P8 – 5.9, 100′
There are two options here. Climb the 7-inch wide offwidth (5.10b, 100′) or climb the groove to the right. (5.9, 100′). Either way, you’ll belay in the trees above.
Pitch 8
P8 to P9
From here, follow a scrambly trail for 50m to the Lower Acrophobe Tower.
P9 – 5.6
Climb up the easy terrain into the Acrophobe Towers. Work up and right to a bolted belay that hangs above the opposite side of the towers. This is an awesome pitch!
Rappel 30′
Make a thirty-foot rappel to a good stance directly below the tower.
Rapping from Acrophobes area.
P10? – 5.8
Climb through a notch out to the right and up to the another notch and a bolt with a rope hanging down the other side. (5.6, 60′) Use the rope to climb down approximately 30-feet. At the time of this writing, the rope was damaged and was in need of replacement. It would be possible to downclimb the terrain below at 5.8. It would also be possible to leave a carabiner on the bolt to protect the leader and the follower. The carabiner could be left for the next party if needed.
Can link with P11 (60m rope ok).
P11? – 5.6, 50′
Climb up past a tree to easier terrain and a large boulder. Build an anchor.
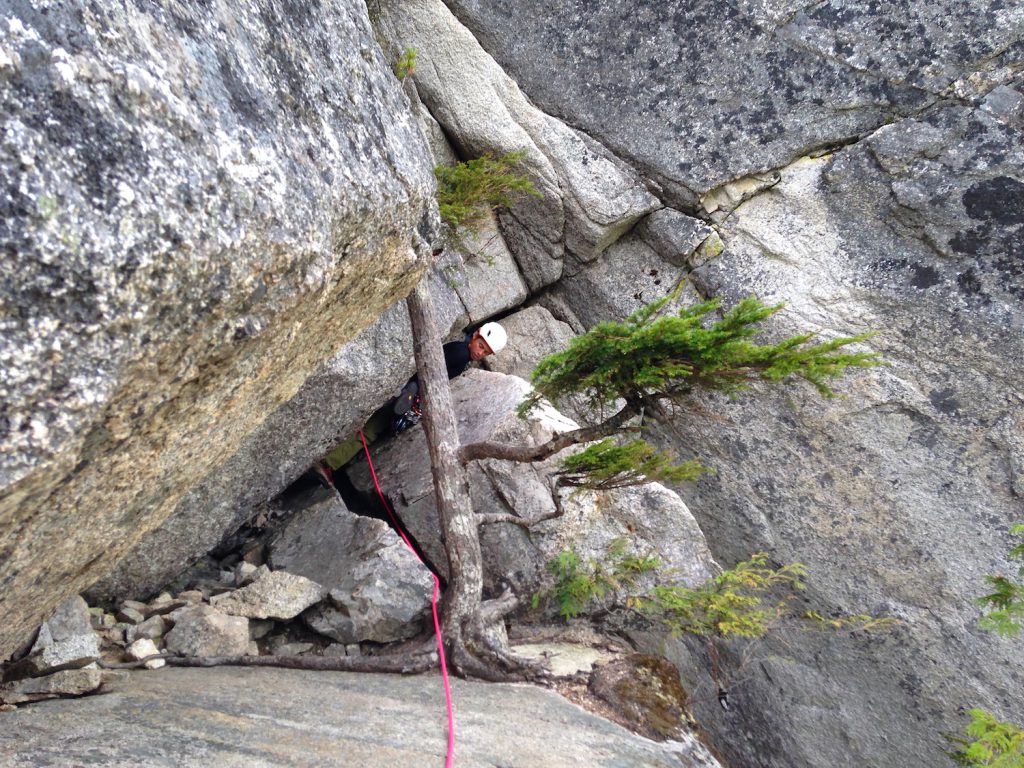
P11 – 5.8, 100′
Climb a small tree and then work through steep terrain to easier climbing on the “Whaleback Arete.” Continue past a tree and onto the right side of the feature. Build a trad belay anchor just down and left of the crack system with a piton in it.
Pitch 11 of Angels Crest (the Whaleback)
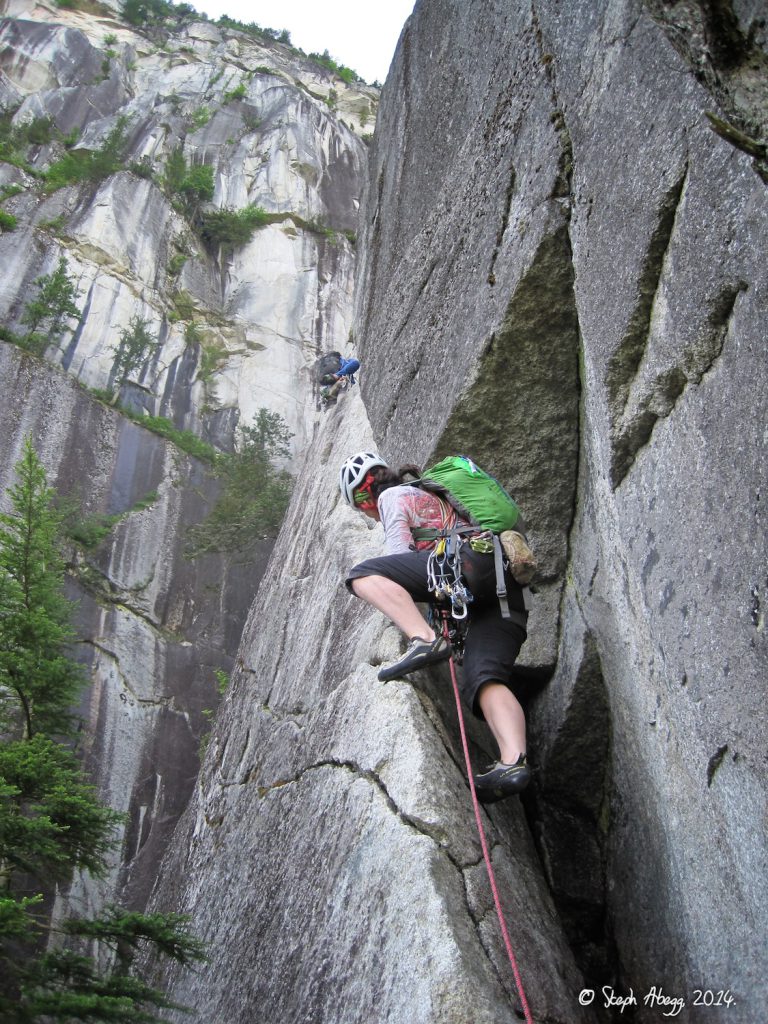
P12 – 5.10b, 100′
Climb up and right passing a piton in the crack. As of this writing, the piton was cracked and shouldn’t be thought of as acceptable protection. Note that there are good holds and another crack system up and left of the crack with the piton in it. Continue up the crack system into a wide offwidth section (crux). Squirm up the offwidth onto easier, but still steep 5.9 terrain above. Build an anchor on a nice ledge with two bolts. This pitch is sustained and is likely the crux of the route.
Can link with P13 (60m rope ok).
Start of P12 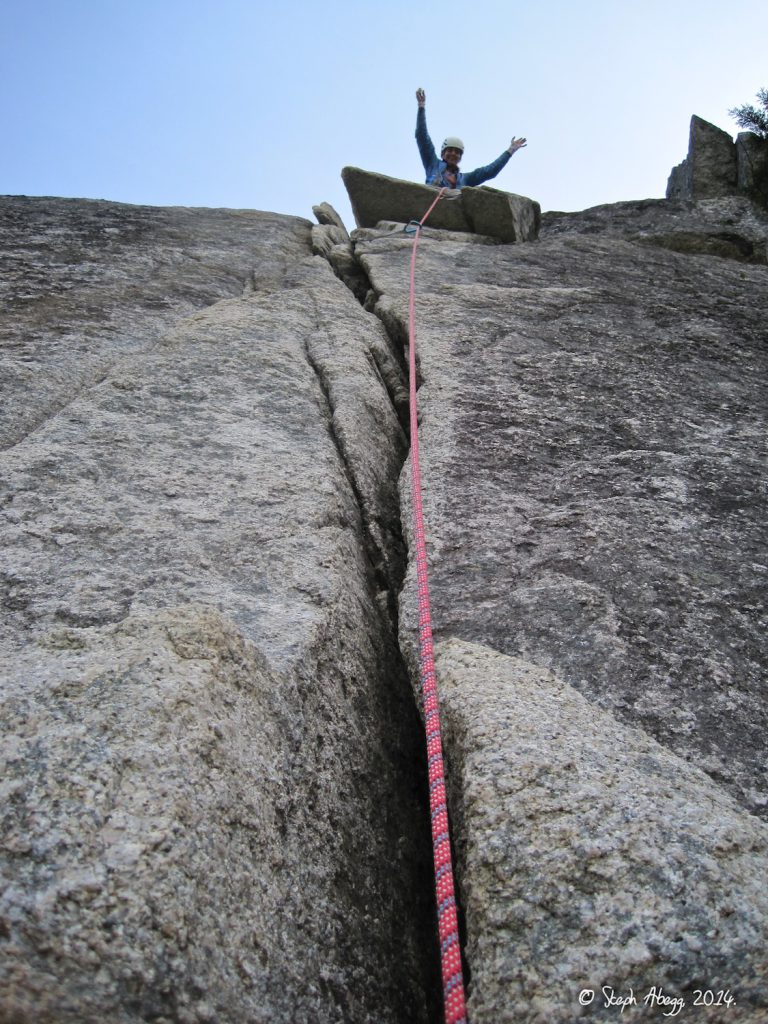
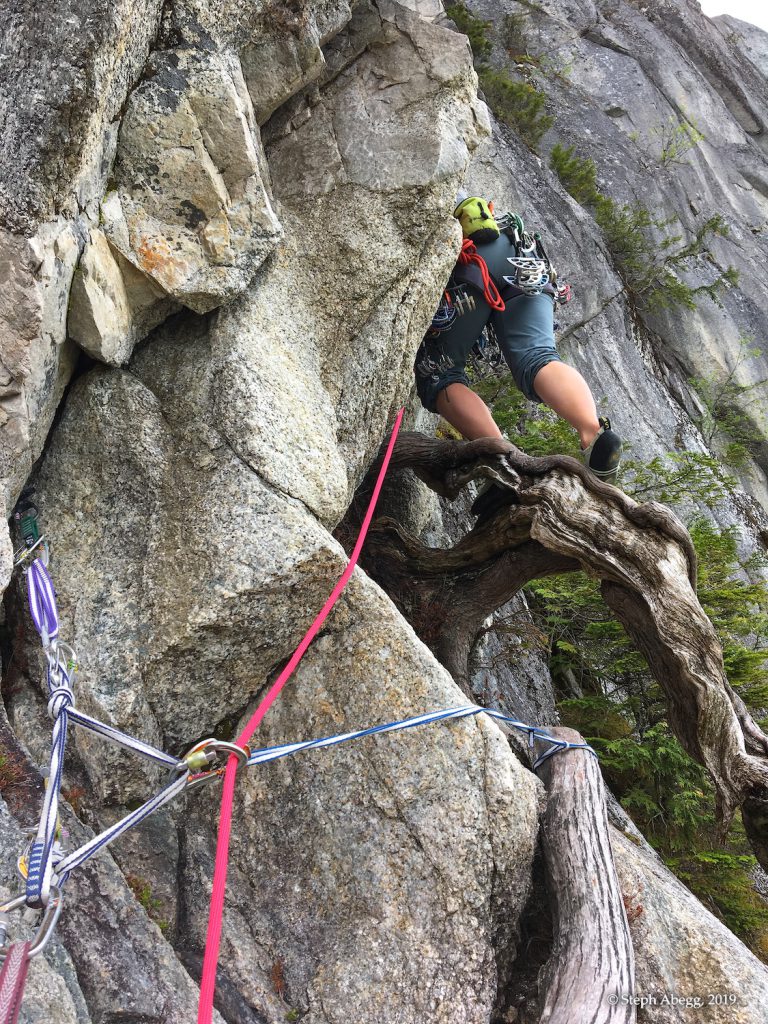
Jessica at the top of the 5.9 hand crack on the second to last pitch of Angel’s Crest.
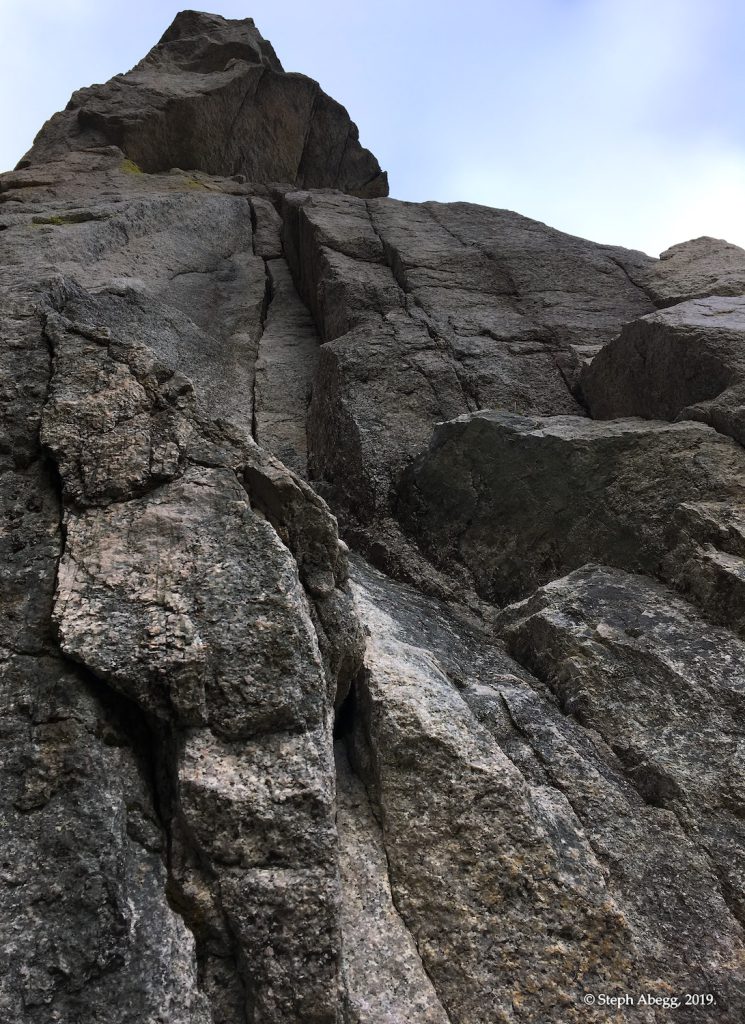
P13 – 5.8, 100′
Worm your way under an overhang and behind a tree to an intimidating squeeze chimney. Slither up the chimney. The terrain gets easier as you get higher. Belay off trees on the summit!
Pitch 13 of Angels Crest. 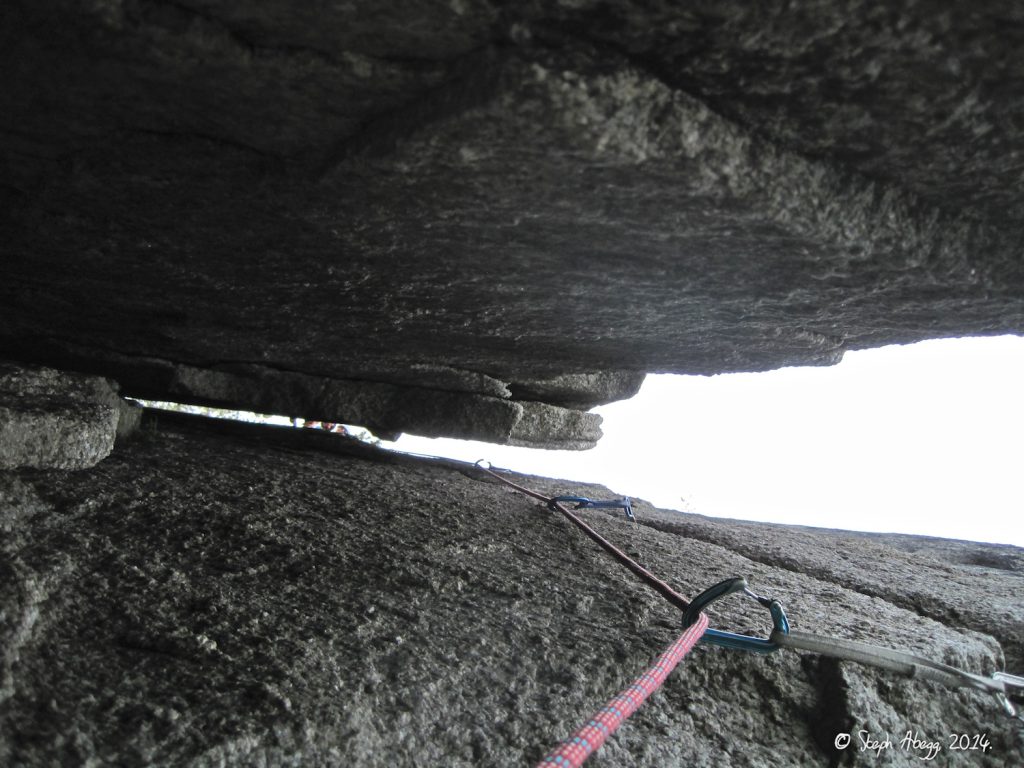
Looking up the final pitch (5.8 chimney) on Angel’s Crest.
Descent
Walk southwest across the summit. Follow your nose down trails that will become busier with more steps the lower you go. At the base of the chief, follow the trail to the right through the campground to a large parking lot. Continue right on another trail under the Apron to the Apron Parking Lot and your car. The descent will take between and hour and an hour-and-a-half, depending on how tired you are…!