Overall

Gear
- #0.3-4 with double #0.75-3
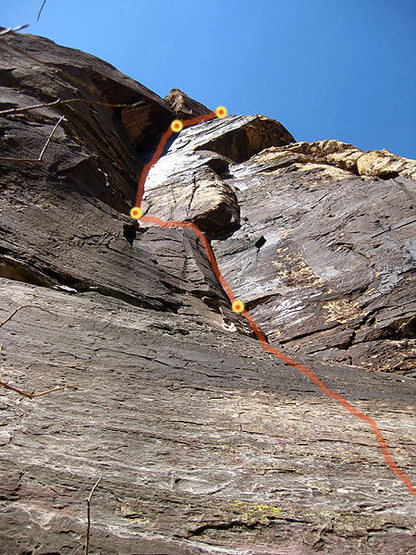
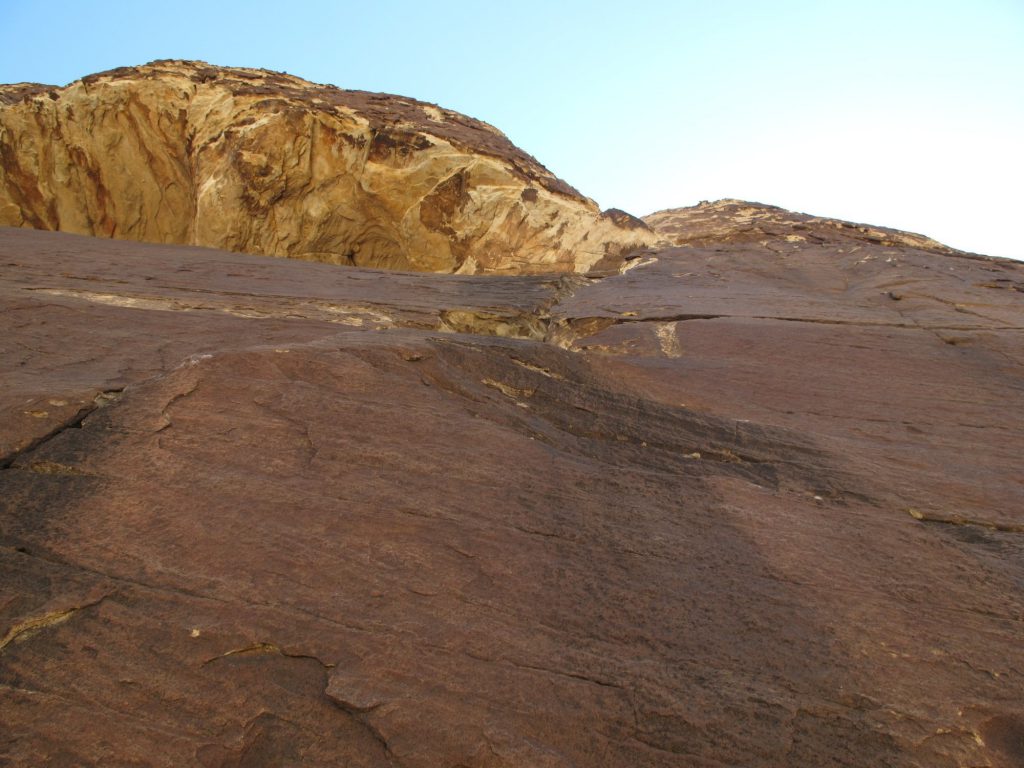
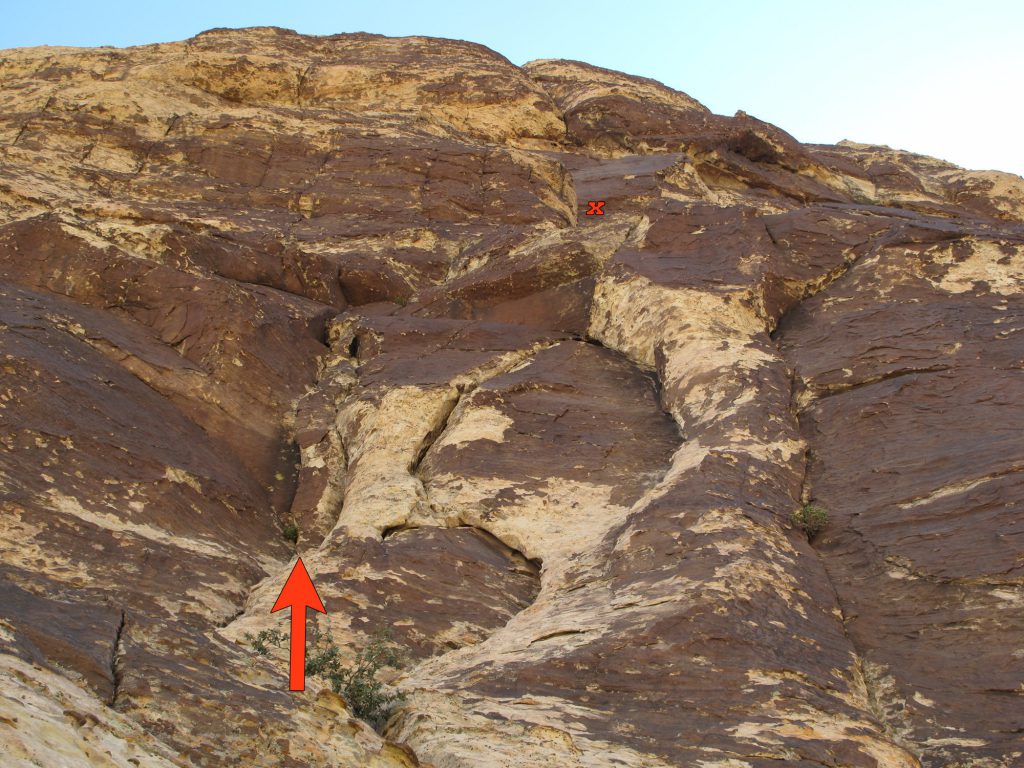
P1- 5.5
Two good bolts to the anchor on the first pitch. Can link with P2 as 170′.
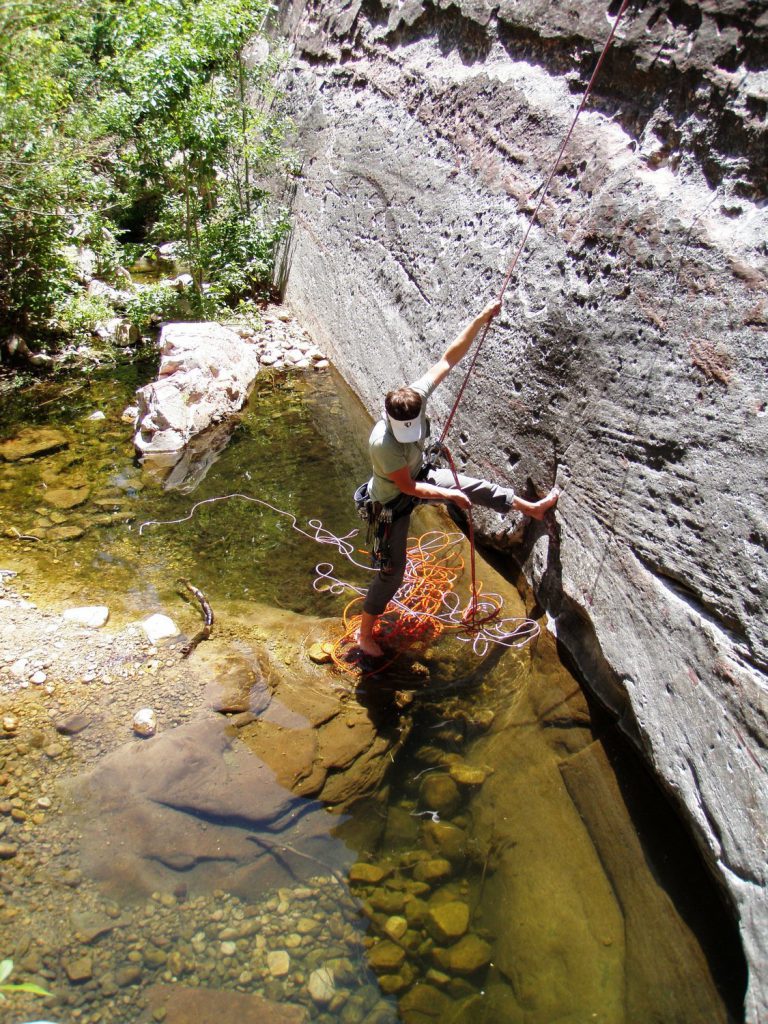
Start of P1 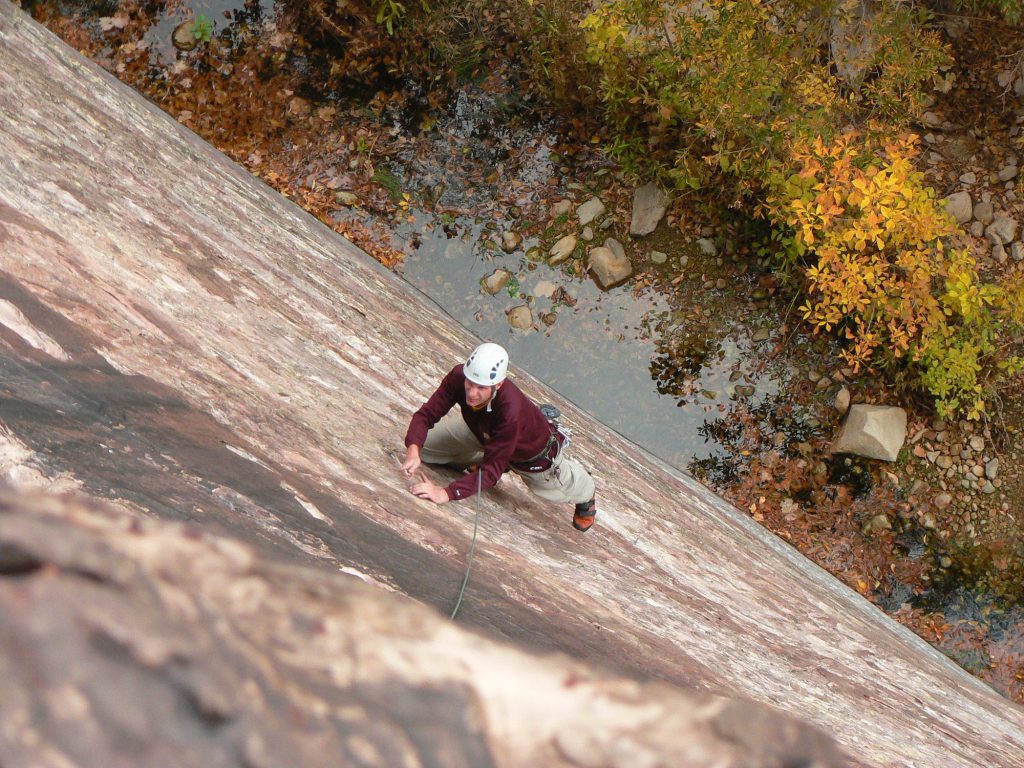
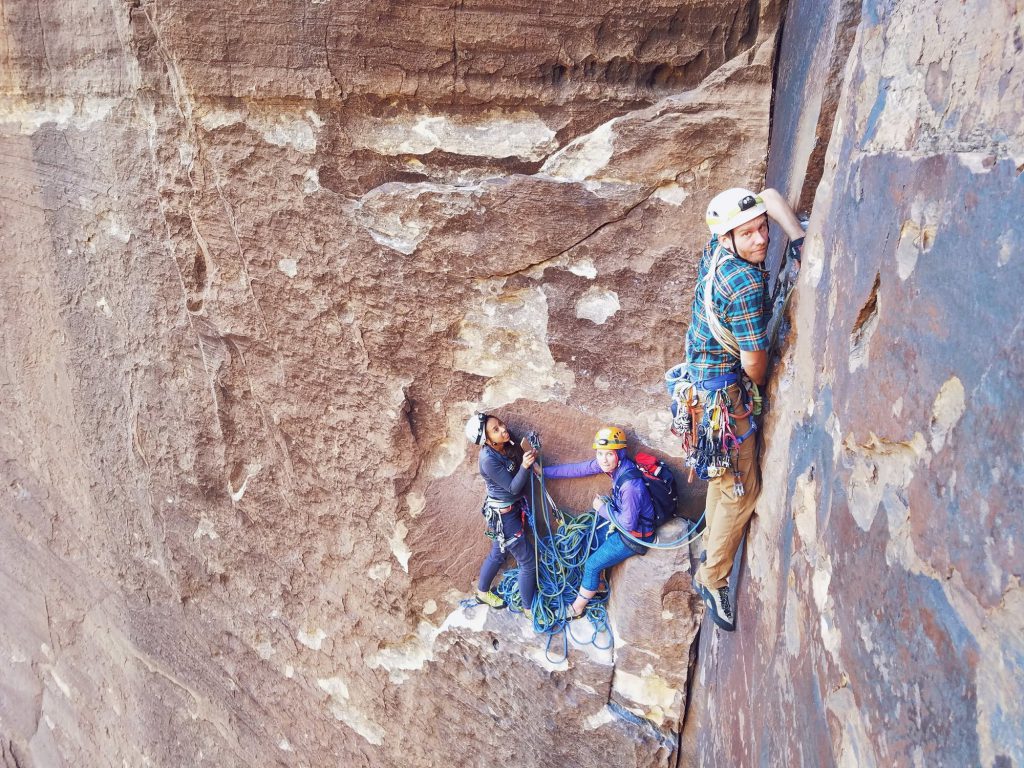
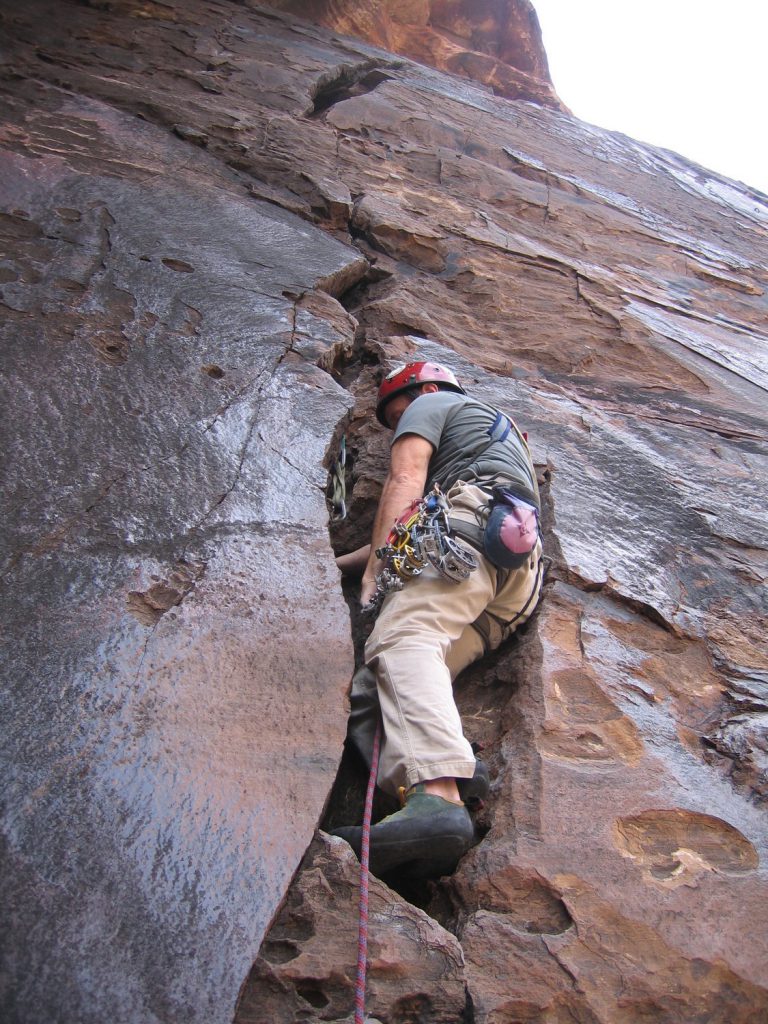
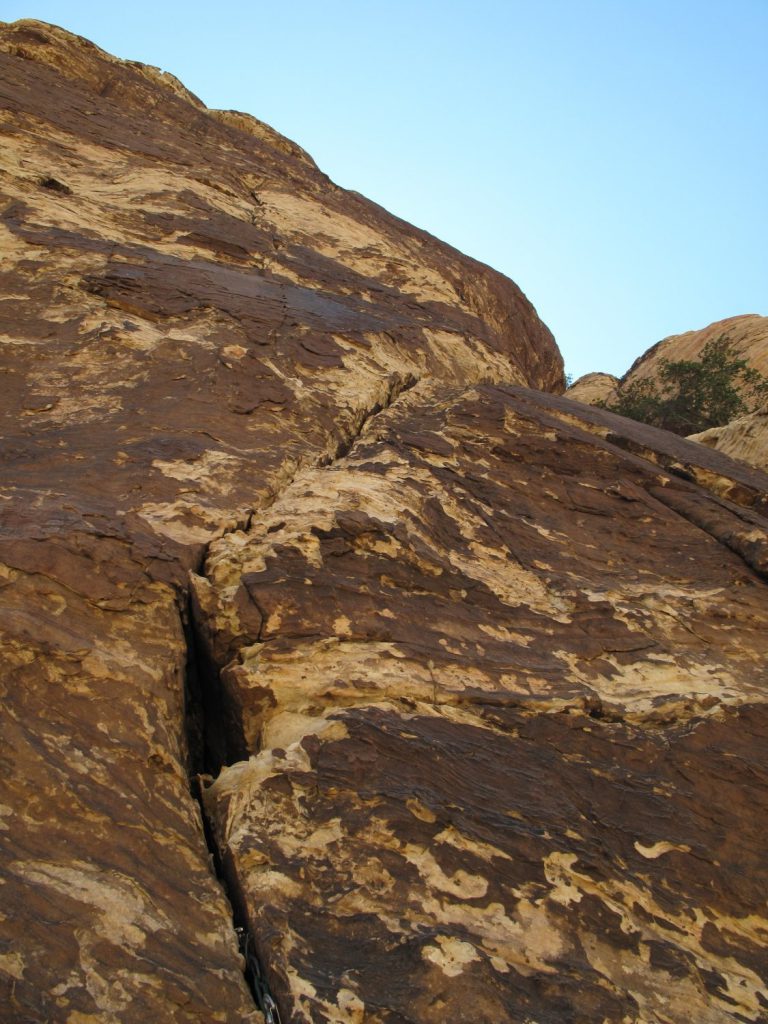
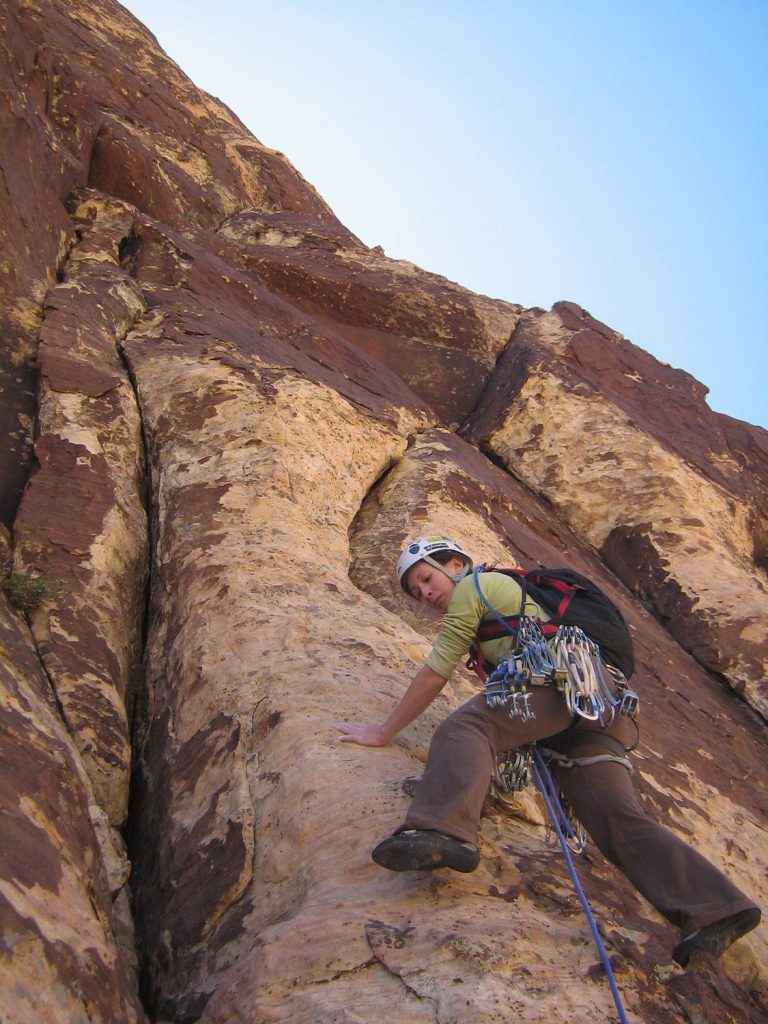
P2 – 5.7, 60′
Take the right facing desert varnished dihedral from the bolt anchor, move left to the the belay anchors.
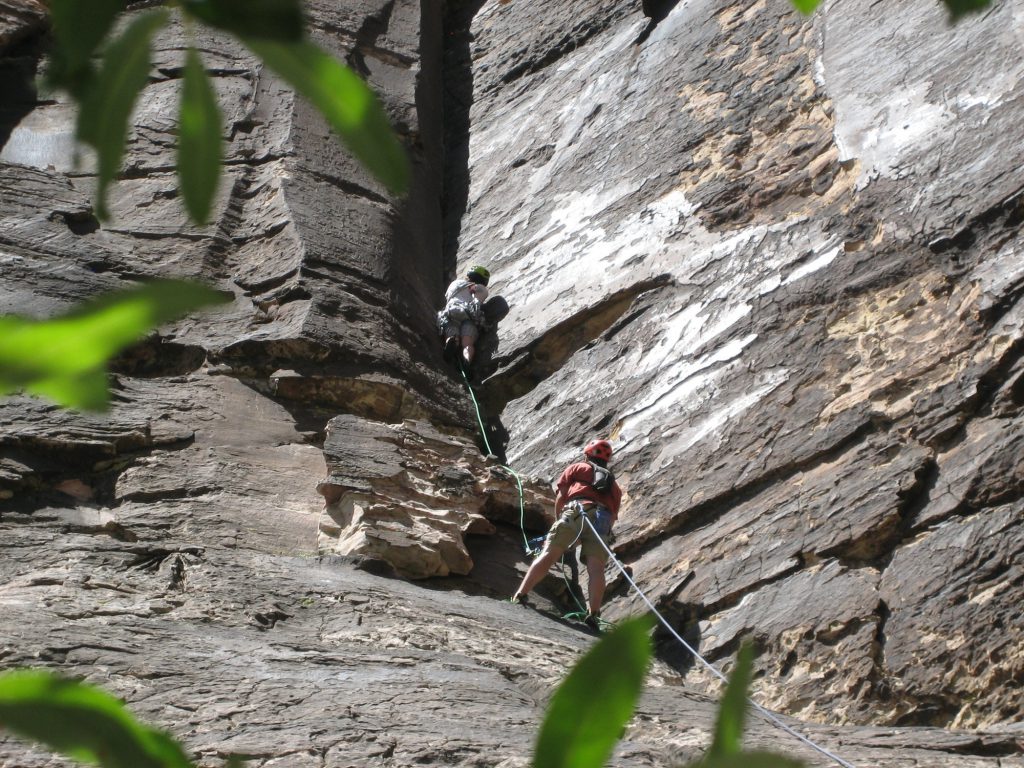
Start of P2 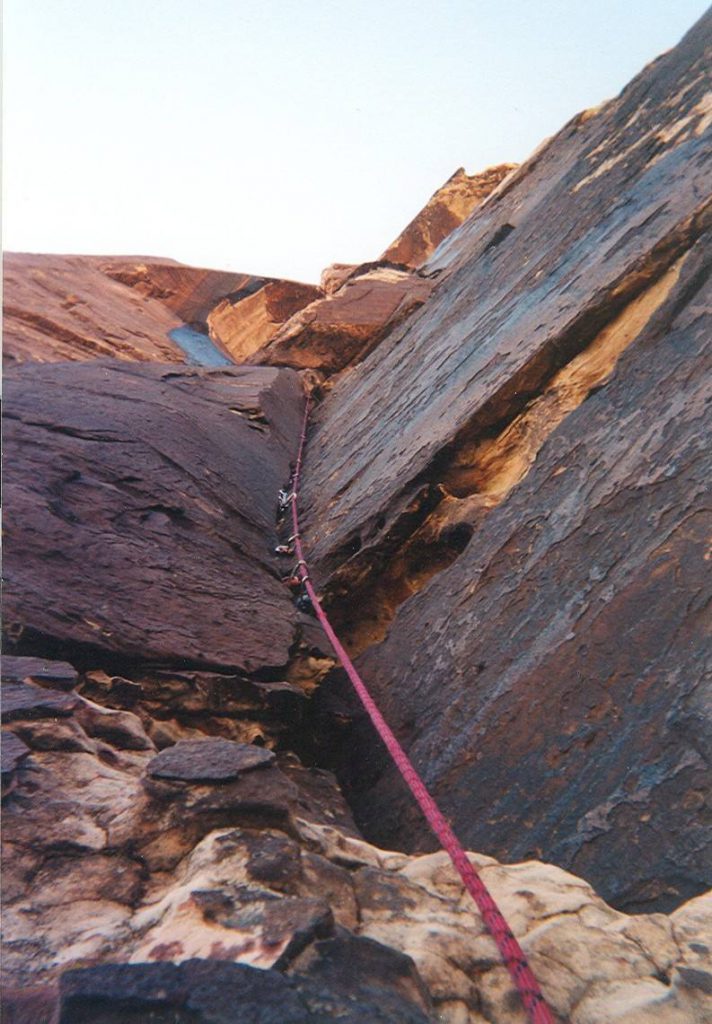
Start of P2
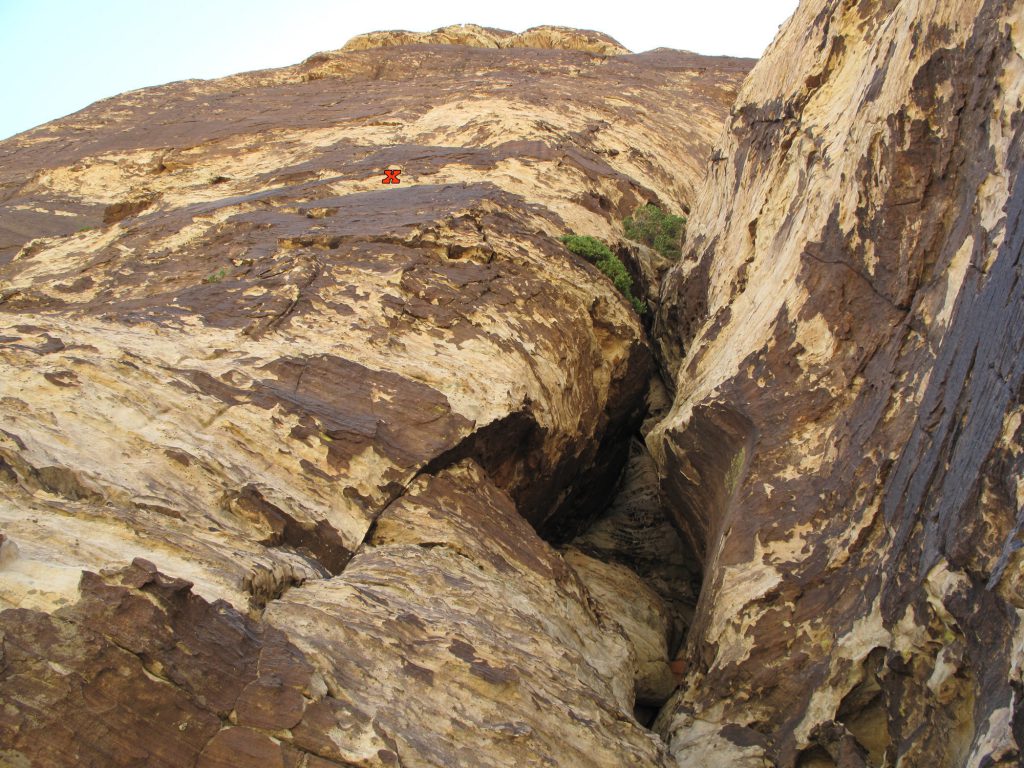
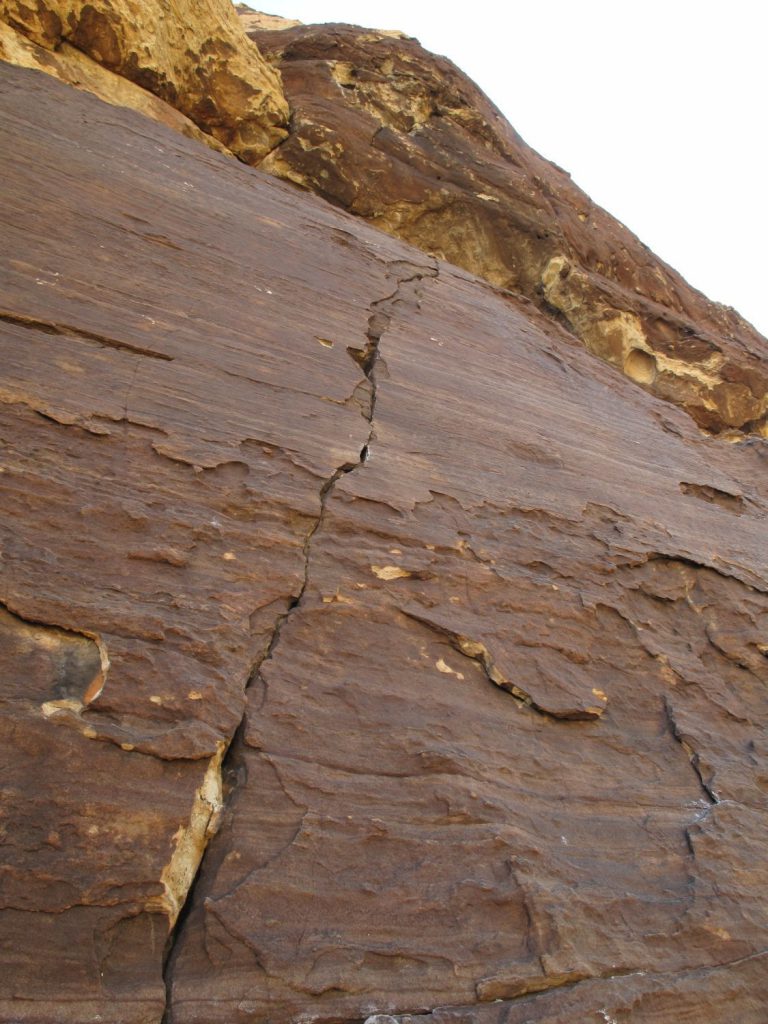
P3 – 5.8, 120′
From the anchor continue up the great crack system with some stemming to another anchor.
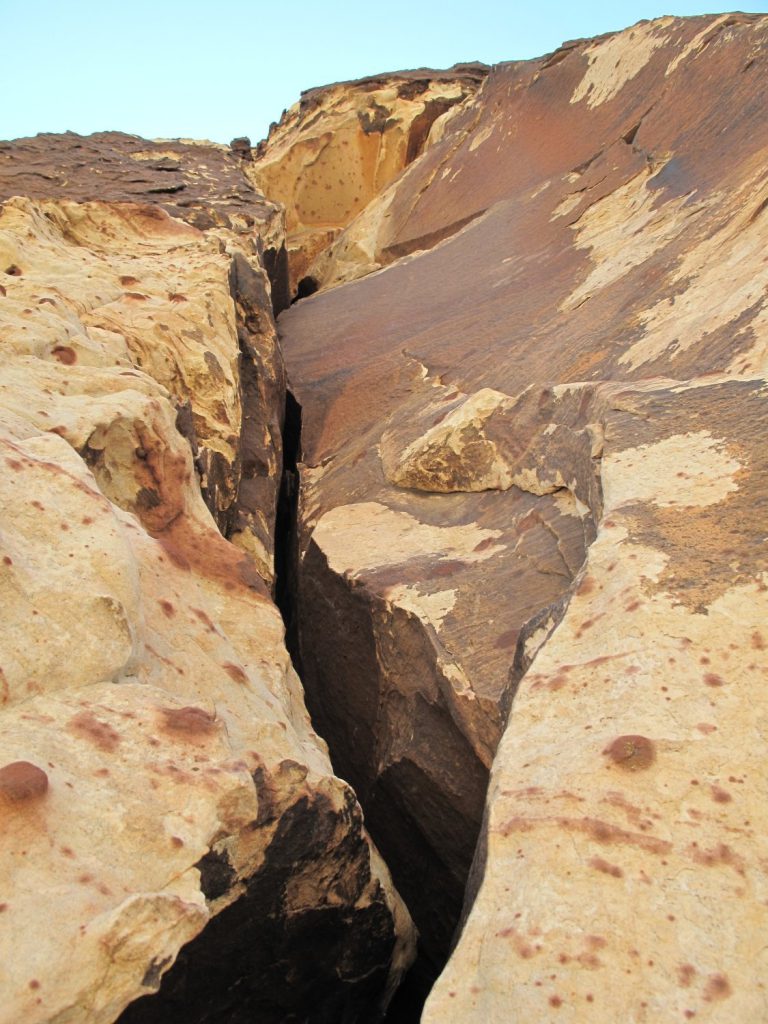
Start of P3 
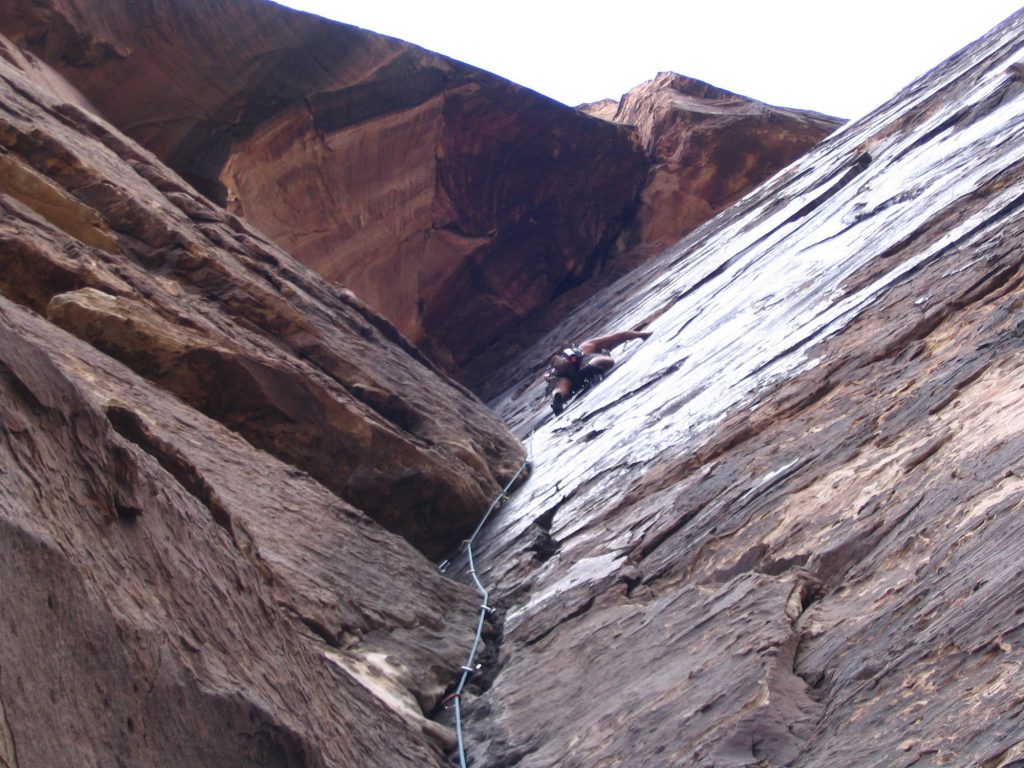
Ending P3 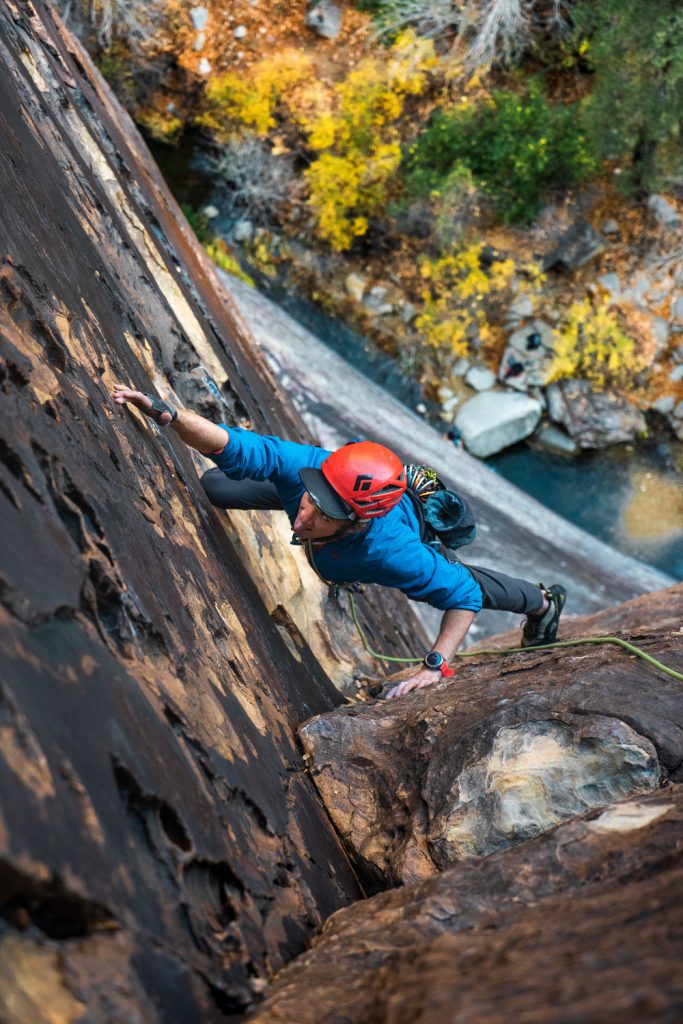
Ending P3
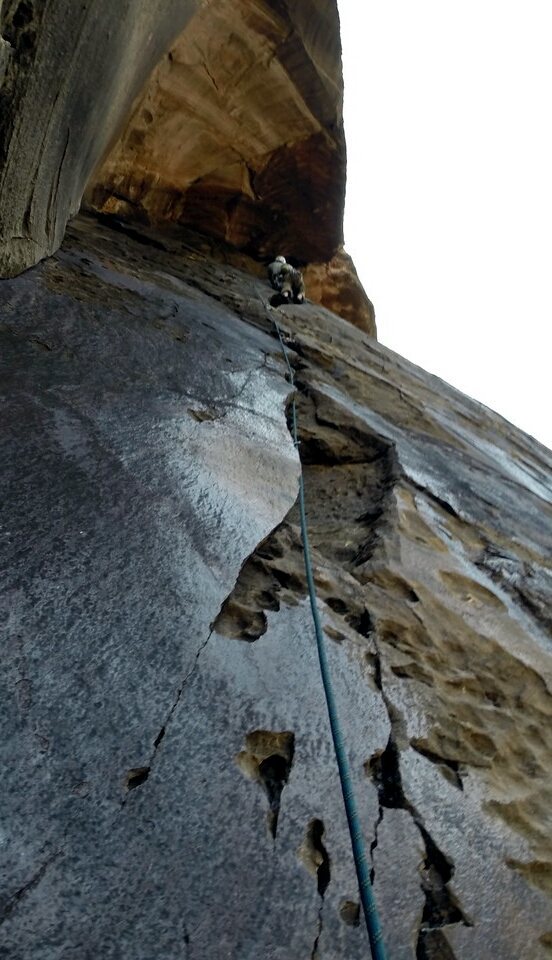
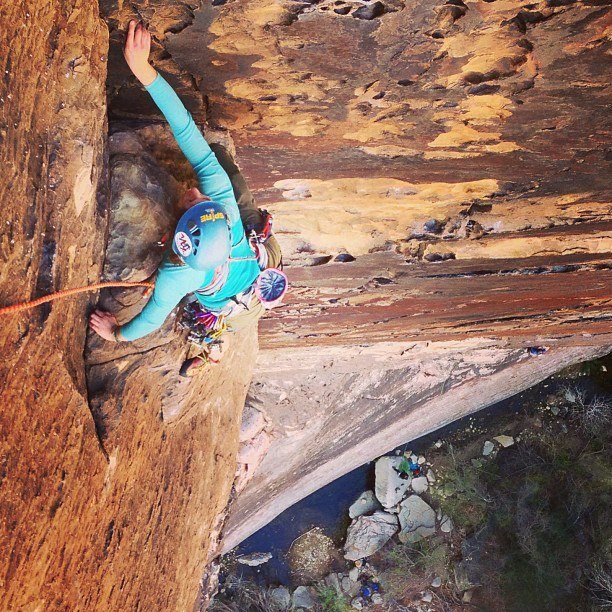
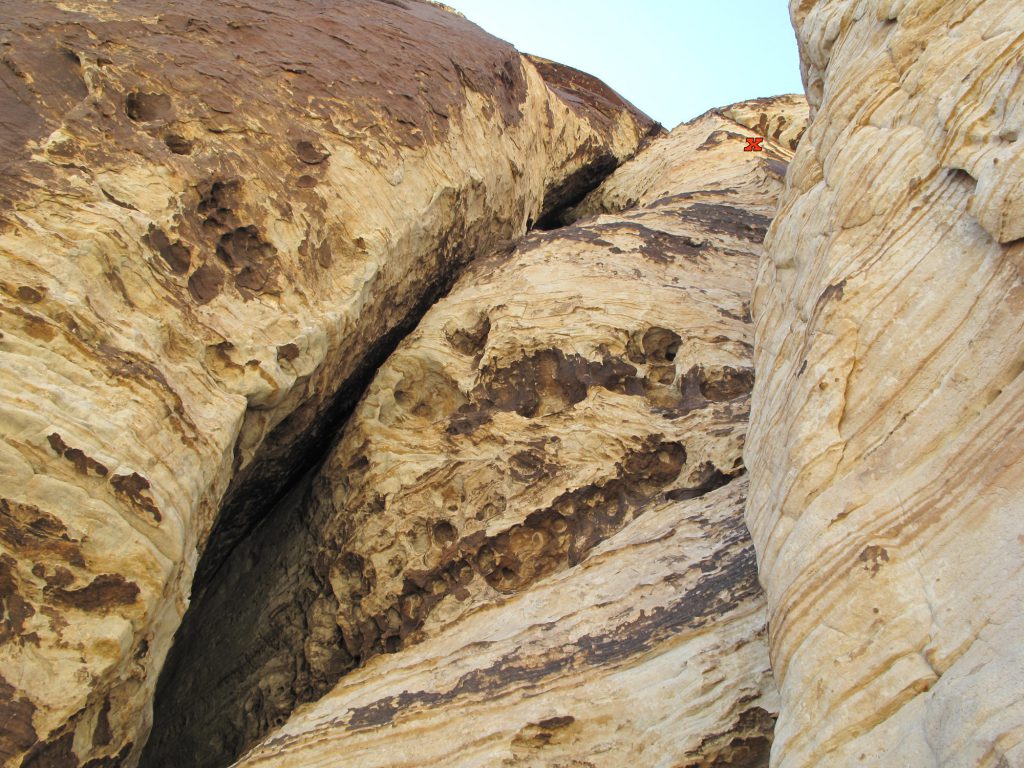
P4 – 5.8
From the anchor break out right onto the curving crack and follow it, traversing right to the final anchor beneath the giant roof.
Starting P4 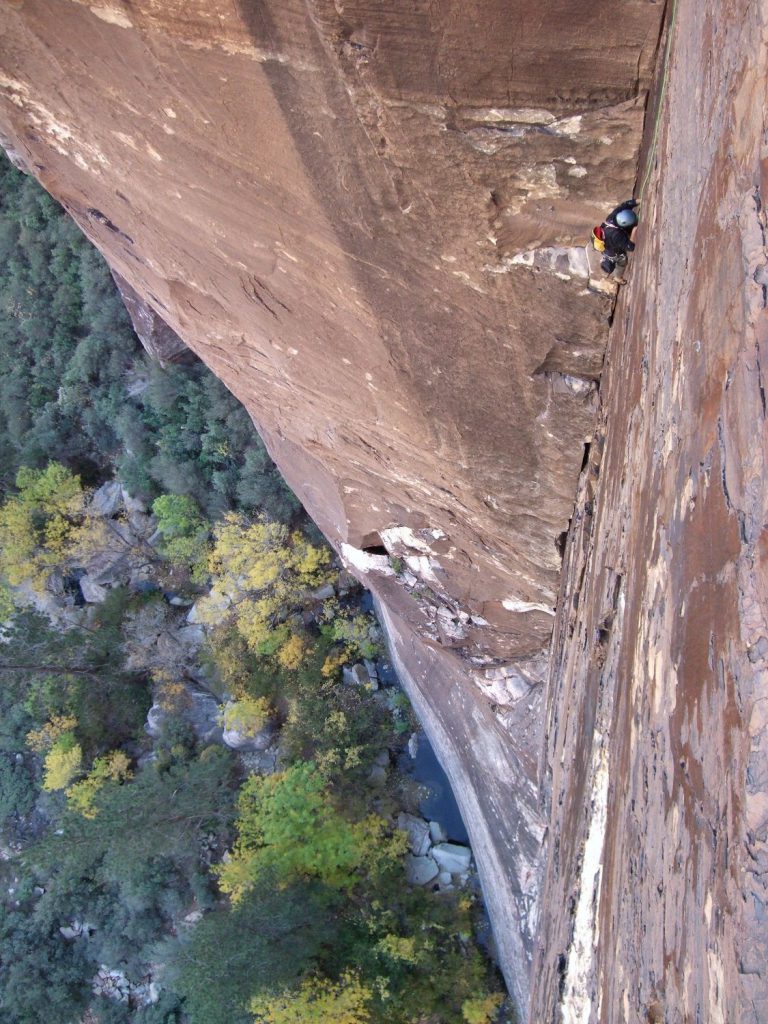
Starting P4 
Ending traverse 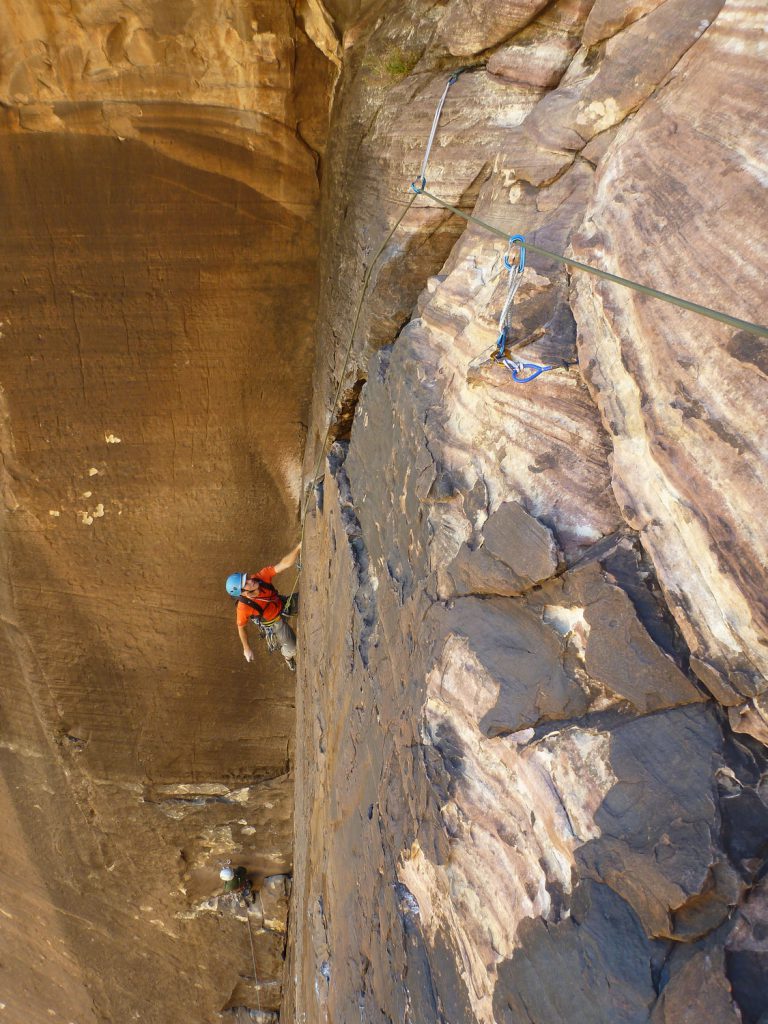
Looking back at ending traverse 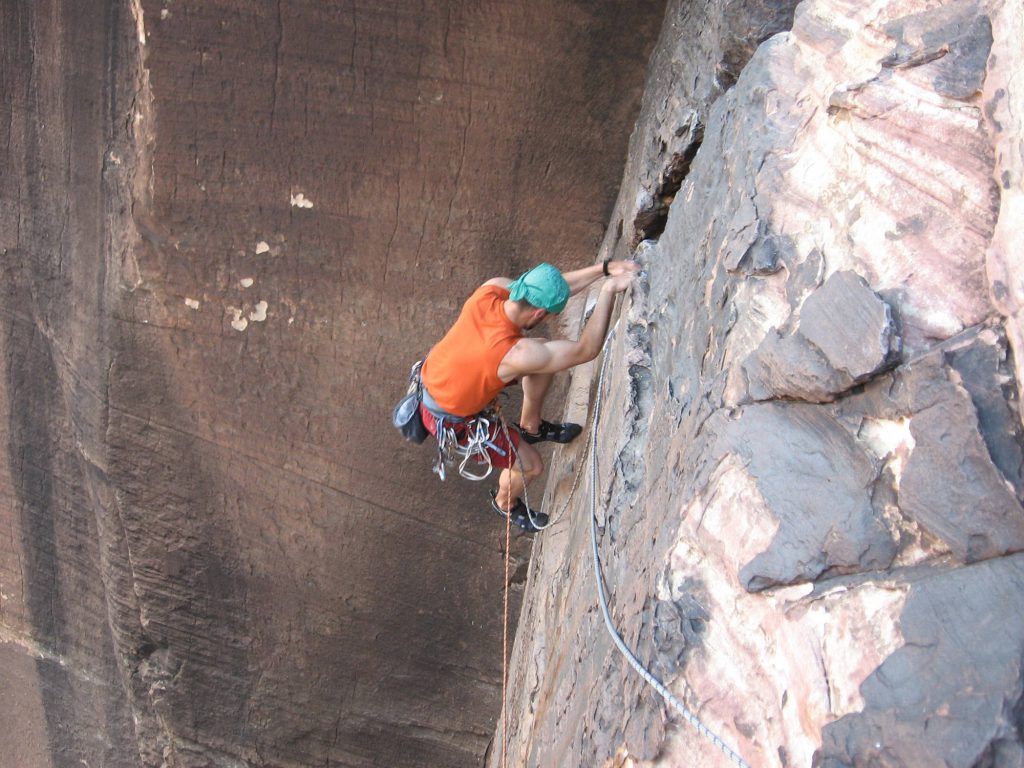
P5
P5 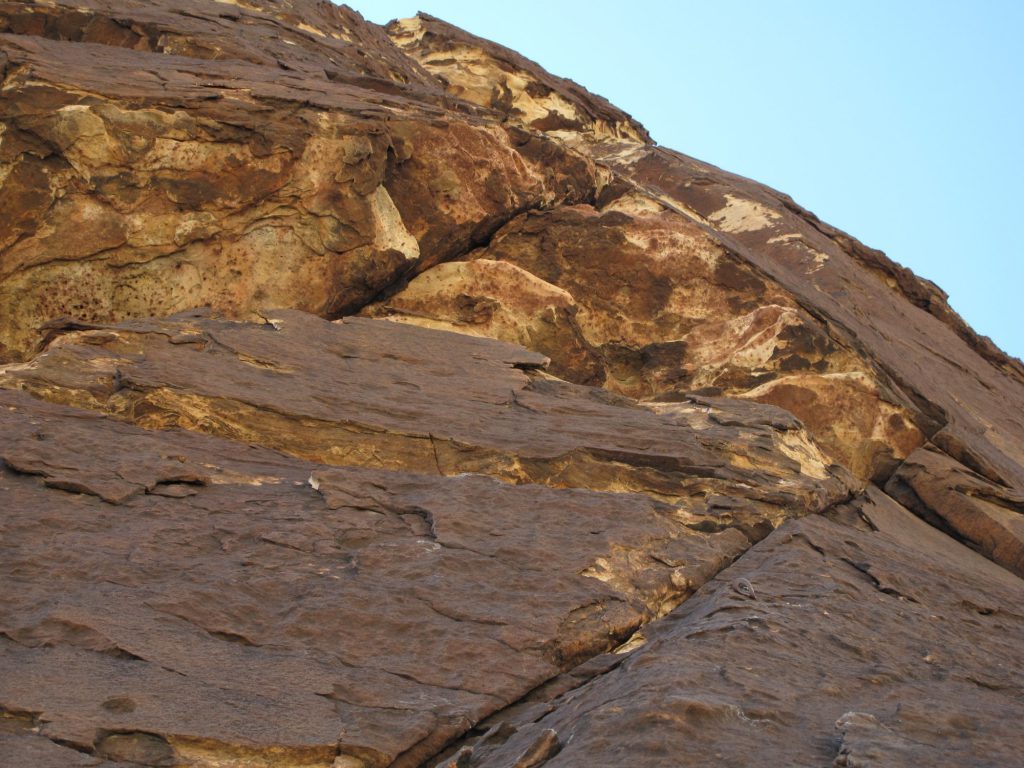
P5 roof
P6


P7
Start of P7 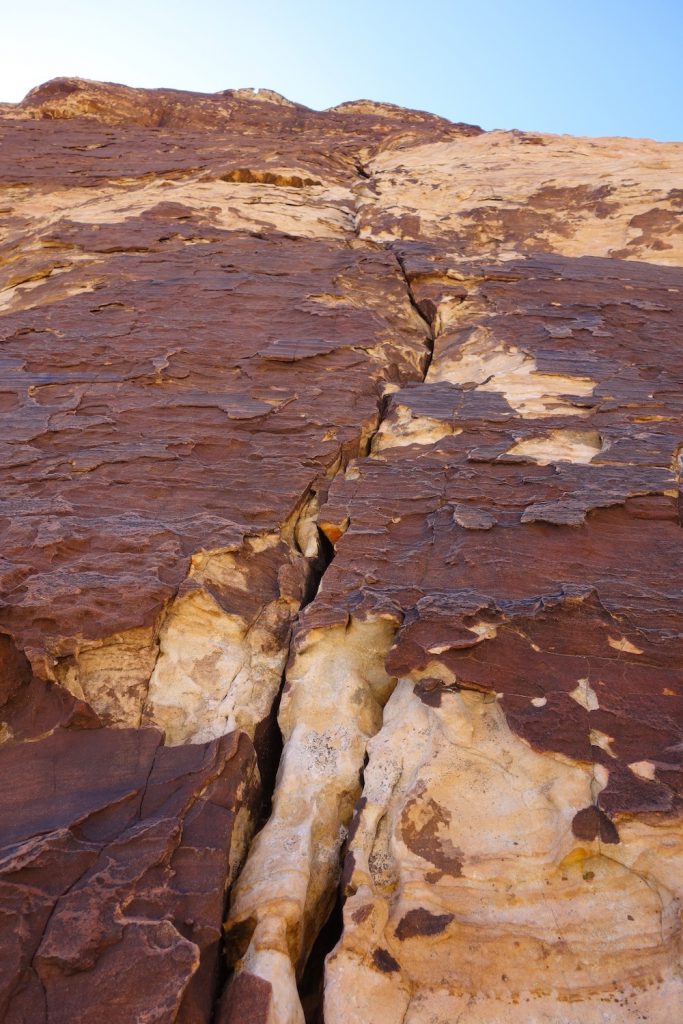
Looking up P7
P8

P9

Start of P9
P10
Finger crack 
Then roof
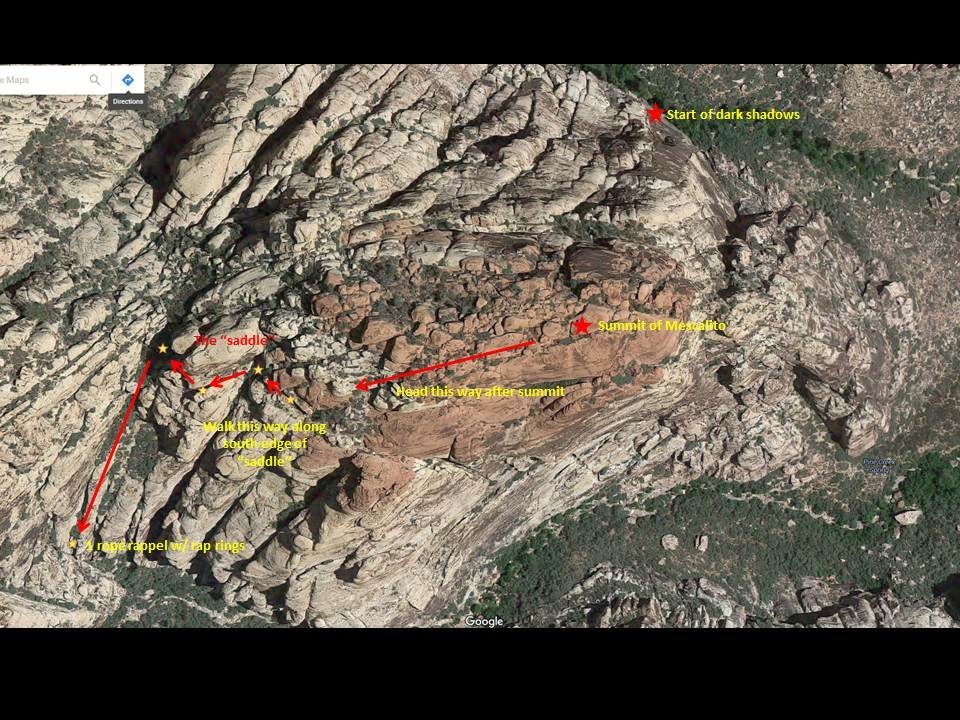
Descent
About 1.5 hours, kinda shitty/annoying but the north descent sounds newer and more preferred (and with north descent you don’t have to climb class 5 all the way to the summit).
North descent (sounds easier, single 70m)
From the top of P1, try exploring rightward (climbers right) once you arrive on the big treed ledge. A cairned trail will take you directly towards the north fork descent, and will also present far less difficult terrain to the true summit (if you choose to visit it) that may or may not require a very small amount of roped scrambling, depending on your abilities. The terrain is far easier than the mossy red slabs and corners directly above/slightly climbers left of pitch 10 described in several comments above, and far less exposed and time consuming.
First of all, this is definitely doable with a single 70 and puts you in Pine Creek North Fork just a few minutes up from your packs. I think Aubrey Joe’s descent beta is the most helpful, but just a couple lines of clarification. The initial part of the descent is very easy, just following cairns essentially due west and eventually trending down the north (right) side of the ridge. Your first main objective is a HUGE white slabby bowl area. If you’re questioning whether or not you are in the right bowl, then you ain’t there yet. You’ll come over a small saddle and it will be apparent that this bowl is the one. Follow cairns down into the bowl and trending towards the west end of the bowl. Then the cairns will double back and trend pretty much straight east to the lower east side of the bowl. From here there are two options, both of which are the two eastern most gullies in the big white slabby bowl. The skiers right (east) gully has a huge cairn at the top of it and a 3 nut anchor with a quicklink down a ways on the left wall of the gully. This descent involves one short rappel and then two very long rappels, the last of which will completely max out your 70 (it will look like it comes up short before rope stretch). Consider a simul-rap to really stretch the rope. It cannot be done with a single 60. The skiers left (more western, but still on the east side of the bowl) gully has only one small cairn right above a tree at the very bottom of the bowl. This one is less obvious because its less well marked and starts in a tight slot, but has easier rappels. There will be a slung tree or bush with each rappel and each is easily doable with a 70. The top anchor is a single slung tree with 2 carabiners and drops into a tight, rather ominous slot gully. I’m not positive, but I think this descent could be done with a single 60 even.
Justin Streit
Also, just a heads up that the last 200 feet of low fifth class above P10 is more than just a scramble. Even our experienced party was taken aback at how surprisingly serious it was. A 5.8 leader pushing the grade would likely be very disappointed if they were expecting an easy scramble. Consider roping up or simul-climbing if new to leading.
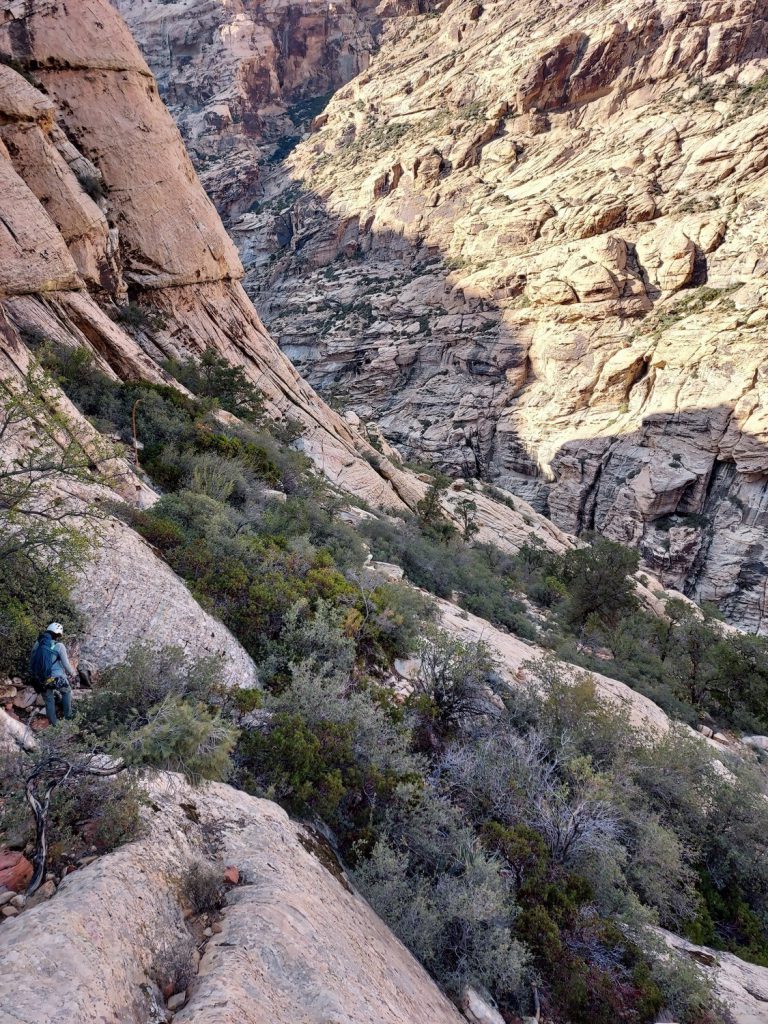
Walk along the wall on the left until you come to the saddle and large white bowl.
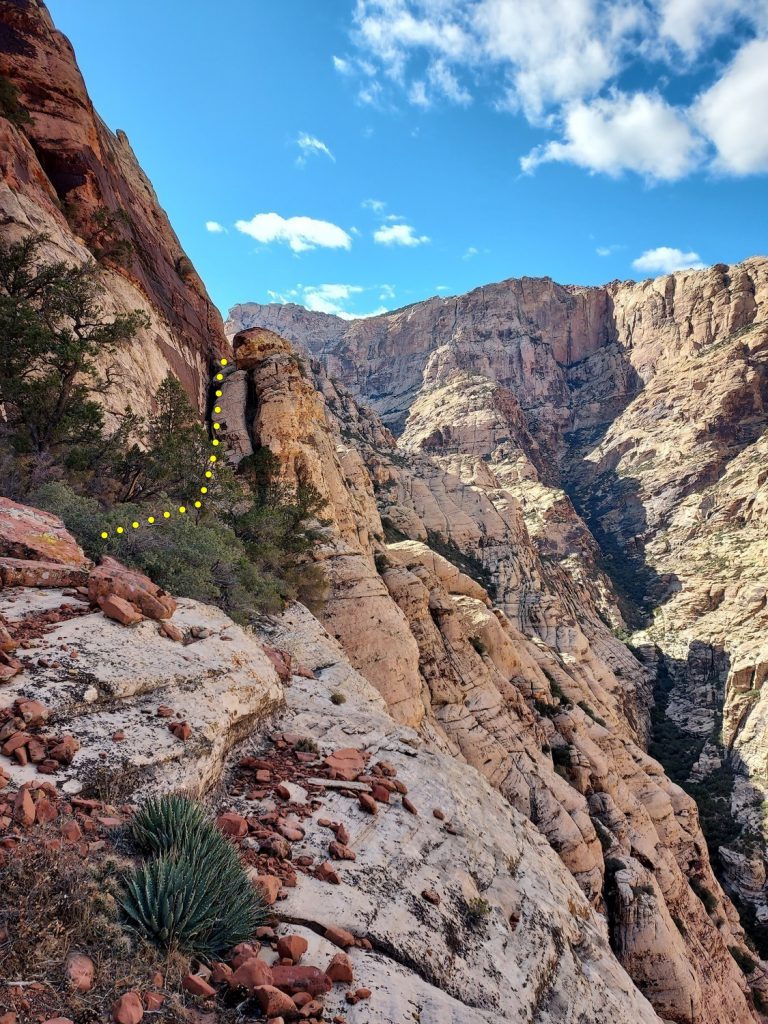
Continue along the wall until you get to the saddle/large white bowl
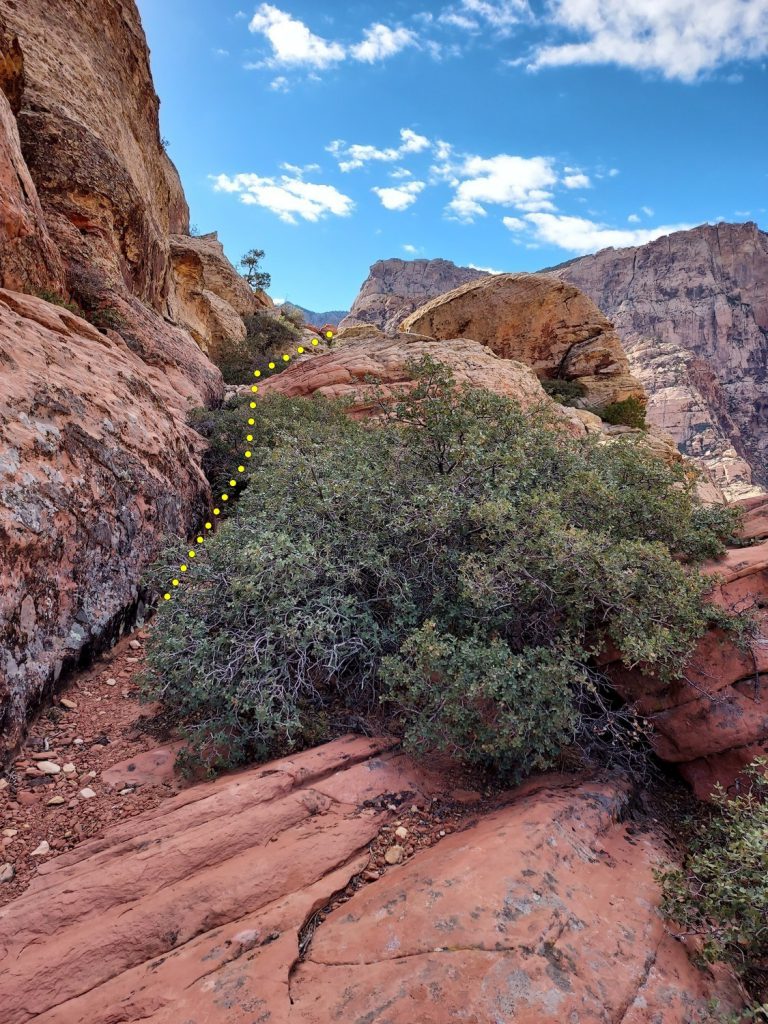
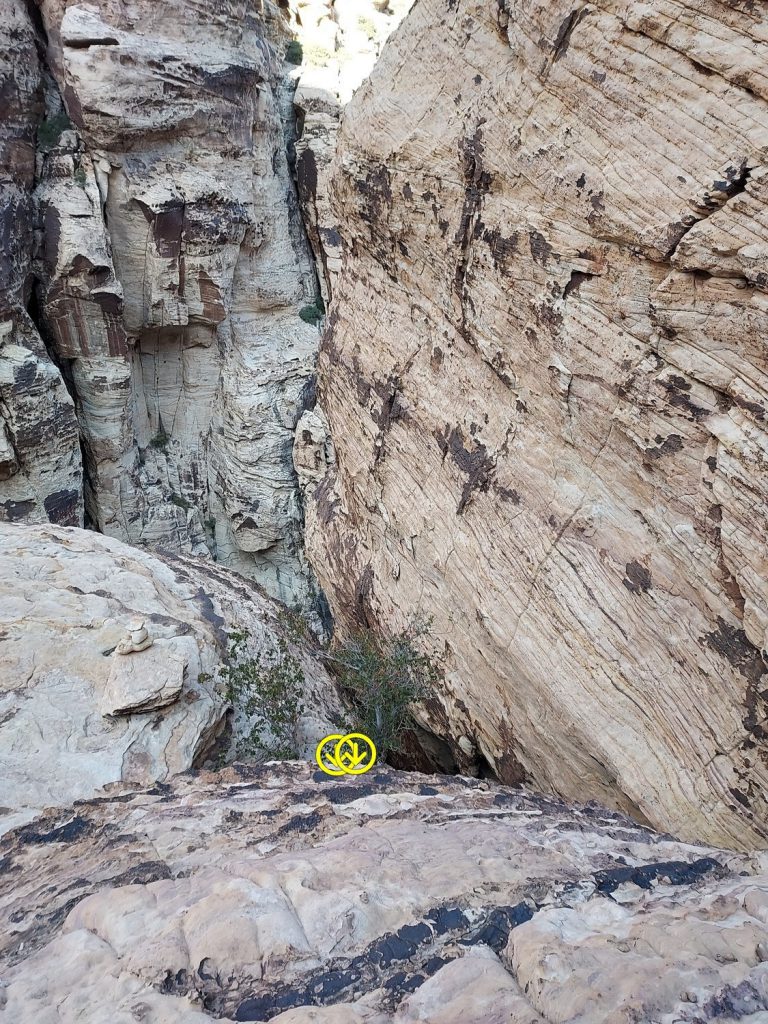
From the top of the saddle/white bowl, follow cairns down into the bowl which snake back the direction you came a couple times.”
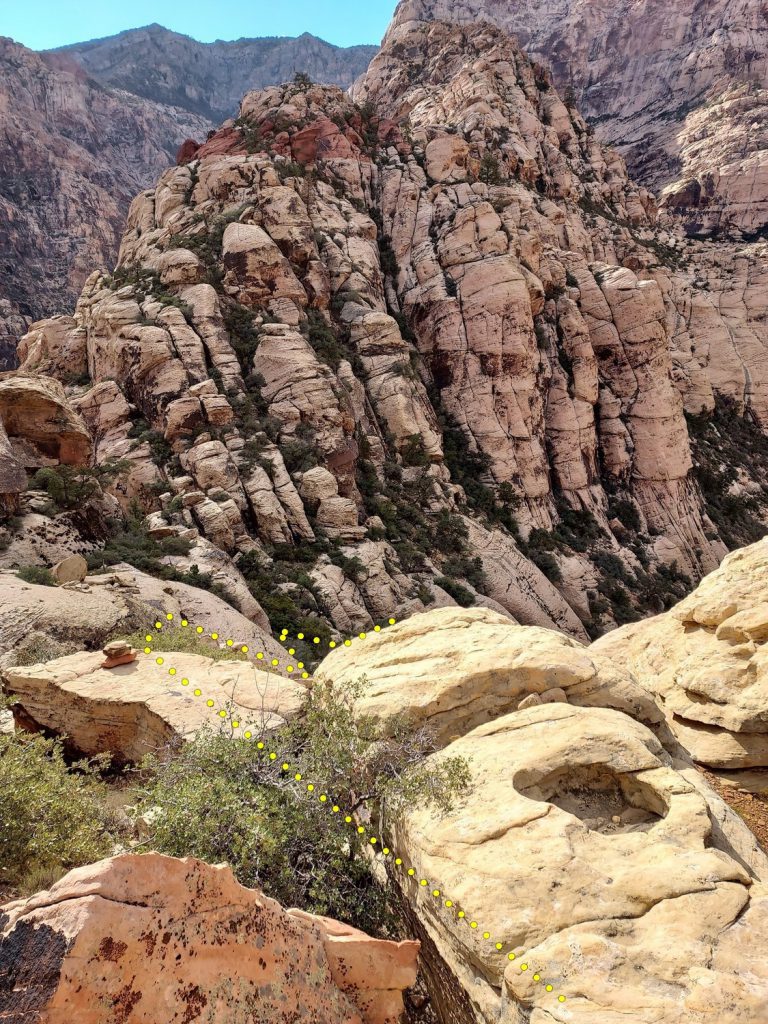
Keep following cairns down into the bowl
Finally find the rap station that raps off of the tree shown in the photo, three raps with a 70m gets you to the ground from here
South descent
South descent…
TLDR: If at any point you think you’re off route, you are! The entire descent is well cairned until after the raps. We didn’t find any detailed descriptions in the comments but hopefully this adds some color. The GPS coordinates for the top of the correct descent gulley are: 36.1224610, -115.4991020
1. From the top of P1, explore rightwards and then up to the summit. After soloing from pitch 10 to the summit (I’d recommend soloing the last few hundred feet the rope drag would suck), head away from the loop road and look for cairns out to your left (south) following the ridge.
2. Walk by an obvious white chimney. This is the top of cat in the hat. Stay right.
3. The cairns continue traversing. At one point, you will go past a narrow gulley — you will see cairns continuing past the gulley, these are for you, they aren’t cairns for people approaching from the other direction. THIS IS NOT THE DESCENT GULLEY! You will see foot prints and evidence of traffic in this gulley. It’s apparently possible to get out, but not worth it. If you start going down this by accident, back it out as soon as possible.
4. The cairns lead you through a slot into a wide gulley. You’ve found it! The cairns are very frequent, all the way to the rap anchors.
5. At some point you’ll get to some 5th class slab with some cordalette around a bush. We downclimbed, but without approach shoes you may want to rap.
If at some point you don’t see multiple cairns, YOU ARE OFF ROUTE! Back it out and find the cairns. Just before the raps, the cairns go down a white spur of rock, skiers right. Stay on the spur until the end where you can drop off it skiers right. This will lead to the first rap anchor (2 bolts). Rap skiers right to find the next rap station.
5. For the second rap, saddlebags can be nice to ensure you don’t get the knots stuck in a crack. Once you’re down, it’s easy to follow the trail. Depending on your route down the south fork, you might end up doing some mild bushwhacking.
All in all, this descent wasn’t bad at all. It took us about 1.5h summit-to-car. Perhaps it’s bad for Red Rock, but it isn’t bad by the standards of getting off other technical peaks.