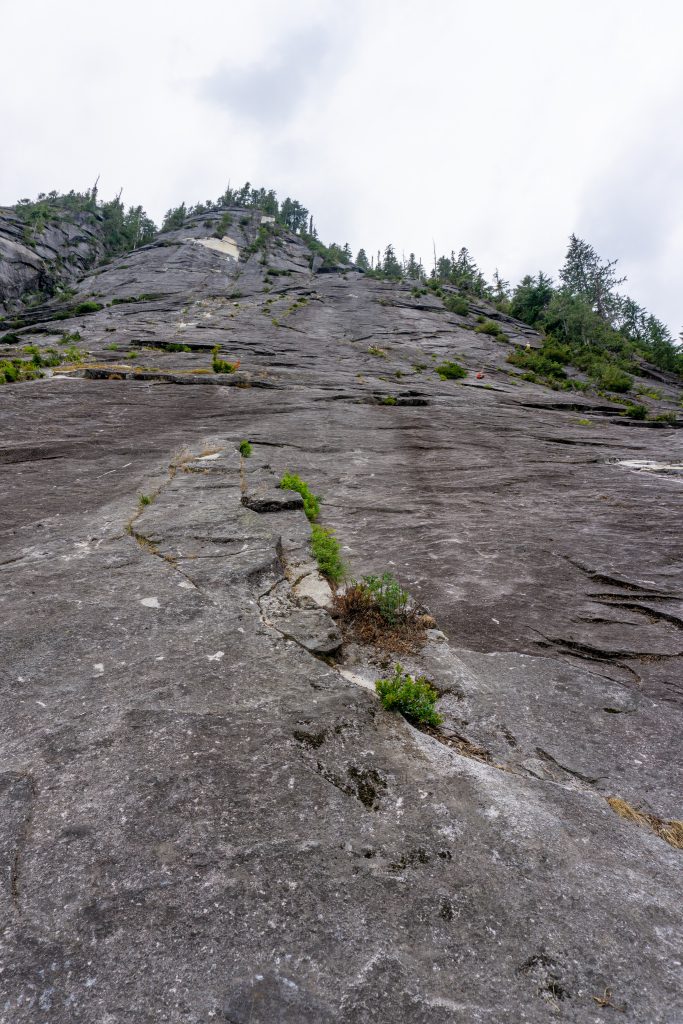
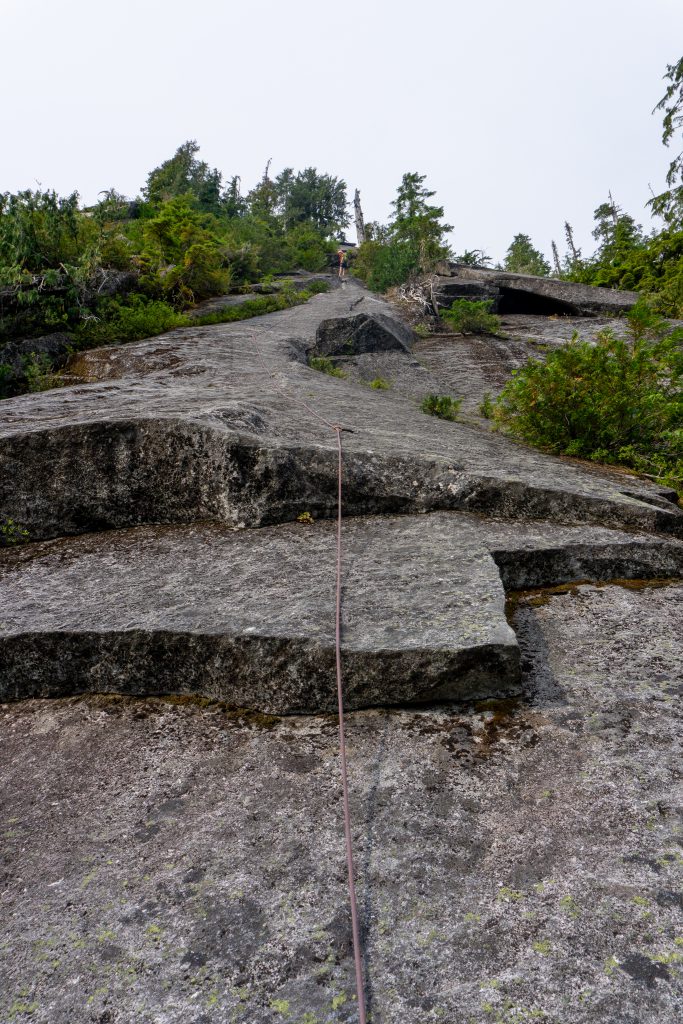
Better than expected slab climb! Some of it felt slightly runout but only on easier terrain, for the most part pretty well bolted!
Key notes
- 12 quickdraws (6 single alpine and 6 sport) worked well. Never needed a double alpine. Potentially could have brought one more for P7 if you also leave a quickdraw at the anchor when you start. Definitely bring 6 alpines, handy sometimes!
- Communications were excellent – No need for radios, can always communicate and can typically always see each other too.
- Singles #0.2-2 worked perfectly! If you’re skipping P7, you could bring just #0.4-1.
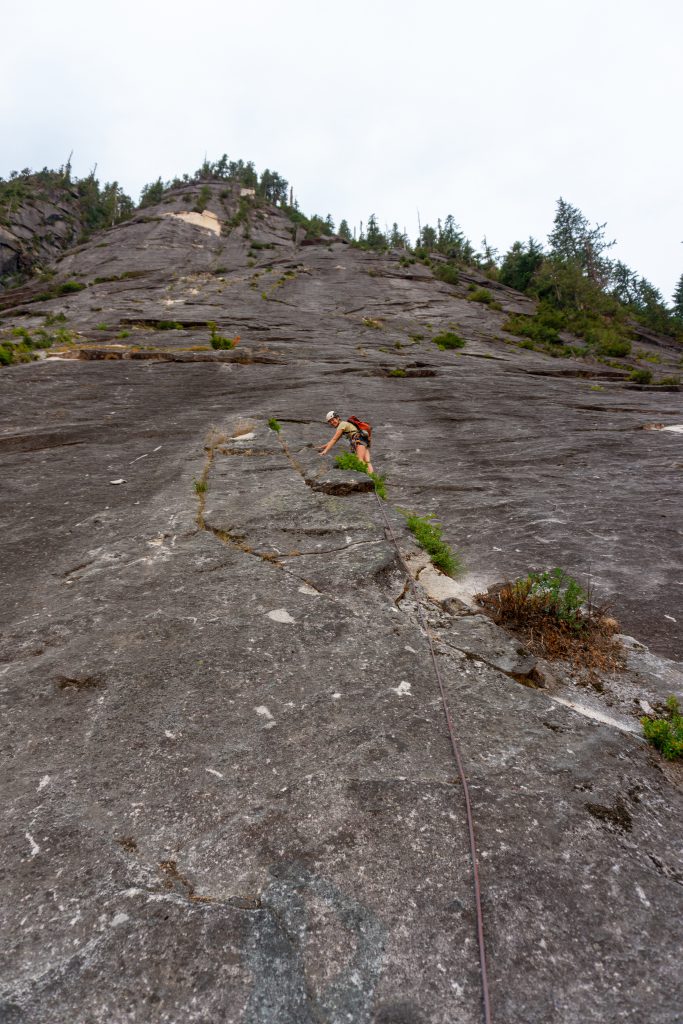
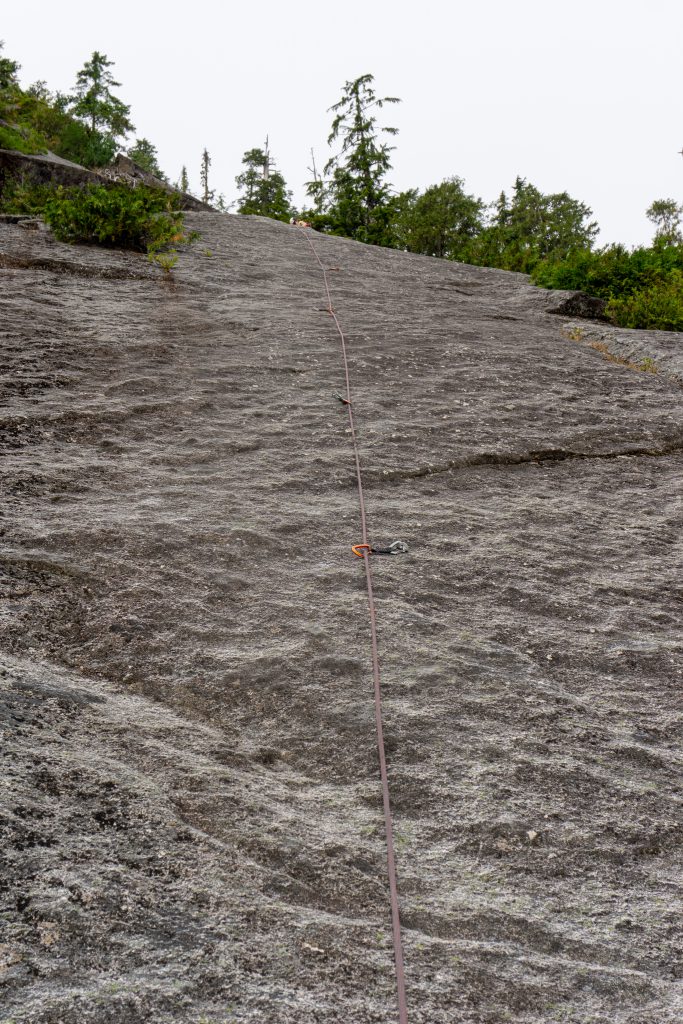
- Runout was reasonable. Definitely spots you’re 10-15 feet above, but usually always on relatively easy terrain. The crux moves are well bolted.
- Pretty good if you love slab! It’s basically all slab, I’m not a slab fan but it’s kinda neat, and seems like probably one of the best slab climbs you can find that’s also pretty well protected!
- Belay ledges are usually pretty good, they’re usually located where there’s a bit of a ledge to stand on. P6 and P7 start to become more slabby though.
Time stats
- Approach: 36 minutes at casual pace
- Climbing: 4:08 hours
- Rappelling: 1:10 hours
- Car-to-car: 7:50 hours
Time log
- 3:20 started driving
- 5:10 arrived
- 5:20 hiking
- 5:55 base
- 6:12 climbing
- 10:20 top
- 10:33 rappelling
- 11:42 base
- 12:10 would have been back at car if we didn’t crag
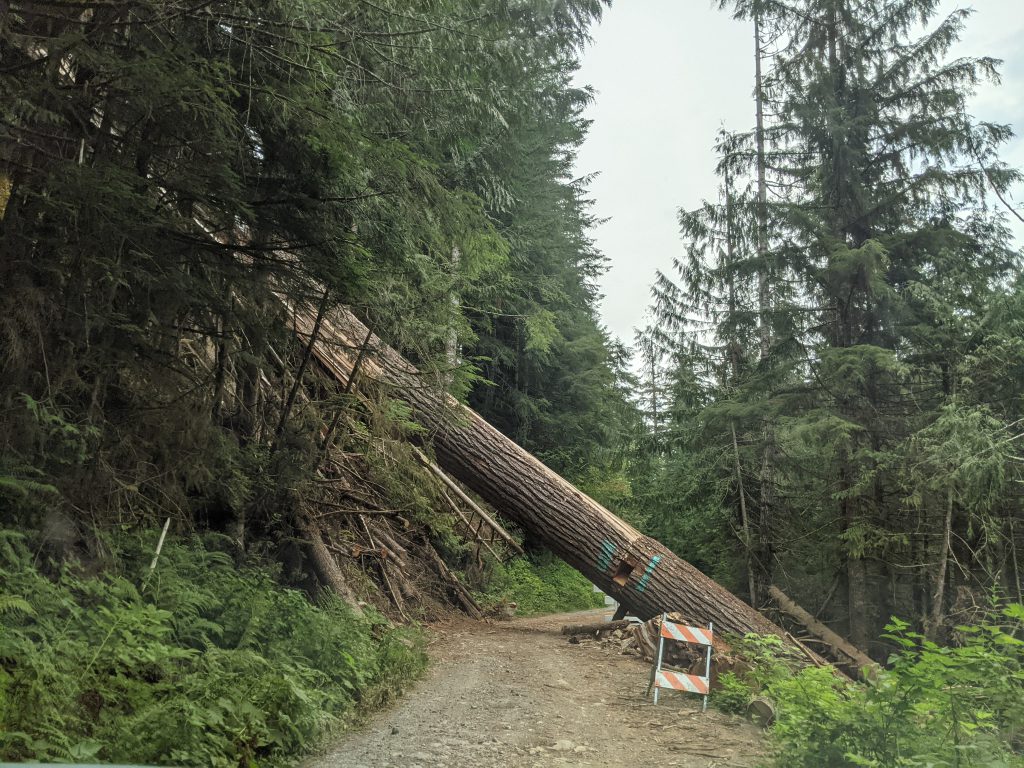
Drive
The dirt road is pretty good, although in a sedan could be a bit difficult. The Subaru Crosstrek handled the two rougher dips in the road fine. There’s a huge fallen tree across the road though that hopefully doesn’t fall down!
Approach
Super mild approach! There’s an actual hiking trail, it’s not a climbers trail! It took us 36 mins at an average/casual pace. The approach trail takes you right to the base of the climb.
The climb

P1 – 5.6, 170′, 1 bolt + 3 cams
Alexis got a #1 in just before leaving the initial corner, and then after the single bolt, traversed right to find a #0.75 and then a #0.5 placement, and then traversed slightly left and up to the anchor.
Starting P1 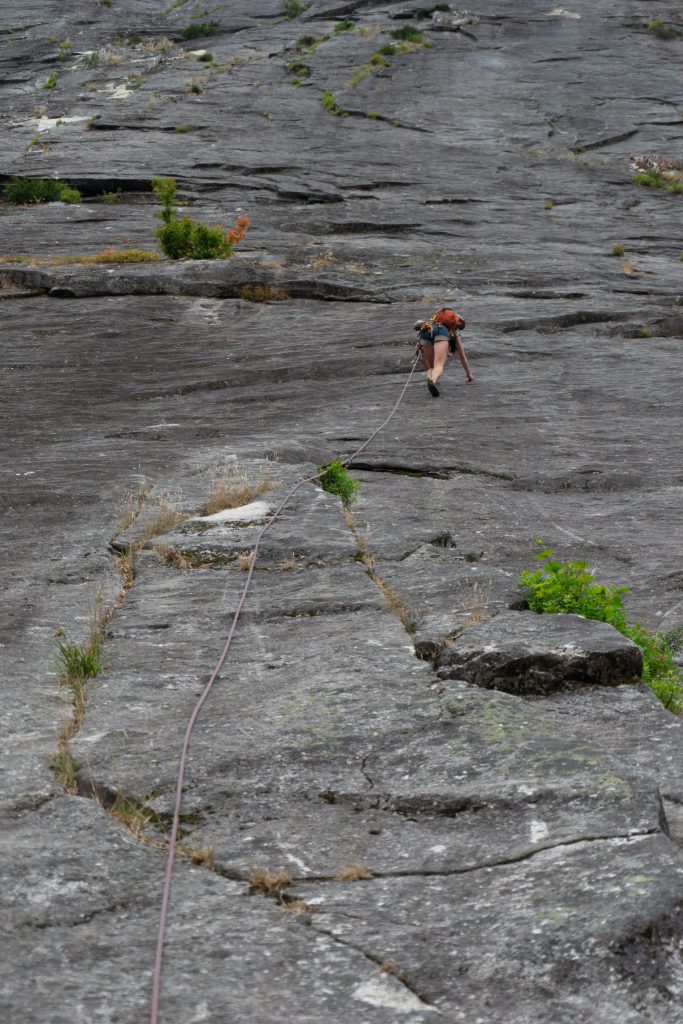
Clipping first bolt 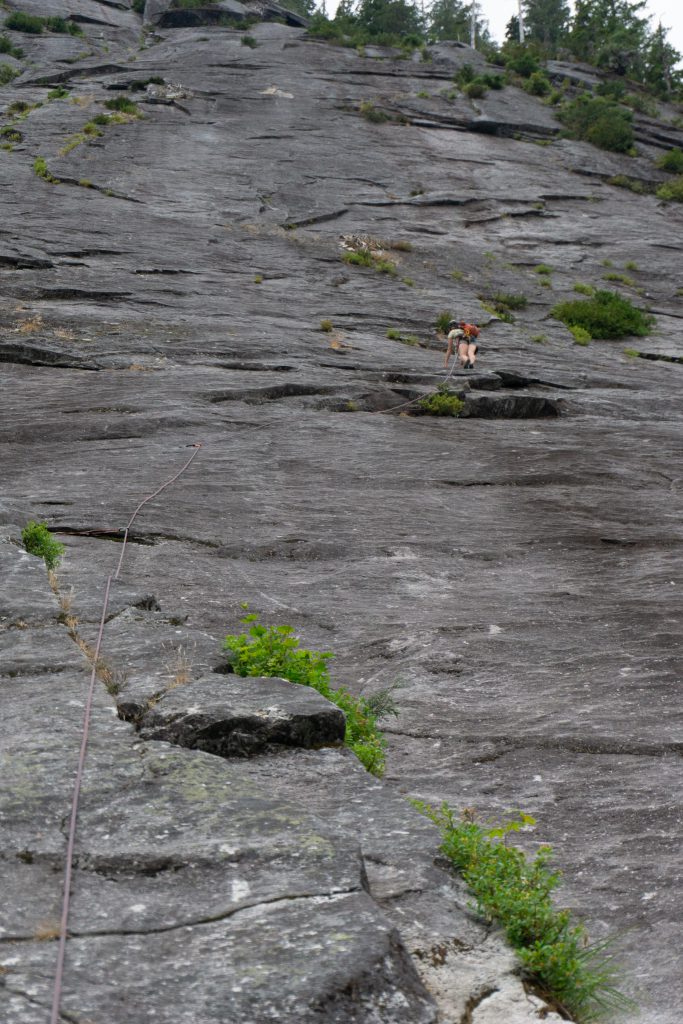
Off to the right for pro 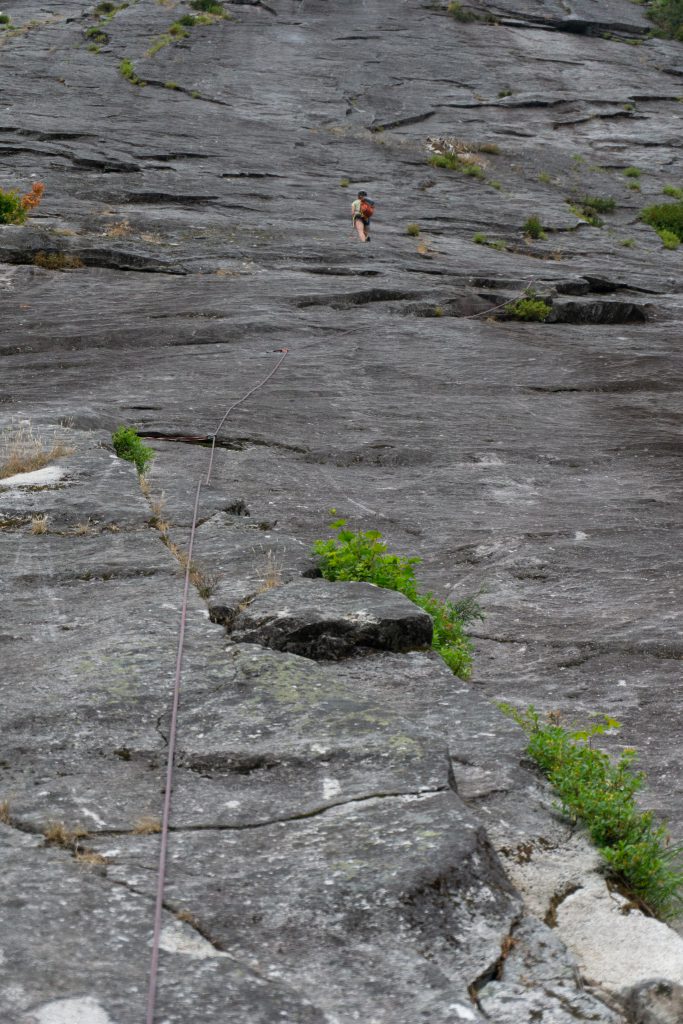
At the anchor
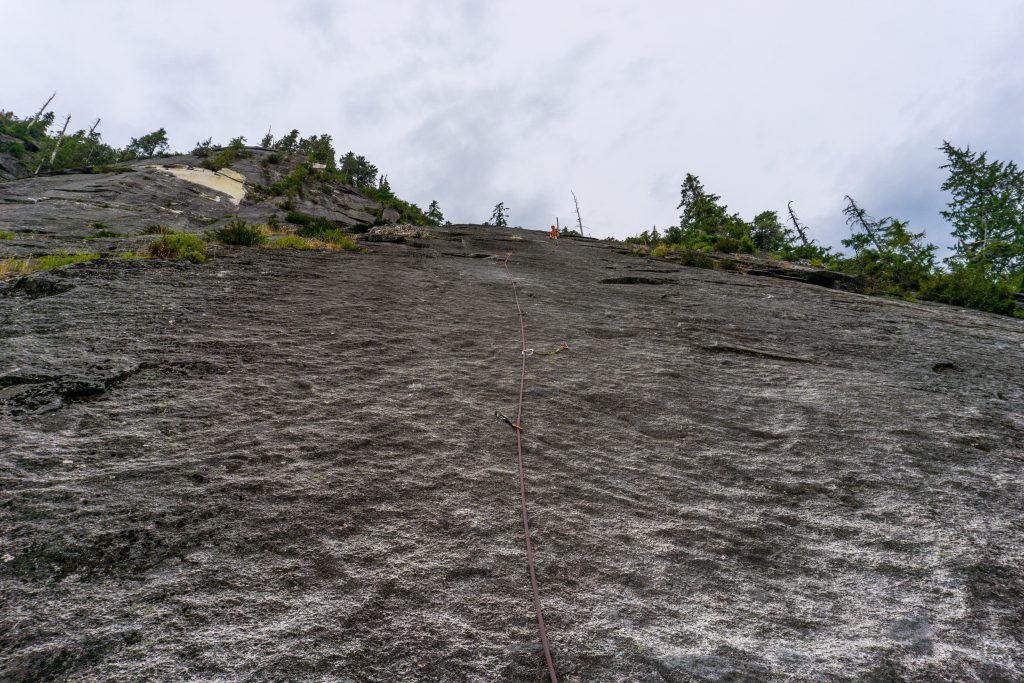
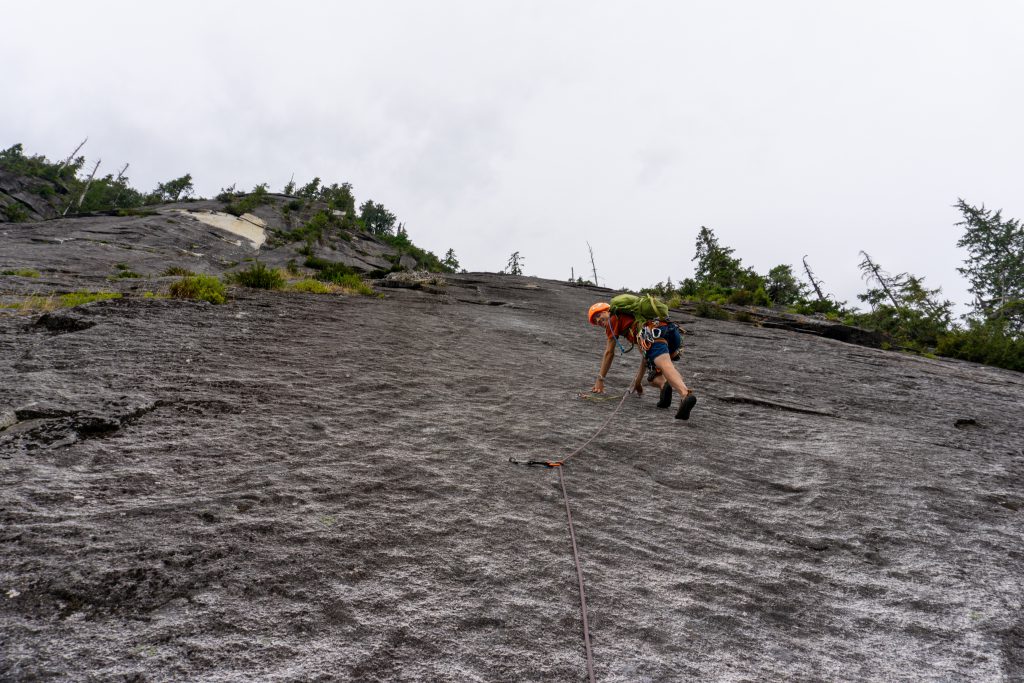
P2 – 5.8, 160′, 6 bolts + #0.75 cam
Slab starts to get a bit steeper! After the first bolt, I placed a #0.75 cam which made the runout feel better. In the second half of the pitch, the bolt frequency increases. I had to take the rope out of my backpack as it was feeling a little scary with the extra weight.


Starting P2 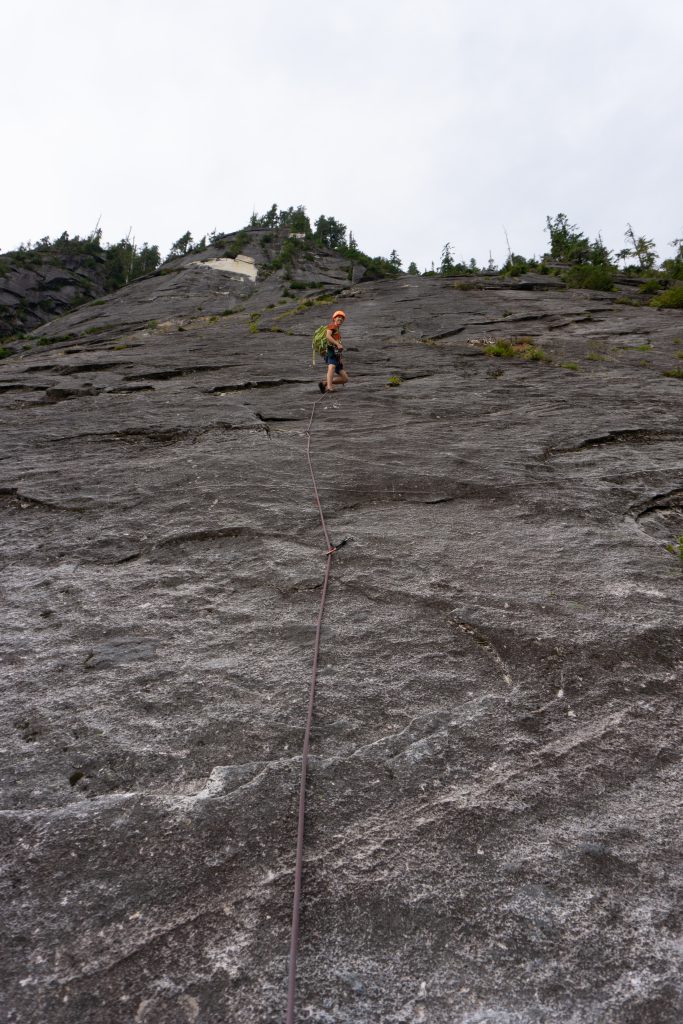
A little ways up 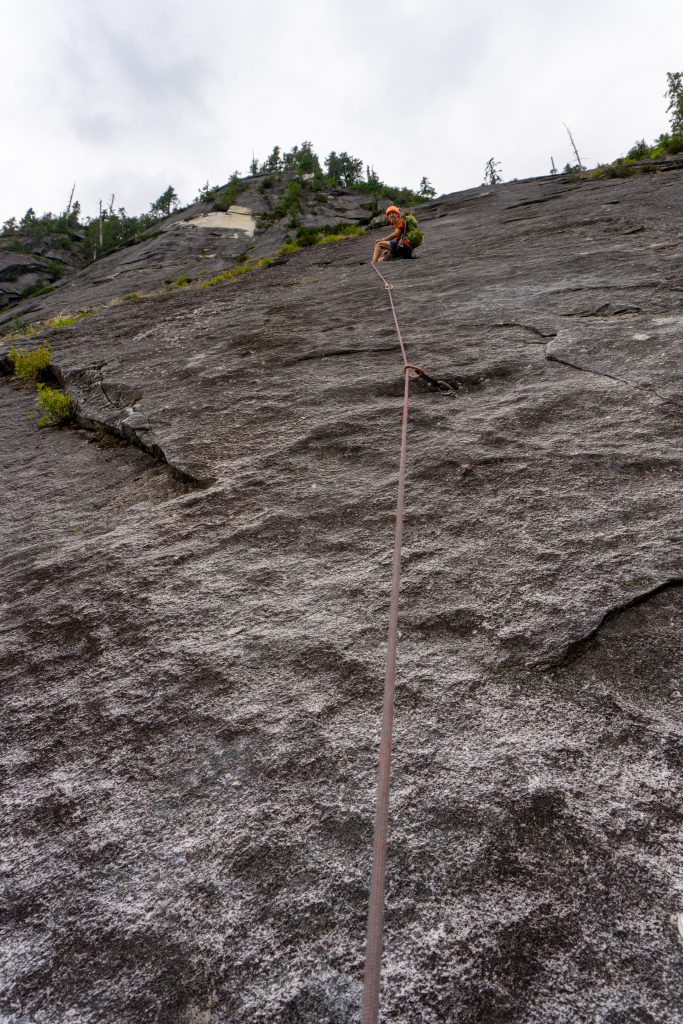
End of P2 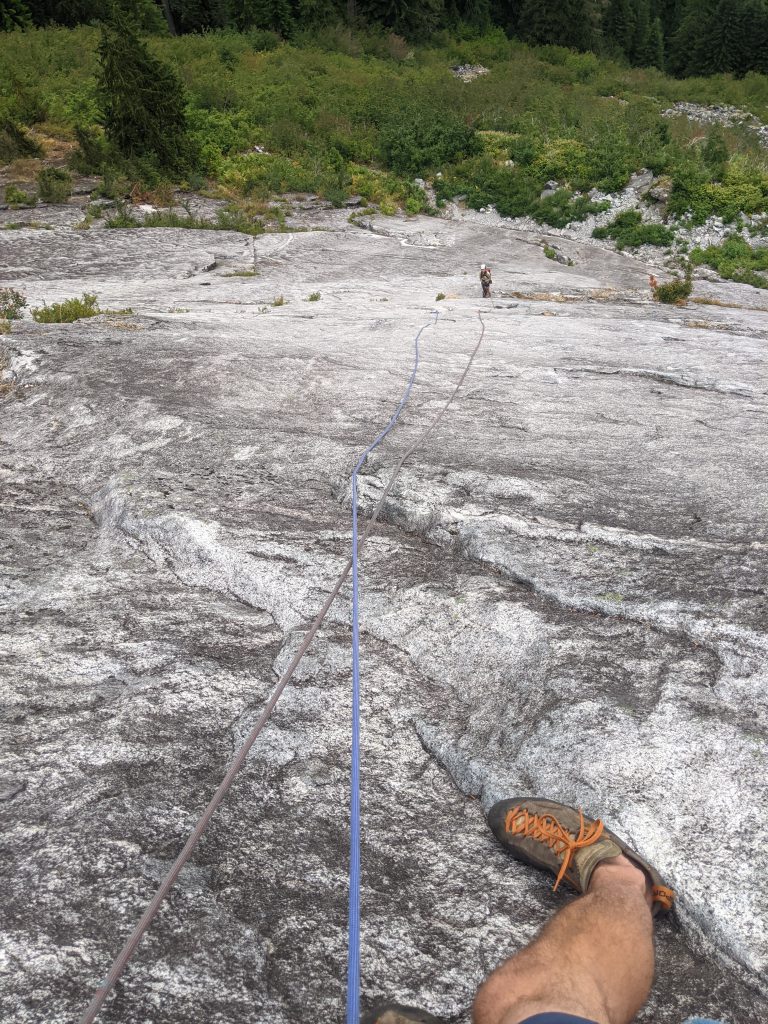
Partway up P2 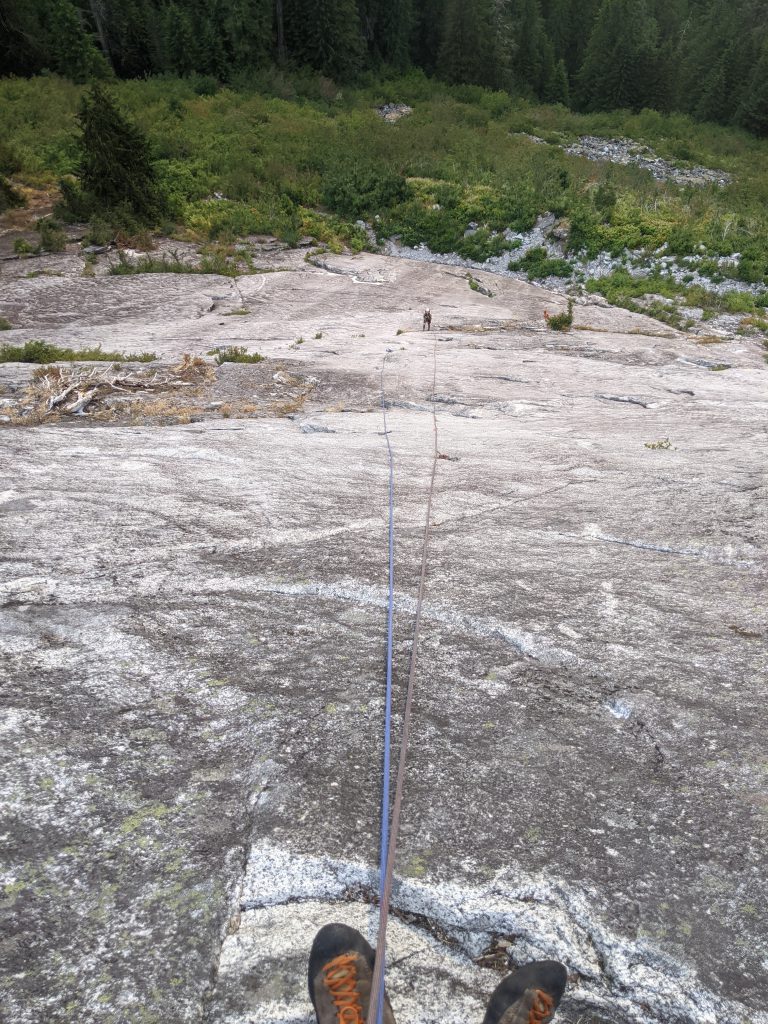
End of P2
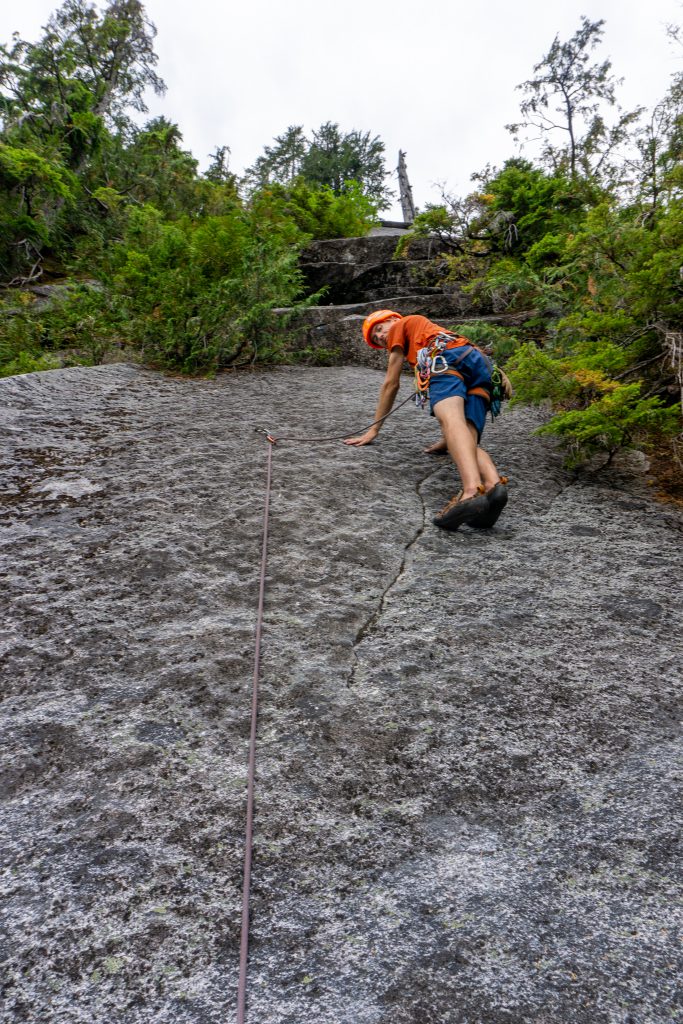
P3 – 5.9+, 150′, 9 bolts
The first half is the crux, full steep friction slab! It’s quite well bolted though, not over bolted but also you’d only take probably a 5 foot fall! The second half becomes much easier, especially after tackling the first half. Ends on some fun easy hollow flakes!

Starting P3 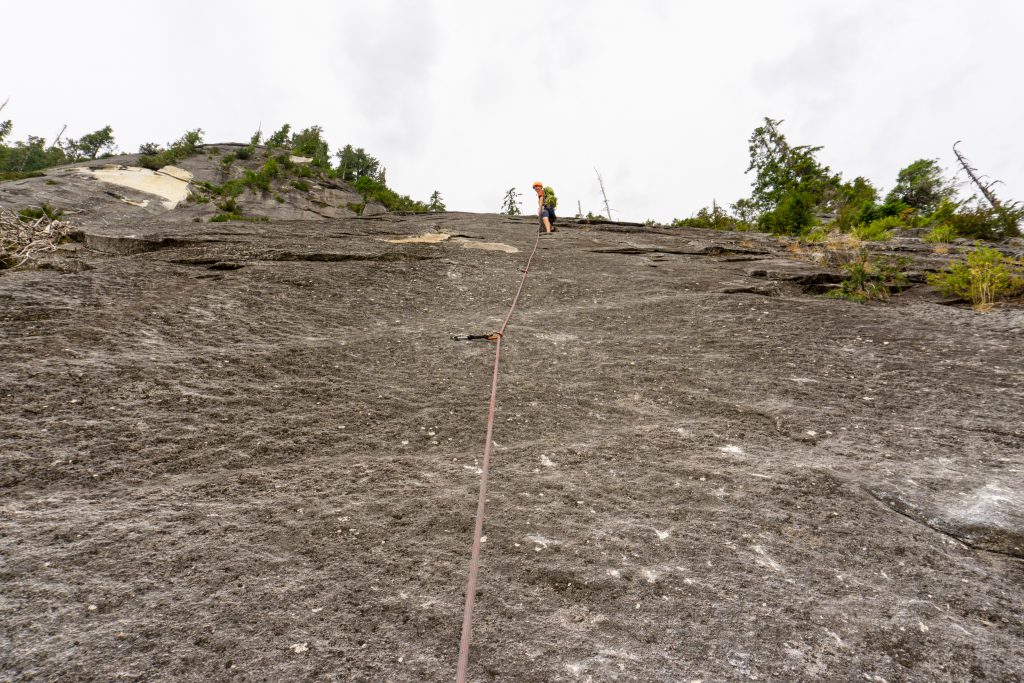
End of P3 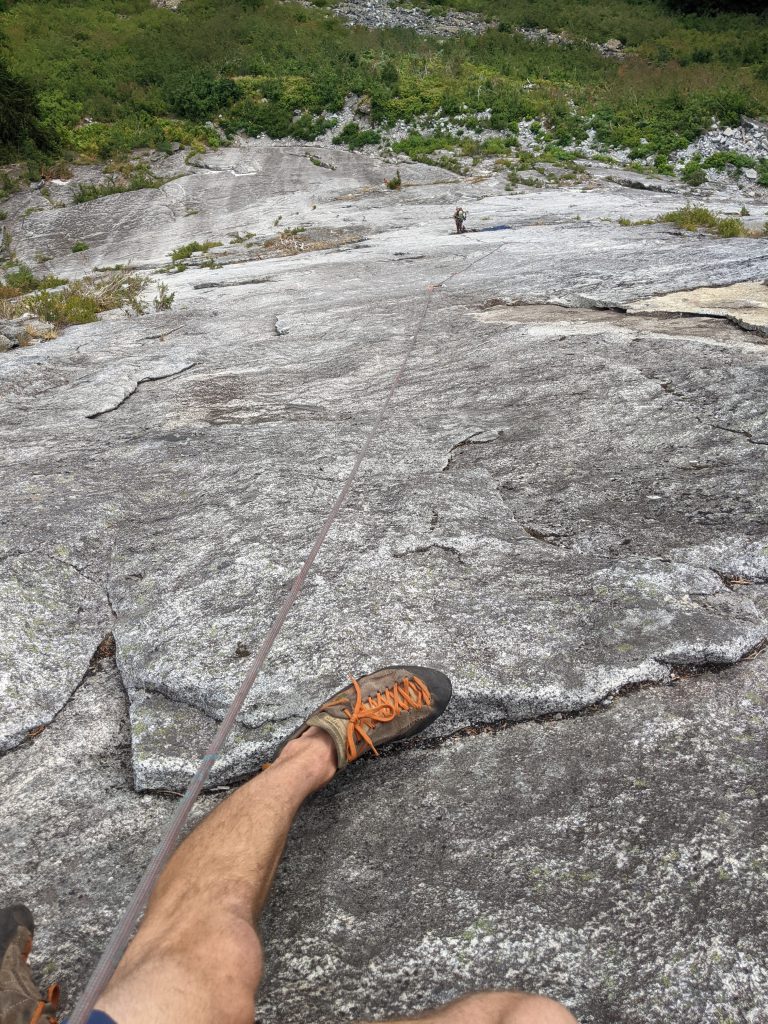
End of P3 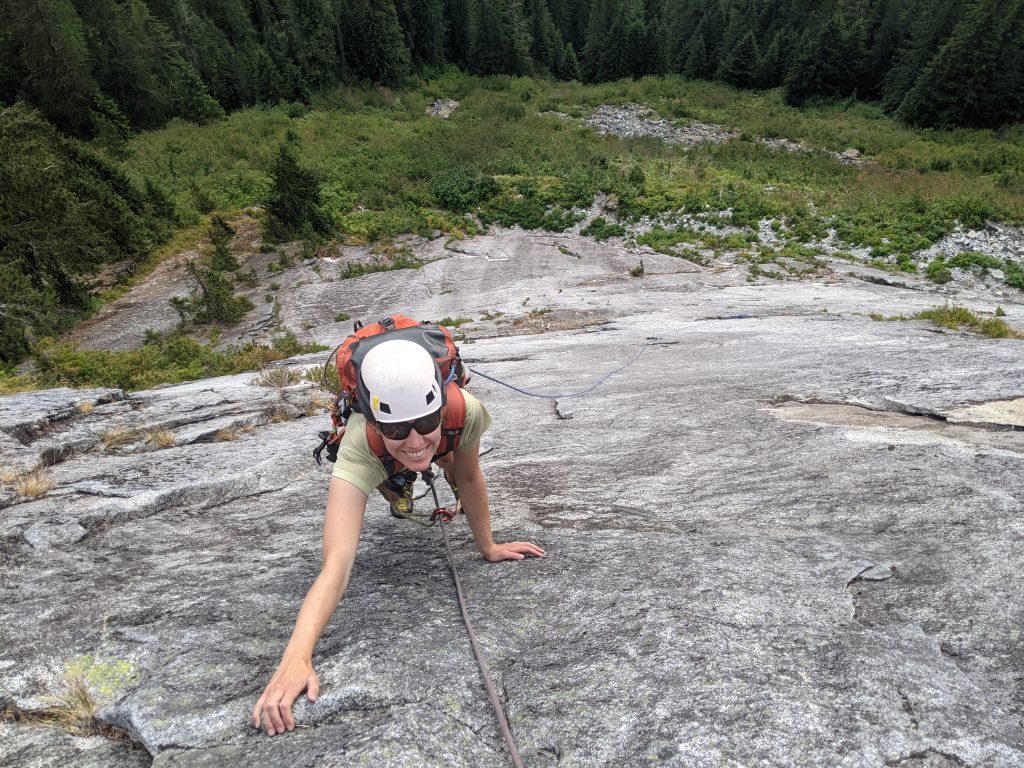
End of P3
P4 – 5.8, 150′, 5 bolts
5 bolts including the pin halfway up. Easier with some more knobby rocks, kind of like slabby chicken heads, more runout but easier, kinda fun! Starts with two bolts, and then there’s a pin on the top of the lip (which you don’t really see till you get up to it). After the second bolt, just keep trending up and if anything left, and then you should run into it. Ends just left of the bush.
Starting P4 
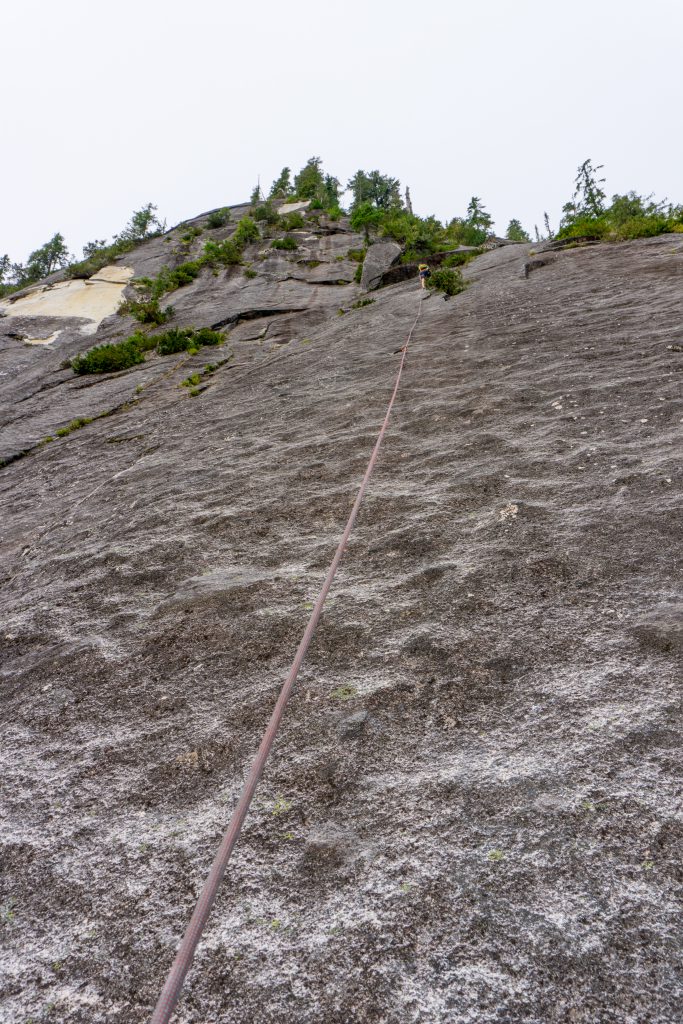
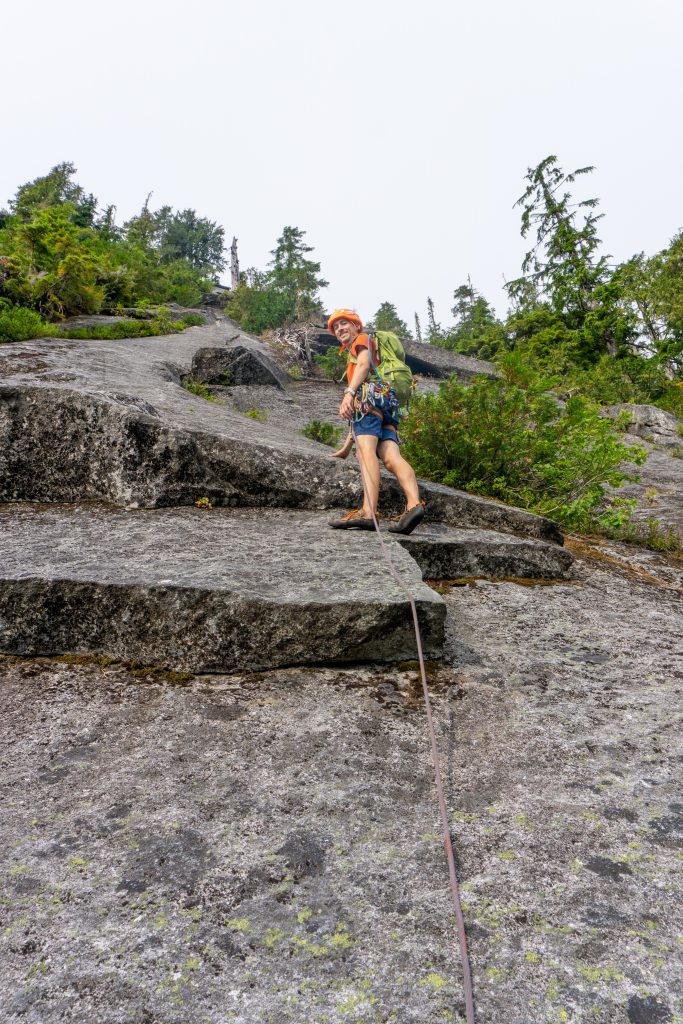
Following P4 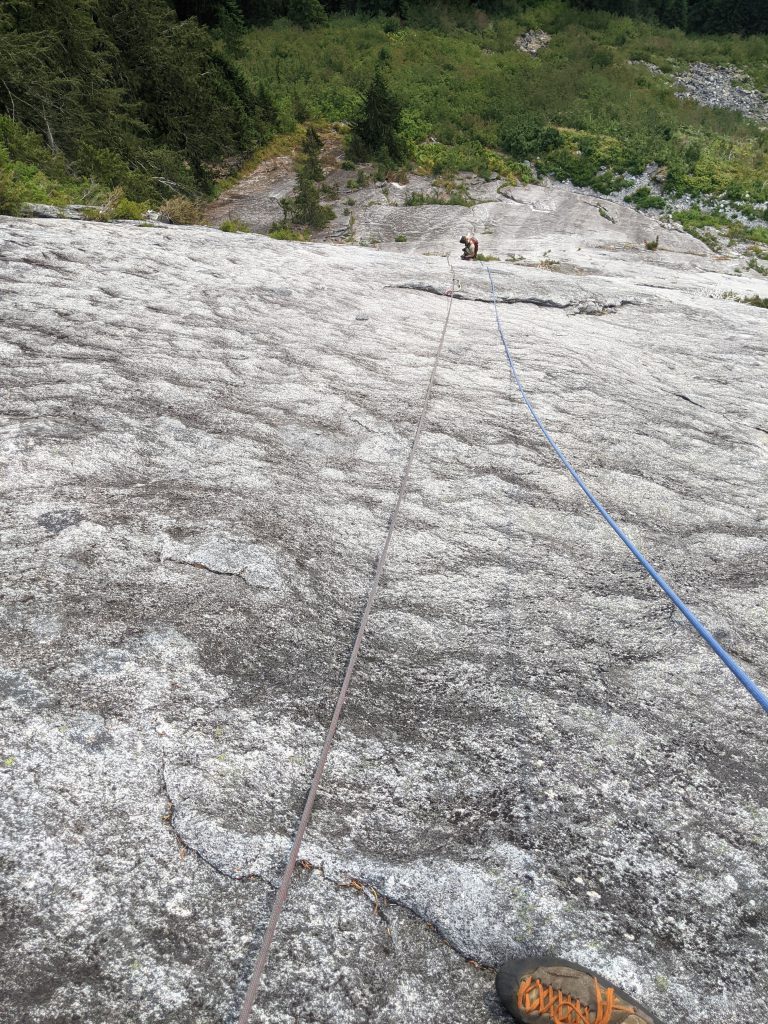
Midway up, looking down, can see the piton 
Midway up
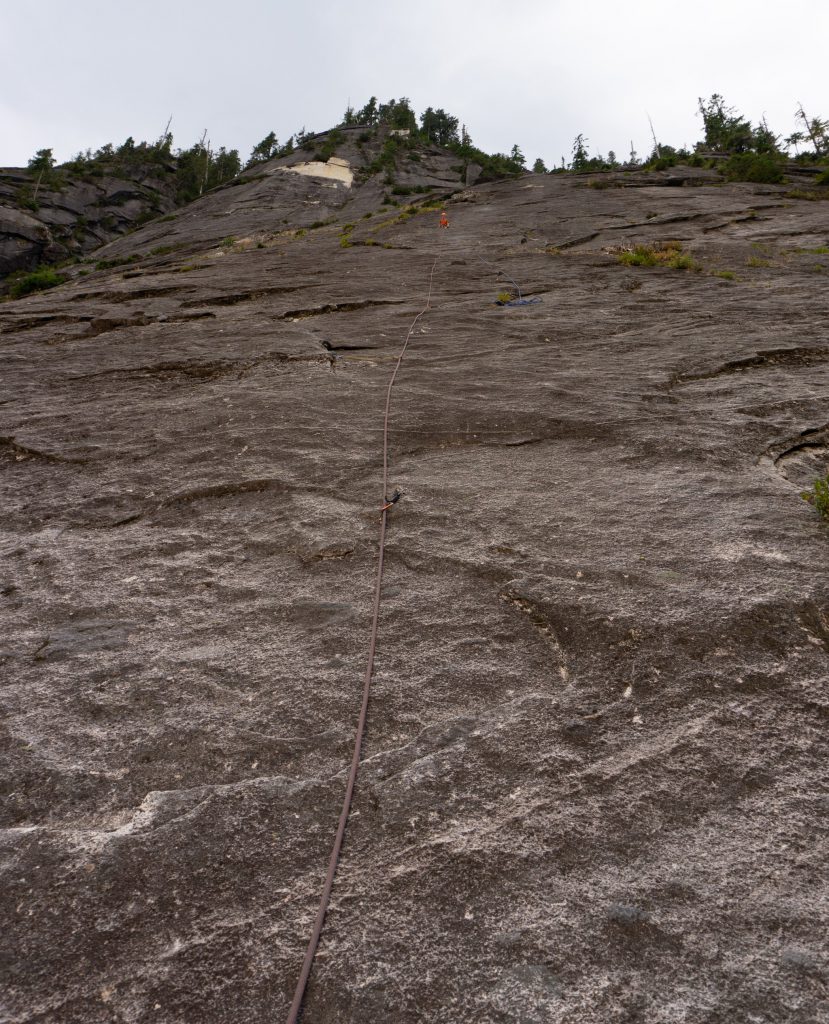
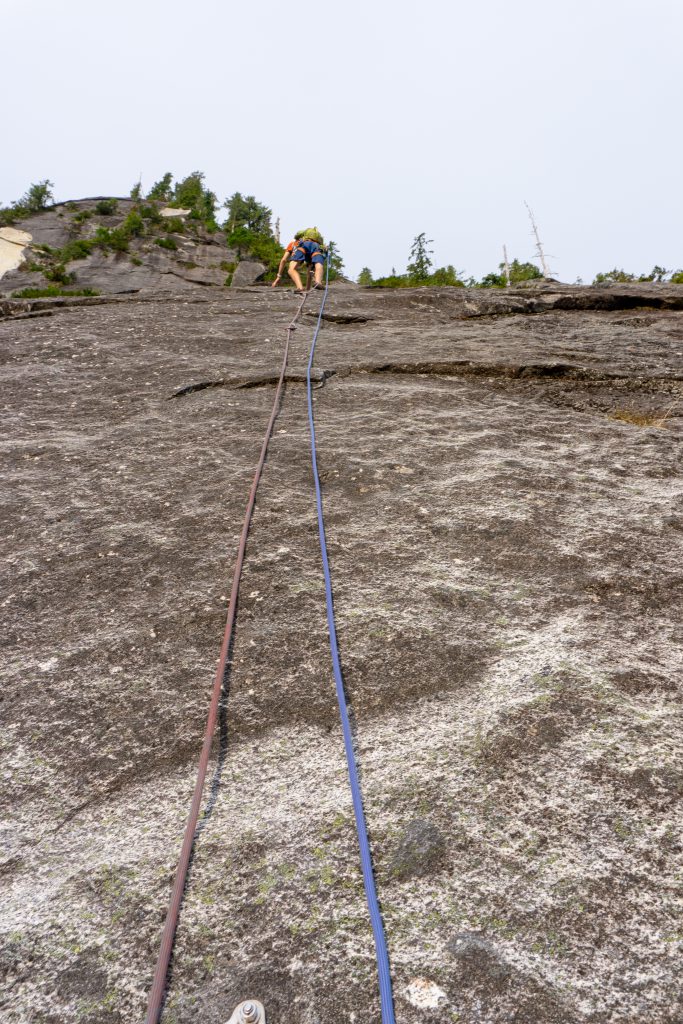
P5 – 5.8, 130′, 6 bolts
Decently well bolted, involves some optional zig-zagging. The first 4 bolts are obvious, then the 5th bolt is high up on the arete (further spaced). And then there’s a 6th bolt if you traverse hard right before going straight to the anchor.

Starting P5 
Midway up 
Zig-zagging
P6 – 5.9+, 160′, 8 bolts + #0.4
The second crux pitch, this one involves a technical stemming corner on slabby terrain. Less of a pure slab crux and more of a stemming crux. The bolts are awkwardly far left on the clean slab and can be difficult to reach and clip. I placed an optional #0.4 just before reaching one bolt, which felt nice but probably wasn’t necessary.

Start of P6 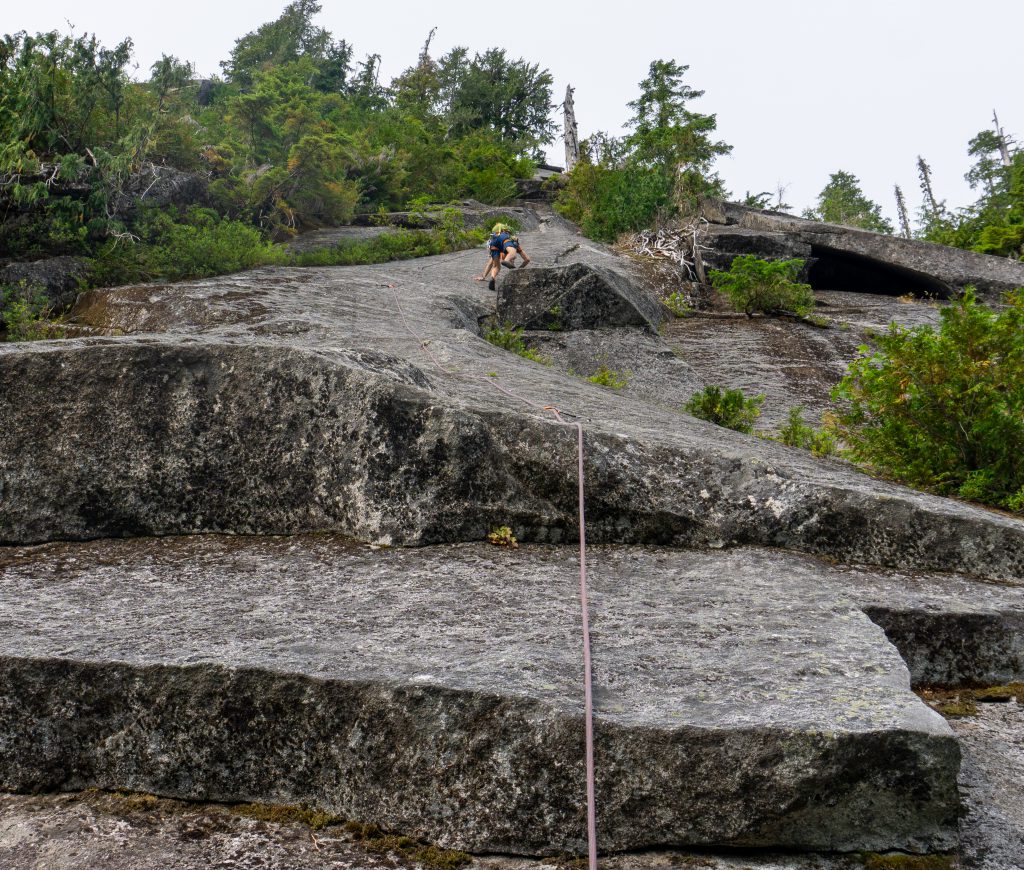
On the corner crux 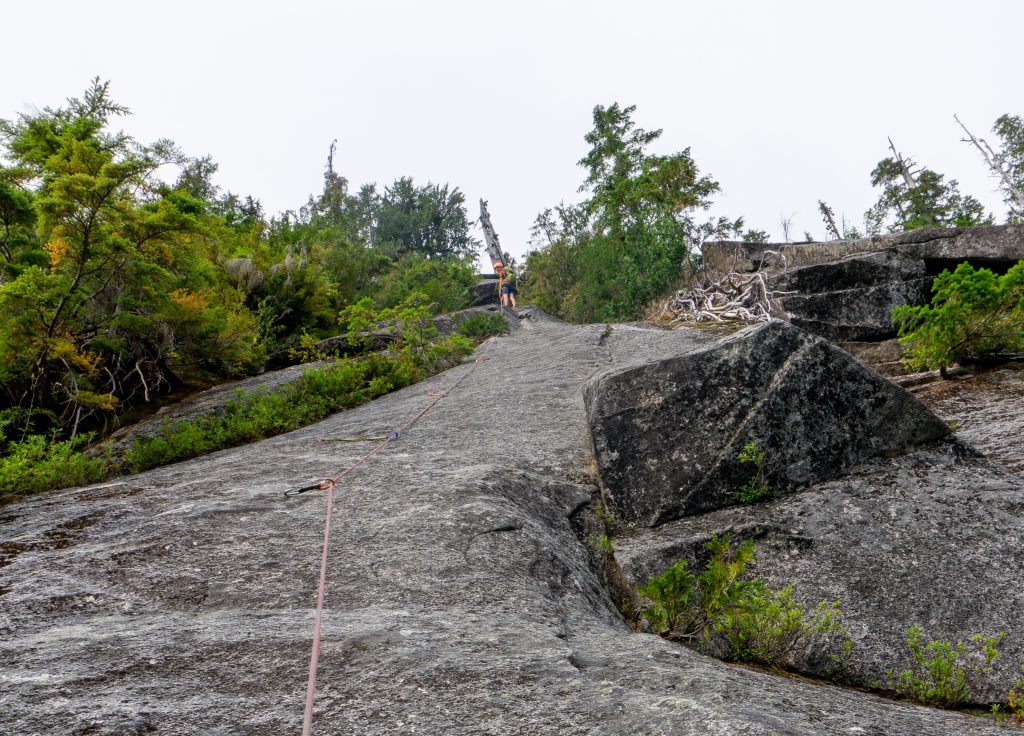
Looking at corner crux 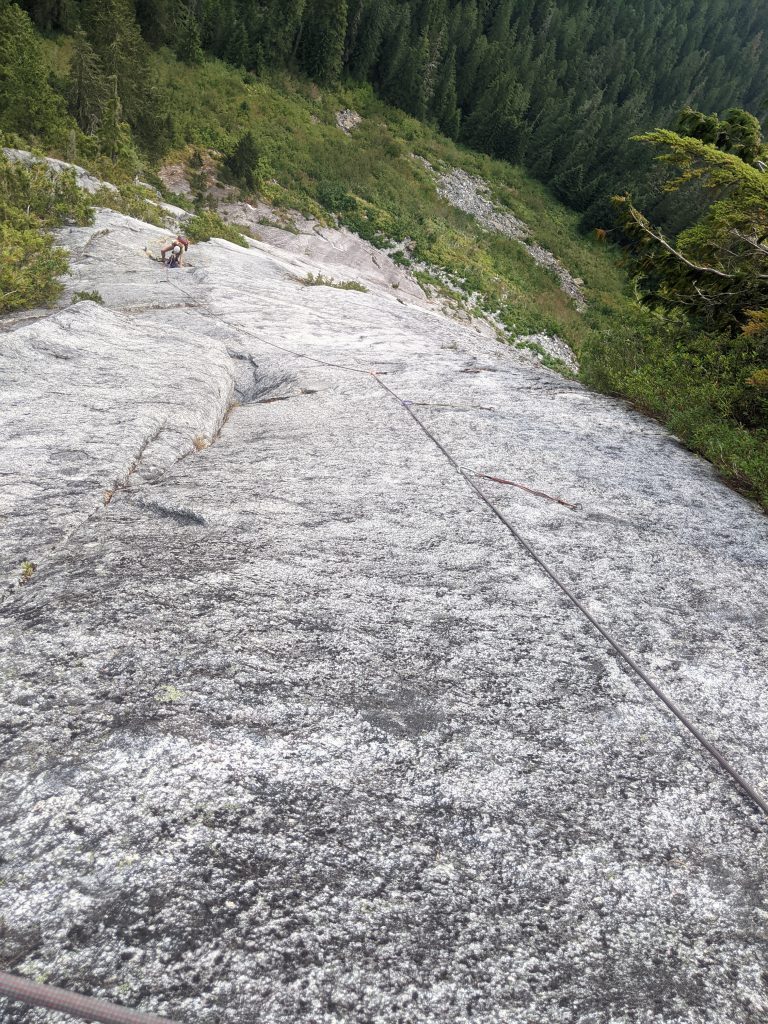
Looking down at crux 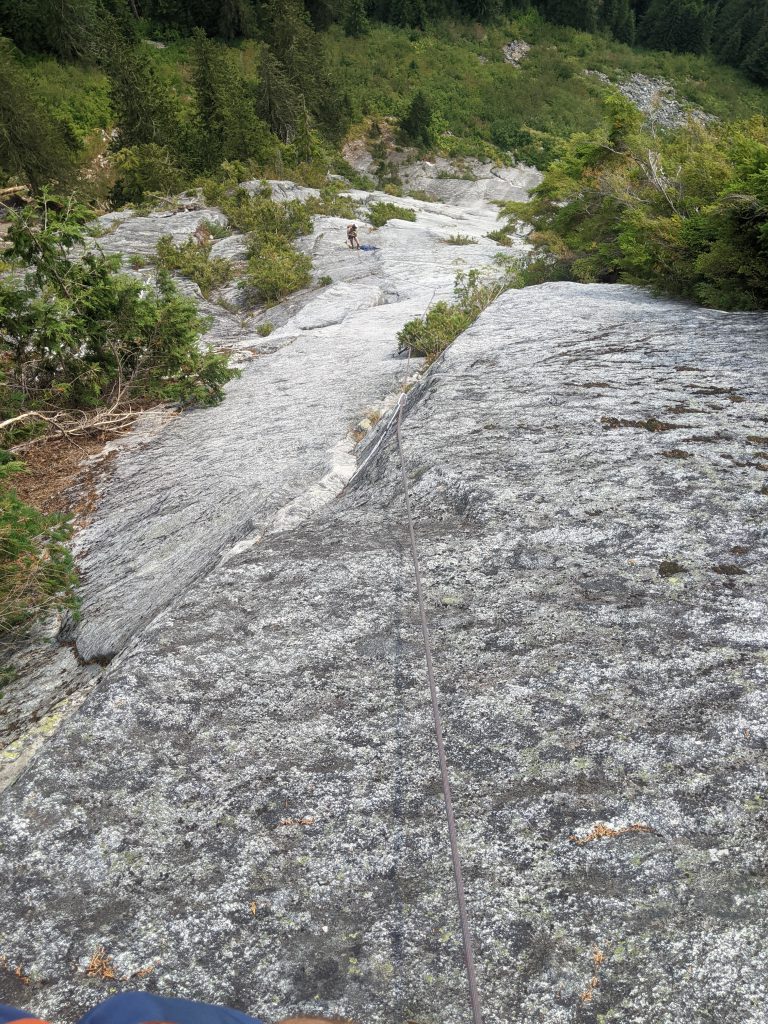
Looking down from top 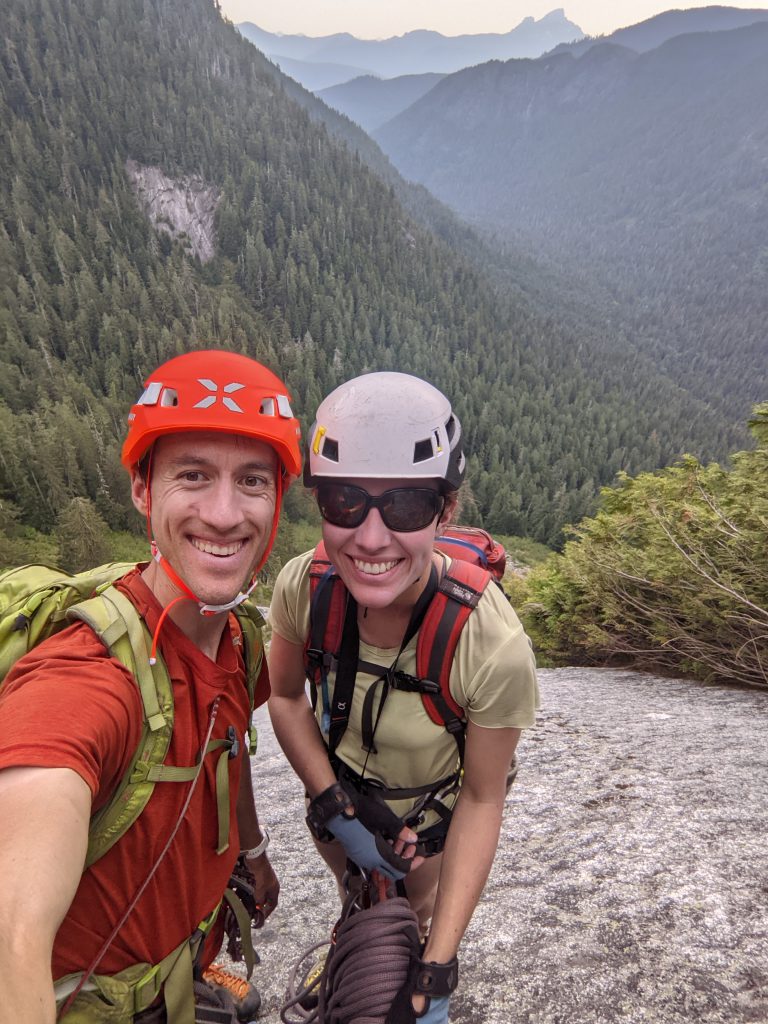
P7 – 5.10b, 170′, 6 bolts + 6 cams
This pitch protects pretty well! I fell a couple times at the crux slab move near the end, but it’s bolted quite well for that (fell right at the bolt and therefore literally didn’t fall anywhere). Singles from #0.2-2 worked perfectly, I placed everything except the #0.3 and #0.75. Feel free to place the #2 at the first step up (your first cam), you can use a #1 later and don’t need the #2 again.
Starting P7 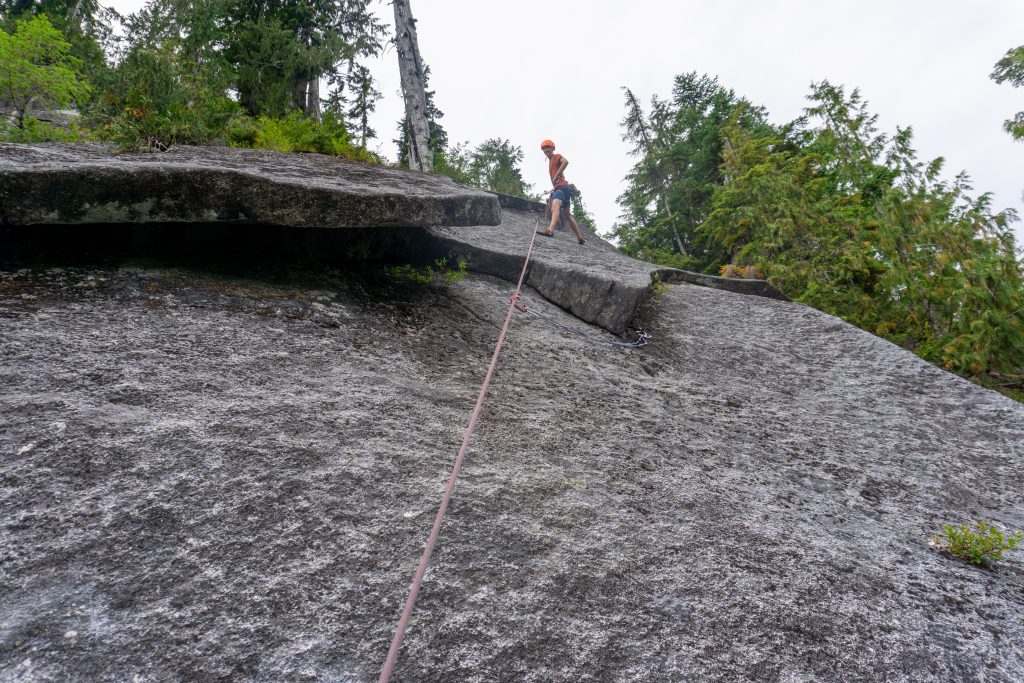
Crux move 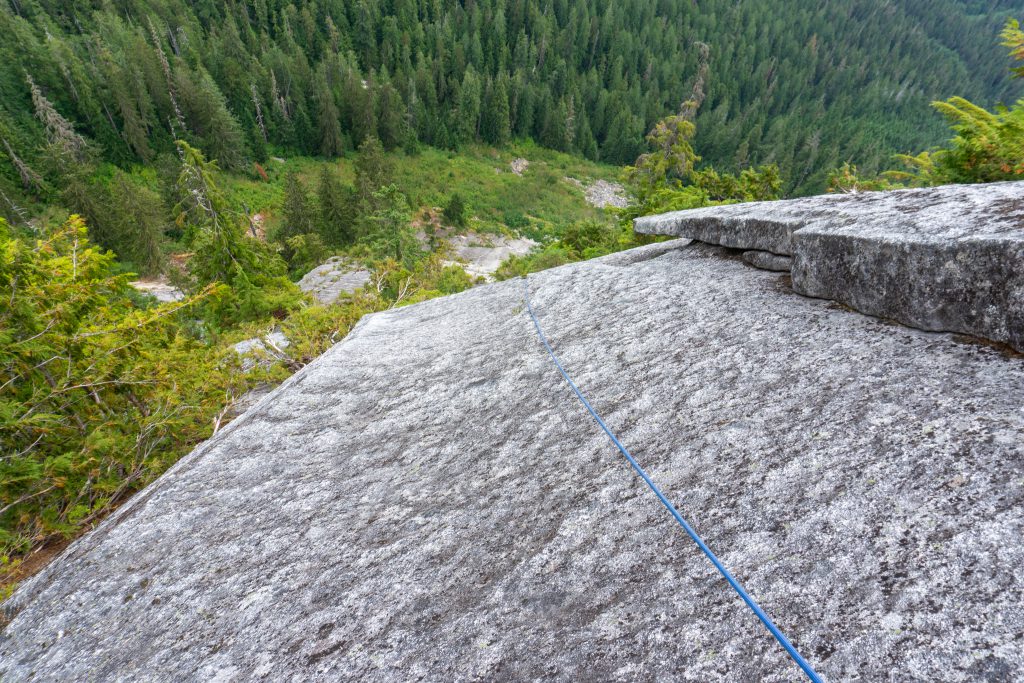
Looking down from anchor
Rappelling
The rappels were all quite good! Took us 1 hour and 10 mins to rappel. You need two ropes to rappel, but we made good time, 12 minutes per rappel! The worst thing is the belay ledges (slabs) on P7 and P6, after that the ledges get better. We skipped the final rappel by swinging far climbers left to the gully, where the ropes just reached to the end of their knots.
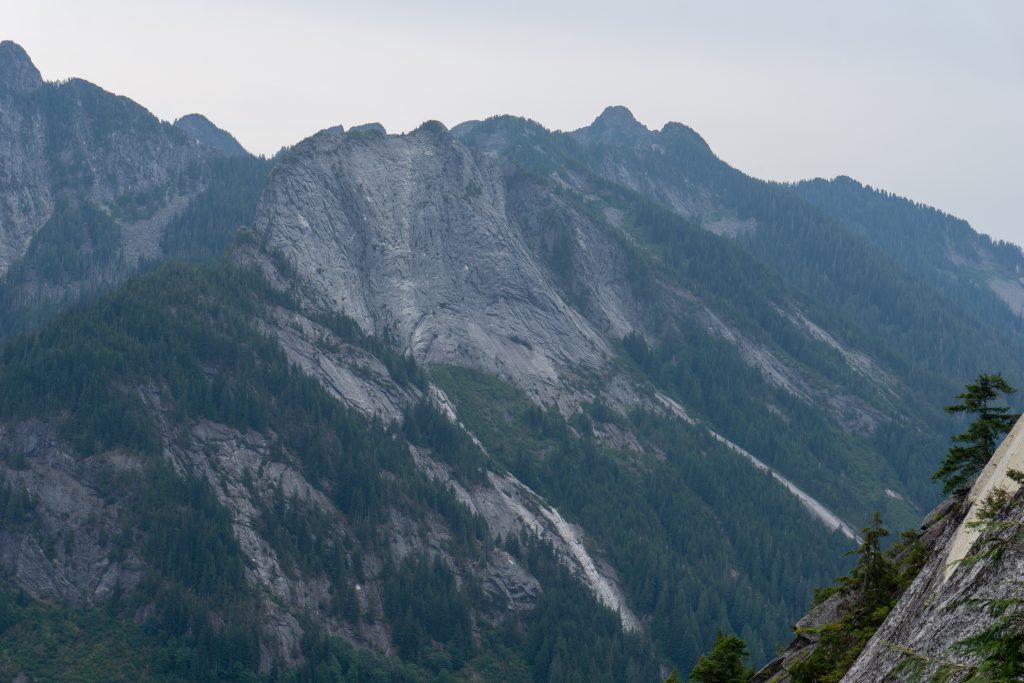
Exfoliation Dome!