This was a LONG day. 24 hours and 20 minutes. This one’s probably worth camping for since it’s an exhausting, tough route!
Overall notes
- Communications were actually pretty good, didn’t bring radios and didn’t really need them
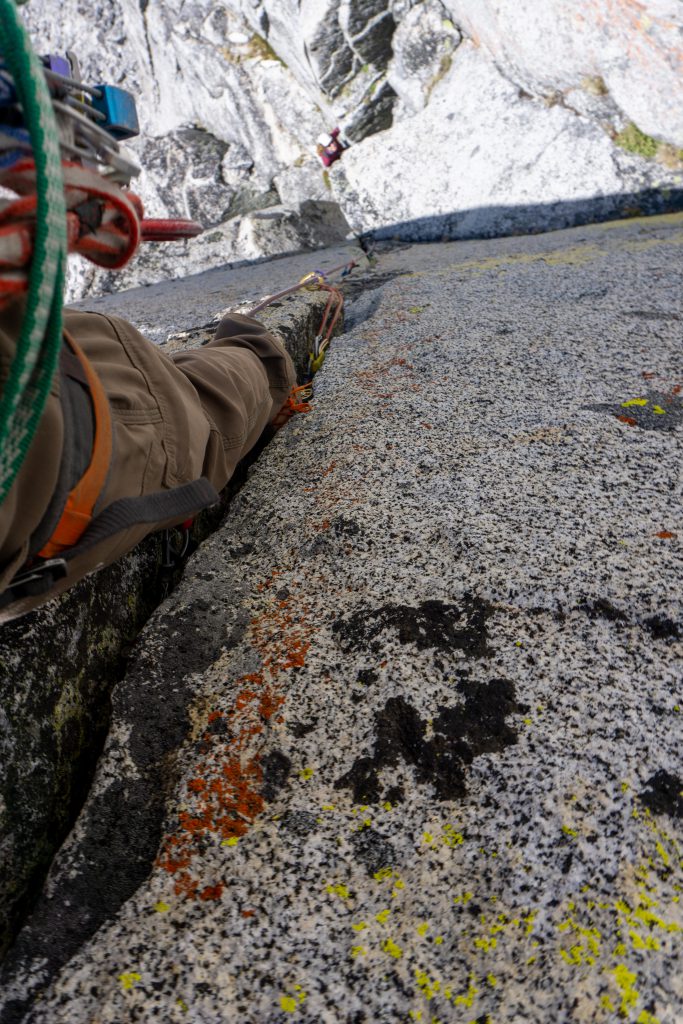
- LOTS of crack climbing! Usually corner/weird cracks, but still, tons of jamming.
Gear brought
- Doubles #0.3-2 and single #3-4, was perfect!
- 12 quickdraws with 8 alpine and 1 double alpine, was perfect!
- 60m rope
Timeline
- 3:25 AM started
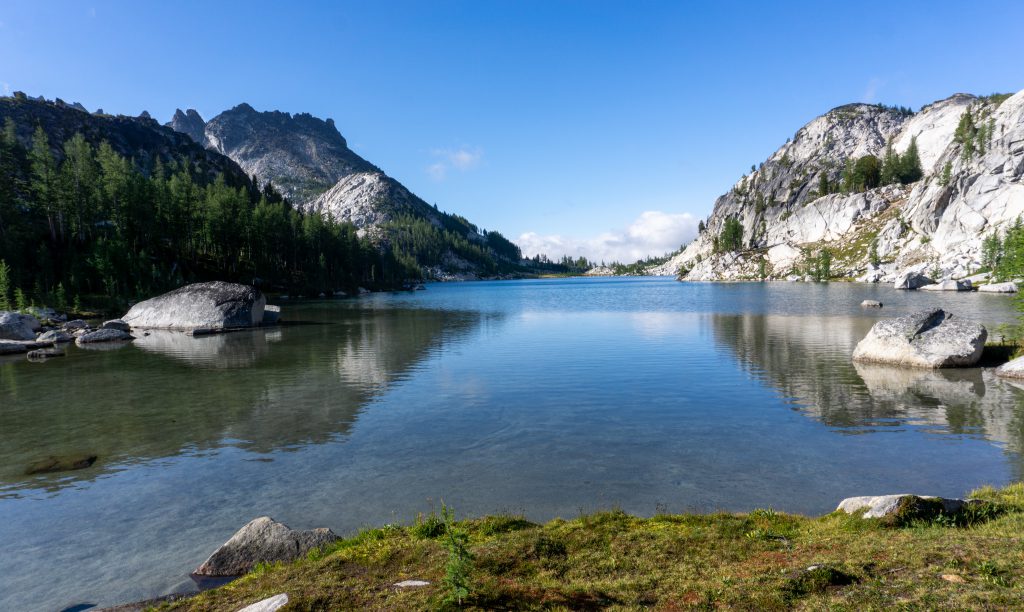
- 5:25 lake
- 7:45 top of pass
- 9:00 starting up final pass + 15 min bathroom break
- 9:30 saddle
- 9:35 ditching gear
- 9:55 barefoot
- 10:15 base
- 5:50 PM top
- 6:50 done rappelling
- 7:07 back at bags
- 3:45 AM (next day) back at car
Hike in
We started hiking at 3:25 AM and reached the saddle a bit ahead of schedule.


A tent in the water 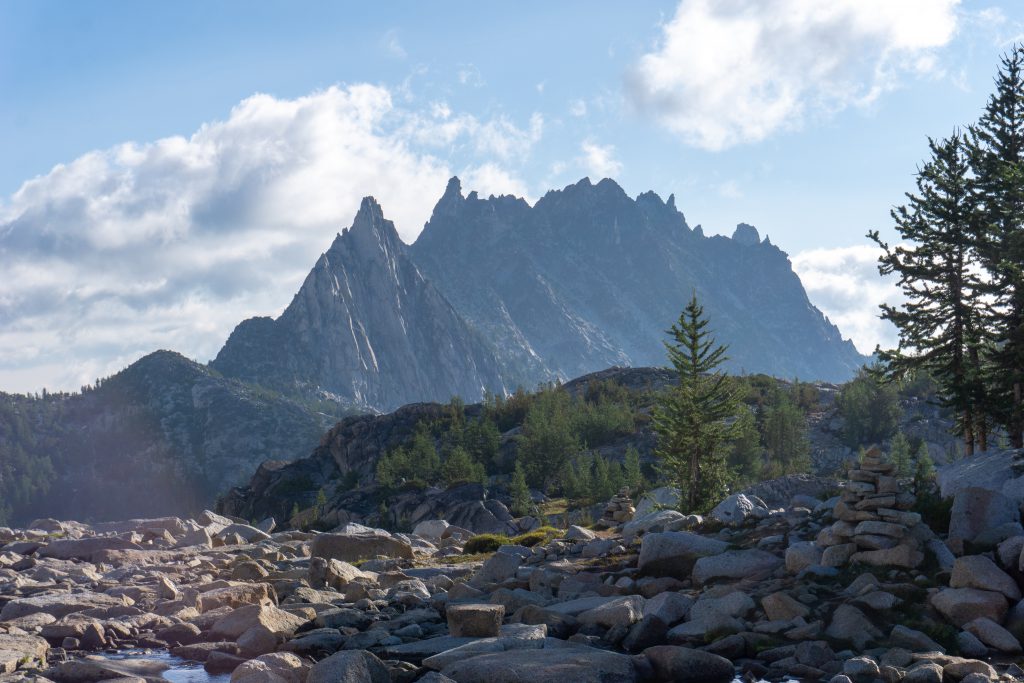
Approach
We ditched gear near the saddle, including our hiking shoes, and consolidated to one shared small climbing pack with water+snacks+jackets. The approach from the saddle to the base was short, 20 mins at a slow barefoot pace on easy class 2/3 terrain.

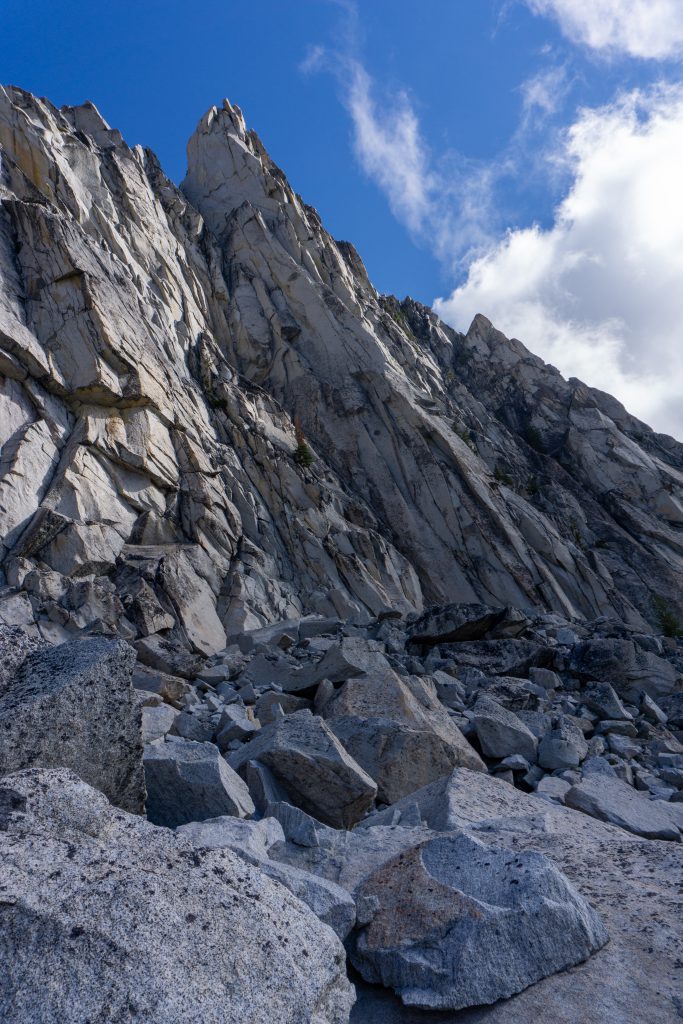
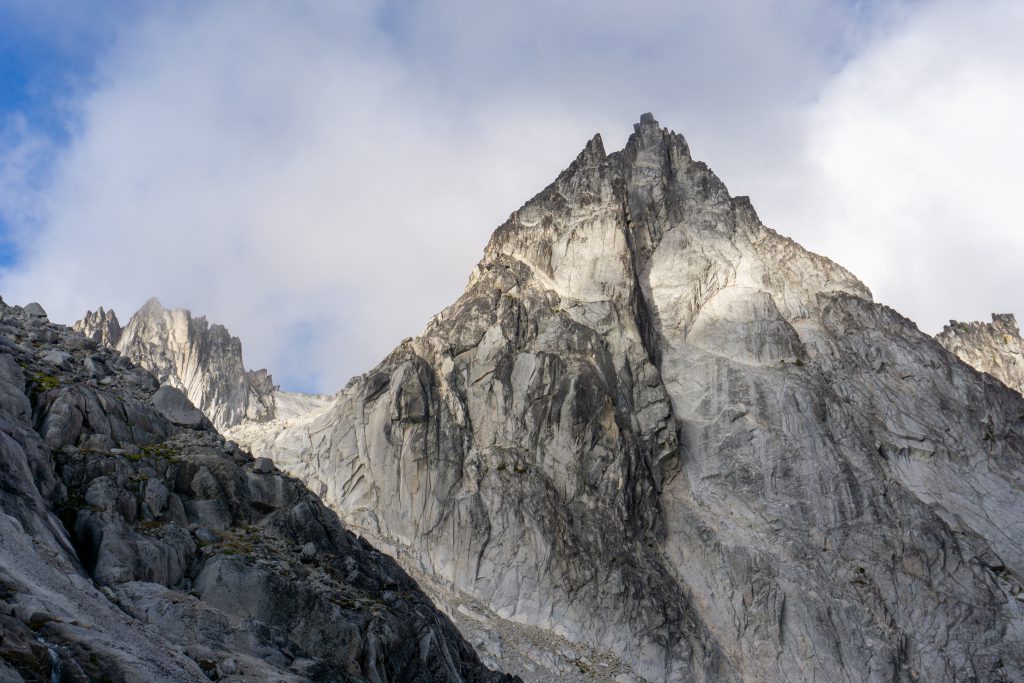
Climb

P1-2 – 190′
Linking these was nice! P2 is easy and it felt pretty natural to just continue up. P1 was a little tricky, lots of jamming, a bit wide, but not bad, and pretty fun!
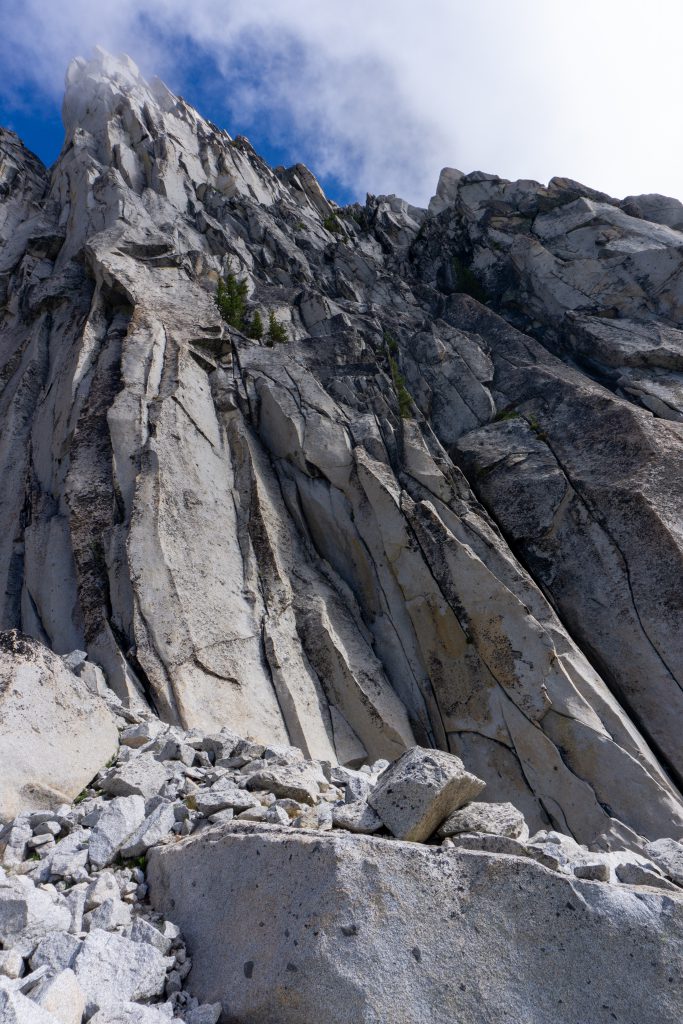
P3 – 150+’
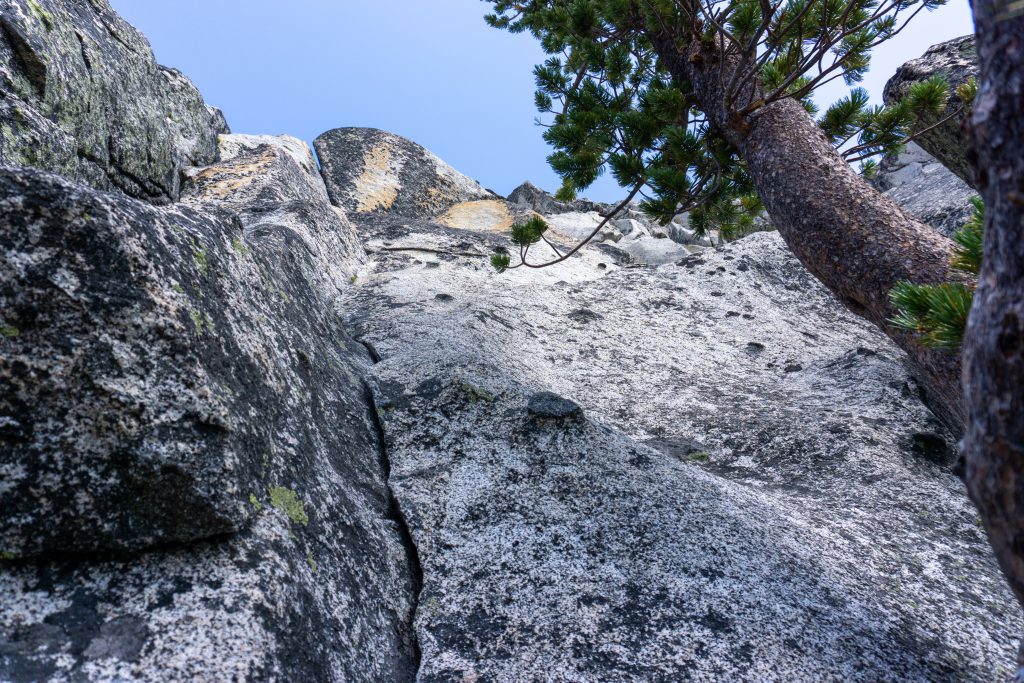
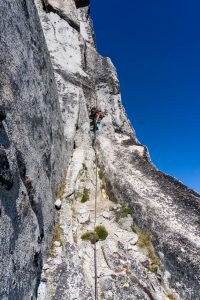
This is where the climb earns the PG-13 rating. Climb 5 feet up, and then traverse right and up on slab knobs, with limited to no protection opportunities. The knobs make it better than most alpine runout slab pitches though!

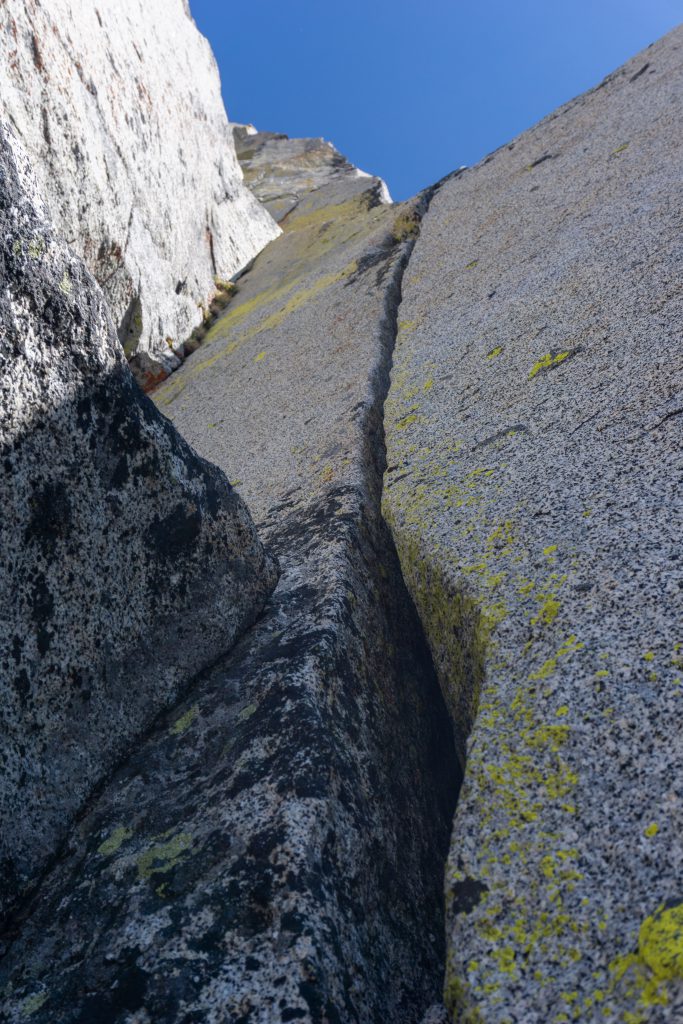
In order to climb the 10b crack, I exited P3 on the left to find the base of the crack.

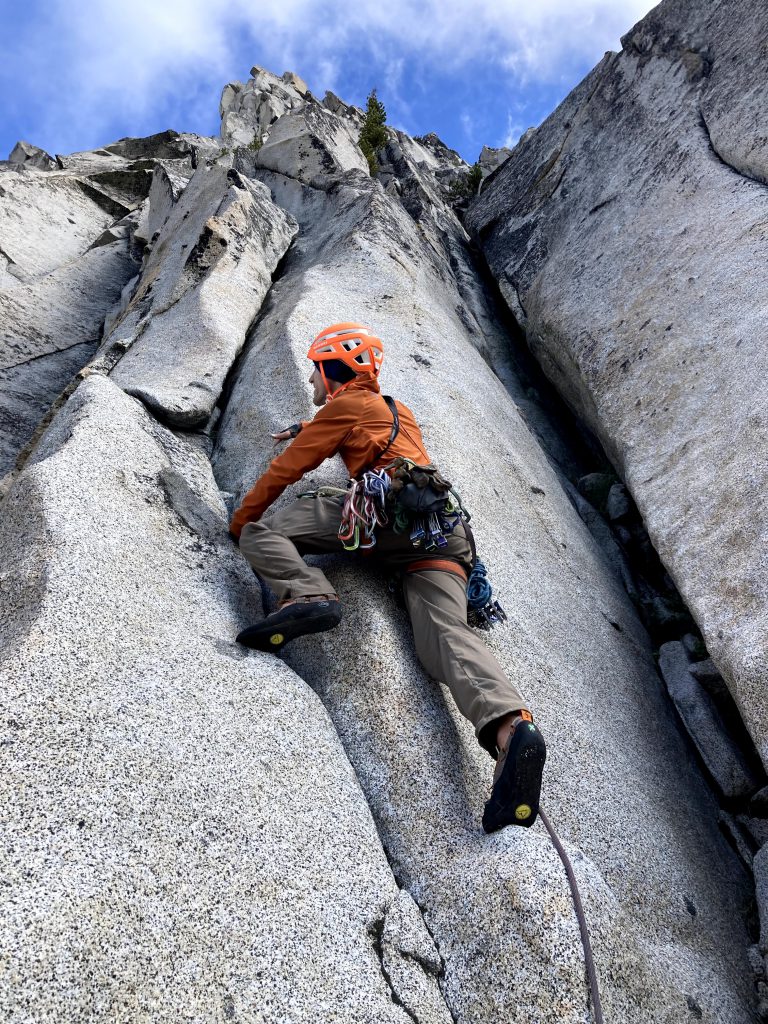
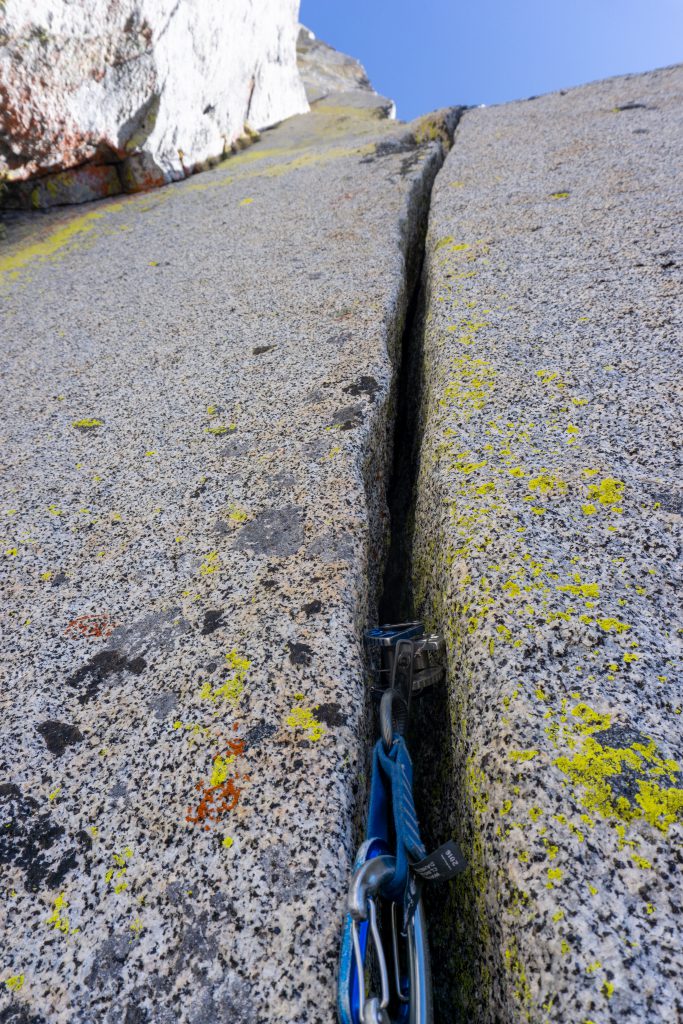
P4 10b alt hand crack
Unfortunately, this hand crack is a bit big – mostly #3 size with some #2. I was still able to climb it with a single #3 though as there’s spots where you can place #2’s instead. I climbed it cleanly, but my foot was barely big enough to jam without slipping. Including the starting anchor, I used every single one of my cams (except maybe the 0.3’s). It’s a kinda long pitch!
At the top, there’s no great anchor options, so I made the big reach step around to the right to connect back to the normal route and built an anchor below the chockstone, and extended my anchor so I could minimize the rope drag around the corner a bit. Still a super annoying diversion.
Second half 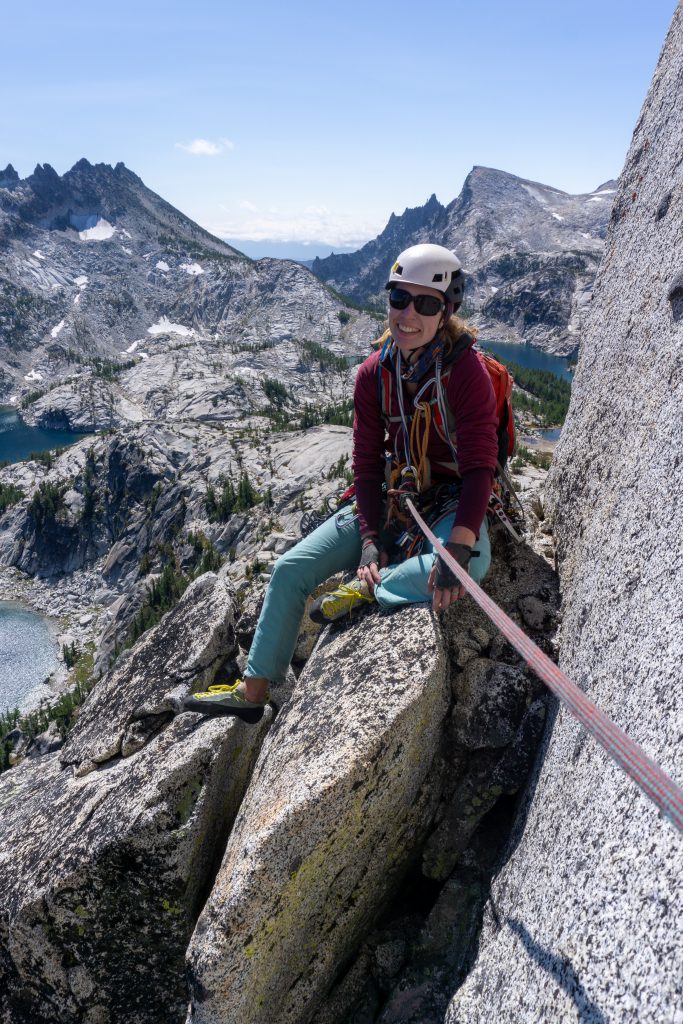
Top
P4.2 – Chockstone
We did a tiny little pitch to get through the chockstone (like 10-15 feet). If we didn’t do the 10b hand crack, we could have avoided doing this as a separate pitch.
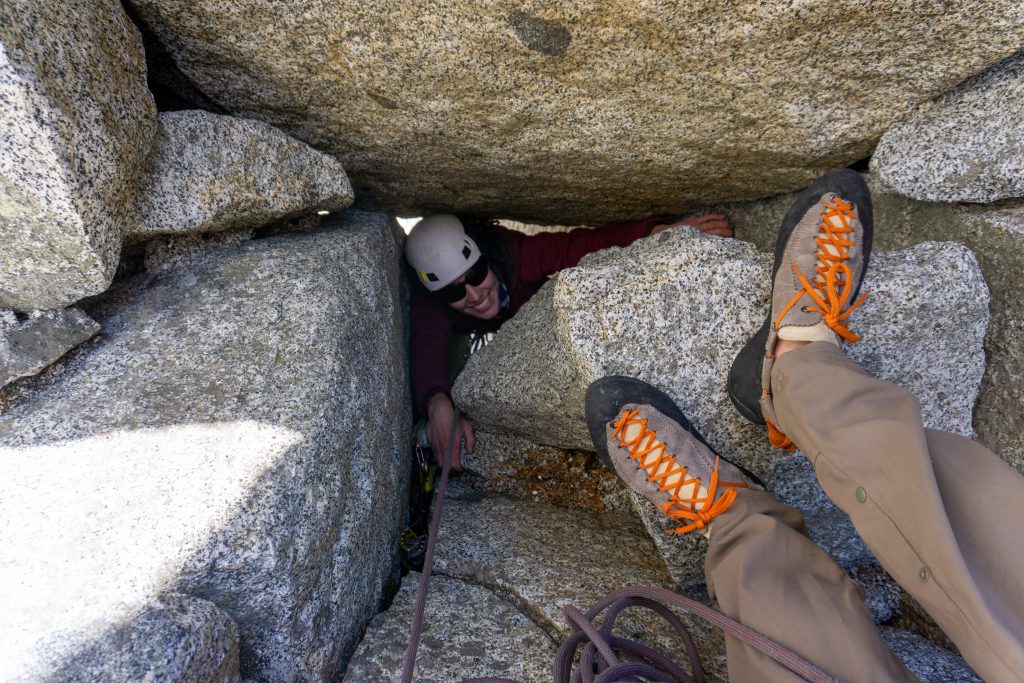
The chockstone was actually quite physically strenuous! Lots of stemming and mantling to get up and through.
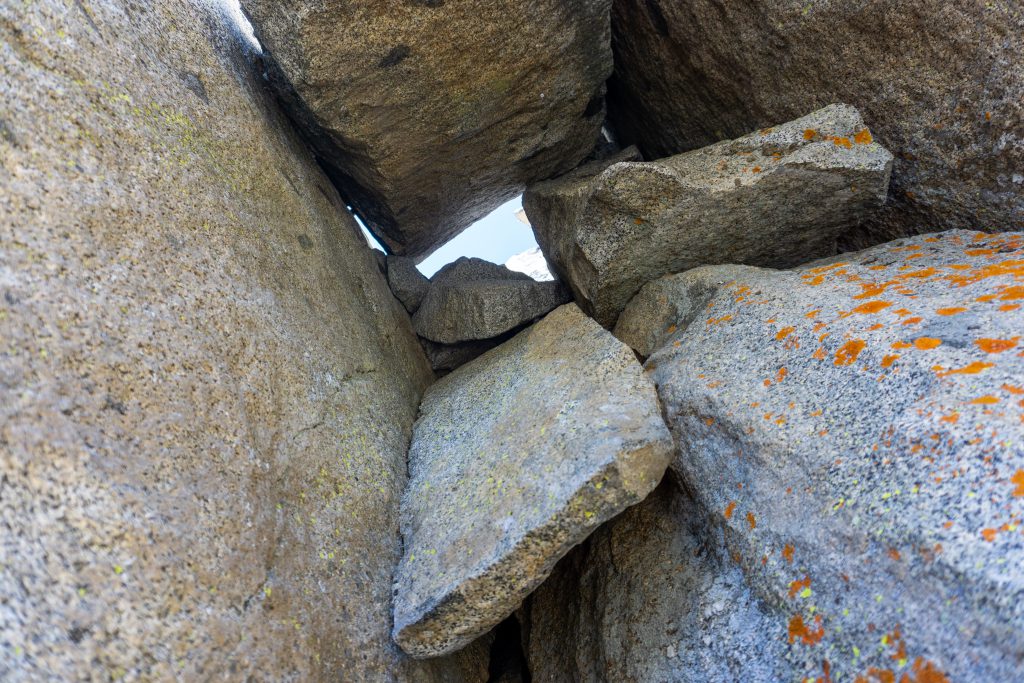
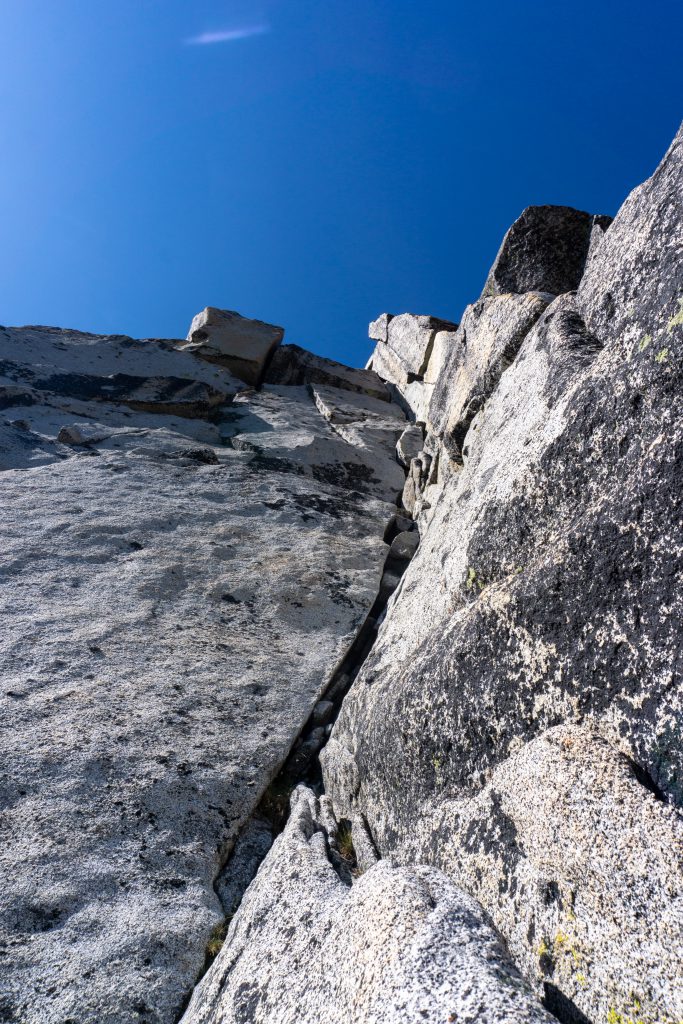
From below… 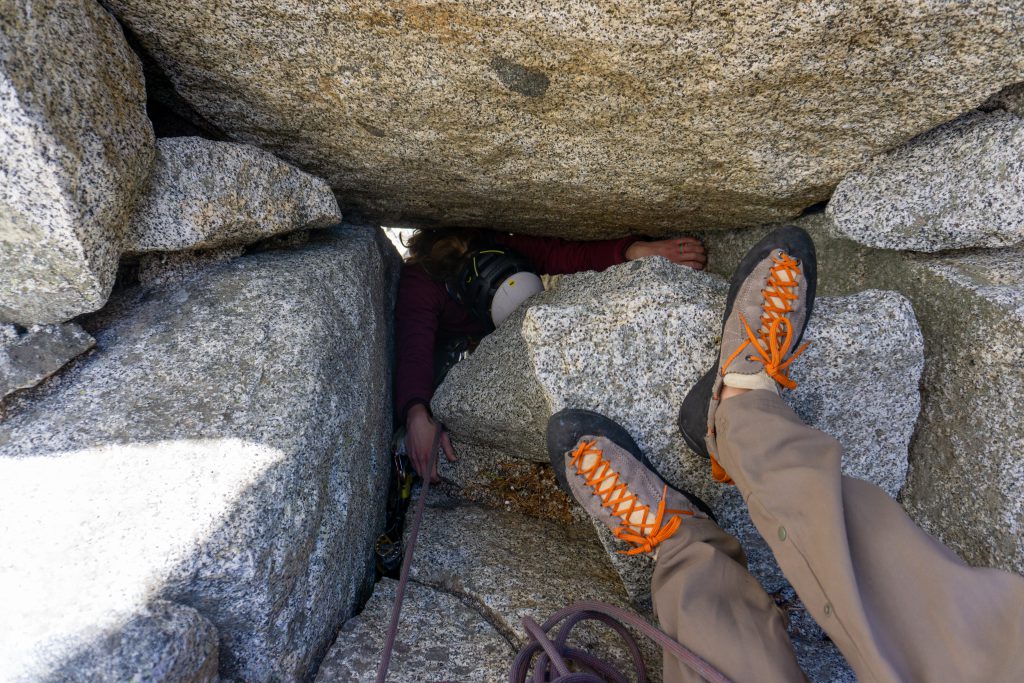
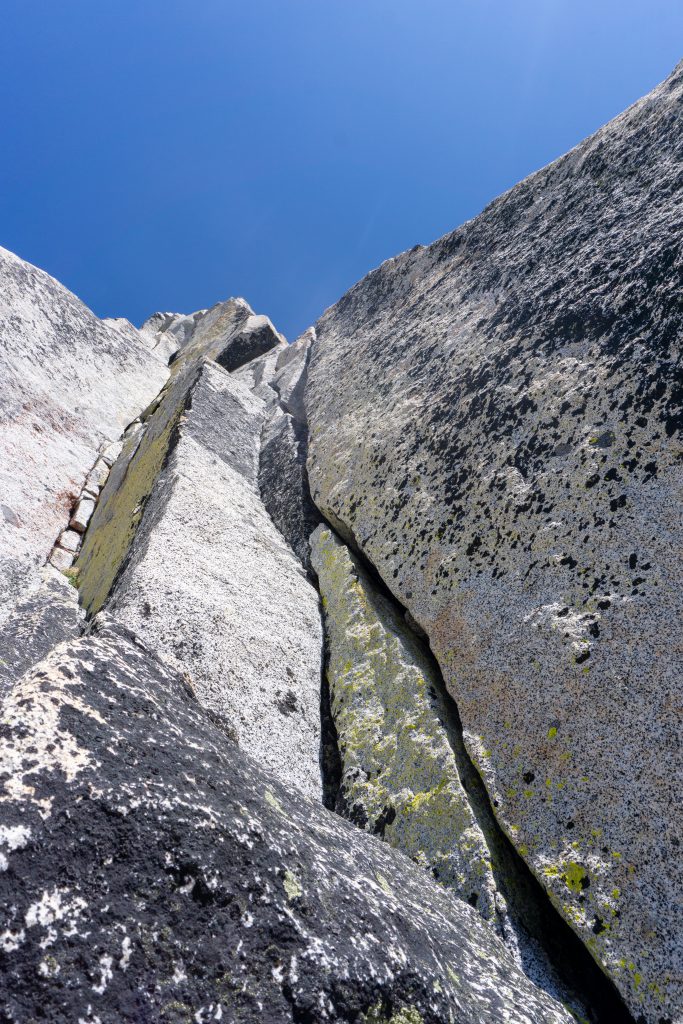
P5
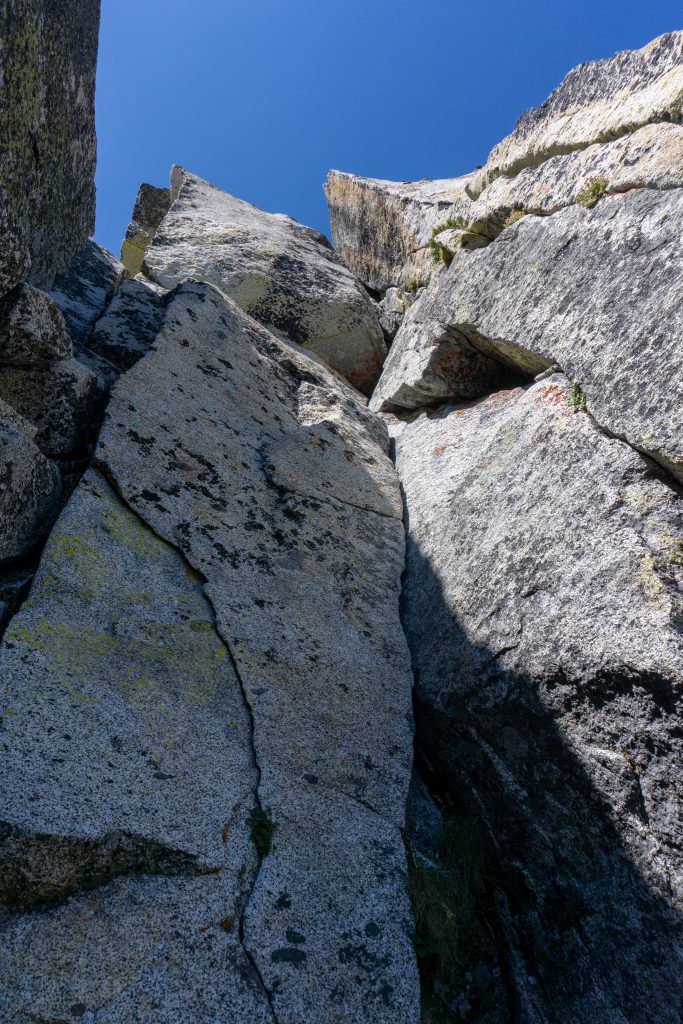
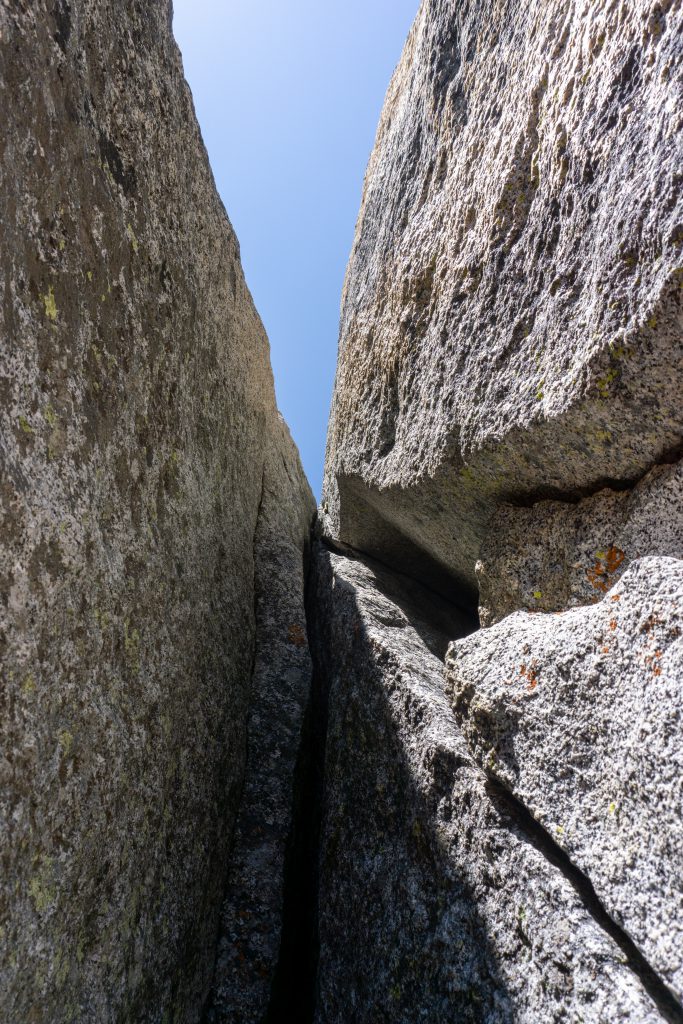
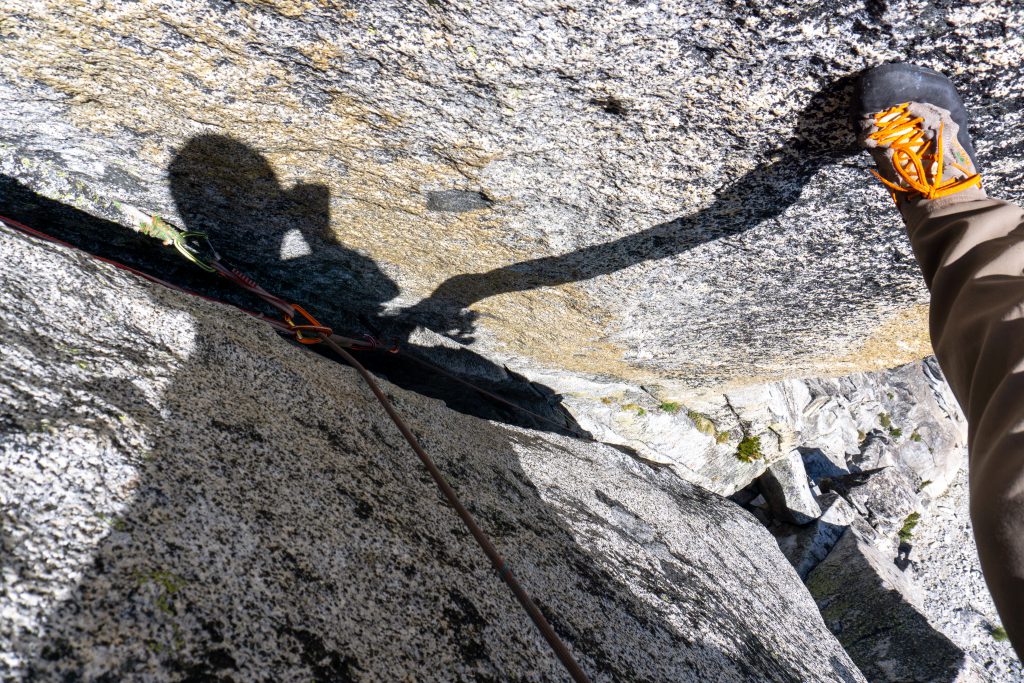
The stemming “chimney” corner pitch. It protected decently well and felt pretty safe, but was super exhausting. Definitely can’t have a backpack! Lots of slowly inching upward. I dropped a rope strand to haul the backpack up.


P5 to P6
We moved the belay quickly to have a closer/better belay for P6.
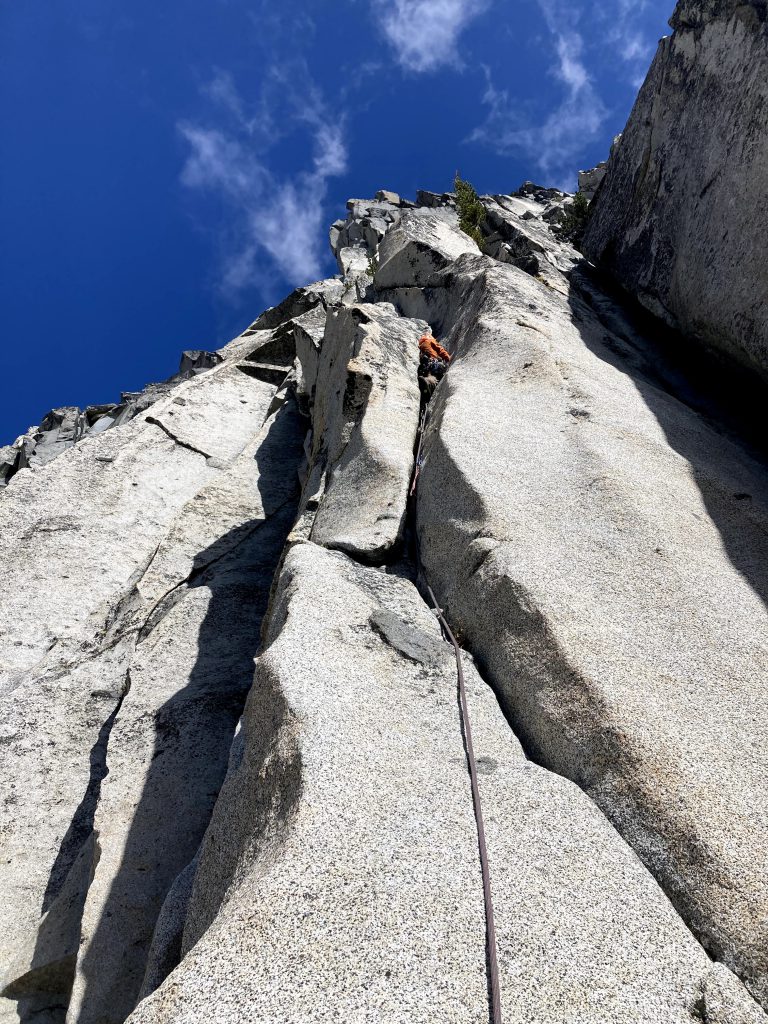
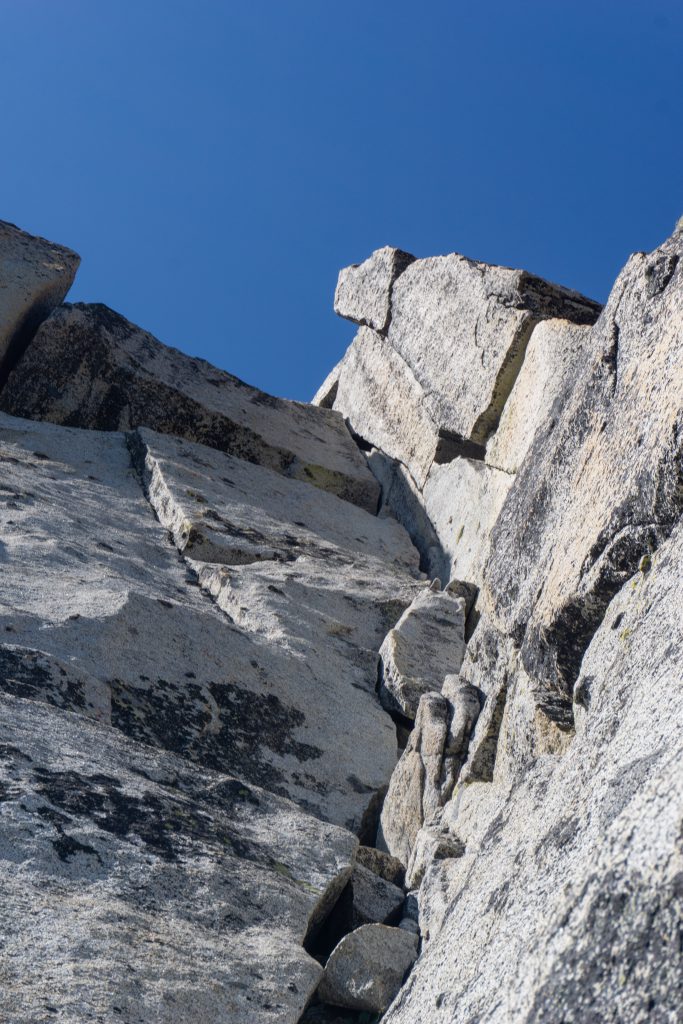
P6.1
This pitch is LONG. Midway up, there was a really wide crack (body size) that maybe had some corner smearing options, but looked unprotectable. I chose to climb to the right instead and climbed up a dirty crack to a nice belay ledge. I had already used a lot of gear, so I stopped to belay there.
P6.2
From my belay ledge, I had to do a really wide reach step around the corner to return to the route, but I actually managed to make the move. The rest of the route has a lot more corner jams and is super strenuous!
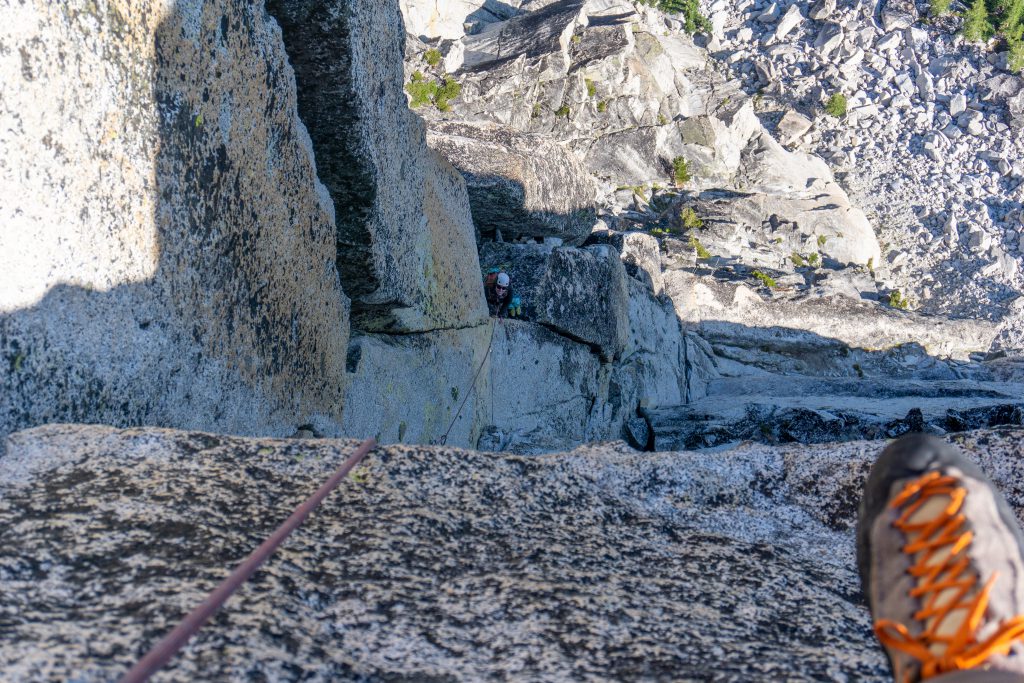
Alexis about to start