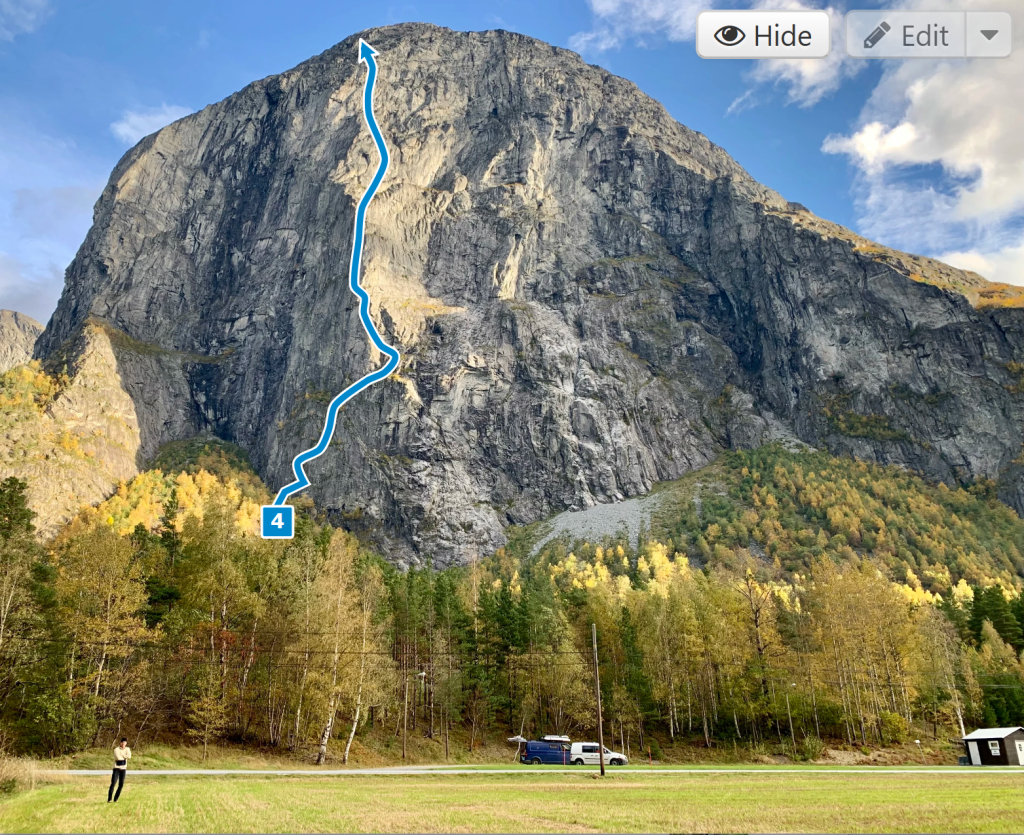
6 ★★★Sydpilaren, 1135m Trad climb in Åndalsnes Område | theCrag
Gear
- #4 used in one video, maybe 0.3-4 with nuts? Might want some doubles but maybe good enough?
- Crack gloves
- Alpine draws
Getting there
theCrag says to park here: https://goo.gl/maps/X5qEZCtyyXtDVQ4t8
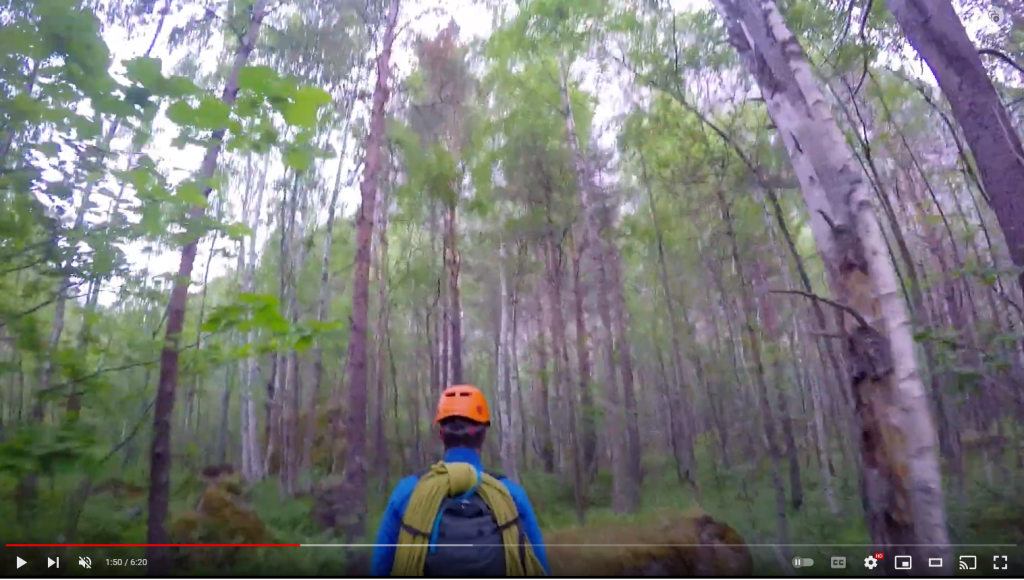
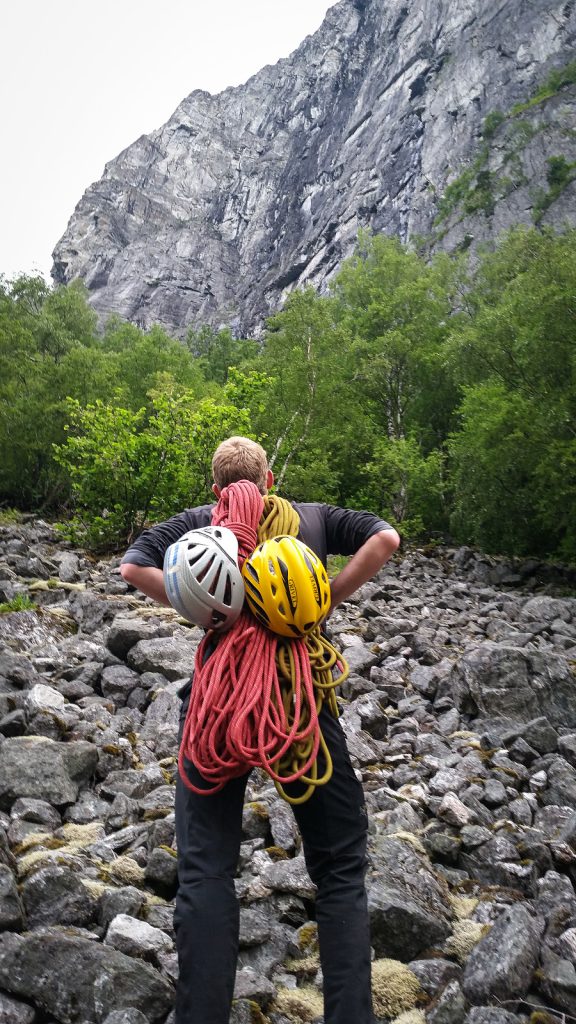
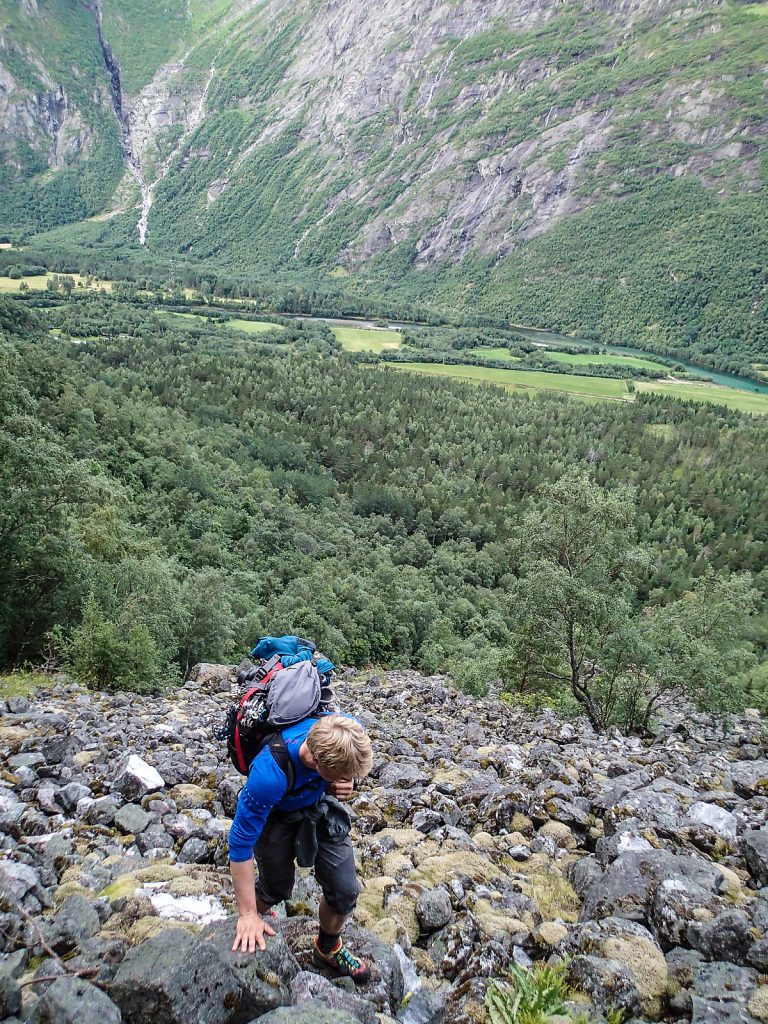
Confirmed that you park at the church/graveyard dirt parking lot. Not sure where to hike from there, but I have the rough P1 location estimated on CalTopo. Follow “various trails through forest and scattered cairns”, maybe 45 mins (another report took 45 mins, and claimed it wasn’t as bad as previously described)? “After a half hour things got much worse, it becomes steeper and denser with loose scree and stinging nettles”. “I thought it must be obvious where people had started, but it wasn’t.” See the photo in P1 for the starting route.
P1 – 5.1, 25m
“We climbed up with running belays for the first five pitches, which are mostly relatively easy, with only a few short technical sections. It was fine to do this in approach shoes. We started from the base as late as 8:00 AM. I led the way for the team. First, straight up a huge dihedral, past some trees, and eventually diagonally right to a small ledge that goes around a corner and up a 5.9 pitch (pitch 3). Already here, I noticed the quality of the climbing. It was as if it was tailor-made for climbing! The pain was forgotten, and only the good remained!”
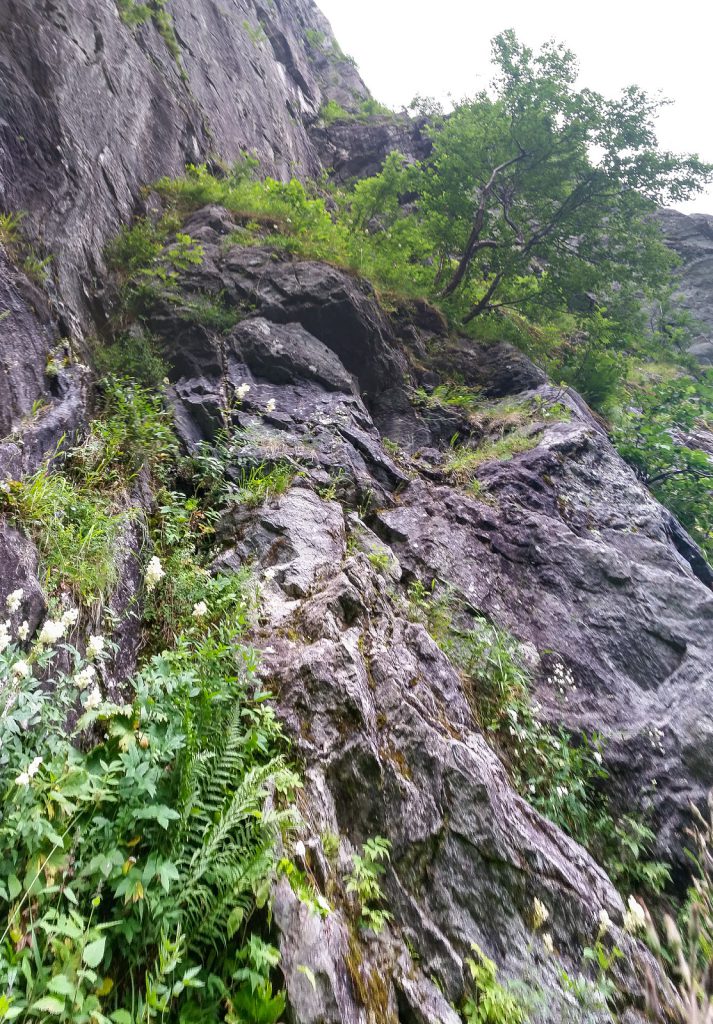
Start of P1 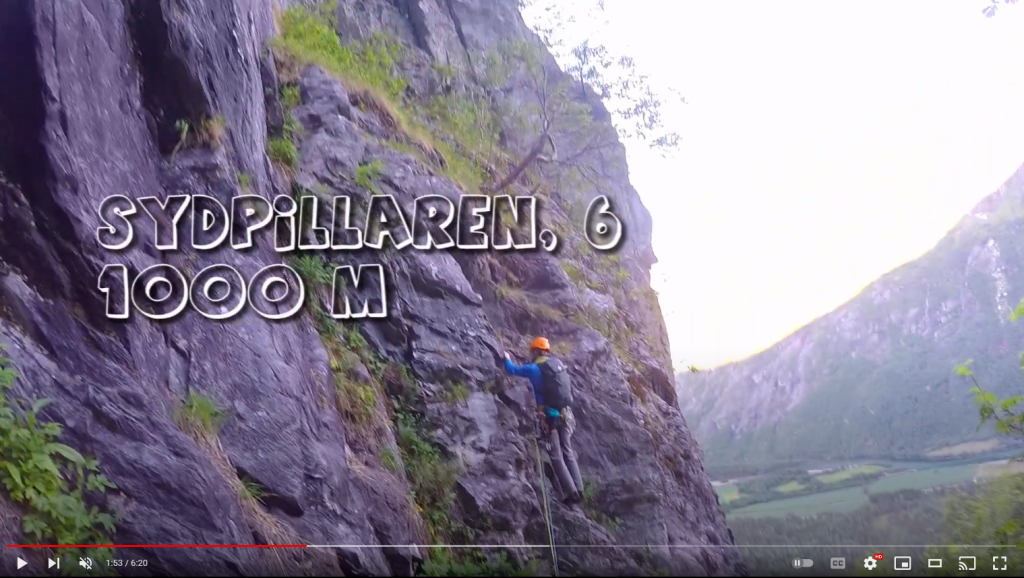
Start of P1
P2 – 5.2, 30m
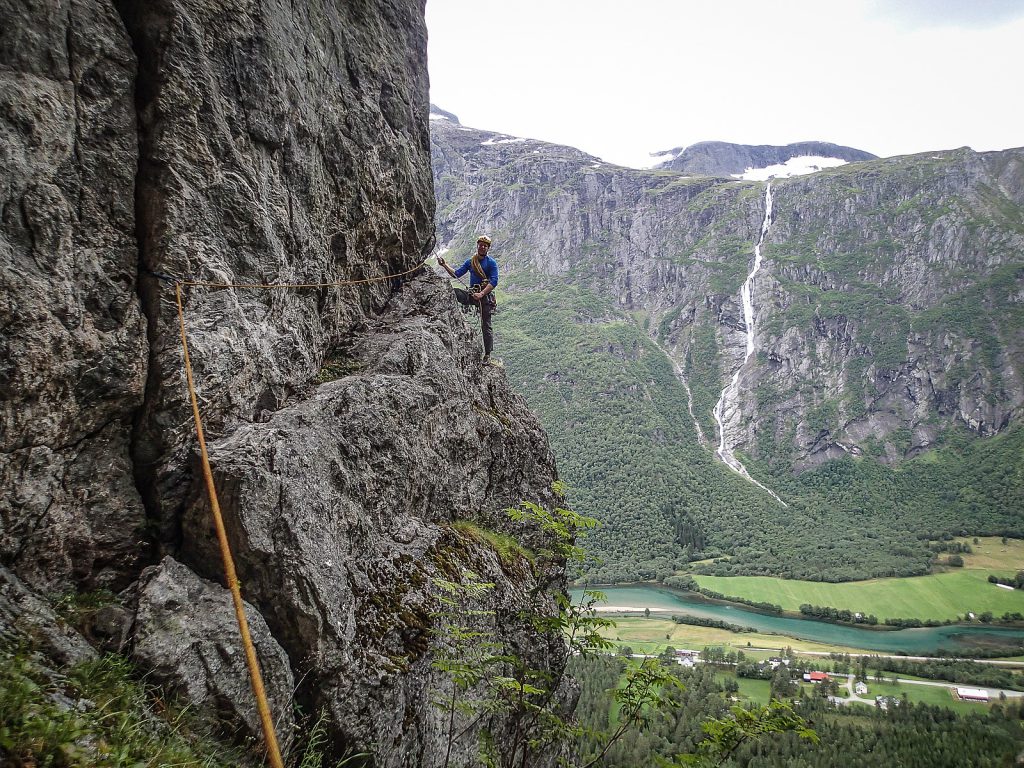
Possibly end of P2?
P3 – 5.9, 20m
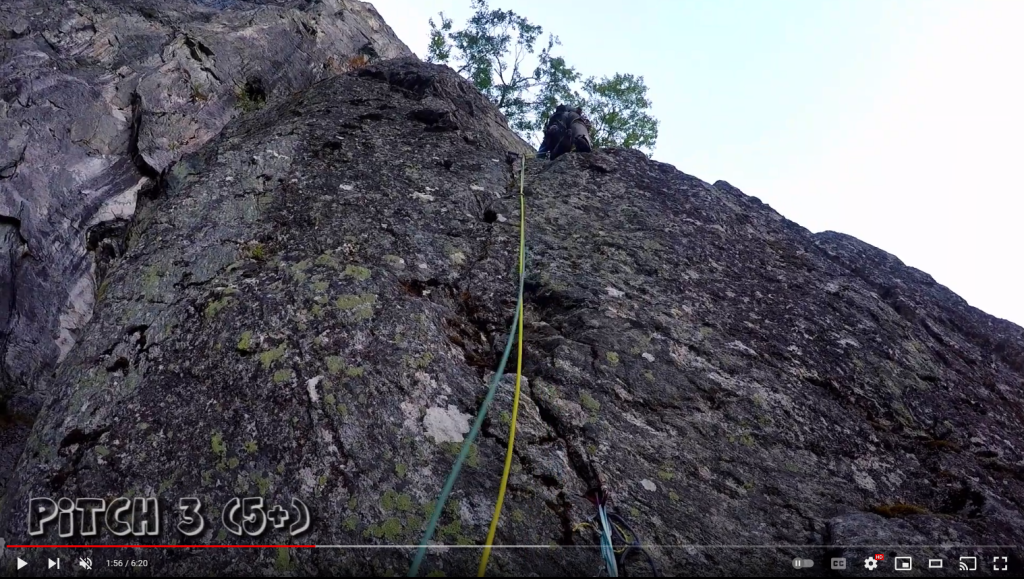
P4-5 – 5.2, 180m
After the 5.9 pitch, it veered a bit to the right and up a new layback crack of approximately the same difficulty. Then, there was a lot of “heave-ho” climbing with scrambling through the purest jungle. It’s important to pay attention to where people have gone before. It’s easy to make a mistake even at this point. Eventually, the “trail” traverses quite a bit to the right. Be careful not to start climbing up the mountain too early before you see the obvious 6th pitch. We did this and had to maneuver back down. The last part before reaching this pitch can be a bit nasty. Poorly protected slab climbing that, in itself, isn’t very difficult, but exposed, yes!
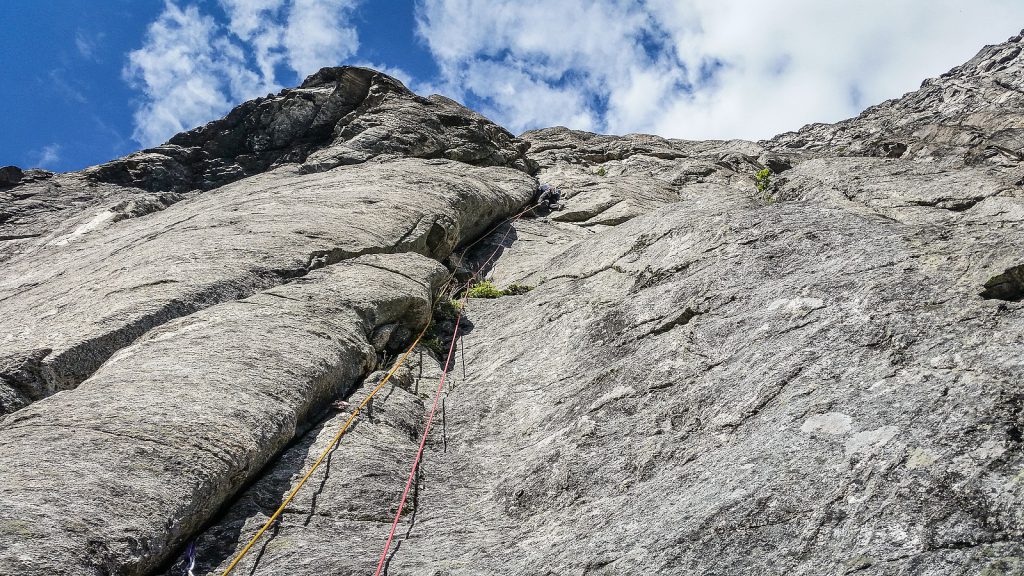
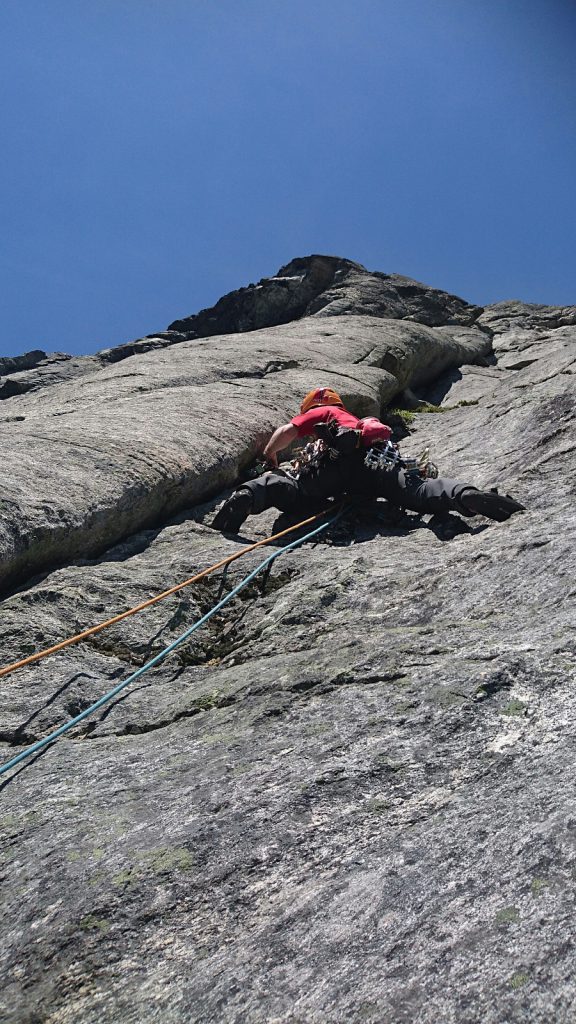
P6 – 5.10, 50m
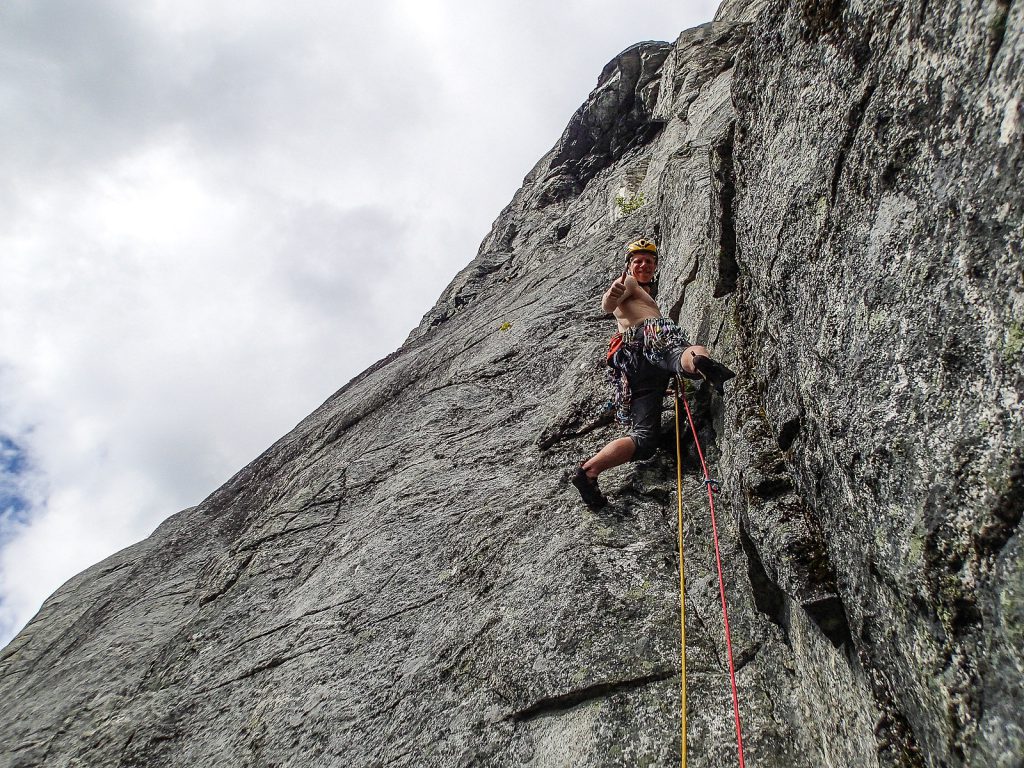
The most photographed pitch. It was excellent climbing on mostly well-protected rock. There were some traverses here and there, and a section with a somewhat serious runout before a final off-width crack. Don’t let the off-width scare you; there are good placements for protection to the right of the crack. Overall, it’s a nice climb with a few difficult moves here and there. We passed some old rappel slings and reached the belay ledge after 50 meters of climbing.
“A beautiful pitch, steep and delicate, with good holds, and then an airy offwidth (which I climbed on the outside) and up to the belay station.”
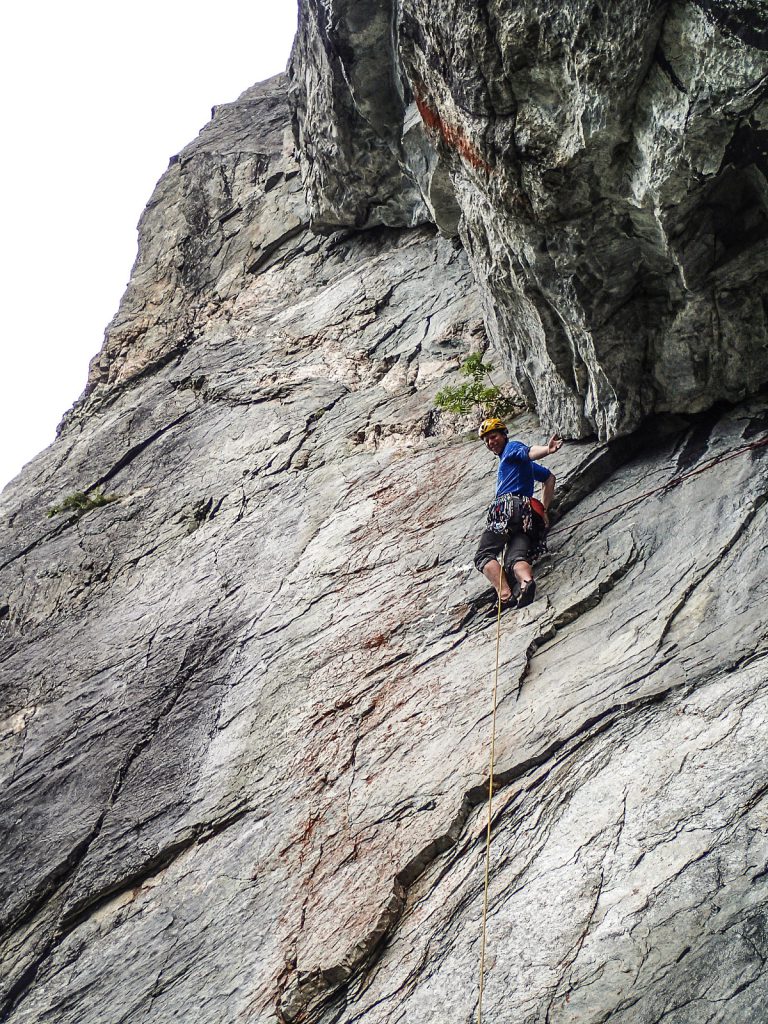
Starting P6 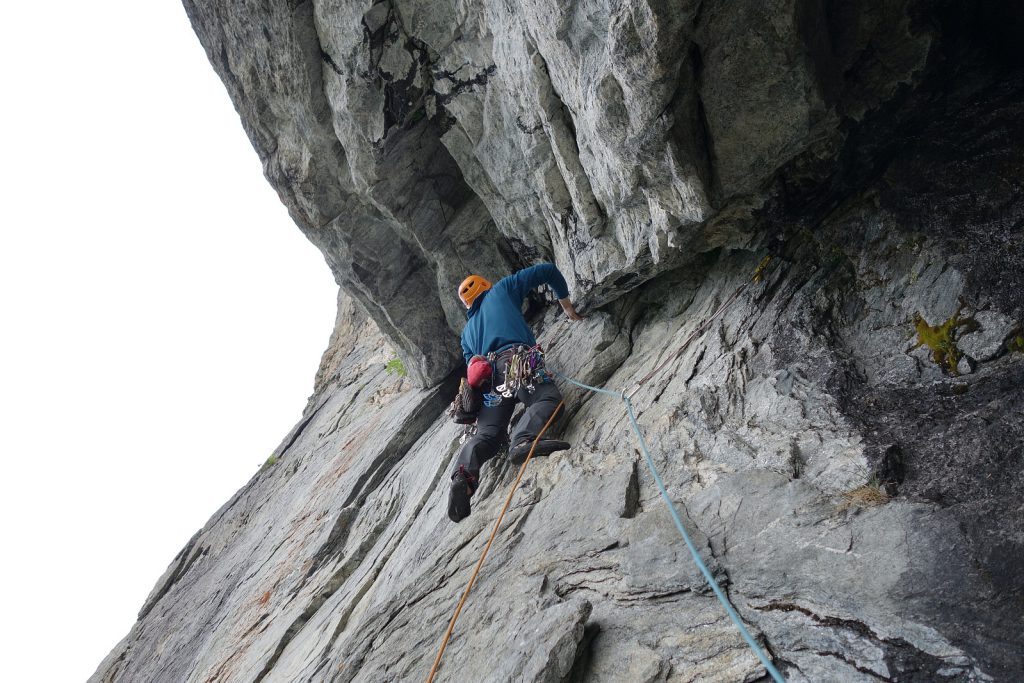
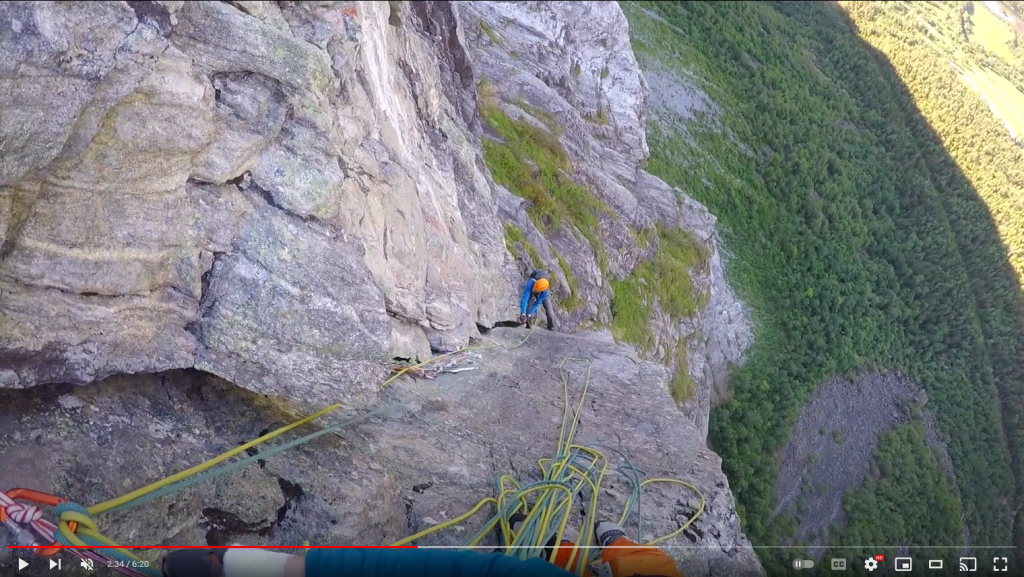
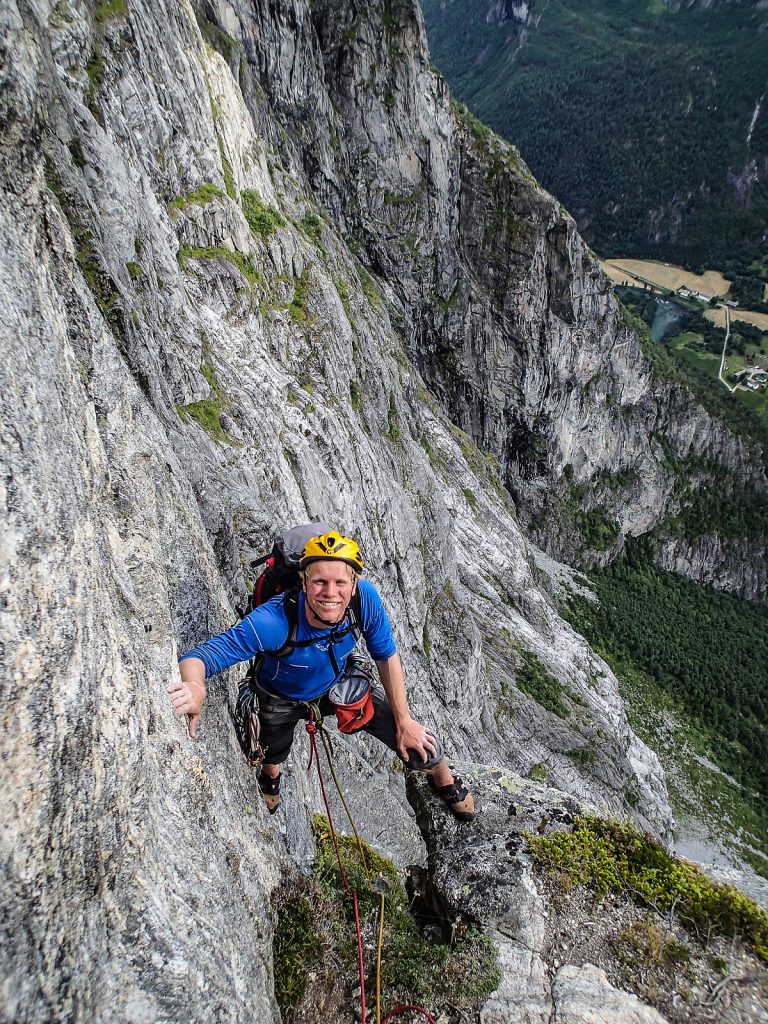
End of P6 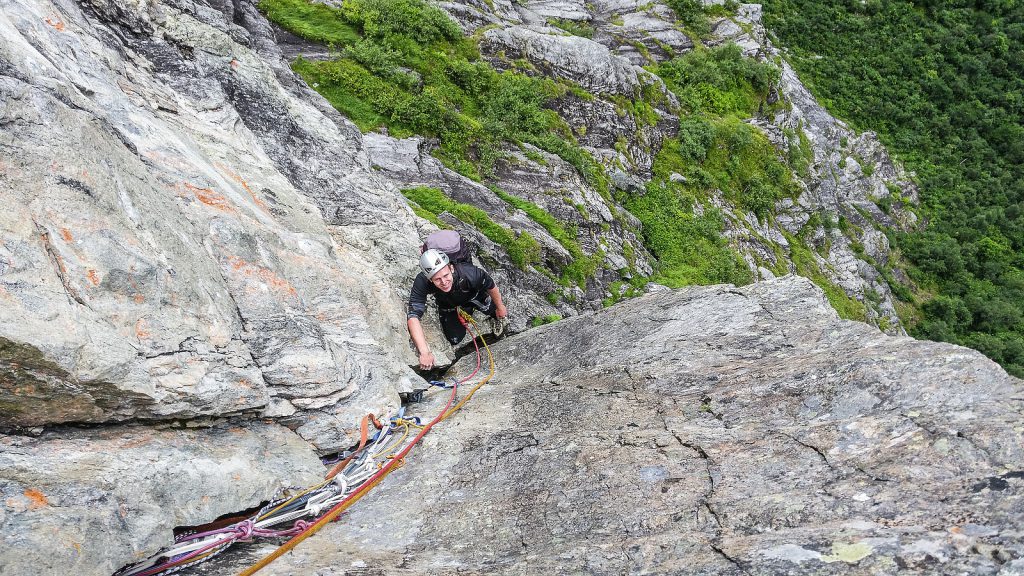
End of P6
P7 – 5.10-, 50m
Daniel took on the seventh pitch, which has a distinct crux (6-) in an overhang after a few meters. Then, it went smoothly upward in a crack to a large lunch ledge. Generally, there were many nice belay ledges where one can secure themselves on birch trees, which, by the way, also serve as good anchors if one needs to bail. The overhang was extremely challenging with the backpack, but I managed to climb up without falling.
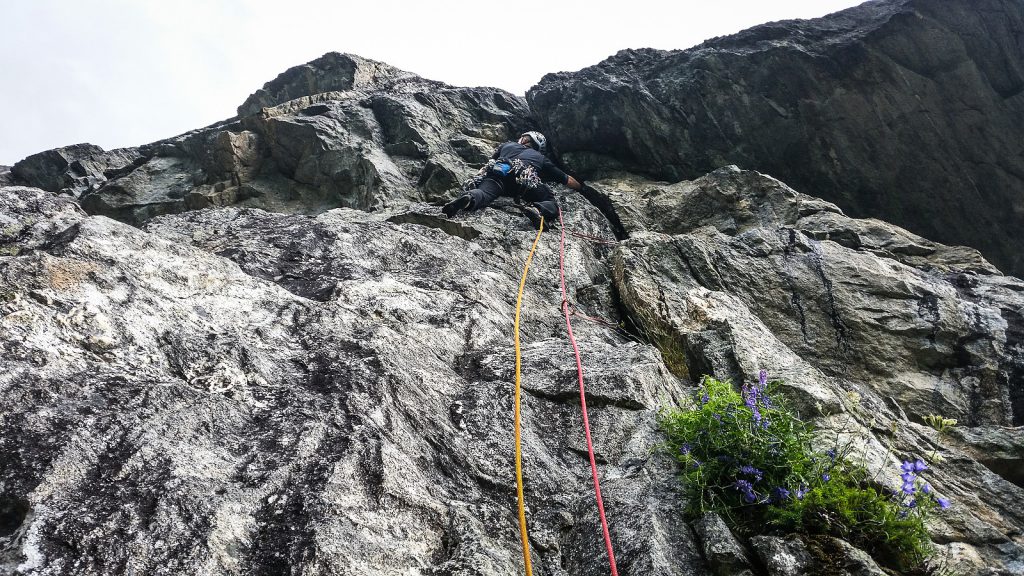
Start of P7
P8 – 5.5, 45m
Reasonably easy climbing diagonally to the left until eventually reaching a large grassy ledge before a prominent dihedral that continues upward.
P9 – 5.8, 50m
Choose to climb in the dihedral itself (well-protected but awkward climbing) or a bit to the left (poorly protected but nicer climbing). Then continue upward and to the right. I think I remember a belay stance in some sort of alcove/niche.
P10 – 5.10, 30m – “infamous offwidth”
It was a quite long pitch with some challenging sections. First, up the dihedral, then traverse to the right into an off-width crack. If you’re good at jamming, like Daniel, then this pitch might not be so bad. I approached it differently and climbed quite a bit outside the off-width crack. It works too, but it would have been heavy with a backpack. There’s a chockstone inside the crack that can be useful for protection to avoid a long runout. I made my way up to the top through a grassy chute and onto a nice ledge with some rope drag.
“This pitch was more serious than the earlier climbing, partly loose and partly thinly protected. Always steep. It goes right up the pillar with plenty of air under your butt. As I squeezed myself up the 6-meter high offwidth, I wondered why there were no anchors here. But higher up, Andreas had taken a real detour up under an overhang where he had placed a nut. This created a crazy rope drag for Arve’s rope, and I had to climb up to sort it out before Arve could continue. Up there, I found an old piton and a rotten sling. This cave seems to have had good times before, apparently. I had to climb down a bit and hoped Andreas wouldn’t tighten the rope, giving me a solid airborne ride. At the belay, I met a slightly breathless Andreas, who had had quite an adventure on the 10th pitch, with loose rocks, runouts, and rope drag from another world. “Why didn’t you protect the offwidth?” I asked. “I was too scared to let go,” was the answer. Andreas doesn’t get scared often, so that says a lot. At least he hadn’t used that piton – so the style was good! Arve came yodeling after, talking about dream climbing.”
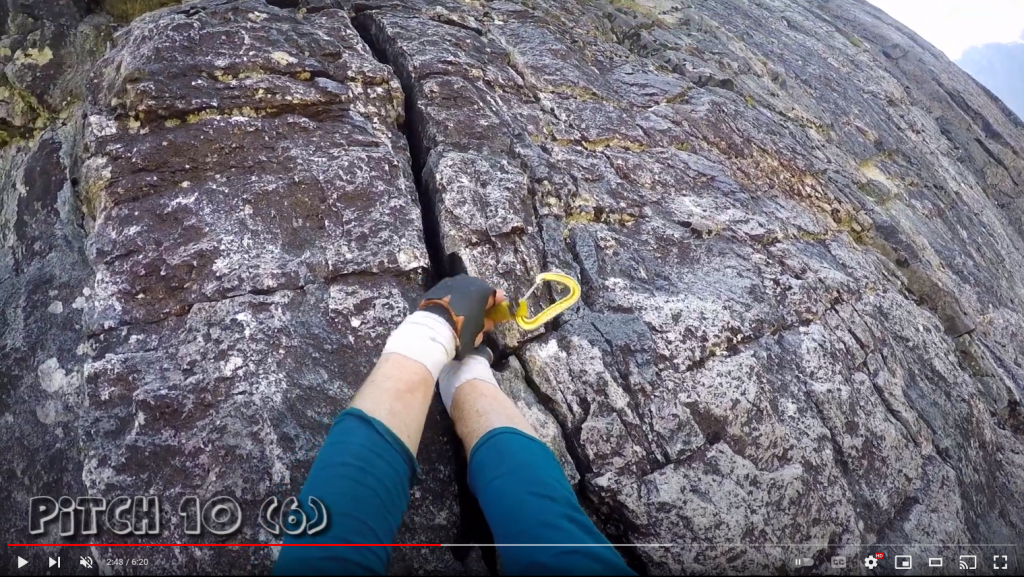
#2 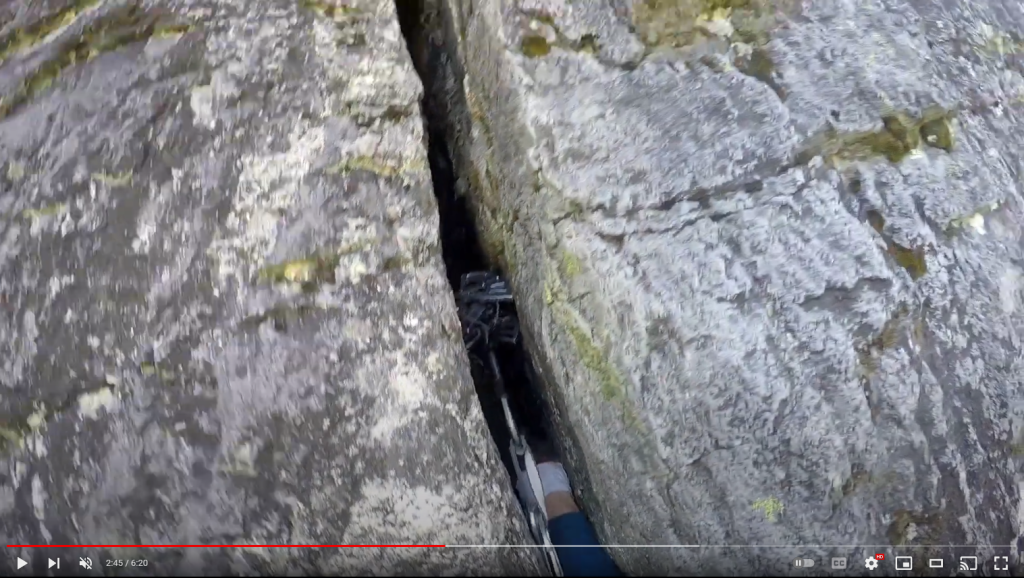
#4 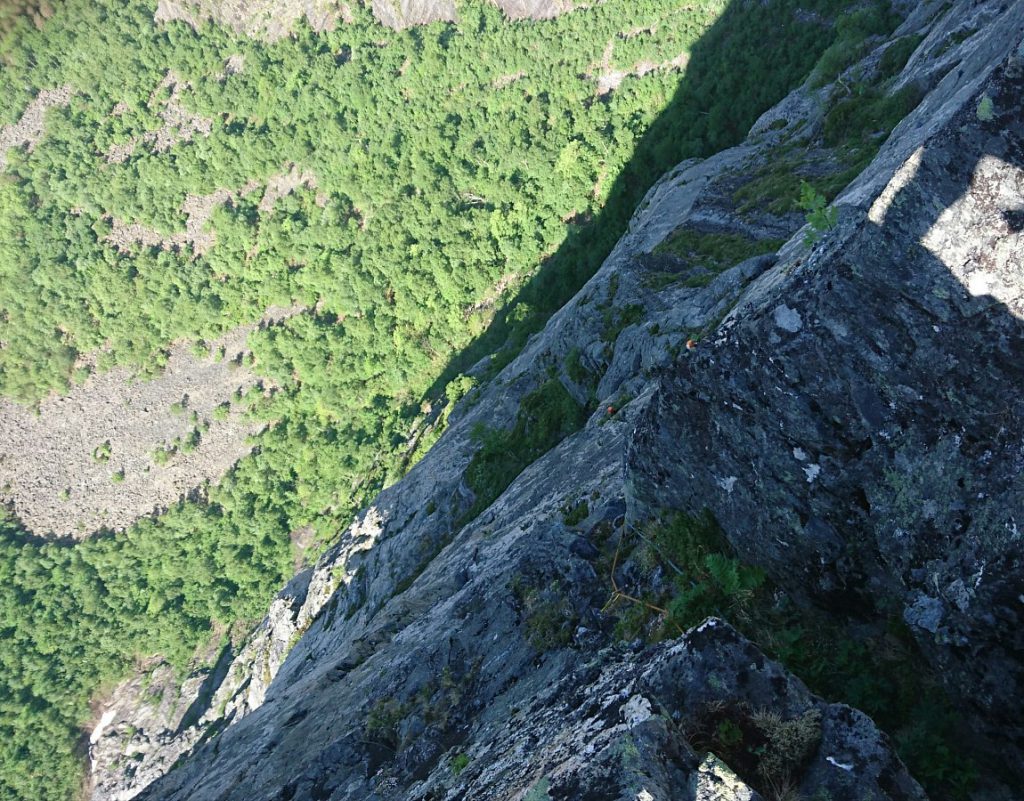
Looking down P10 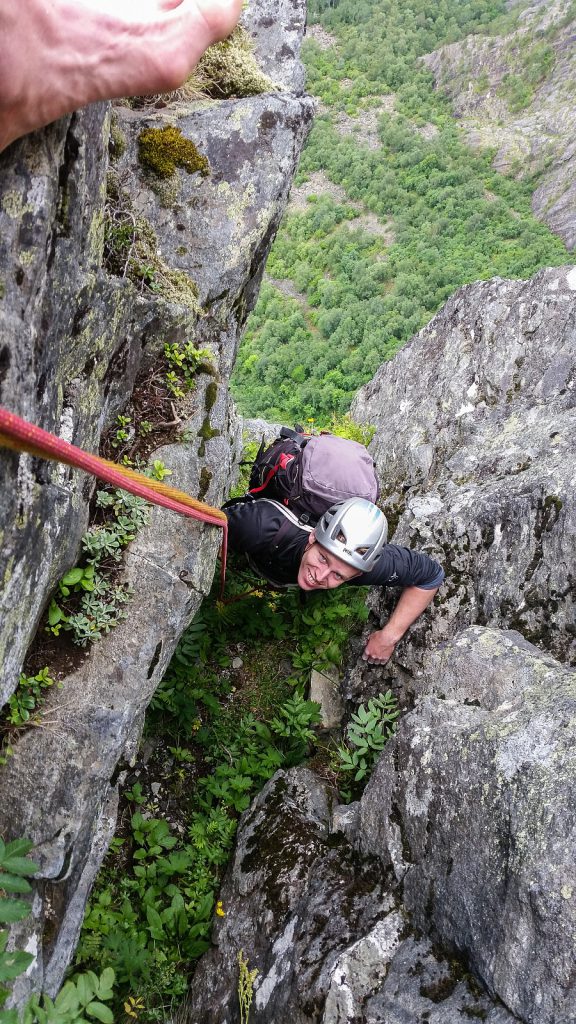
I think end of P10
P11 – 5.8, 50m
The next four rope lengths, we could probably have benefited from climbing with running intermediate anchors. Only shorter technical sections interrupted by grass ledges. Route finding here was a bit challenging. The first pitch should probably have been graded a 5.10… At one point, after a longer section of back-and-forth on grassy ledges, you go left onto a small ledge before swinging up into a dihedral, and then it steepens until just before the 5.10 pitch in the 15th rope length.
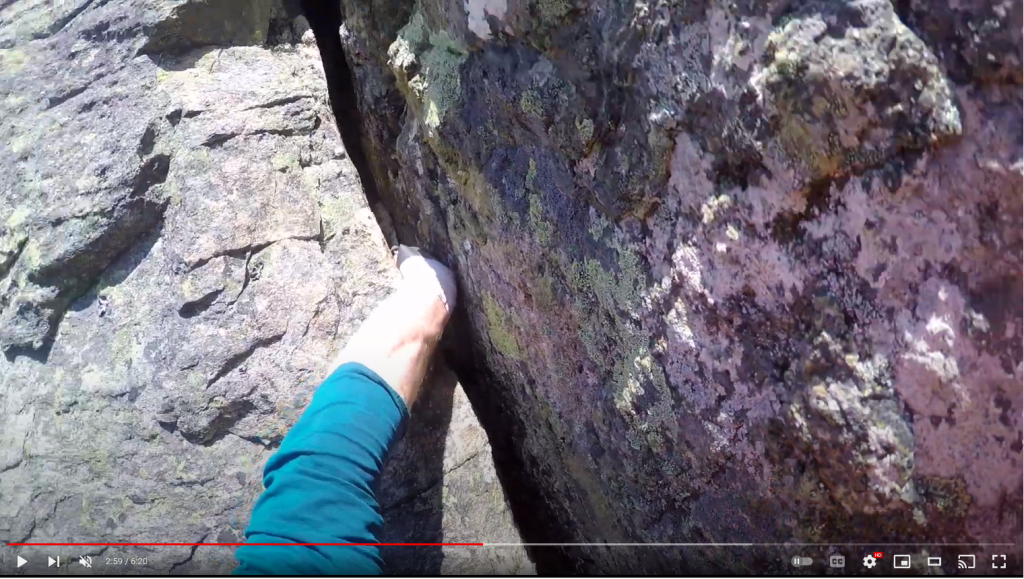
P12 – 5.7, 45m
P13 – 5.1, 50m
P14 – 5.2, 30m
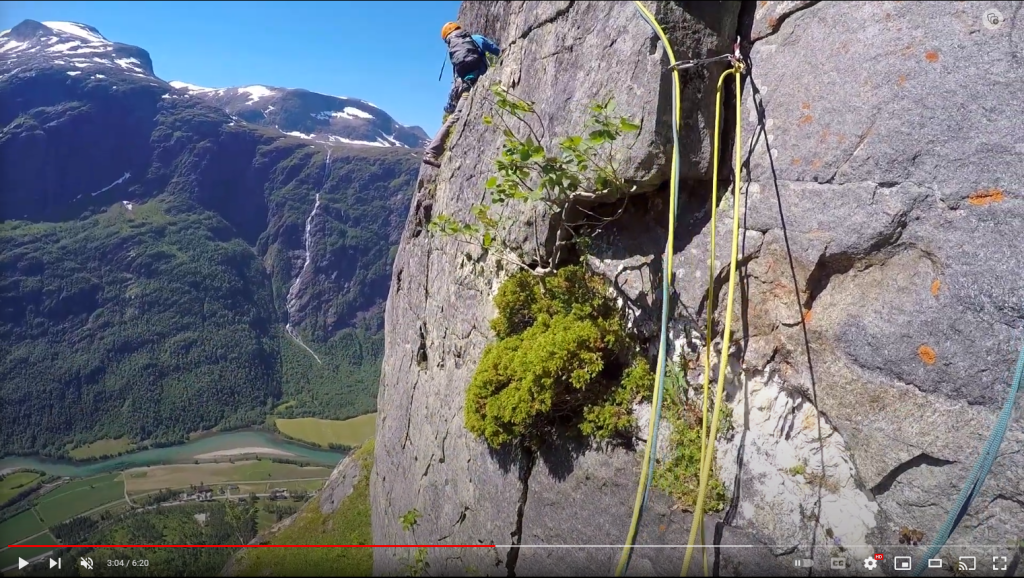
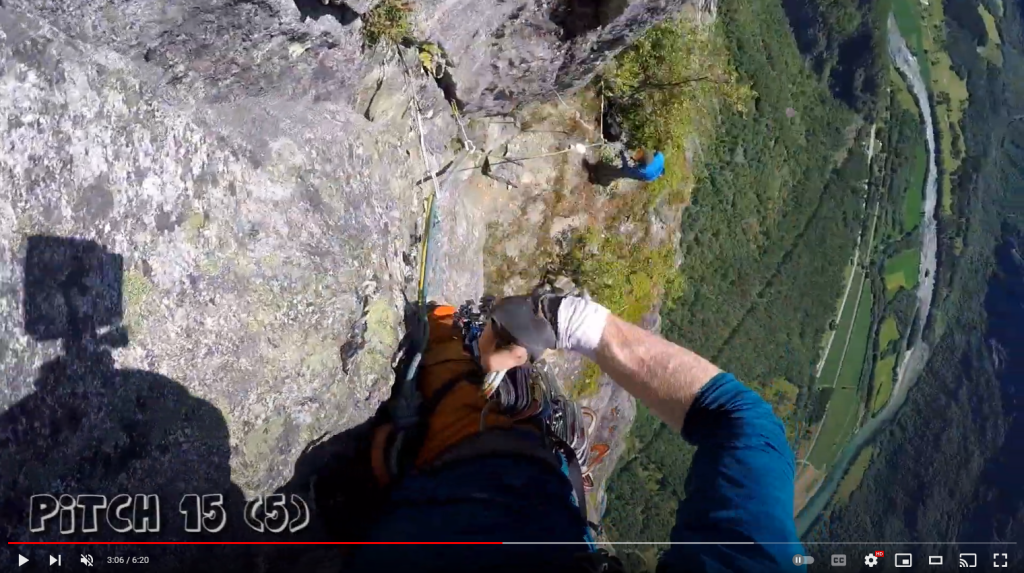
P15 – 5.8, 45m
A decent 5.8 dihedral.
P16 – 5.10, 20m (or 50m?)
It was a somewhat peculiar climb up a sort of crack/dihedral. Requires good footwork on small bulges. I think being tall gave me an advantage. Quite sustained all the way up to a ledge after running out as much as 50 meters of rope.
“I led this one, taking the direct variation. It was very enjoyable technical climbing, using creative footwork and stemming combined with jamming to get me up. I built an anchor on a shelf under a new dihedral. But this wasn’t right; I should have followed the next dihedral to the top.”
P17 – 5.6, 50m
Further, four rope lengths awaited between grade 4+ and 5+ in a slightly zigzagging manner up to where it steepened in the upper part of the wall from the 20th rope length onwards.
P18 – 5.6, 35m
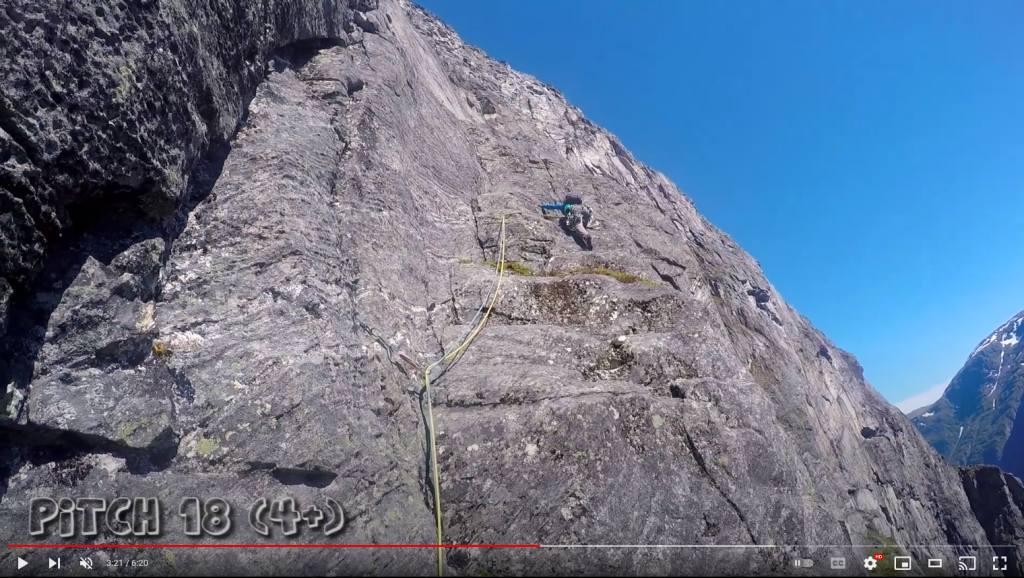
P19 – 5.9, 50m
P20- – 5.8, 30m
P20 – 5.7, 50m
From here, there was a nice and exposed climbing up a dihedral that one would eventually leave to the left and climb up to a small and airy ledge under a slanting roof overhang/dihedral.
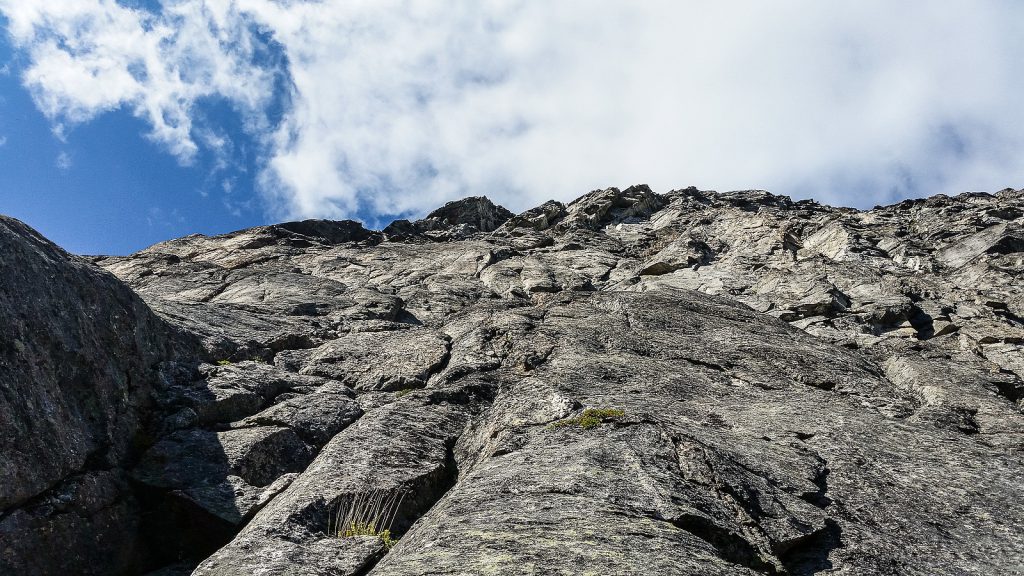
Start of P20 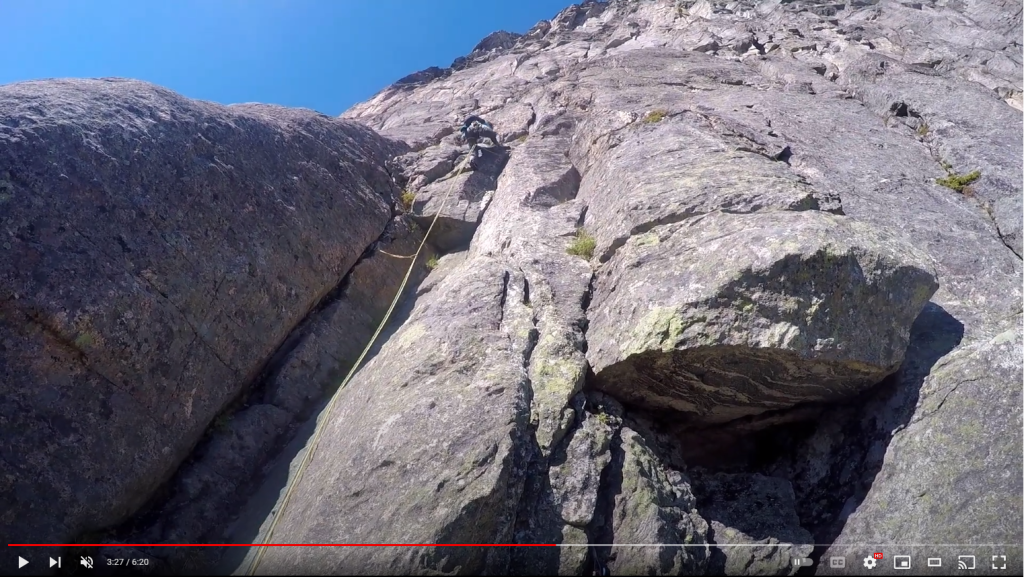
P21 – 5.7, 50m
We followed them on the 21st rope length to find this “hidden chute,” which wasn’t really that difficult to find if you stayed a bit to the right. It’s more like a sort of chimney than a chute, with some loose rock.
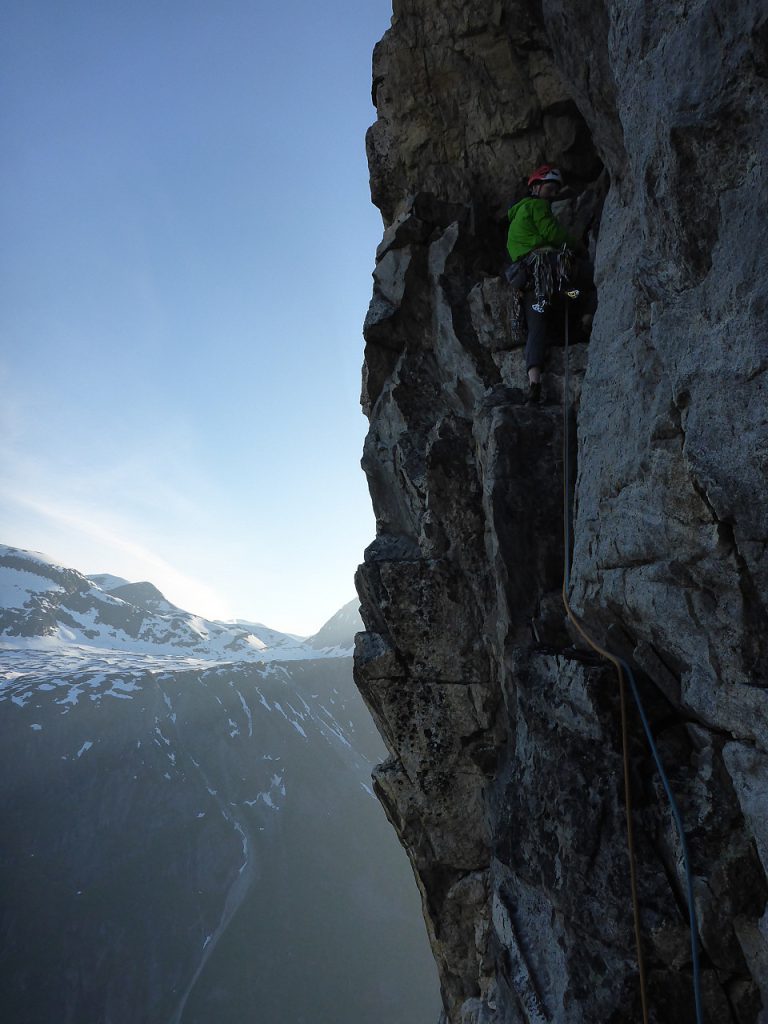
Hidden chute 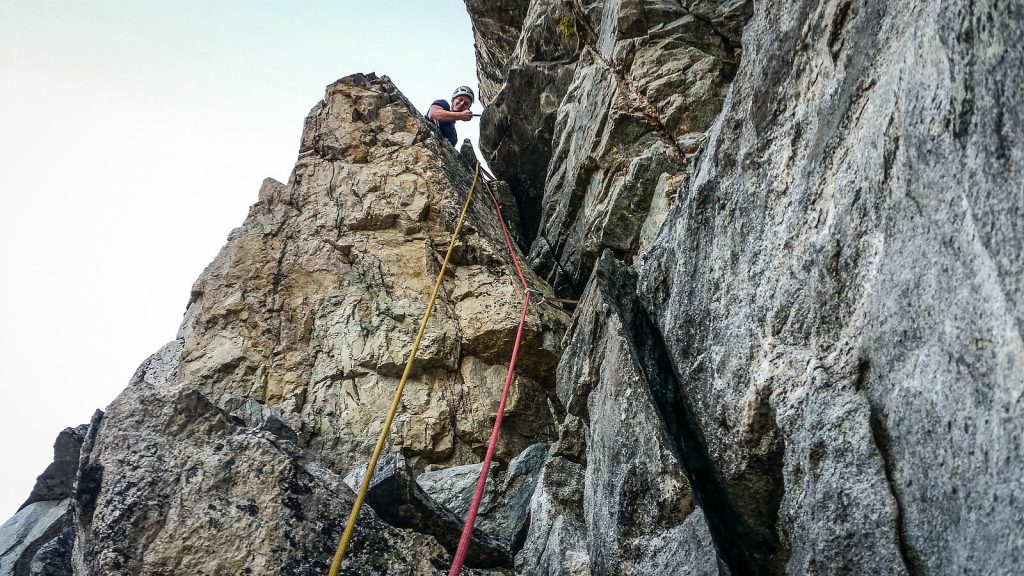
Daniel at the top of the hidden chimney.
P22 – 5.6, 50m
From here on, there were probably many routes one could choose. We climbed up to a ledge, traversed right to a huge cave, and from there, we continued by traversing left around the cave and upward on the slopes. Now we realized that we had reached the top of the route! 🙂 We spent 12.5 hours on the wall, which we are quite satisfied with. We eventually changed into approach shoes and packed the gear in our backpacks before we continued walking diagonally to the right. There were still some uphill sections before we reached the actual summit of Mongegjura, which surprisingly didn’t have a cairn?
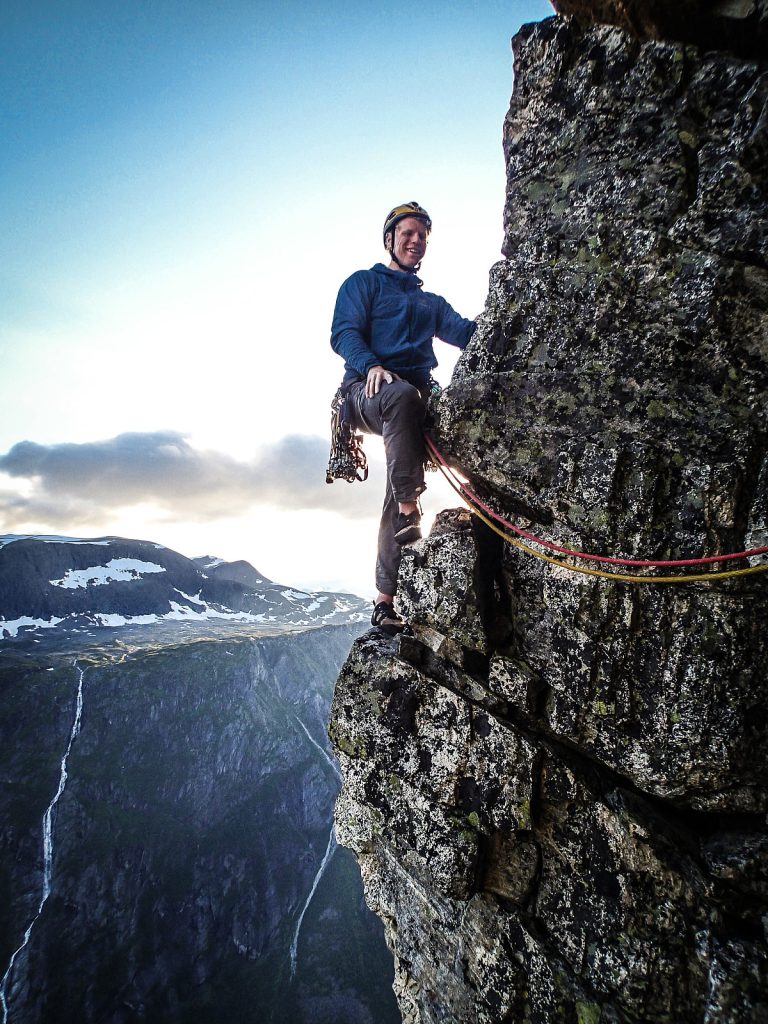
Final pitches 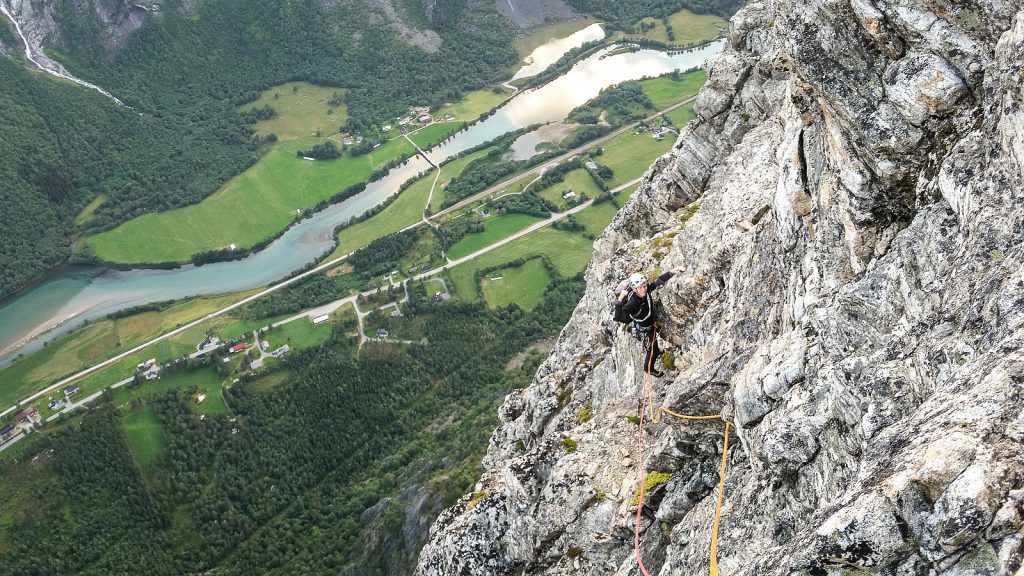
Final pitches
P23 – 5.6, 50m
P24 – 5.1, 50m
Descent
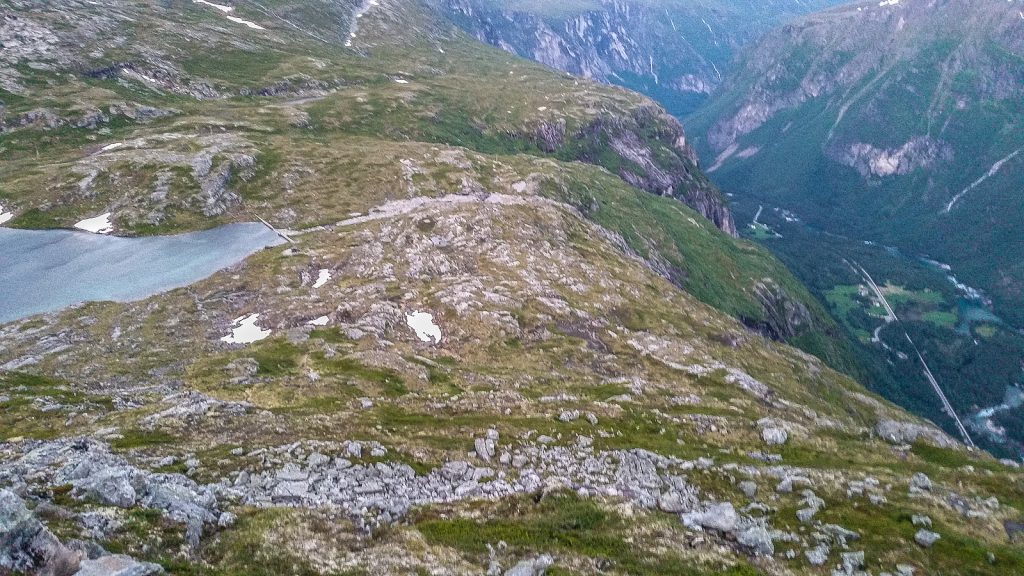
From here, we hiked down the hill towards Monge Lake to find the T-trail down Monge Slopes to the valley.
The return Daniel and I had with the steep and grassy path down Mongehamrane in the dark was a challenge in itself! It would be a nightmare coming down here if the grass is wet. It felt good to reach the road and stroll back to the car by the church, which we reached after being on the trip for 17.5 hours.
Trip reports
- Hiking article: Sydpillaren på Mongegjura – Written by 500fjell • Peakbook
- Turartikkel: Romsdalsraid dag 1: Sydpillaren på Mongejura – Skrevet av kobbenes • Peakbook
- A week in Norway: Drømmediederet, Mongejura, Klauva & Storen – YouTube
- Harald Undheim – YouTube
- Sydpillaren på Mongejura – YouTube
Reports
Sydpilaren 2023
Timeline 4:13 AM – Hiking 4:54 AM – Base (41 min approach) 5:05 AM – Climbing 7:00 PM – Top (13:55 hours climbing) 7:05 PM – Walking off 9:07 PM – Car (2:02 hour descent, just under 16 hours car-to-car) Photos: https://photos.app.goo.gl/Btp5NkZQoqYRo6oU6
