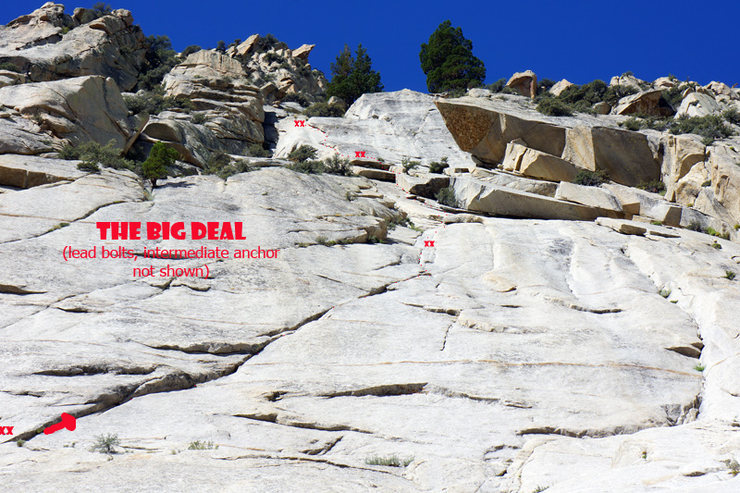
This route description considers P1 to be The High Life. Officially, The Big Deal starts from the top of The High Life, but for simplicity, this route description describes The High Life + The Big Deal as one single multi-pitch from the ground.
Gear
- Rope: 70m
- Cams: #0.1-3, with double #0.3-0.75
- Cam beta: Optional #4 but most don’t need it
- Nuts: small
- Draws: 14 draws (6 sport, 6 single alpine, 2 double alpine)
- Radio: Unknown
Overview
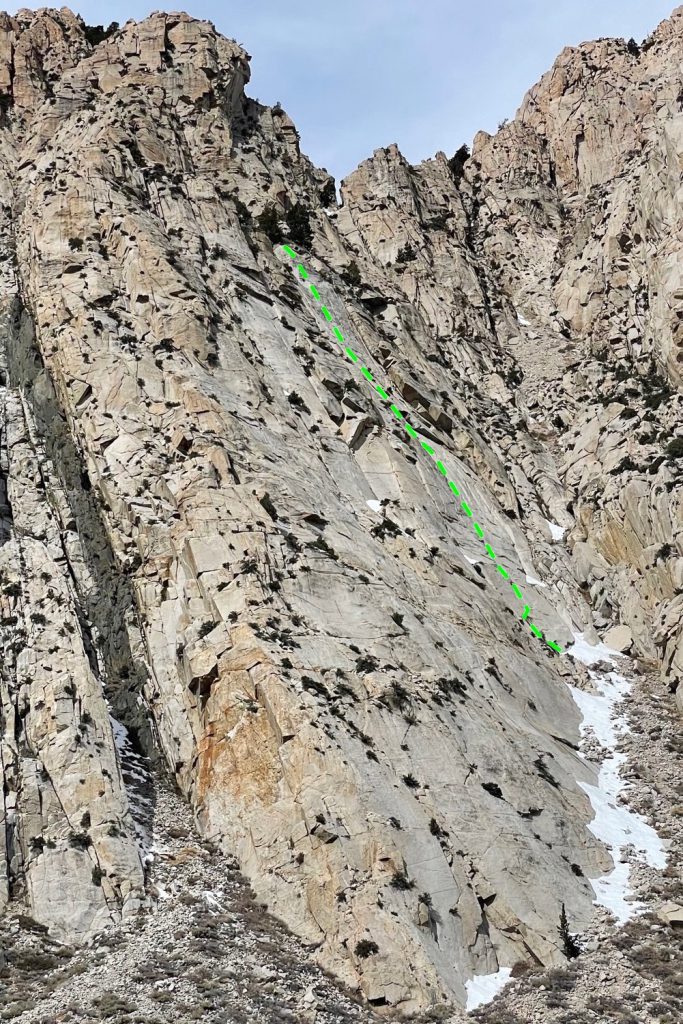


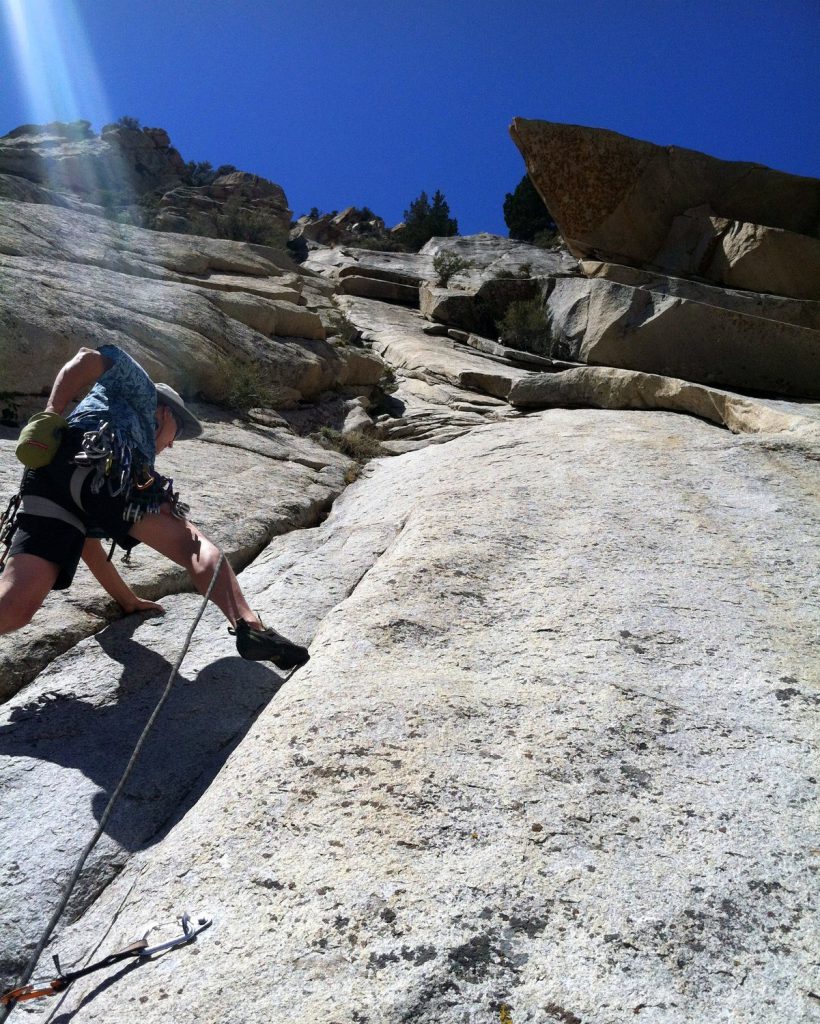
P1 – 5.8, 35m
Climb The High Life: Climb the right-facing corner/overlap as it arches right. When the overlap peters out, follow the 3 bolts to a bolted anchor on a comfy ledge. Gear to 3″. This pitch can sometimes be wet in early season.
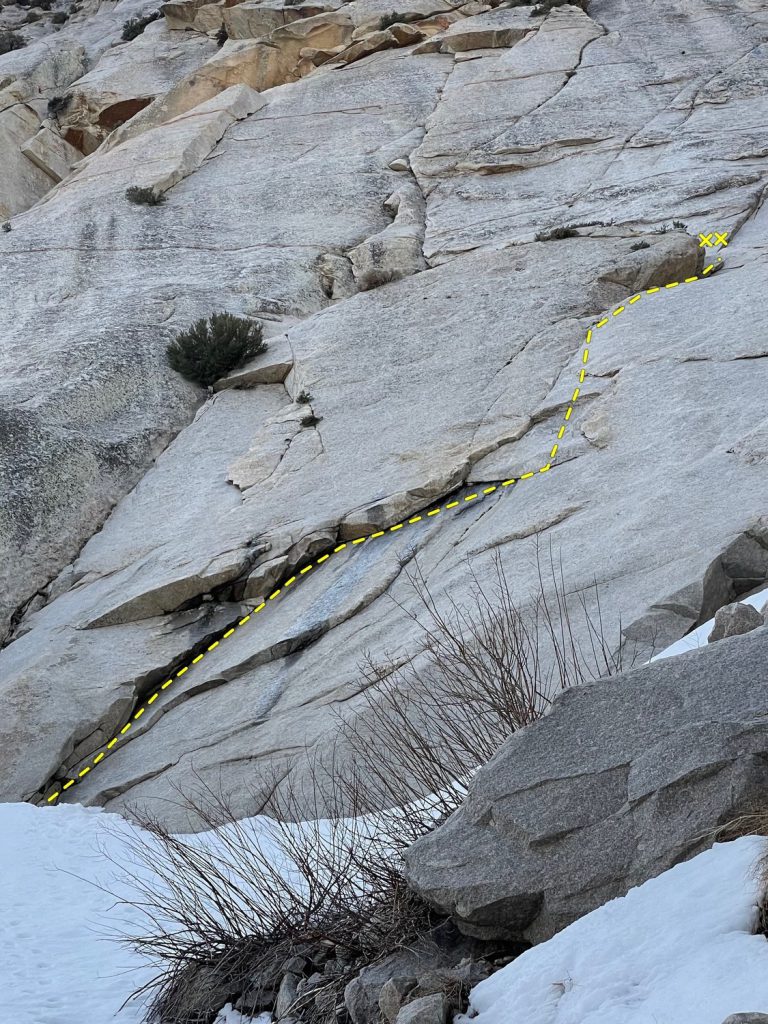

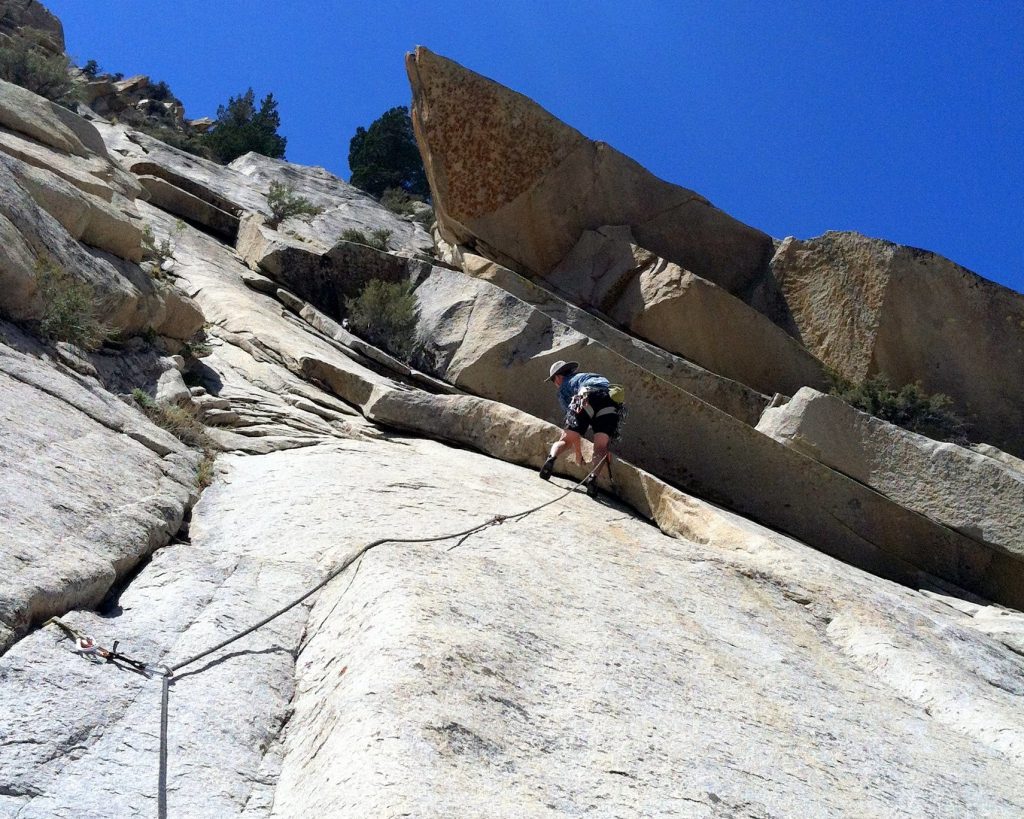
P2 – 5.7
Follow a slabby, right trending crack for 40 meters. Where crack peters out, step left into seams protected with small to med nuts lead to 2 bolt anchor. Gear: Nuts, doubles of small to med cams, single #1-#4 Camalot.

Start of P2 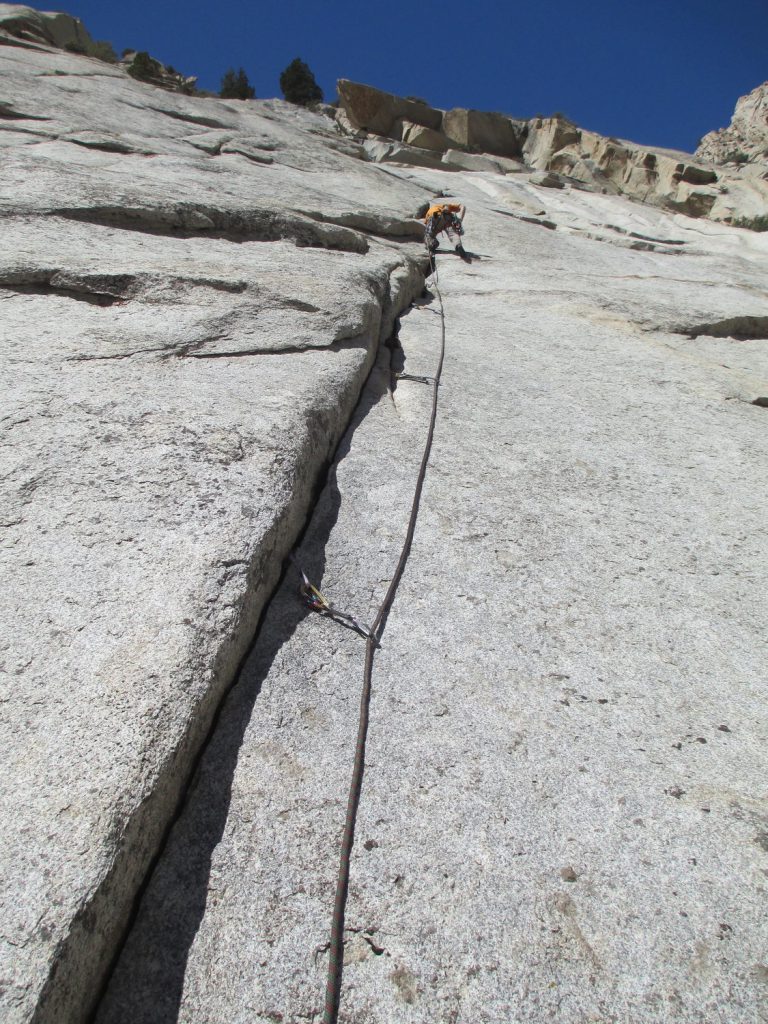

Top of P2, looking down
P3 – 5.8, ~30m
From the belay stem up seams (5.8, gear and a bolt). Step right to a bolted slab move, then up left facing flake, pull over this to the right to a bolt and 2 bolt anchor.
Start of P3
Can link it with P3 for one 60m pitch.
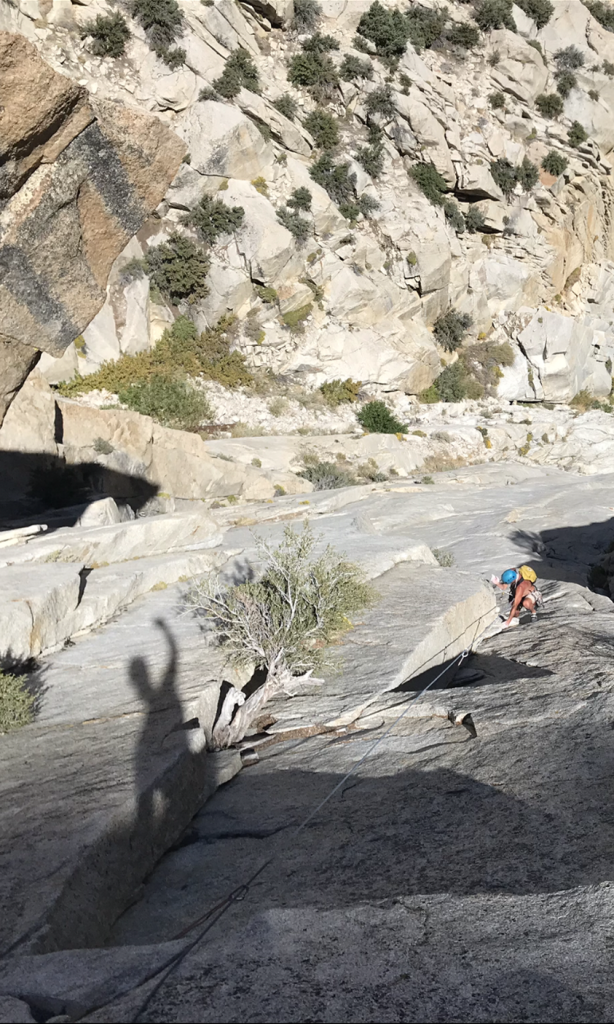
P4 – 5.8, ~30m
Move up easy but hollow flakes to a left facing corner that climbs over 2 roofs to 2 bolt anchor on left. Gear to 3.

On P4 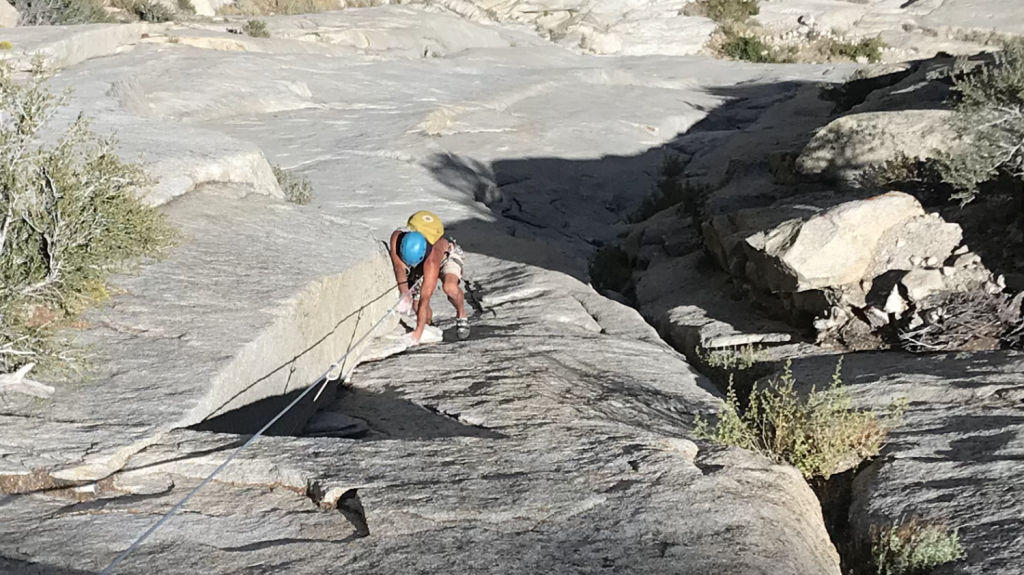
P5 – 5.9, 20m
Move right into low angle fist crack, to a ledge. Follow left arching flake protected by small cams. Near top of arch step right and follow 4 bolts (5.9) to left leaning lieback protected by gear to 2 bolt anchor.
Descent
Rappel the route. Supposedly a 70m or two 60m ropes are needed.
- R1 – Rappel 20m down P5
- R2 – Rappel ~30m down P4
- R3 – Rappel ~30m down P3
- R4 – Rappel? Somewhere there’s a 2 bolt anchor 30m below the P1 anchor