Resources
Schedule
From our 2019 trip, here were our times of a very casual pace.
- 8:00 AM started hiking
- 10:00 AM started climbing
- 3:00 PM at summit
- 3:30 PM rappel down to gully (and rope got stuck)
- 4:00 PM descending down gully
- 6:30 PM base of first pitch (we tried the ridge instead of staying in gully, that took way more time)
- 8:15 PM at car
Gear
I believe I used standard rack to #3 and nuts and that was enough, but to protect it up more you might want doubles.
Approach
From the pullout, locate the trail going down the loose dirt slope into the forest. There might be a couple cairns. Once in the forest, there’s a pretty good trail to follow.
However, as you near the creek crossing, watch on the right for a fork on the trail flagged with some flagging tape. This will lead you to the easier creek crossing over some great logs. If you took this crossing, it should lead you right to the other side where the trail continues.
Continue on the trail until you reach the large rock gully. Continue up the rock gully on the left side, stay left of the giant cave, and continue on the obvious trail trending up and left, which leads to the first fixed rope/scramble.

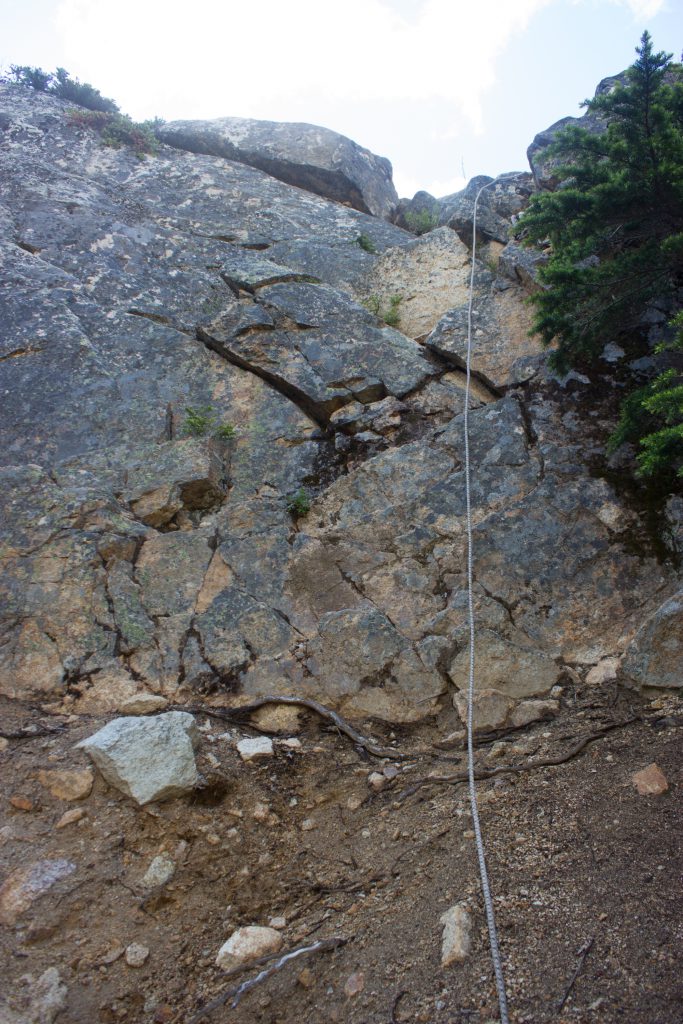
The first fixed rope/scramble is 15-20 ft up blocky vertical rock.
Then, follow the obvious trail.
When the trail fades out at a headwall, follow a faint trail traversing left, and then it’ll continue up and left, going up rock/gully debris with a couple cairns.
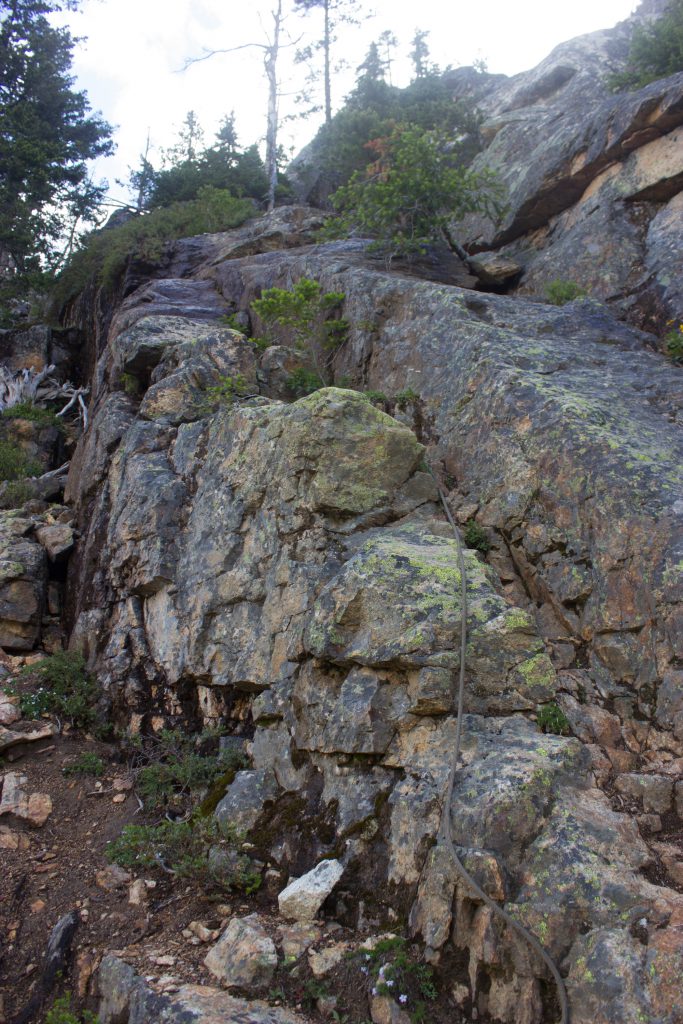
The gully widens up and you’ll find the second handline on a sloping ramp rock.
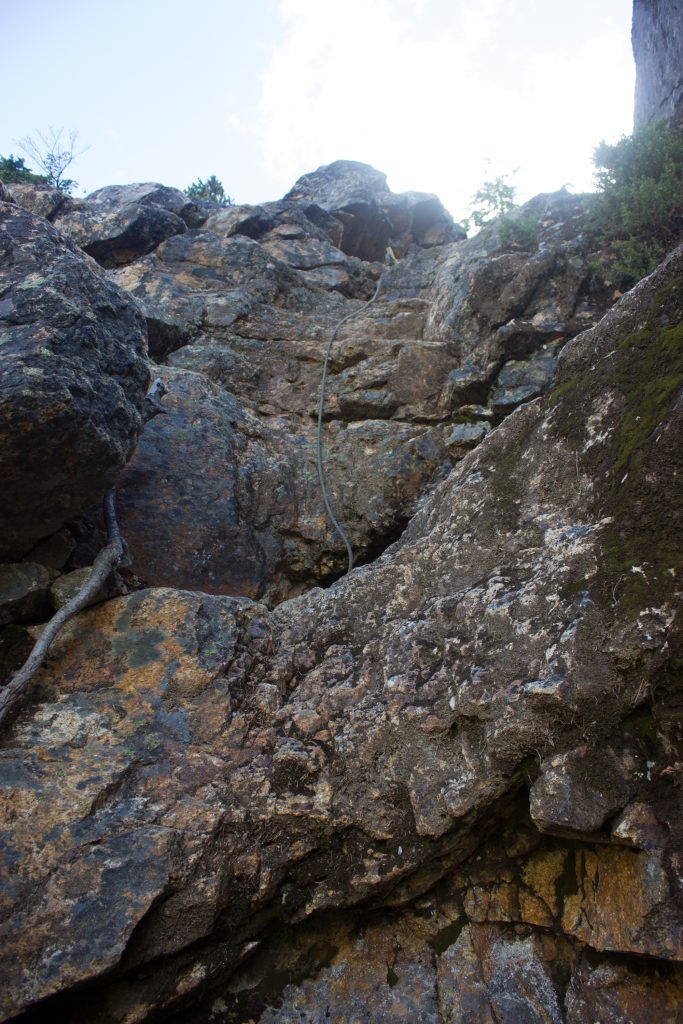
Then, continue up and left on blocky terrain. Watch out for a junction where you should stay right (and the left option is blocked off by some logs). The trail to the right is faint and leads to some class 3/4 moves, but then you’ll reach the third hand line, which is the longest and trickiest of them all.
Finally, you’ll continue up the gully/path for a while, then scramble a bit, then more gully for a bit, then scramble a bit, and then locate the distinctive curved tree on the left which indicates the start of P1.
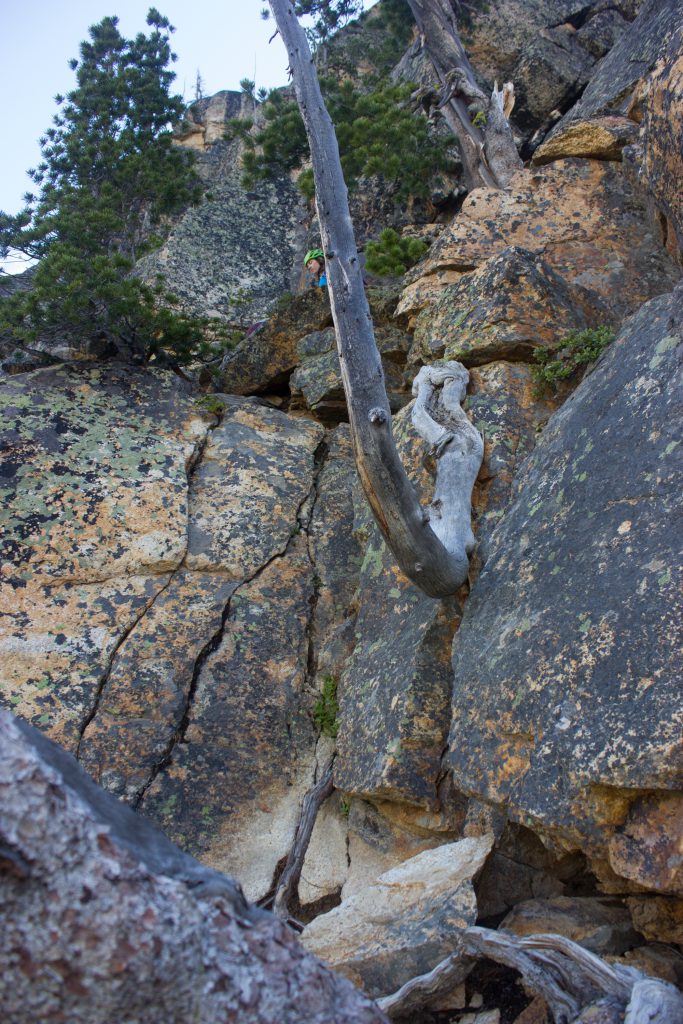
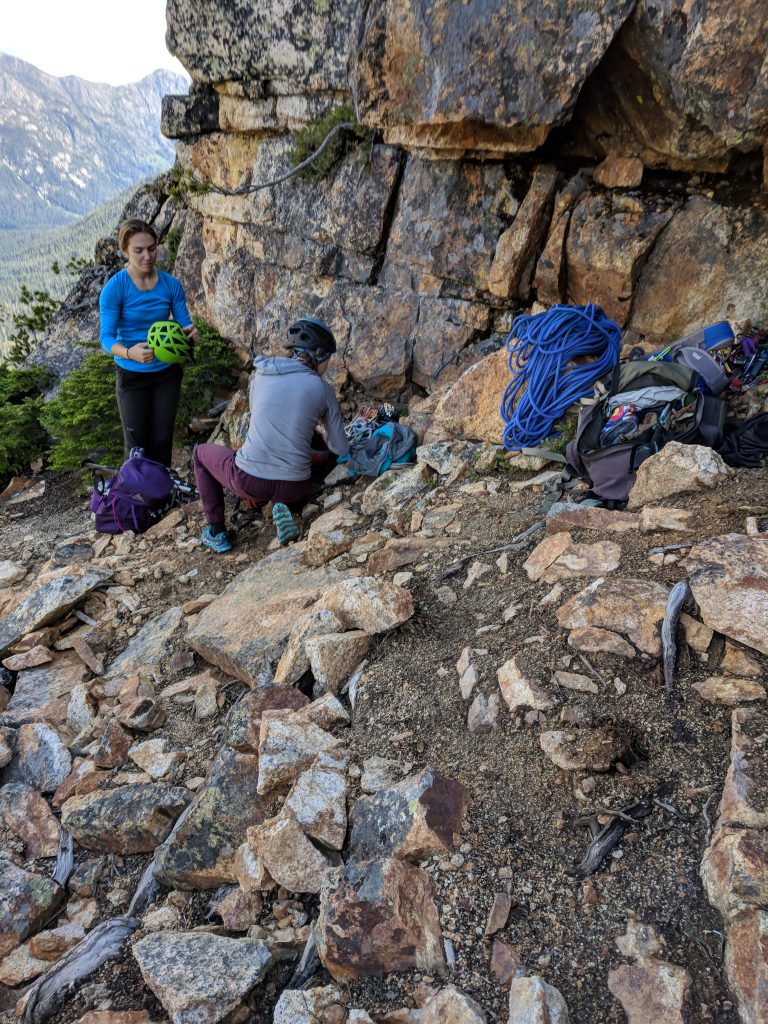
You can start belaying here, or scramble up the left of the tree to get to the base of the crux of P1.
The climb
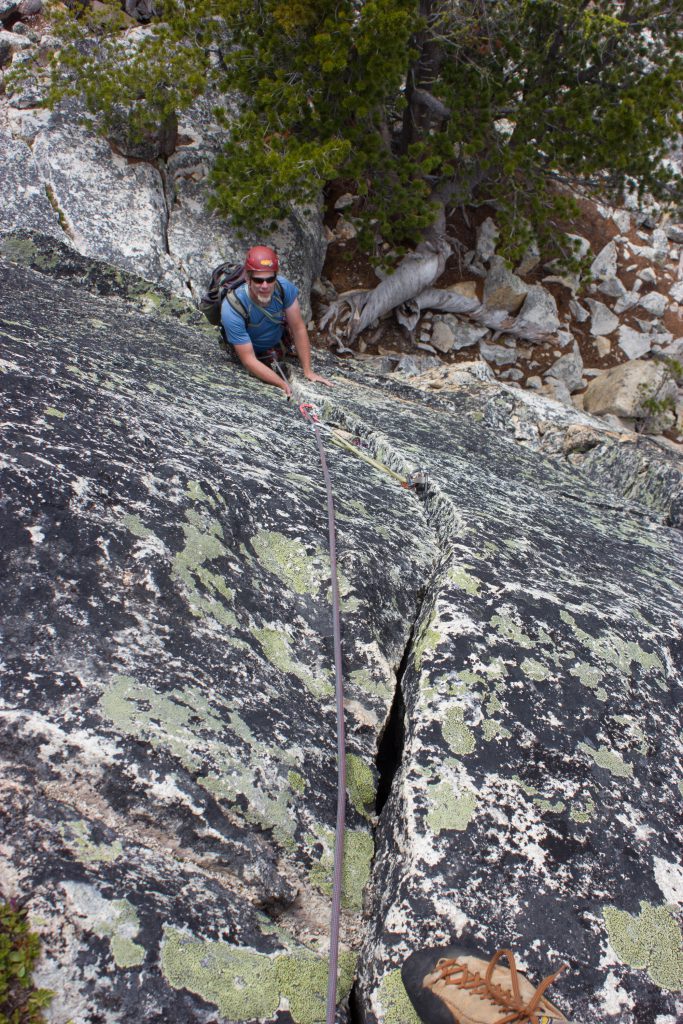
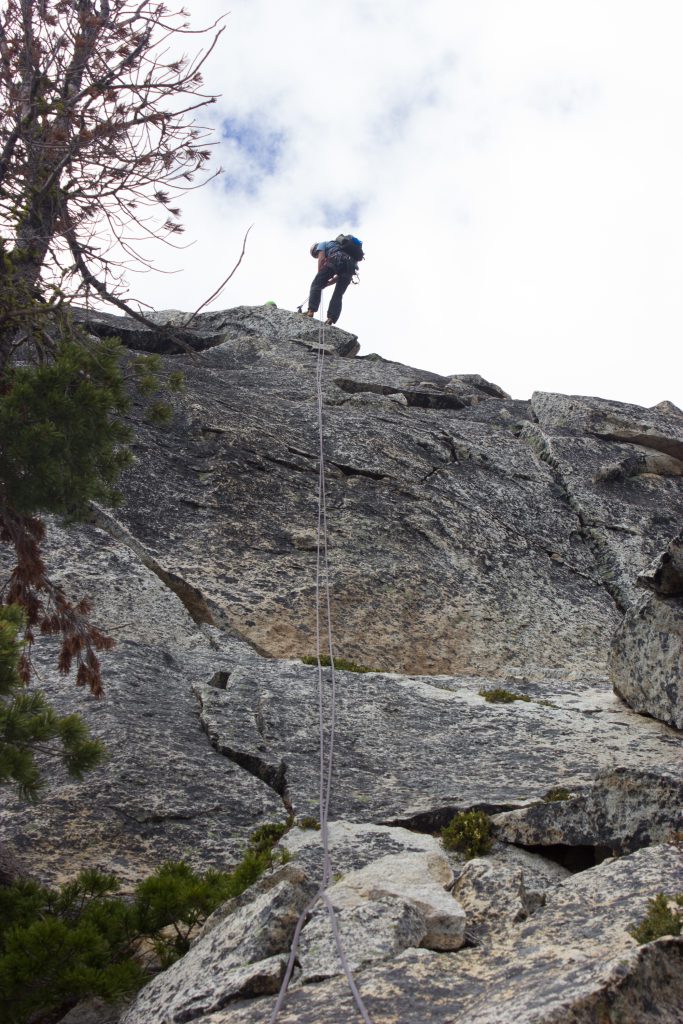
Pitch 1
Starting from the platform above the tree, there are two options, people seem to do both, but we chose the left crack, which protects decently. Frankly it seems you could walk all the way around the right and just keep scrambling up.
This start is one of the few crux’s of the climb. The left crack starts as an offwidth, but if you stay a bit right of it at the start, there’s a few small foot ledges.
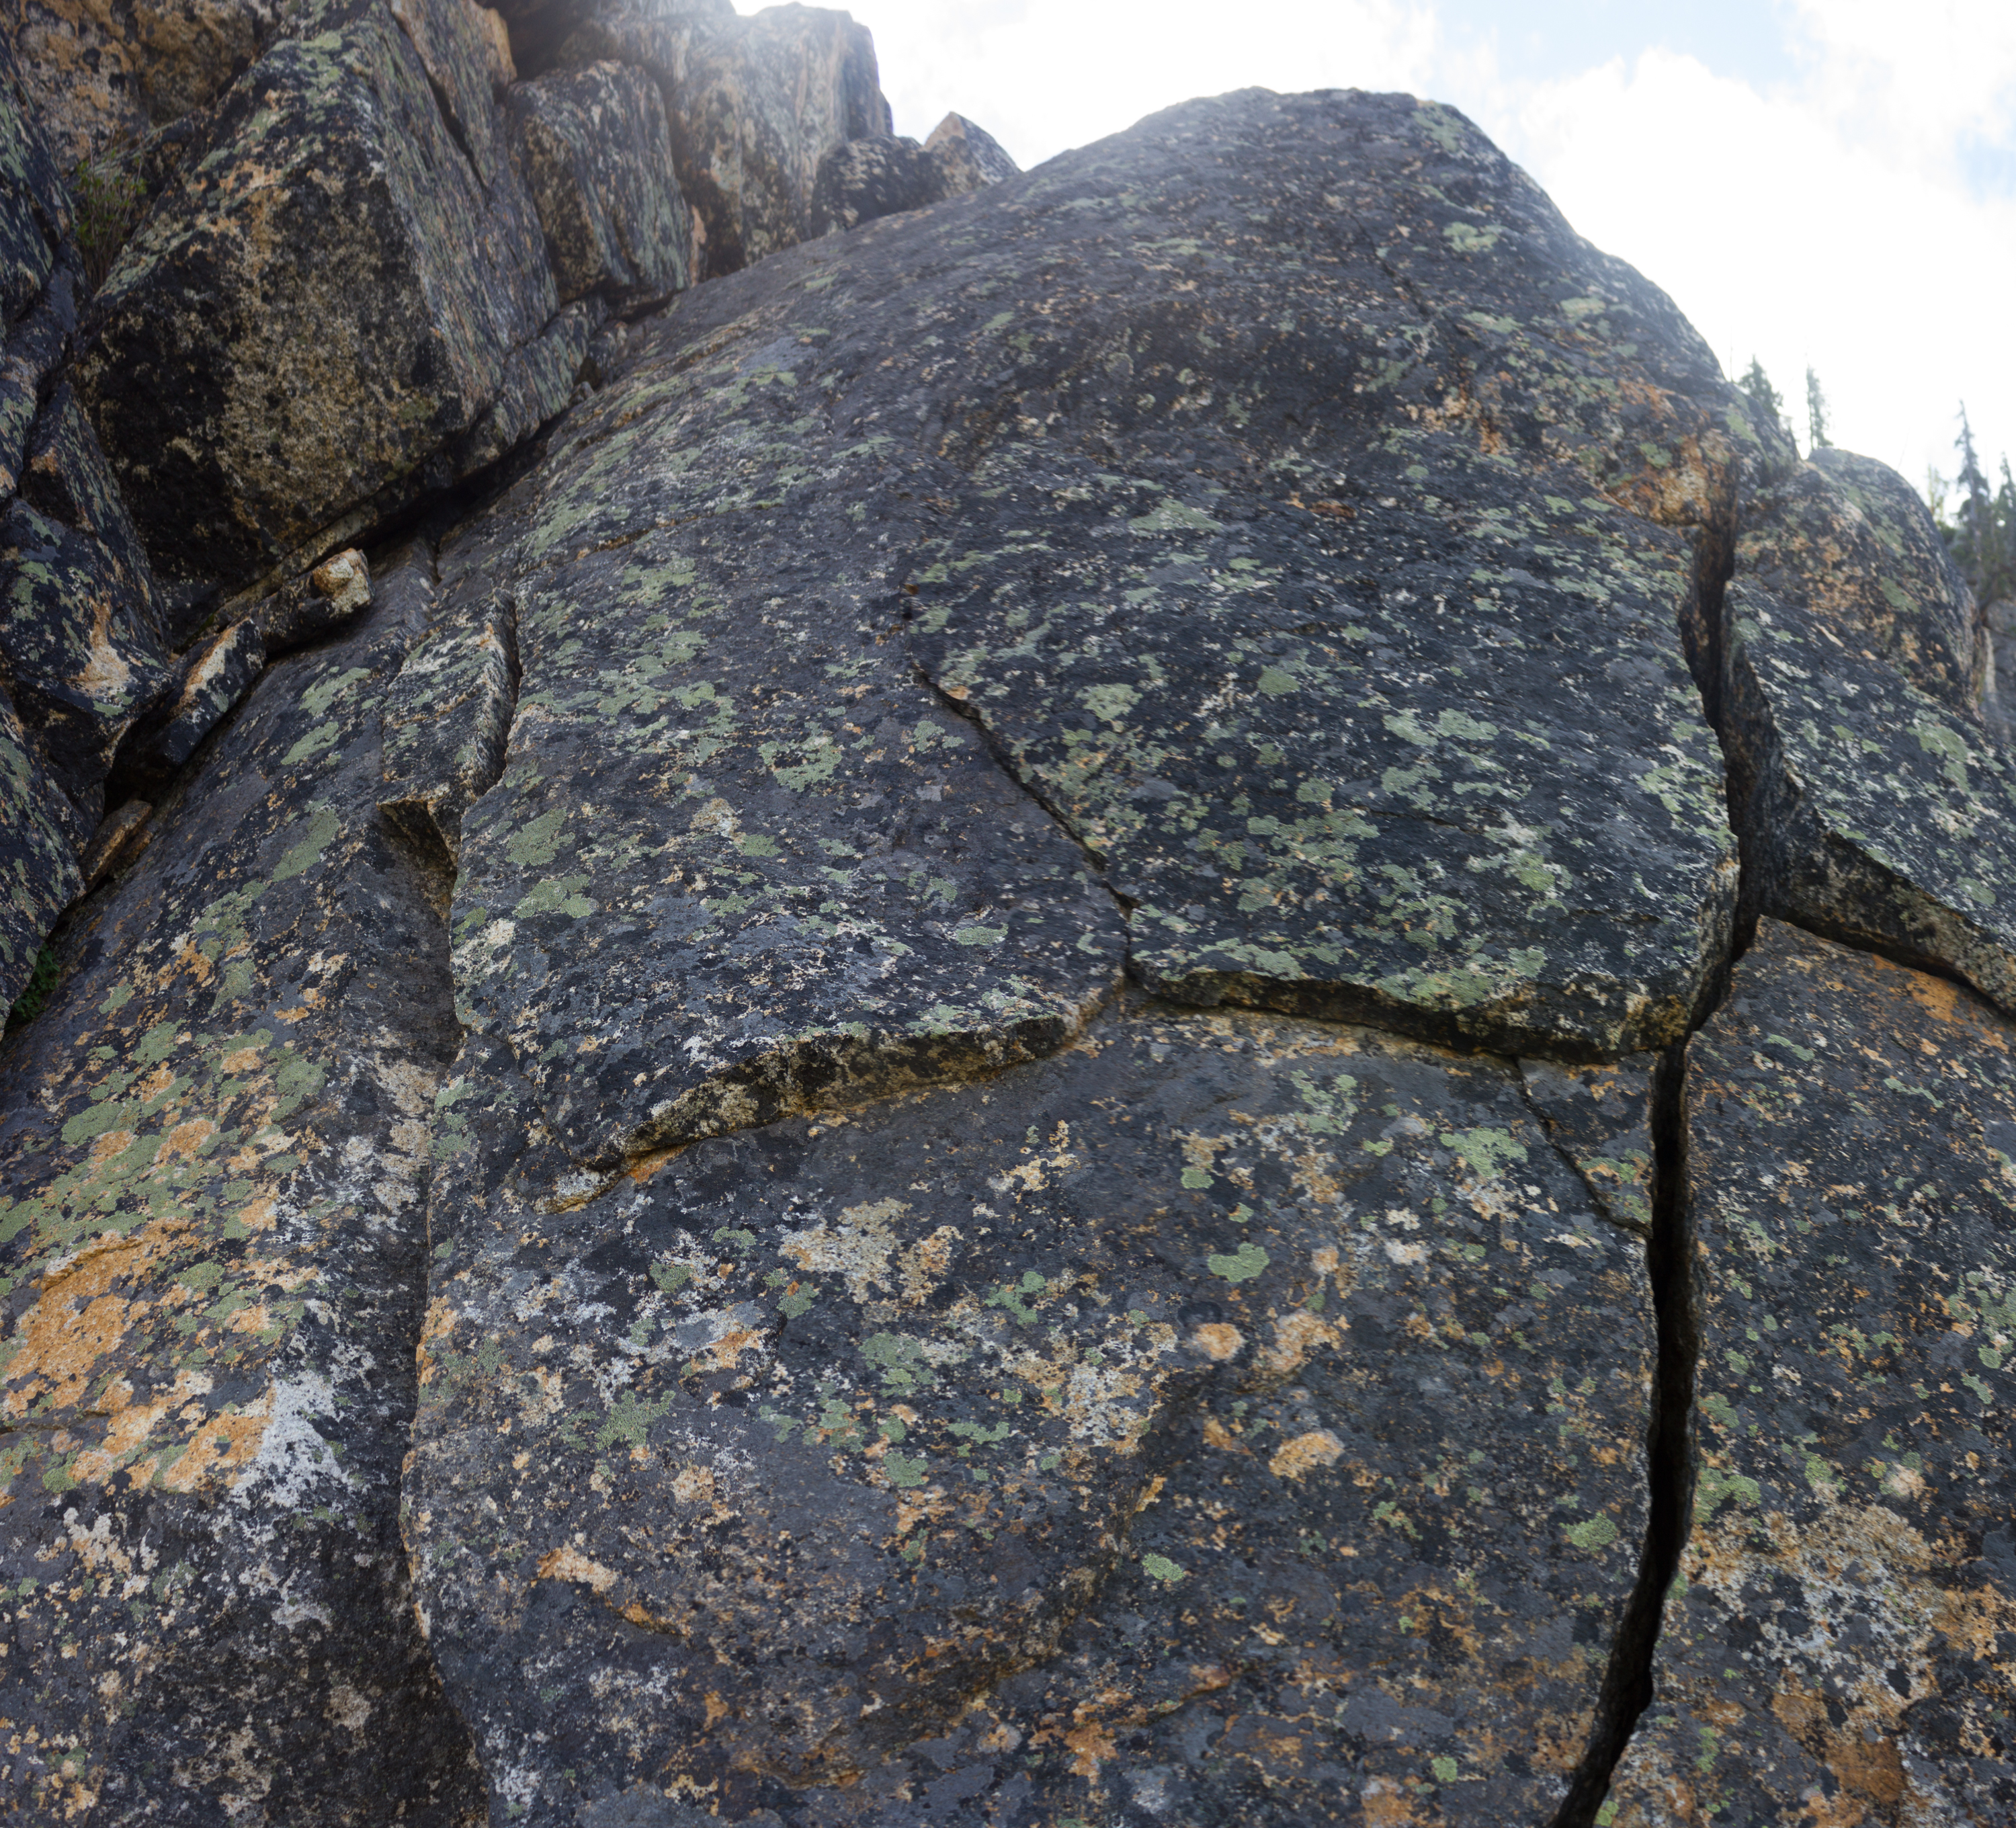

After that, it’s easy climbing, maybe 80 feet. You can clip a tree halfway up and continue on the obvious worn path. End on a ledge 20 yards from the roof and belay off a small tree.
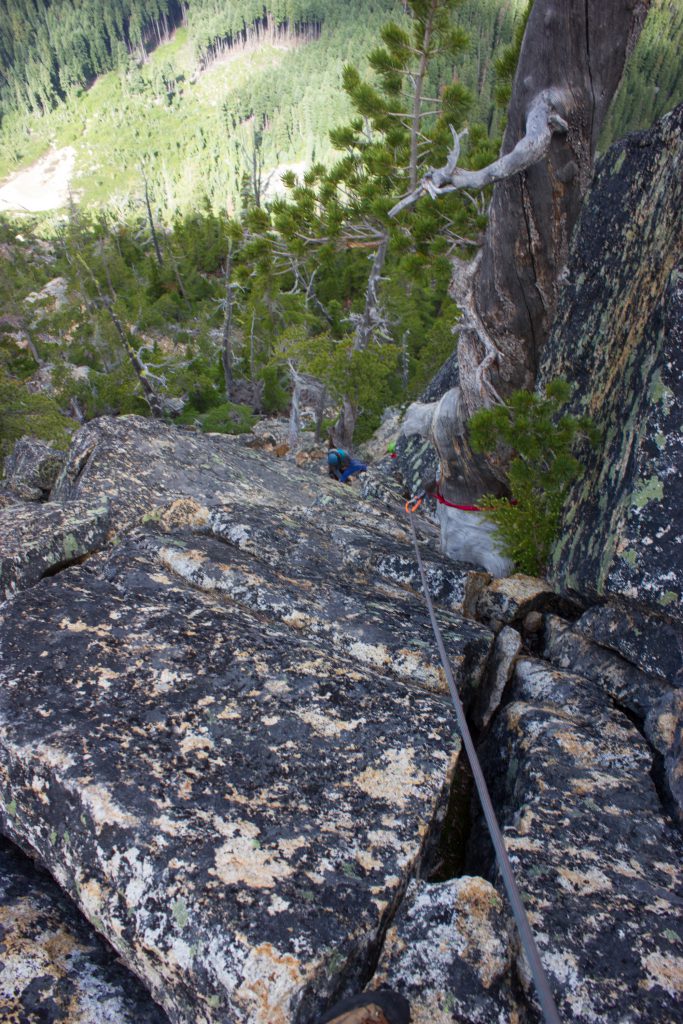
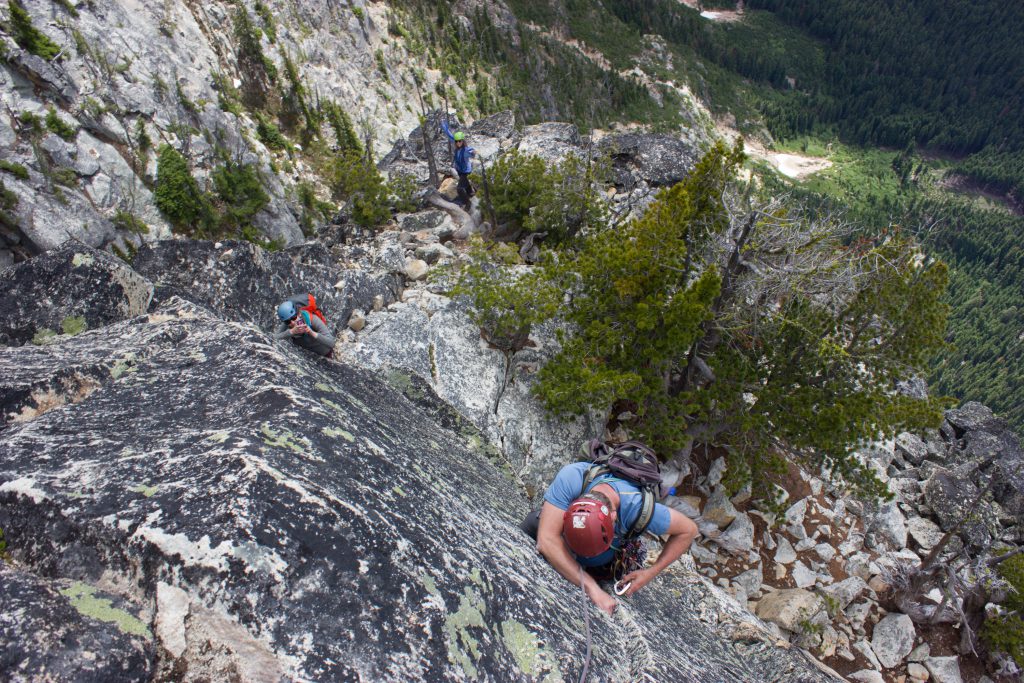
Just after clipping the tree 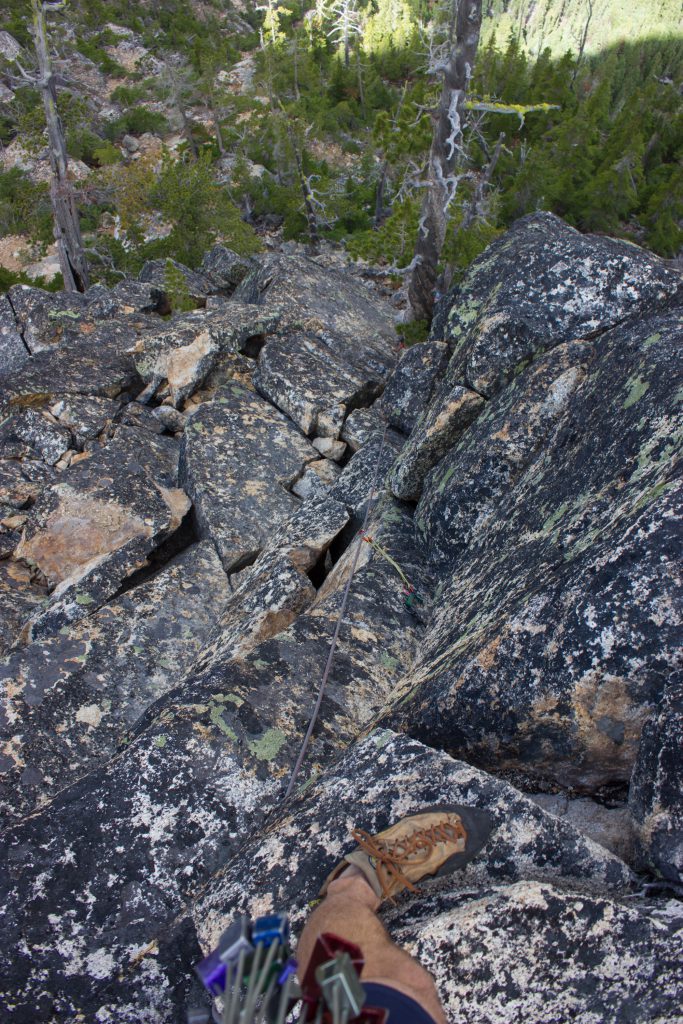
More blocky terrain 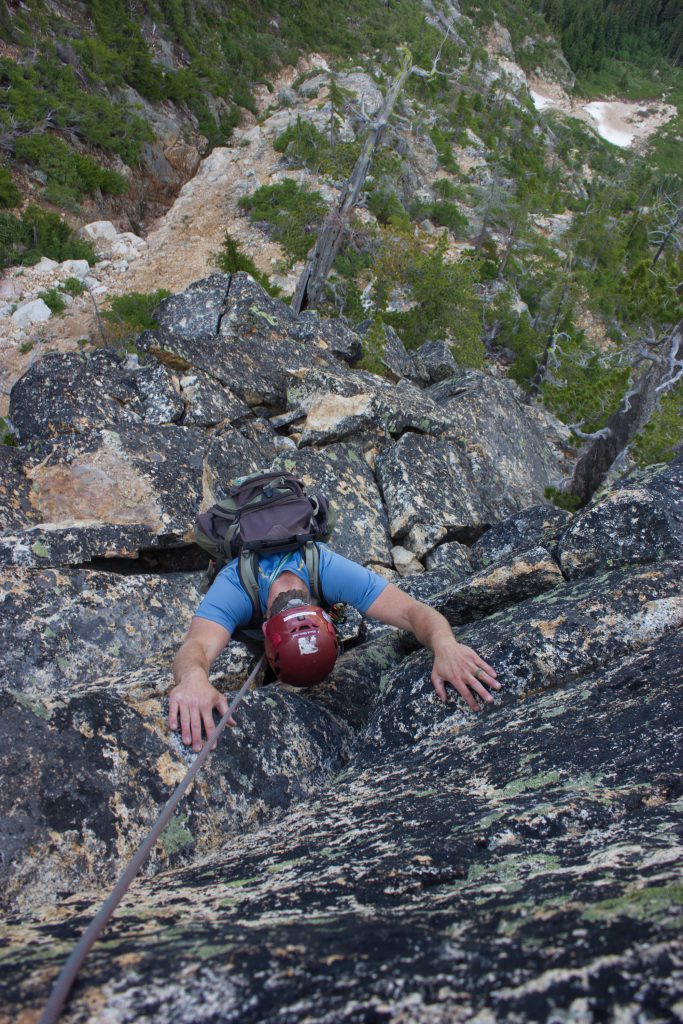
The final moves before the belay ledge
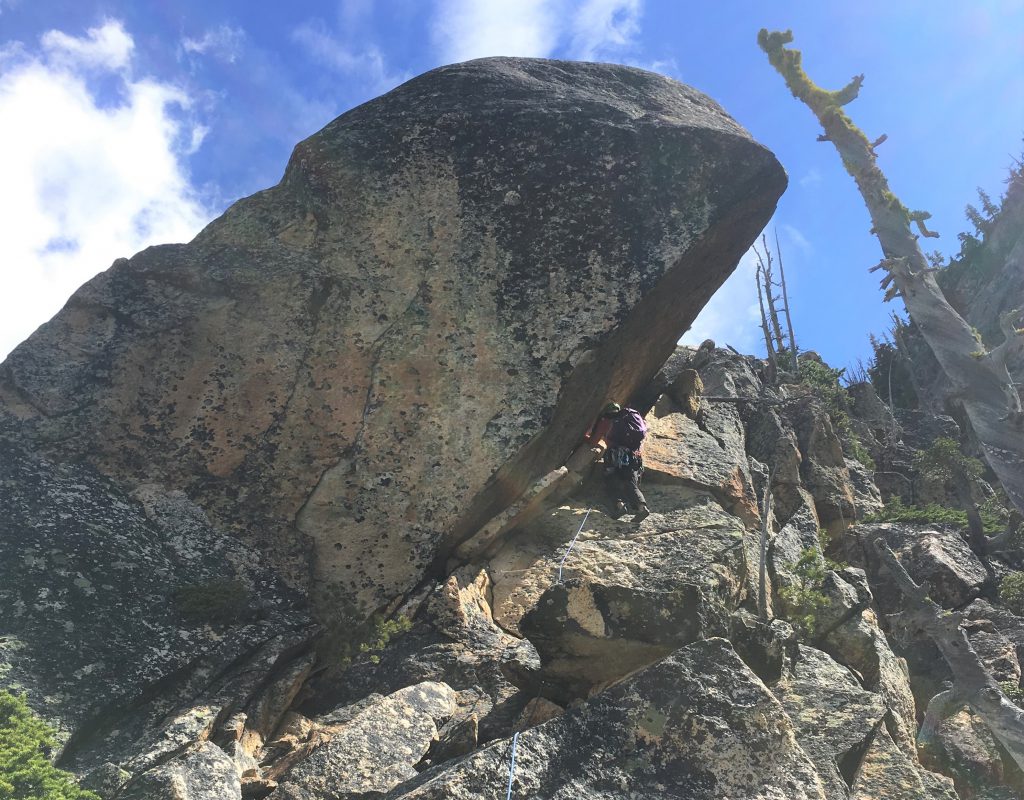
Pitch 2
An easier pitch. Climb under the roof pulling on some large flakes that initially seem suspect, then traverse right on a flat ledge and then up a loose gully to the ridge. Belay from a tree on the ridge. 100+ feet.

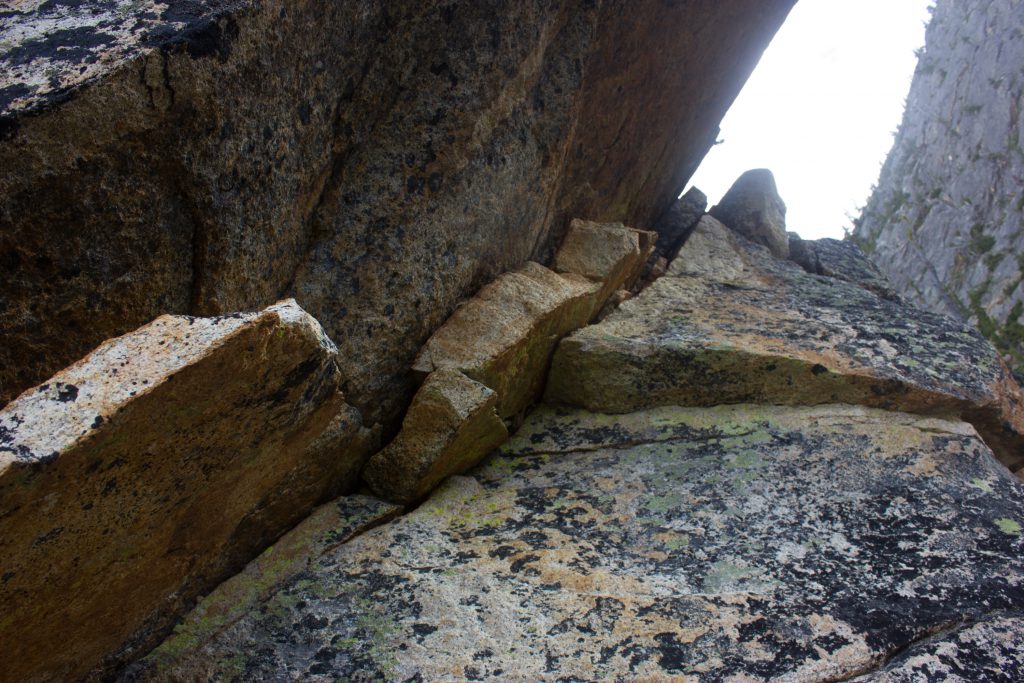
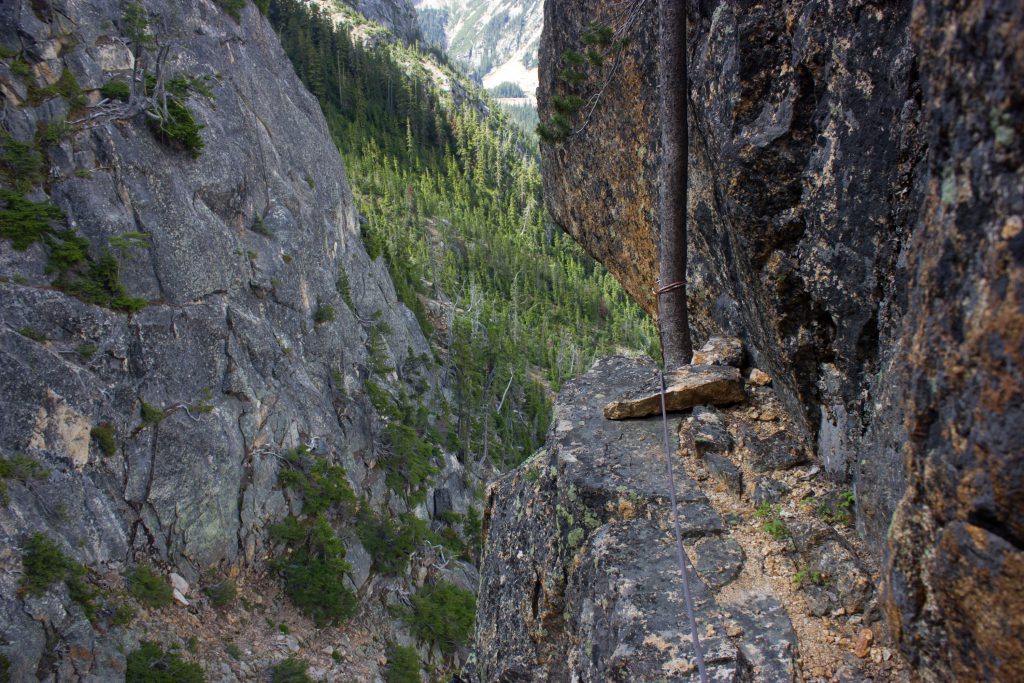
The little ledge you walk across 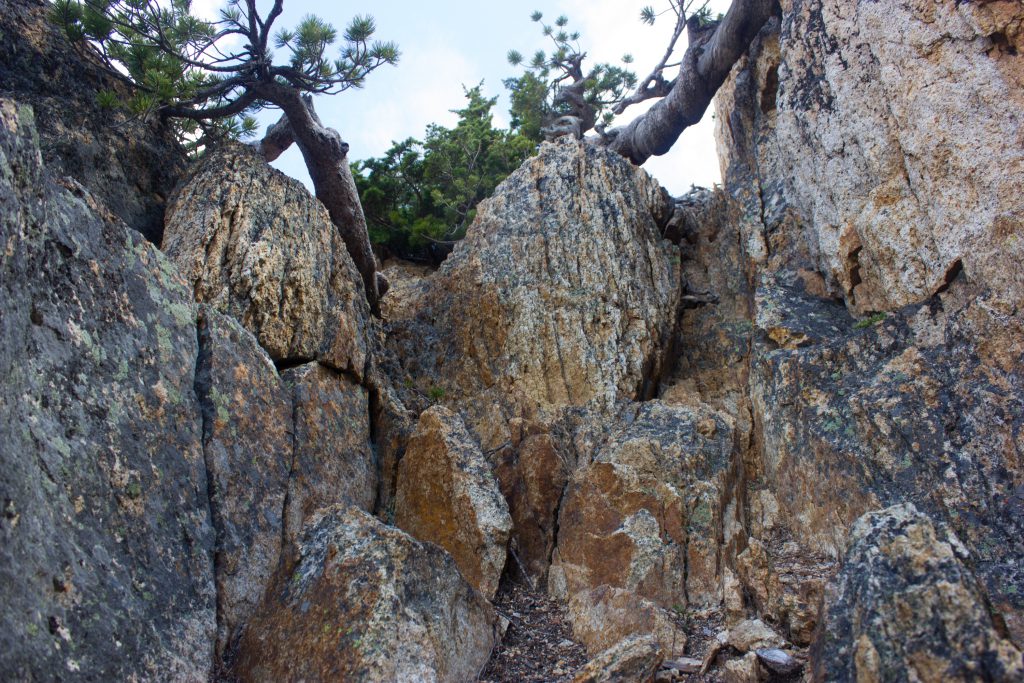
The gully to the ridge 
Scrambling intermission
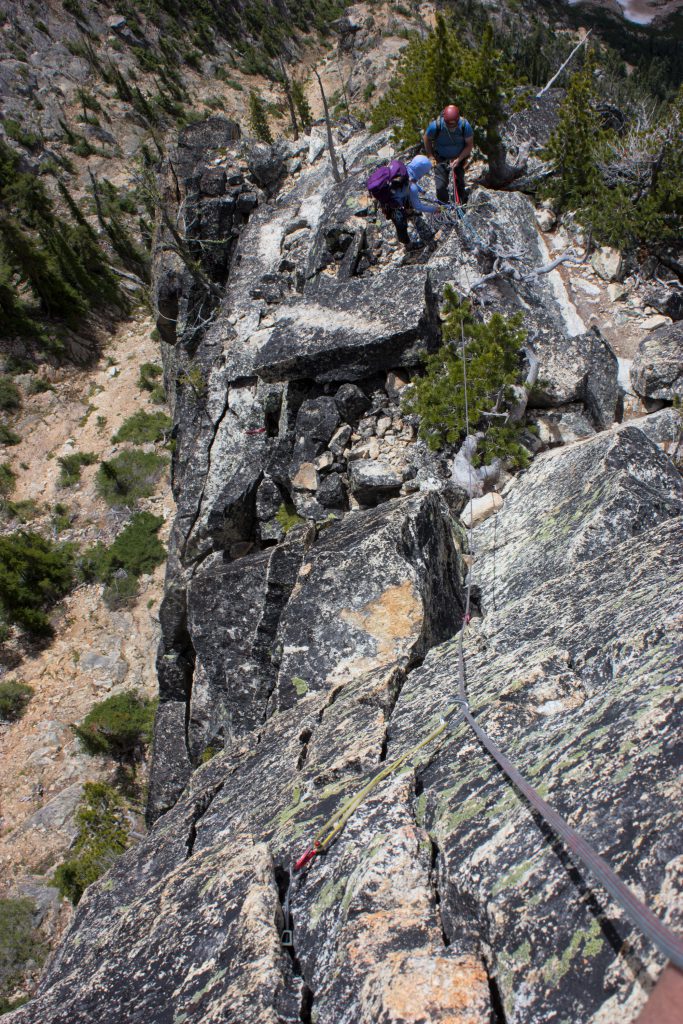
Unrope and scramble class 2-4 terrain until the ridge connects with the gully. Then find a good spot to start P3, where you climb back up on the ridge (we went up the gully a bit) and then started from a nice dirt platform. About 10-20 minutes of scrambling/walking.

Pitch 3
Pick your route up onto the ridge and stop when you reach the base of a 10″ crack. We ended up taking a tricky route up, but there’s probably lots of different routes up.

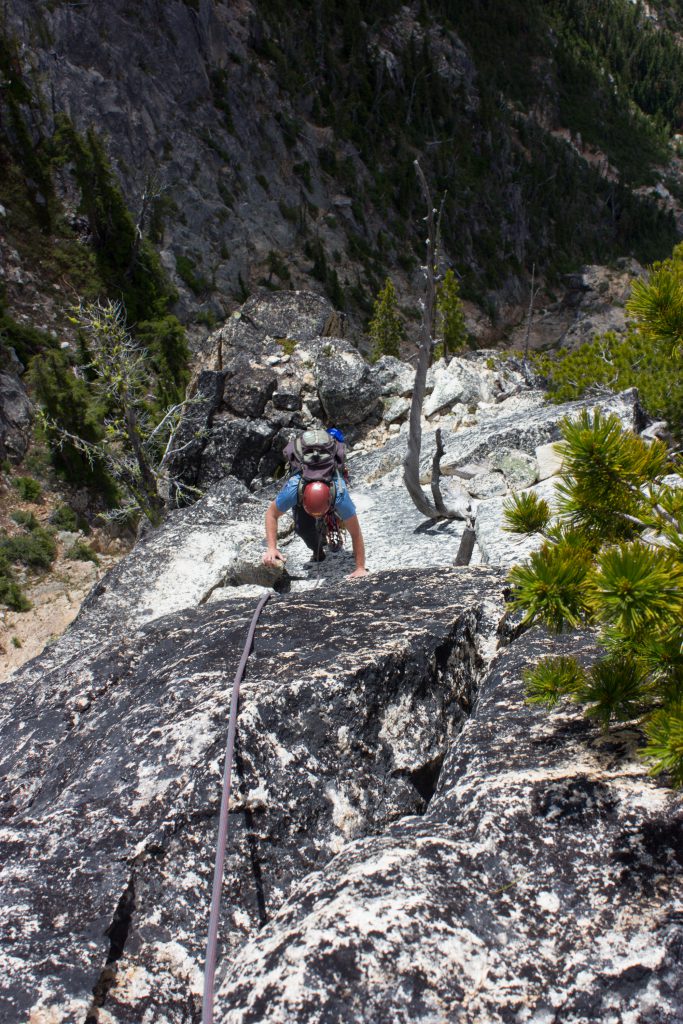
Pitch 4
Easy climbing. Climb the short, 10 ft crack (place pro on the left), then follow easy slabs, blocks, and cracks along the ridge till you reach the base of the next pitch. ~130 feet. Belay off a tree at a flat ledge.
Some of the start of P4 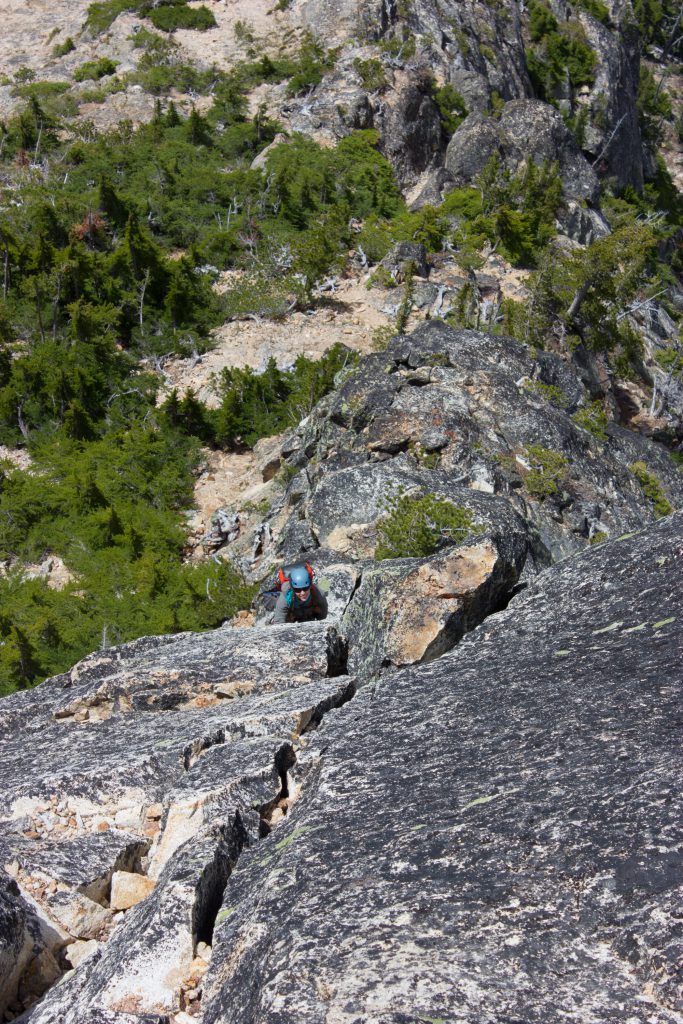
Some of the ending moves on P4
Pitch 5
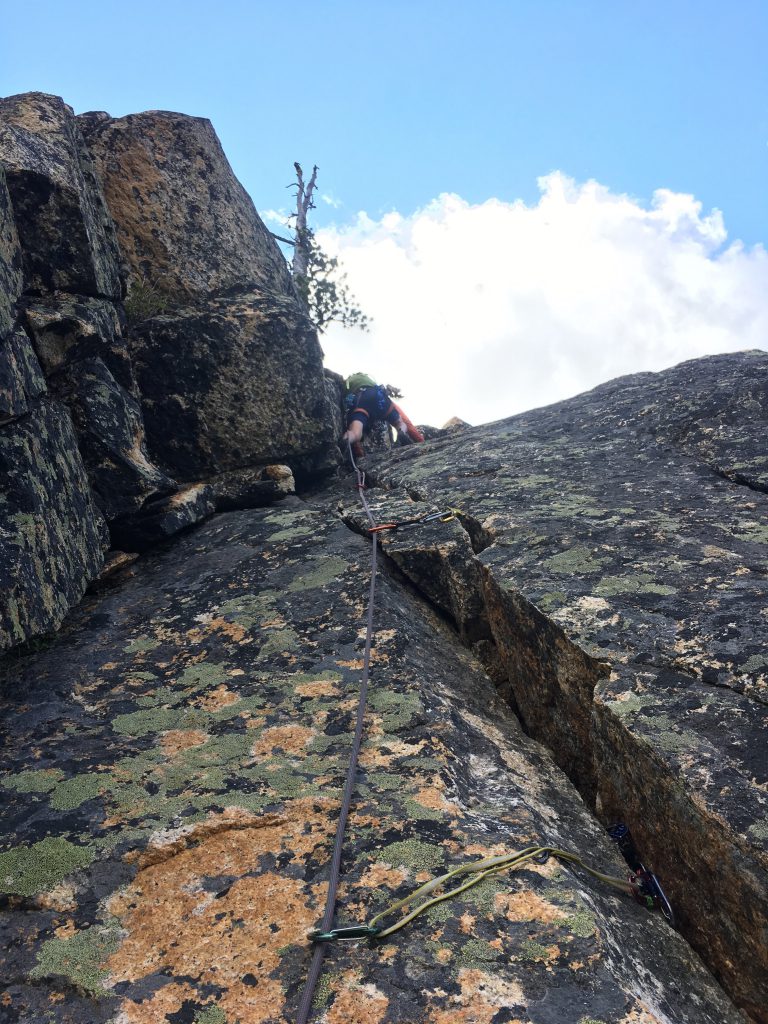
You have two options, you can either stay left in the corner or stay right and then traverse over left. Both are pretty similar, a bit slabby and a bit tricky but not bad. I climbed the right option, and our other group climbed the left option. And while the crack leading way to the right seems awesome, it ends on a platform that puts you in the middle of nothing, and definitely isn’t the normal route. I checked it out and had to climb back down.
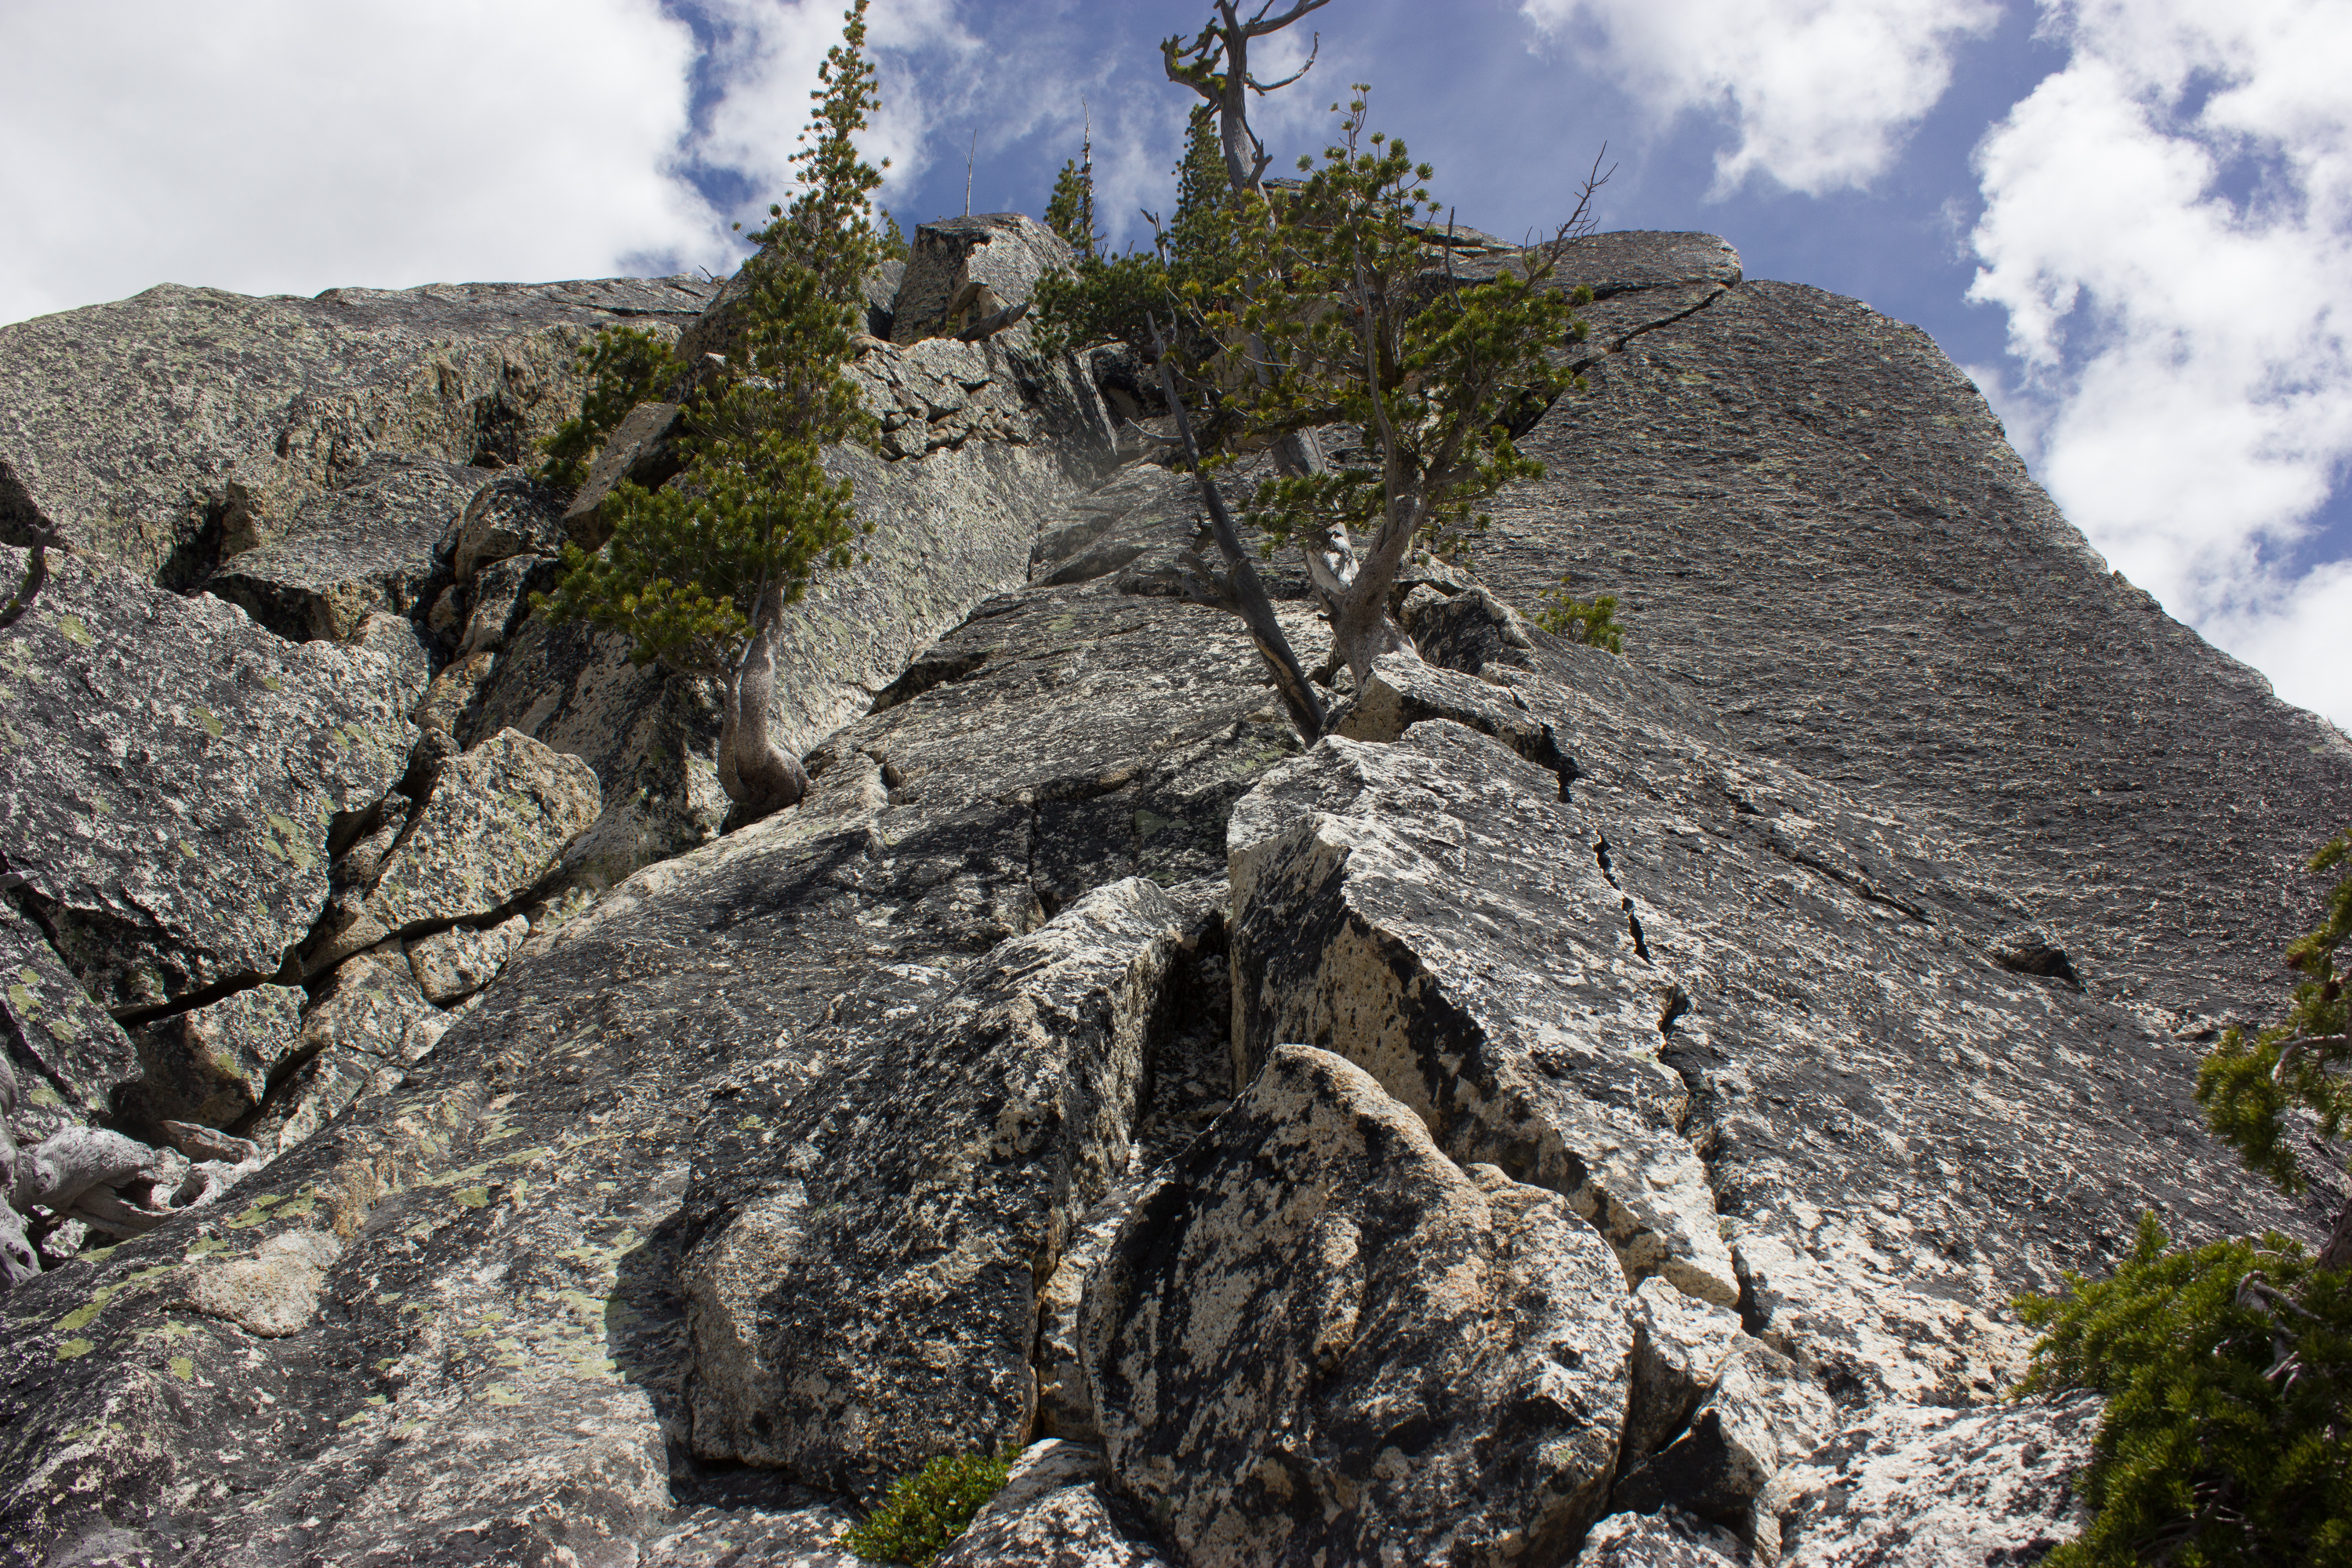


Then, you’ll climb up the corner where the tree is. This was the trickiest part, and there’s a dead tree you can use as a foothold, but it seems a bit suspect. After that, it’s easy blockly climbing, ~190 feet, belay at the ledges before the steep part.
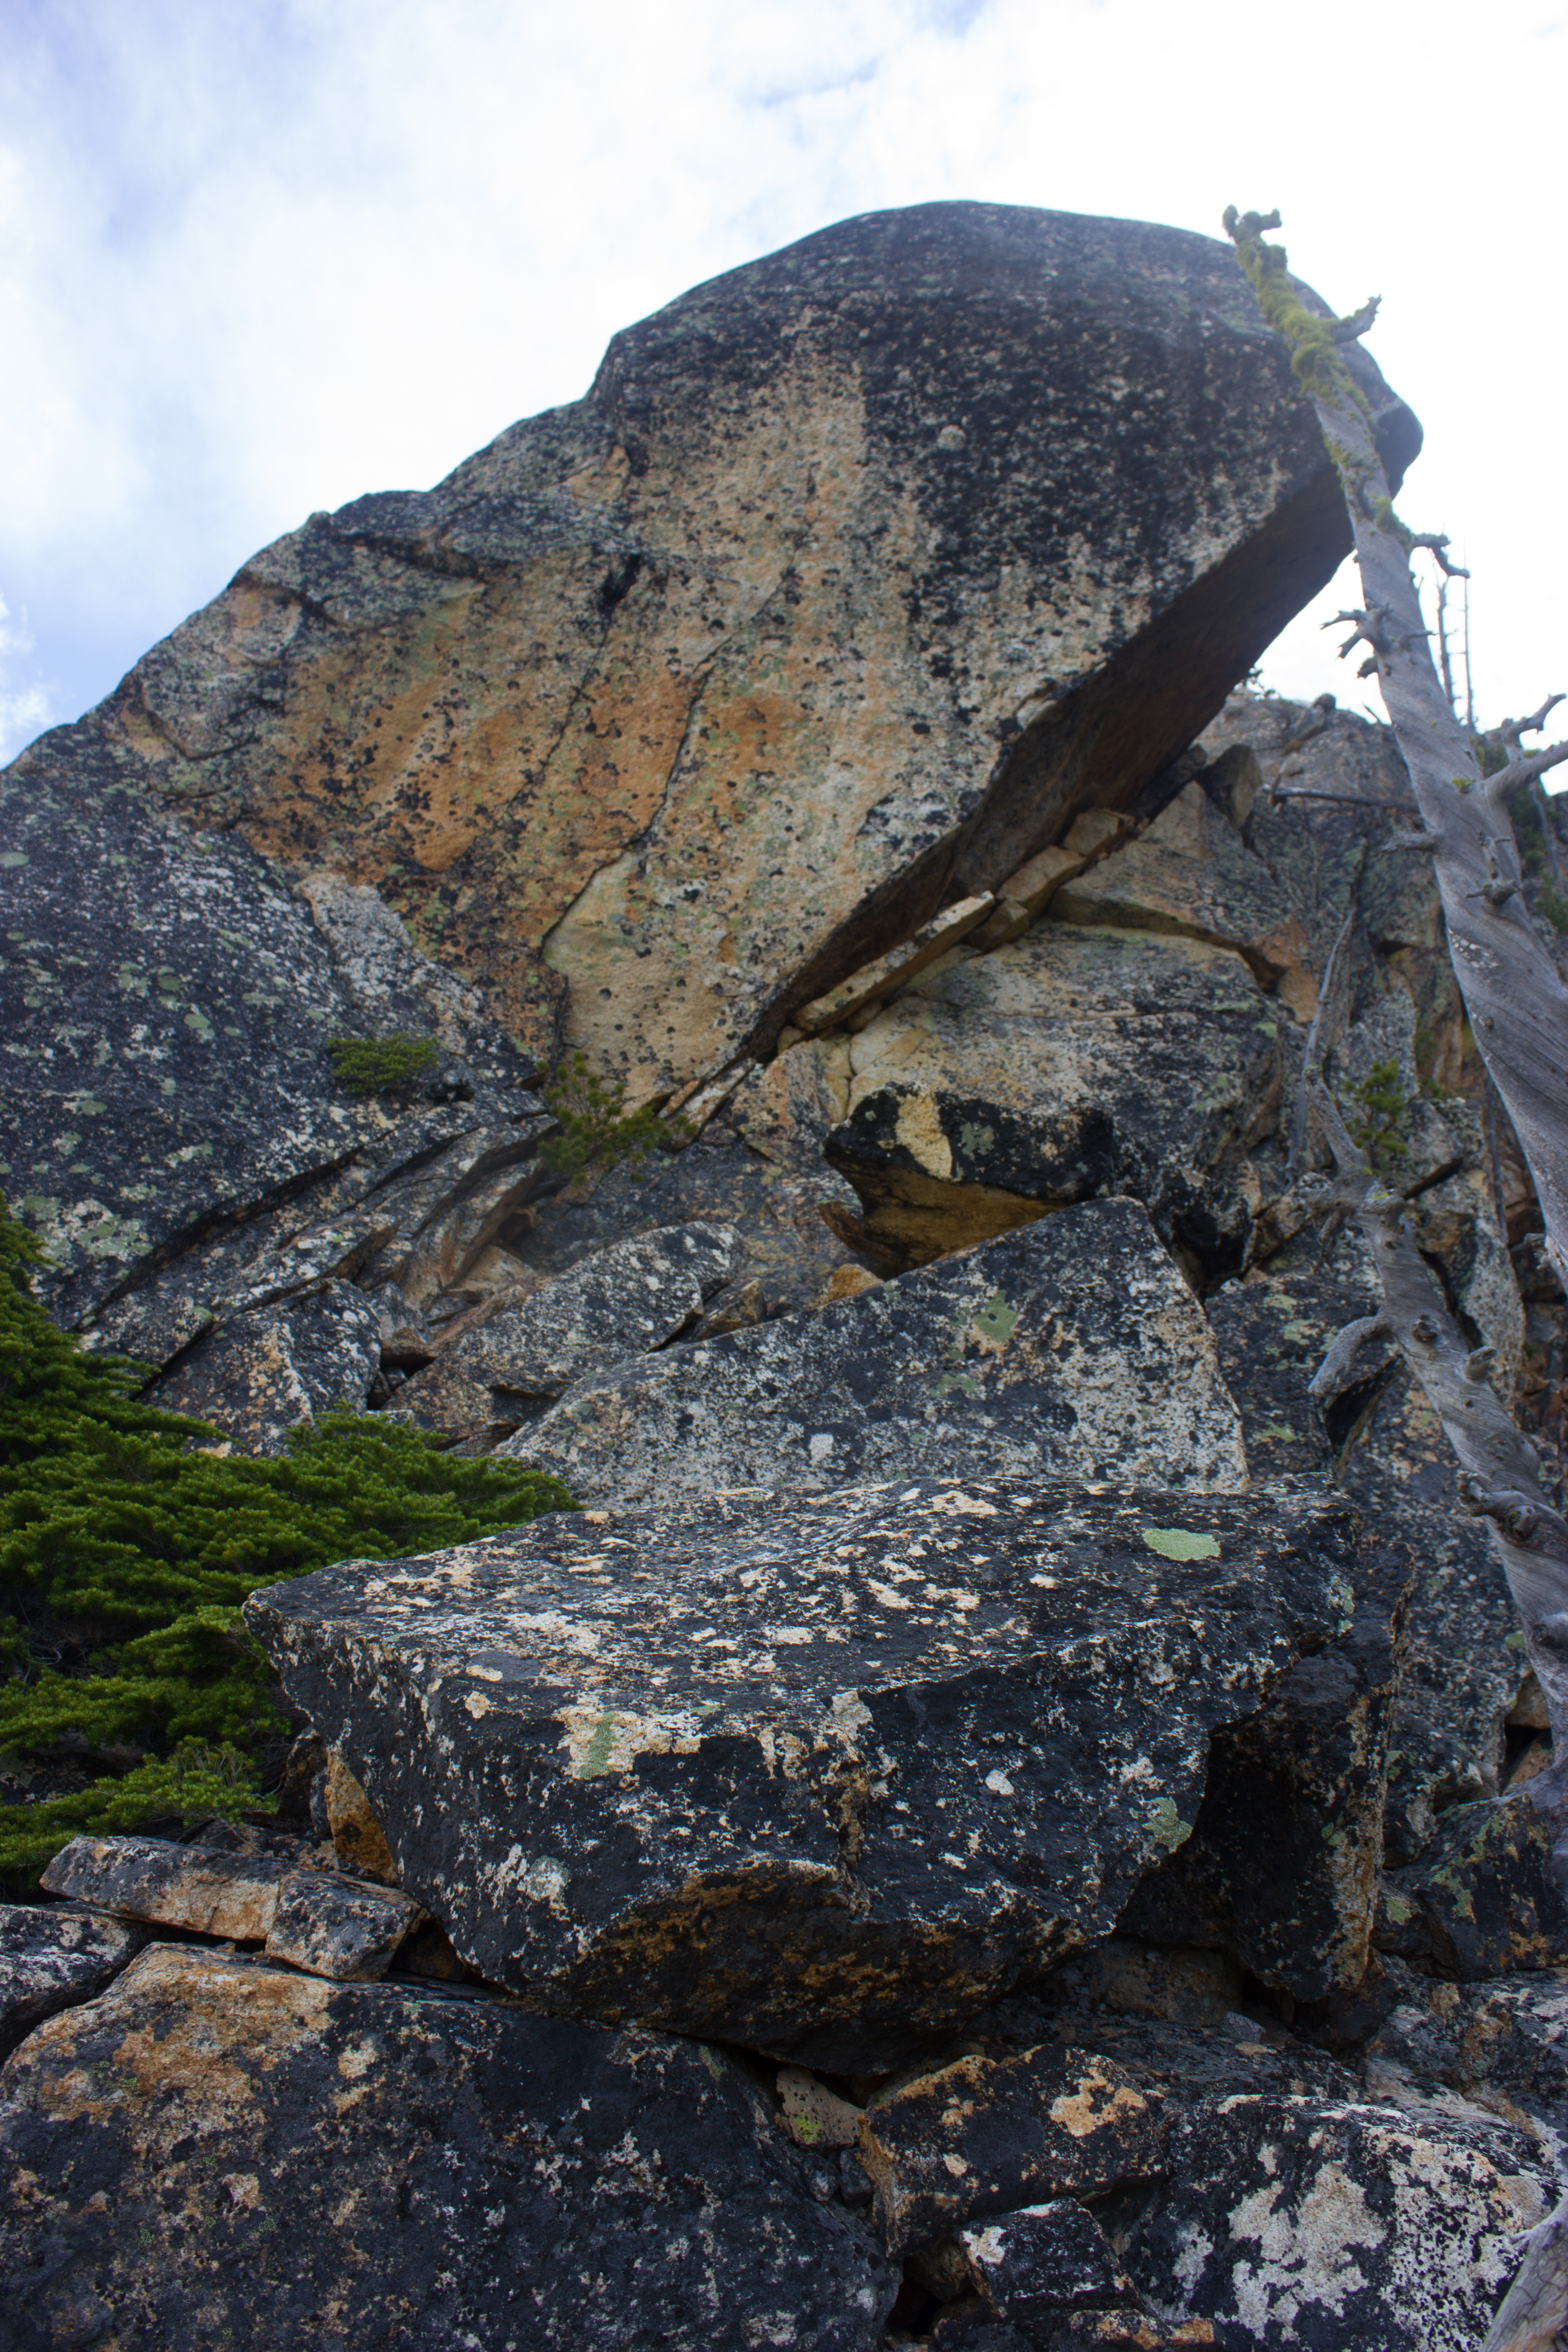
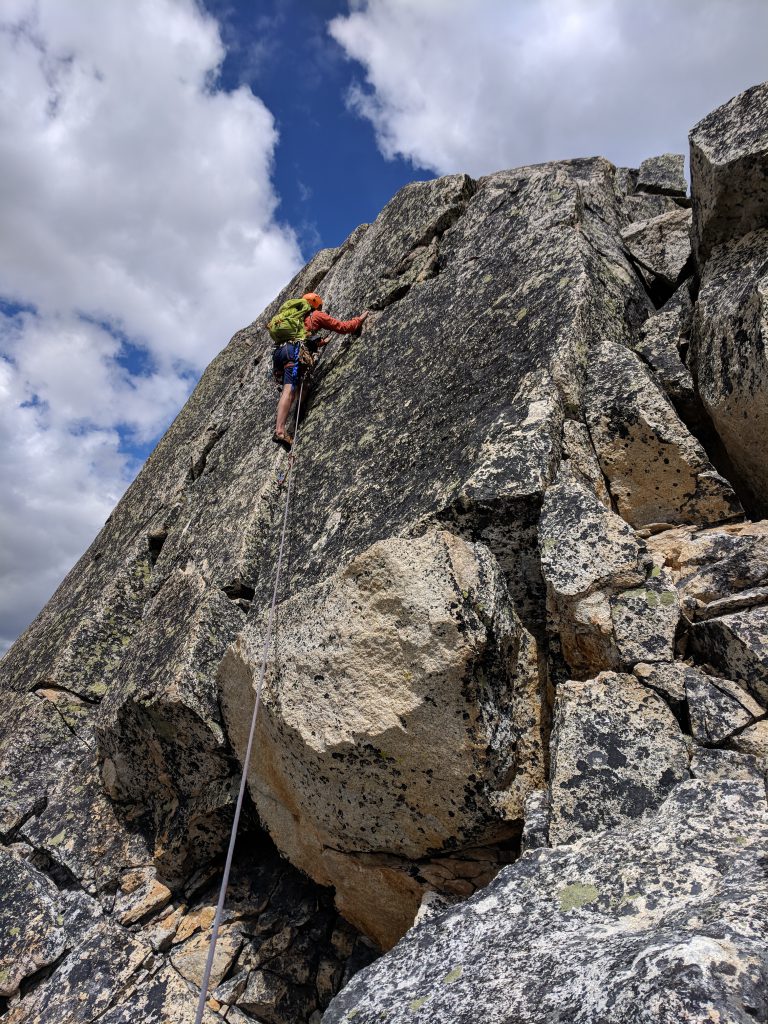
Pitch 6
P6 starts with some moderate and fun blocky vetical moves, then changes to easy cruiser for the rest, pretty fun! ~170 ft.
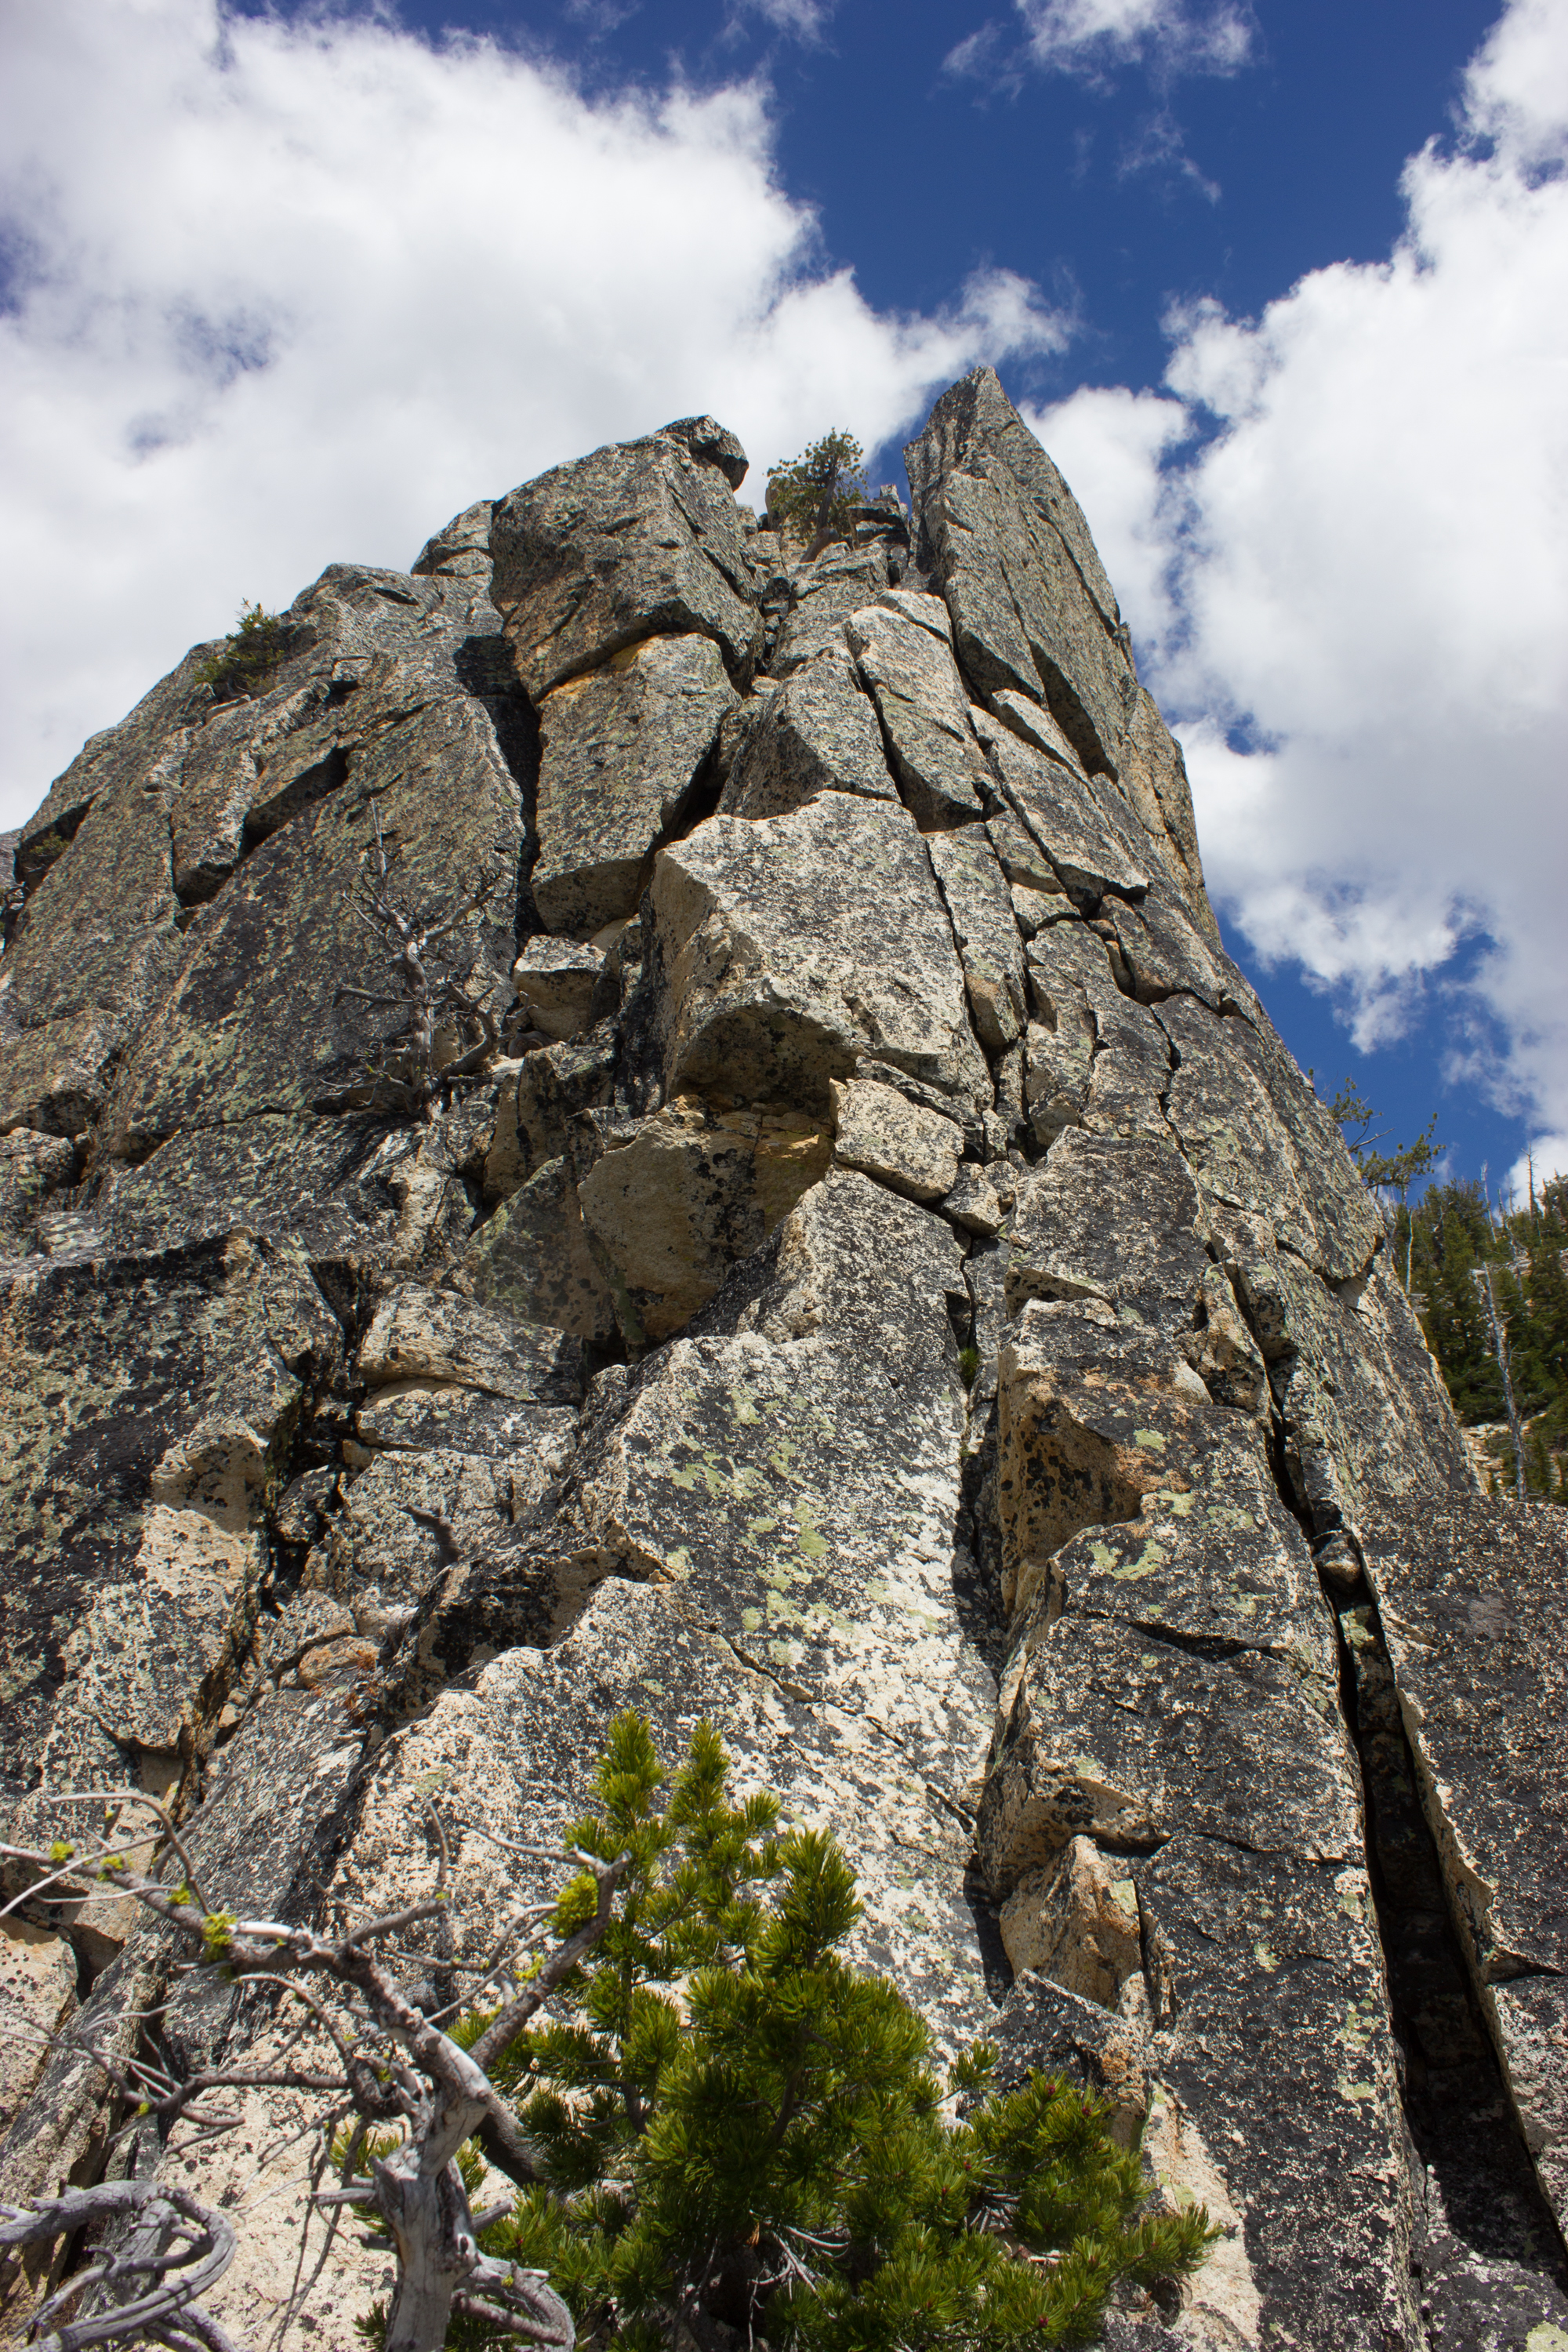

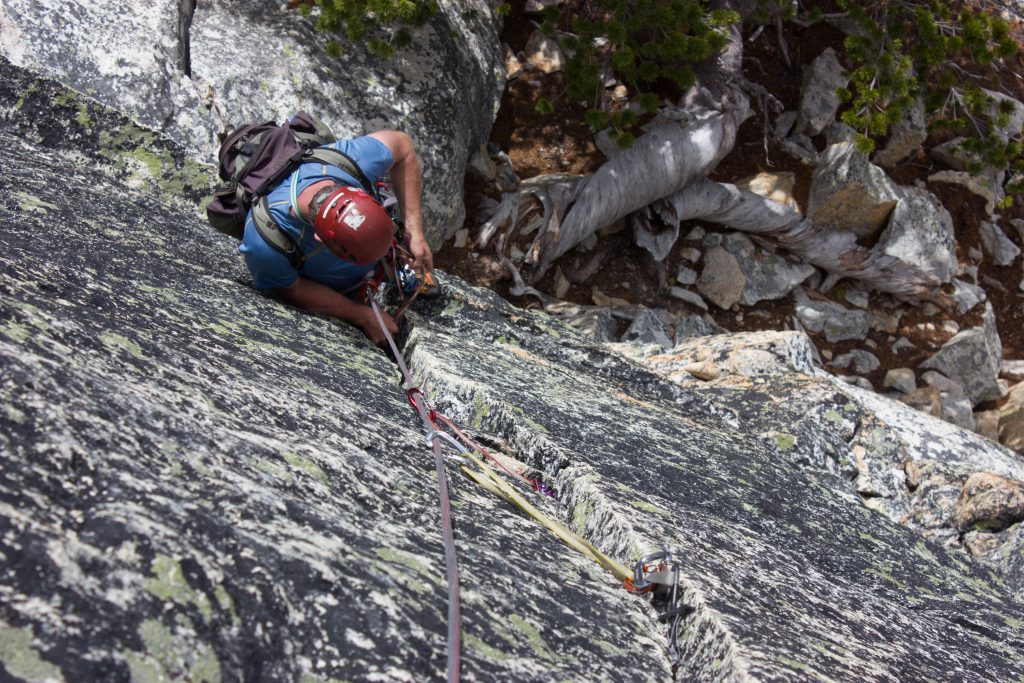
Pitch 7
There’s an optional 5.7 crack on the left, which can be avoided by scrambling/climbing class 4/5 rock on the right.
The crack starts as a #3 crack and then becomes a finger crack near the top. It’s tricky, but a good crack practice and protects well.
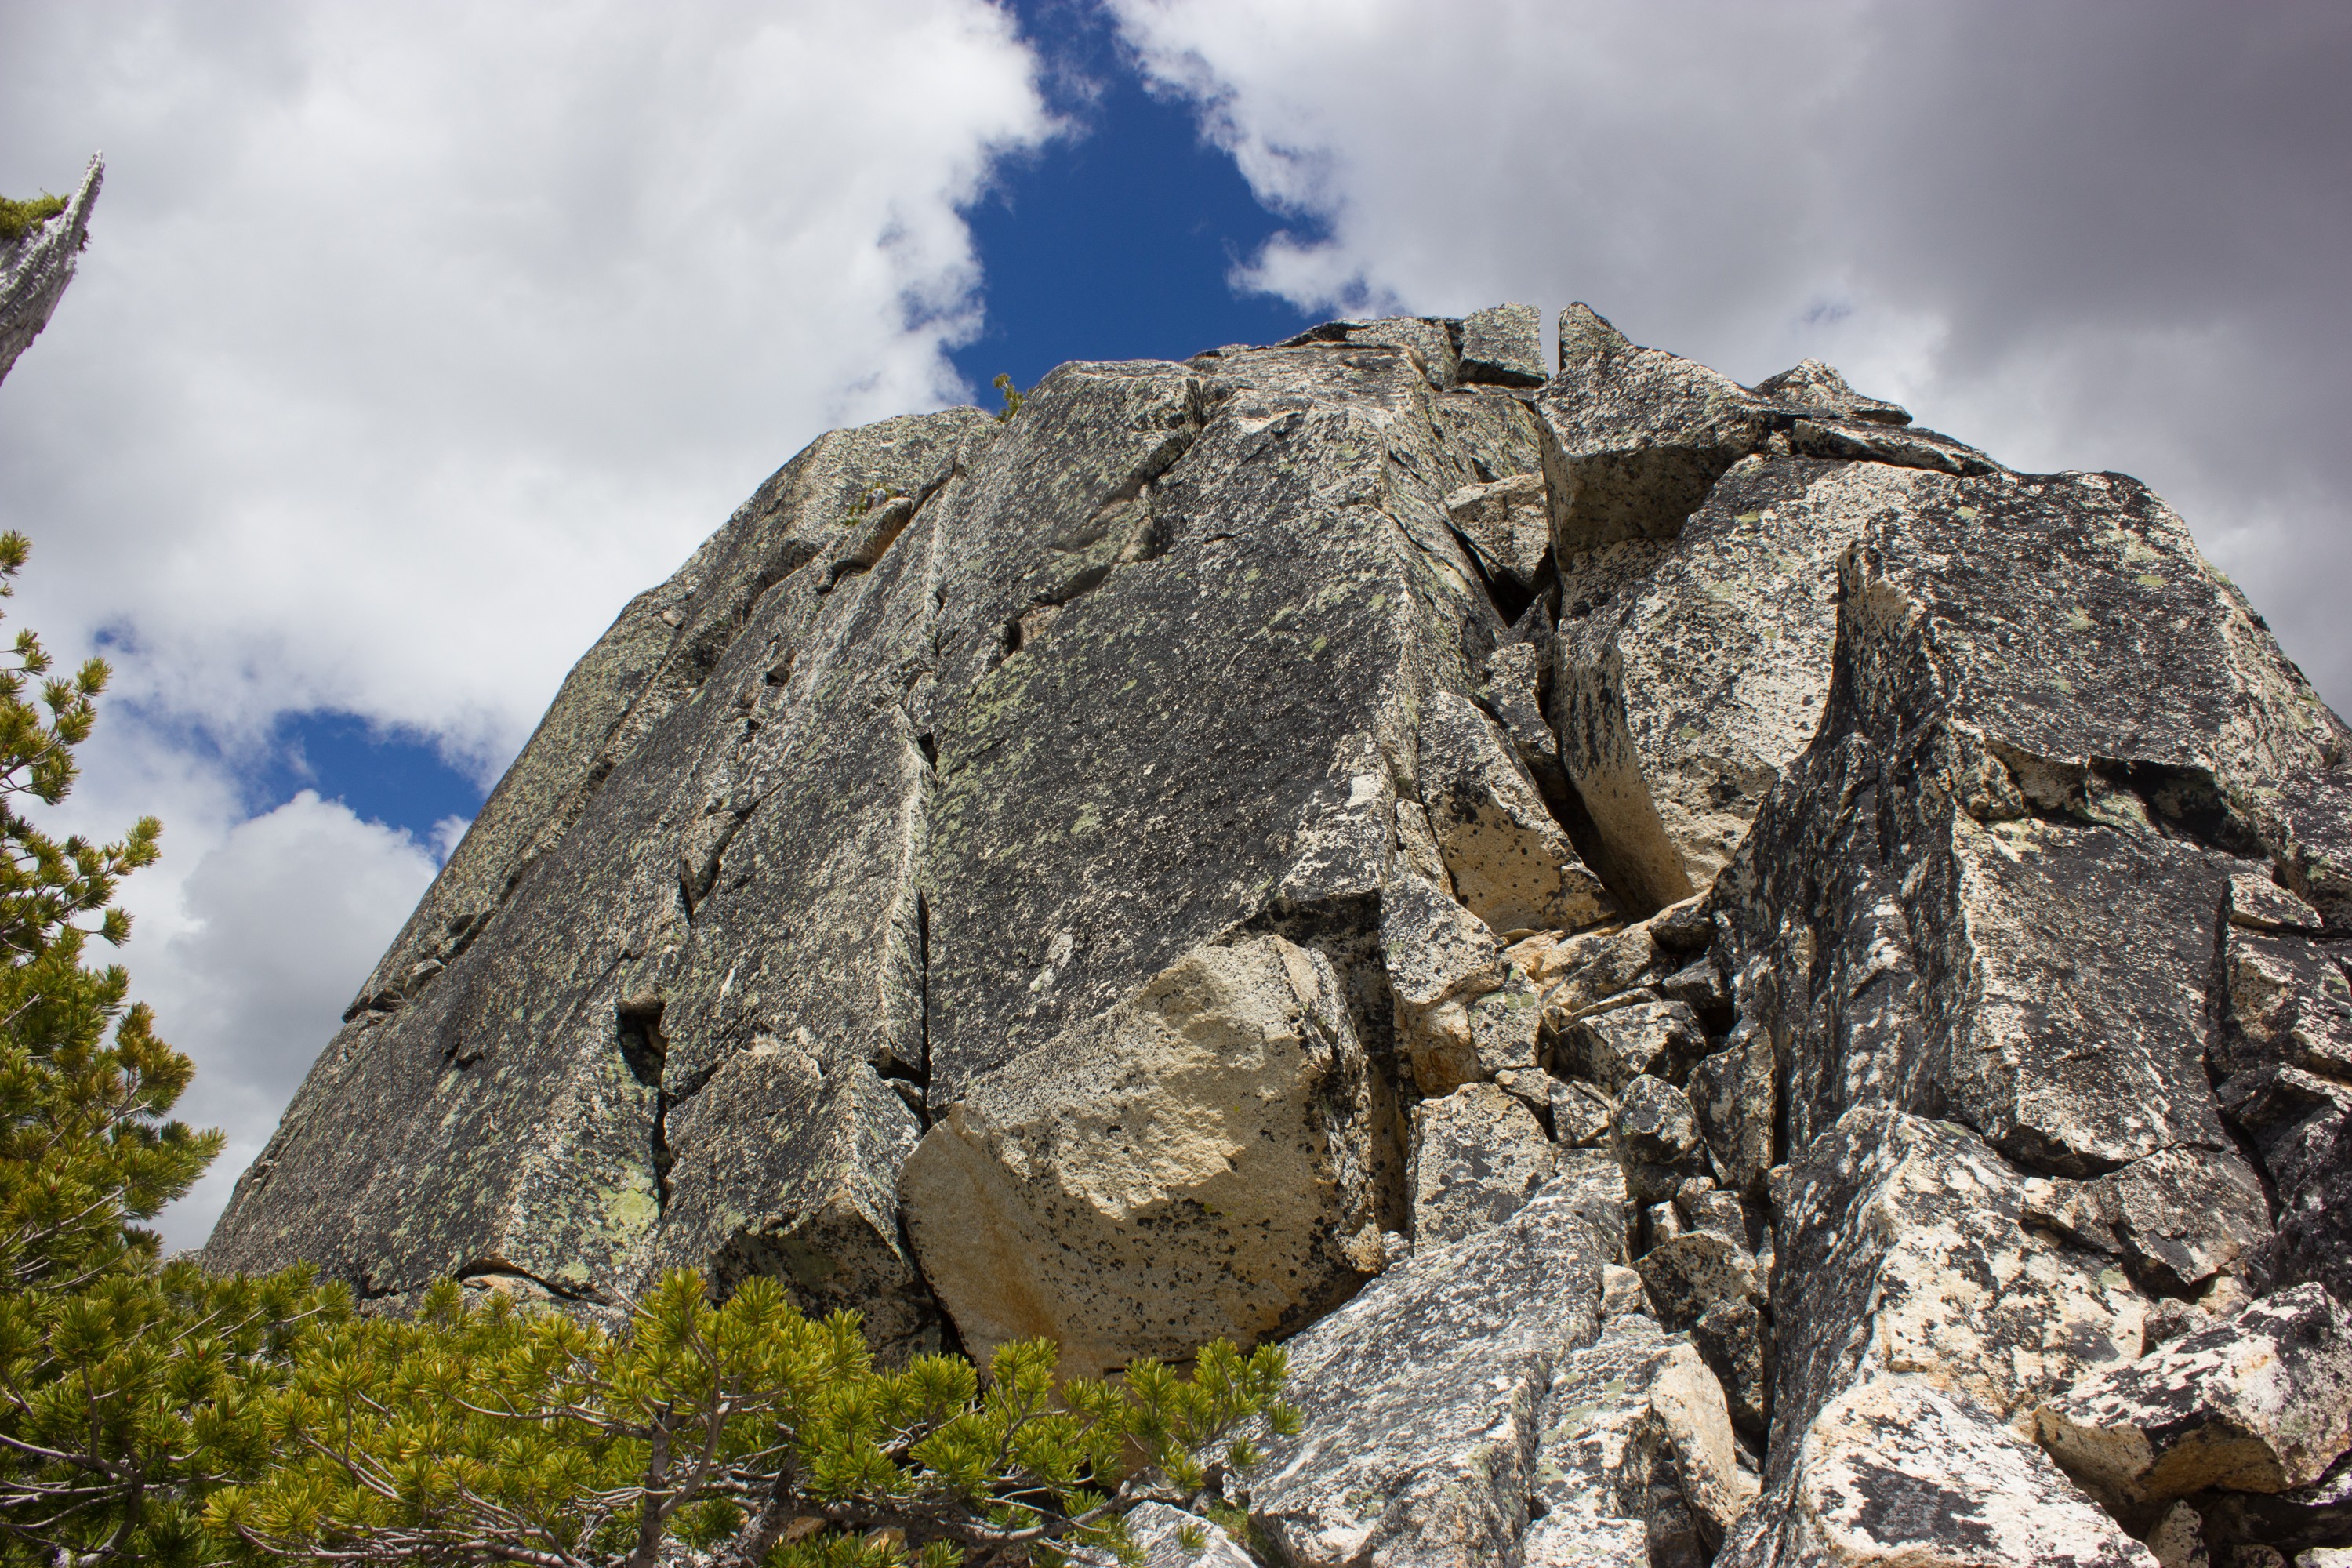

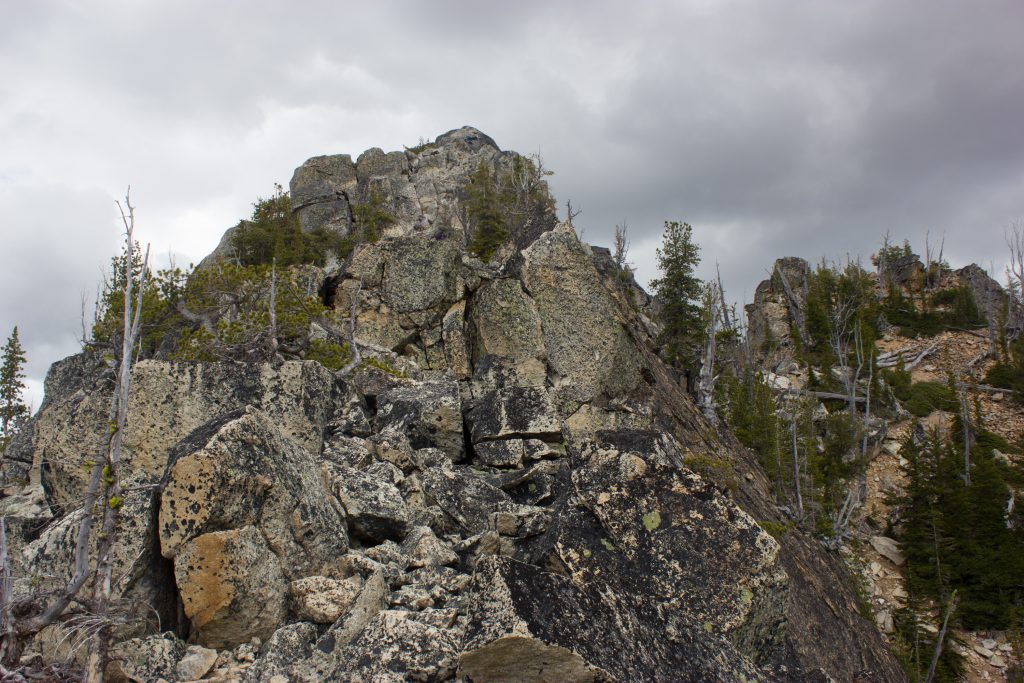
Scramble to summit
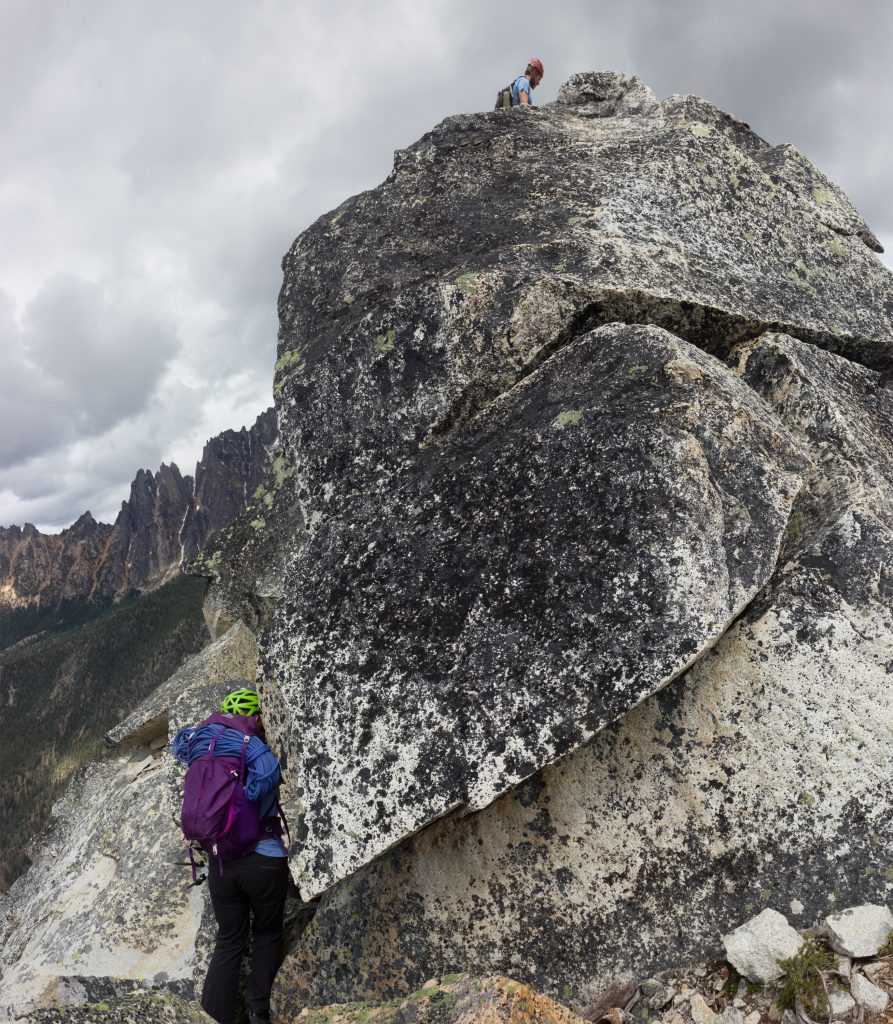
You’ve still got a ways to the summit! Unrope and scramble the rest.
The last moves to get on the summit block are a bit exposed. Going around the left seemed to be the best.
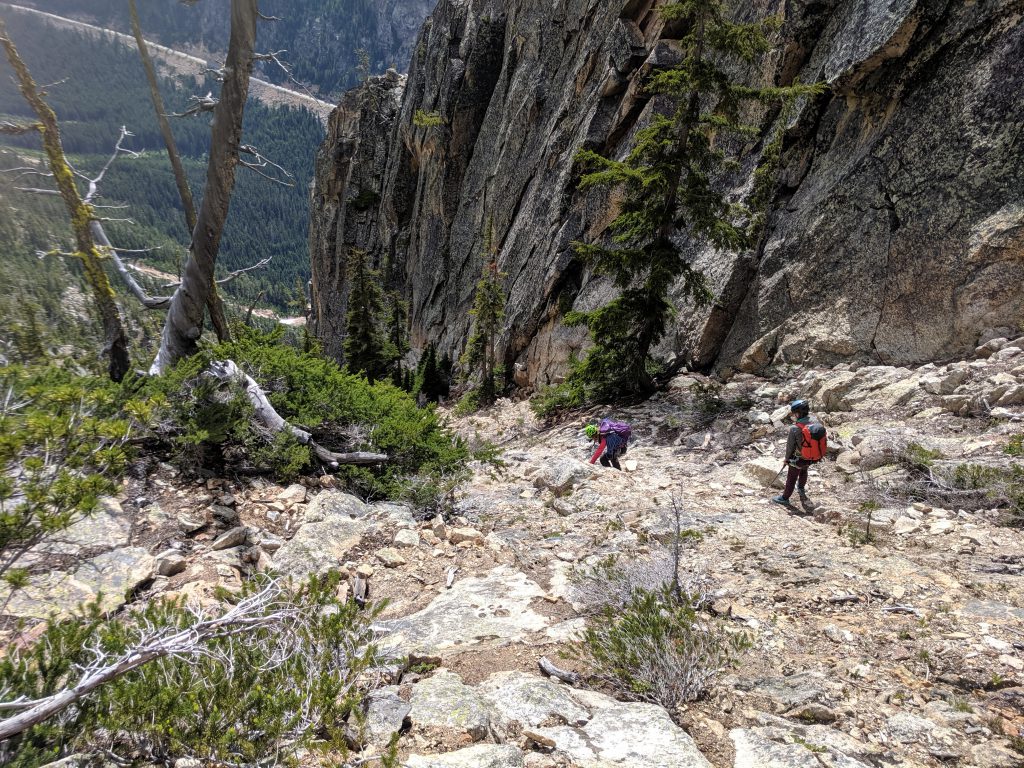
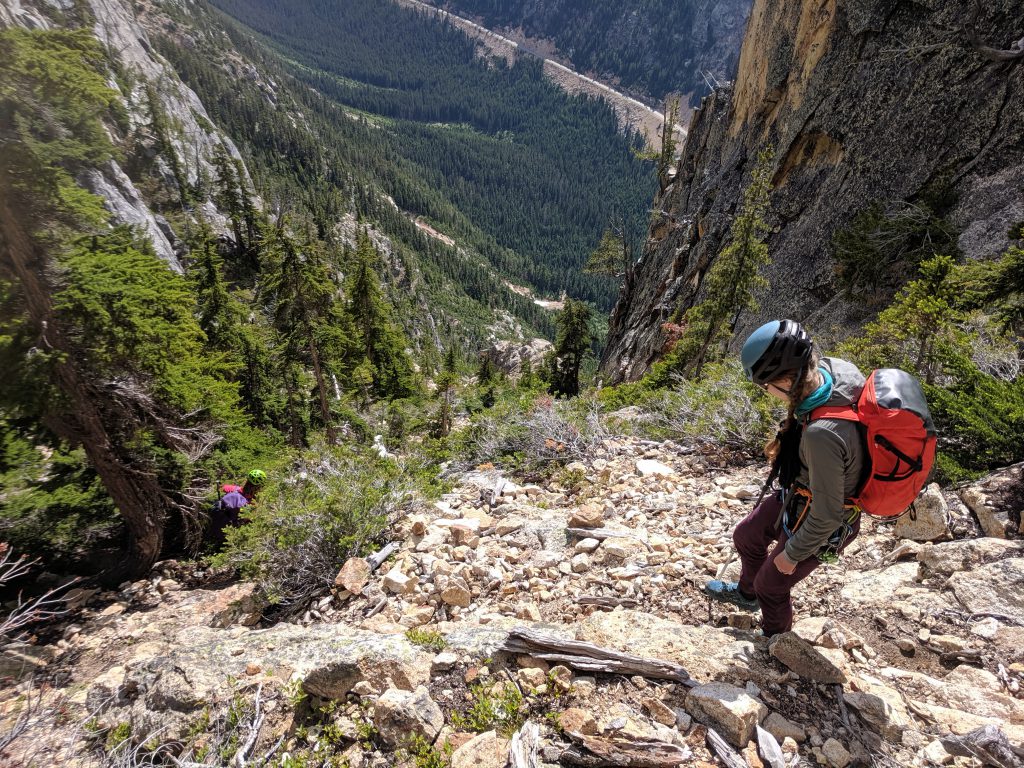
Descent
The best descent is to take the gully down. From the summit, rap down towards the gully. A single 60m rappel will get you to the ground.
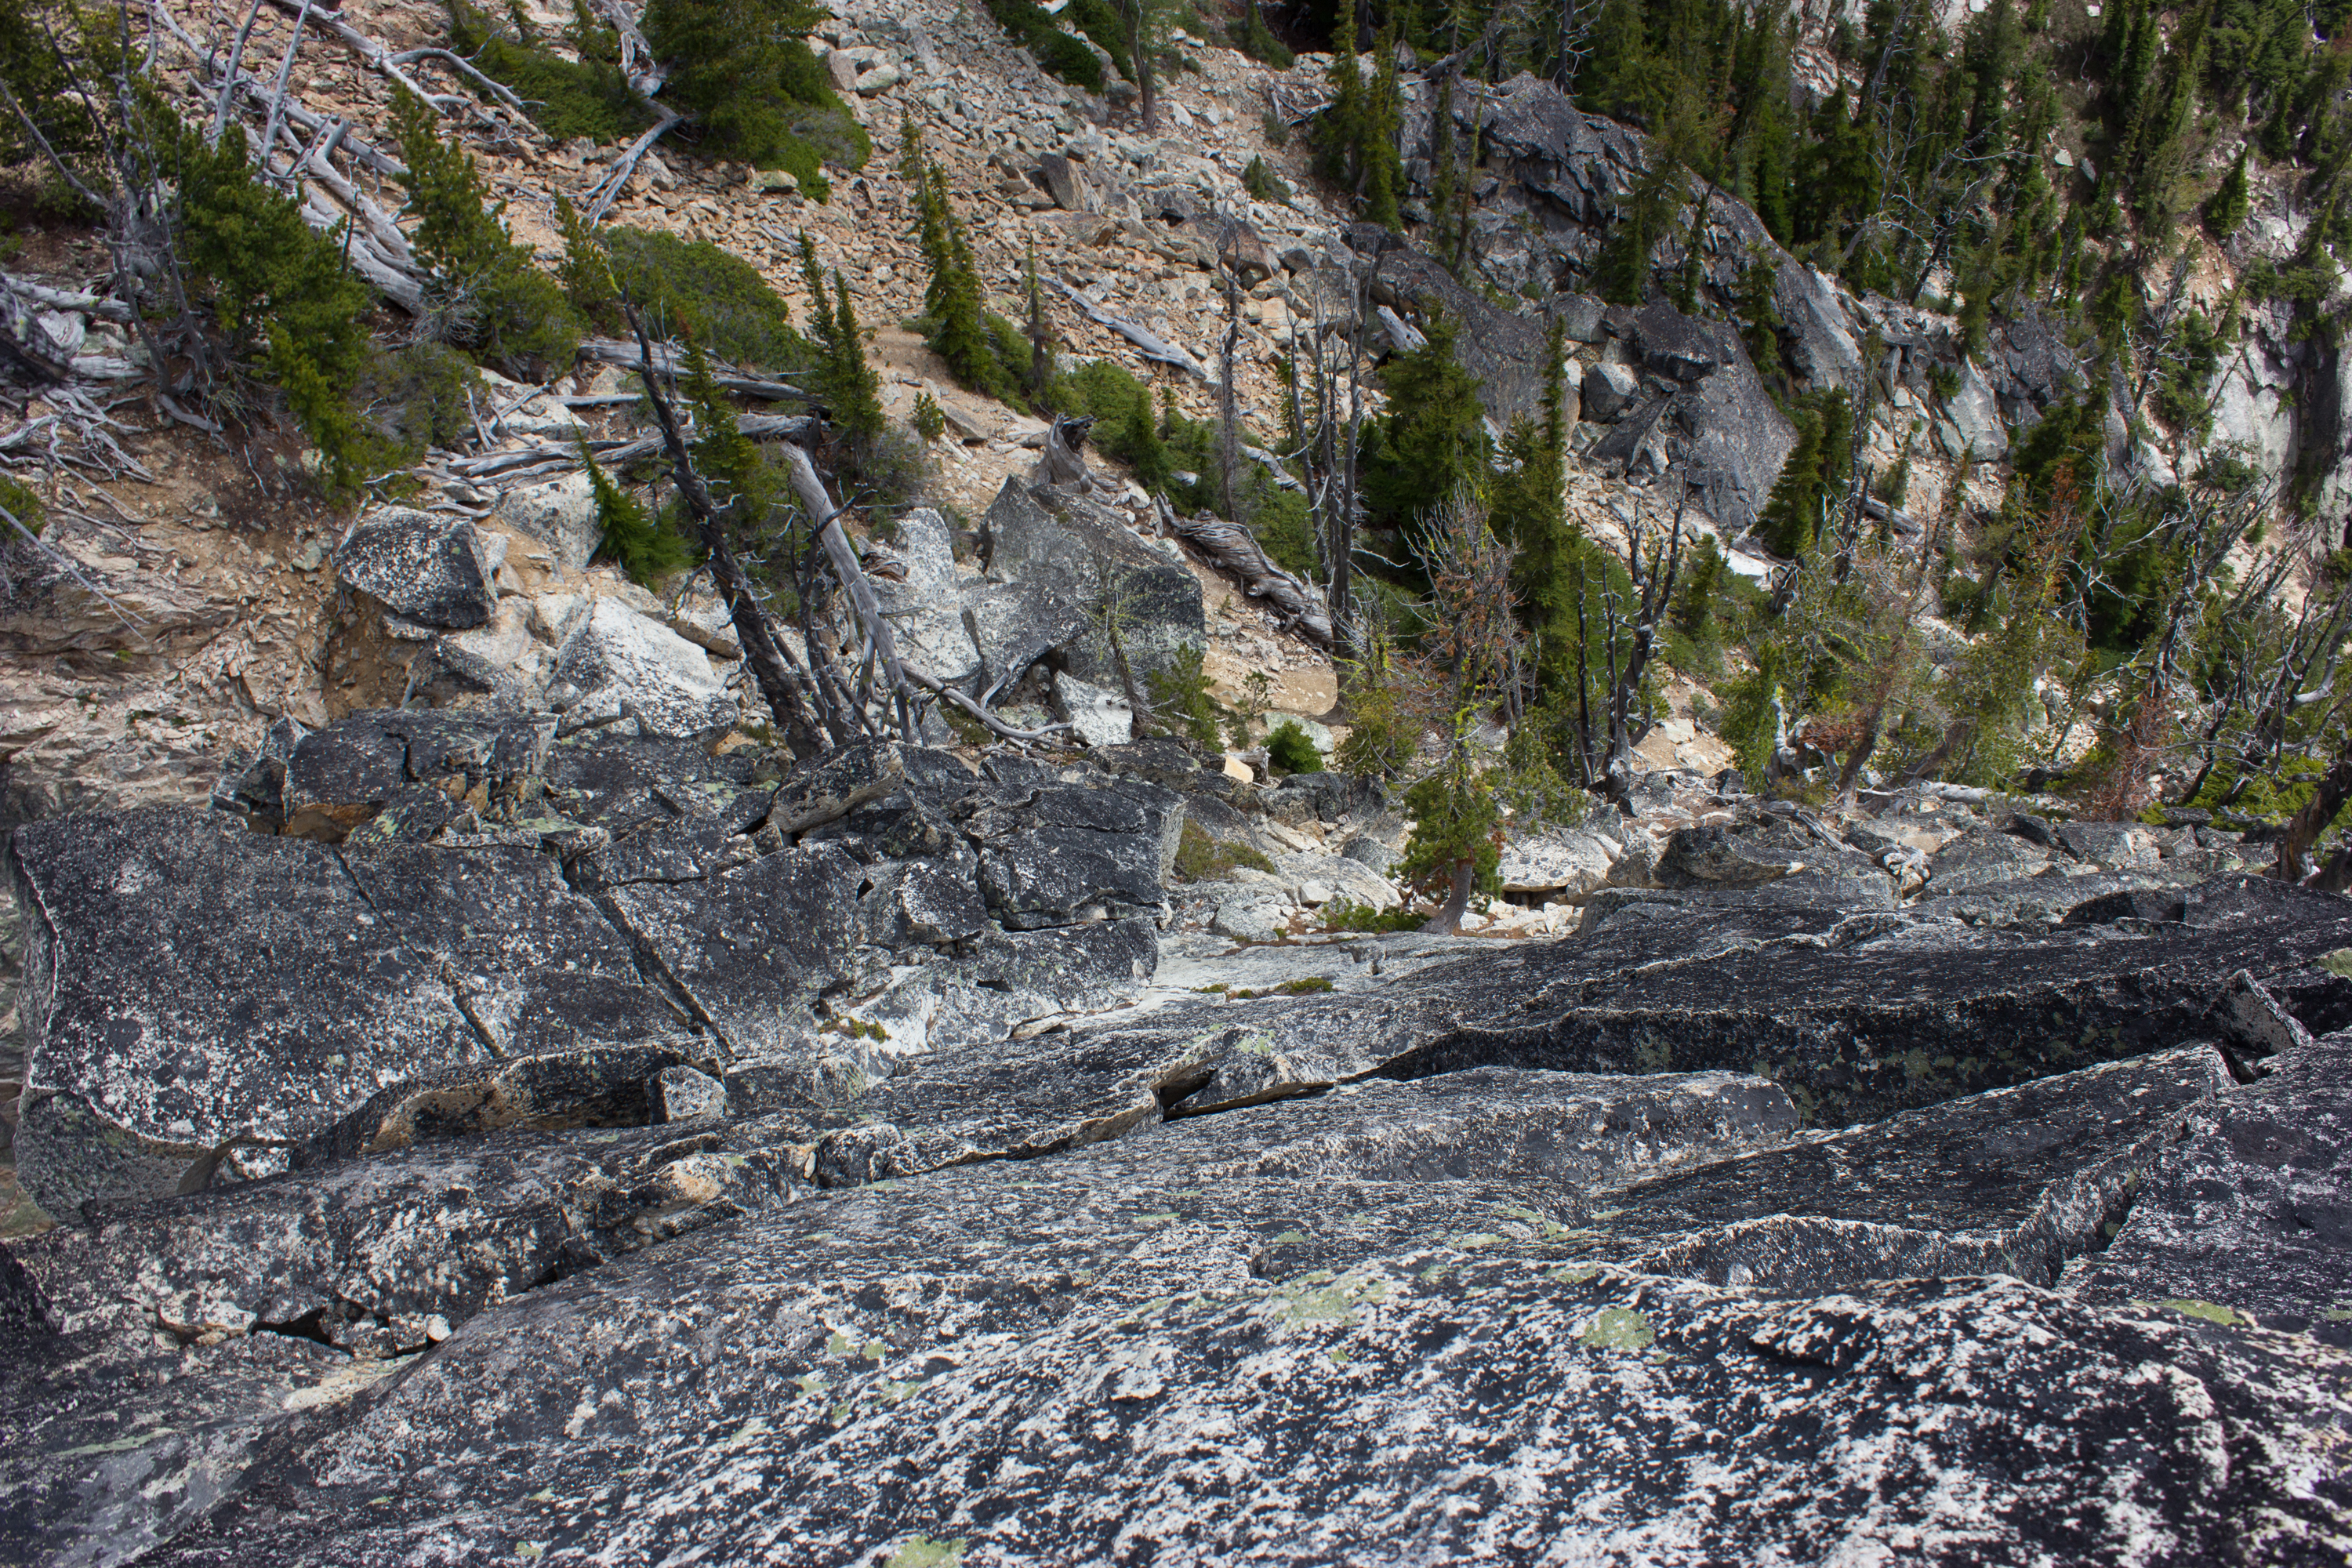

Then, walk down the gully all the way back down to P1. It’s a terribly steep and loose gully, not fun at all. We read some reports that recommended connecting back onto the ridge, but taking the gully the whole way down actually is the best choice.
After the gully, you descend back down the approach trail, climbing back down the three fixed handlines.