Gear
- 60m rope
- 14 draws (10 sport, 4 single alpine)
- Radios (comms on P3 and P7 are a little difficult)
- Optional #3 cam for P3 (not really necessary, it’s easy)
Approach
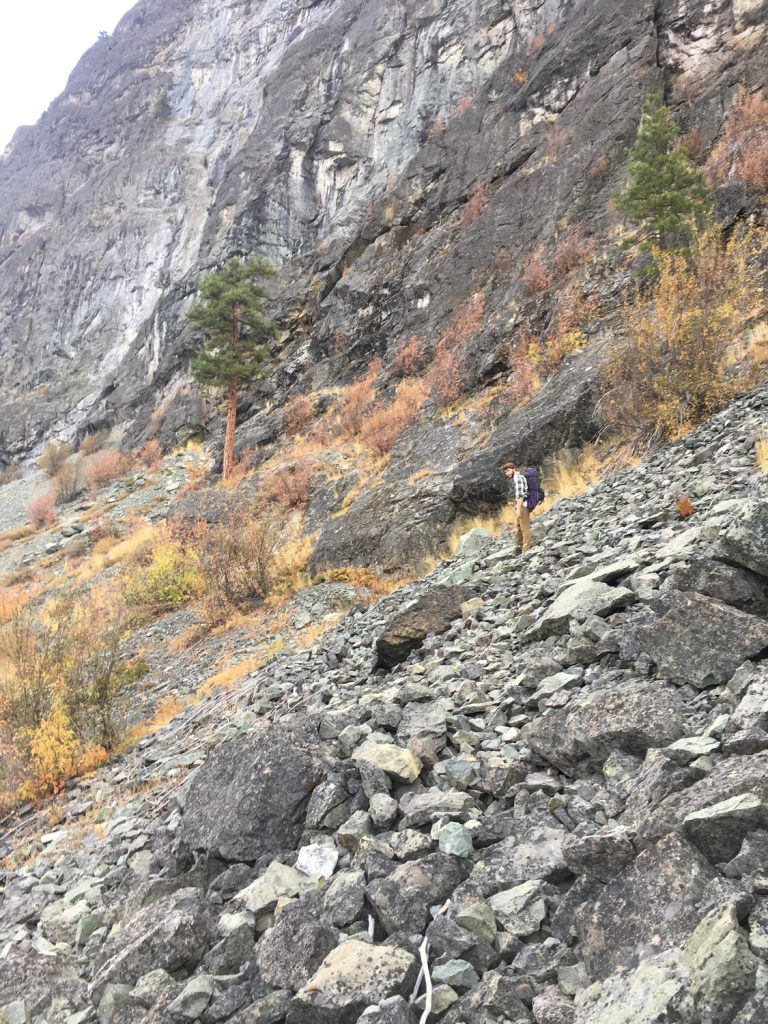
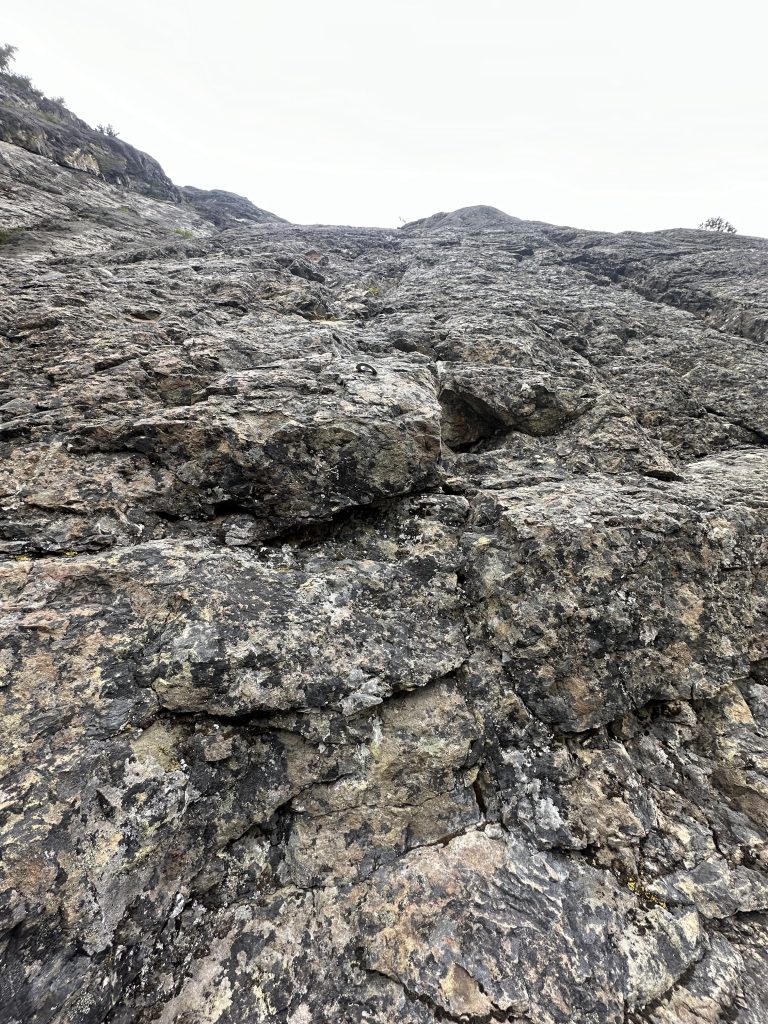
The climbing up to the base is 4th class and is easily scrambled, just beware of loose blocks.
Park at the Goat Wall parking and walk back towards Mazama for 50 yards. Take the trail up to a large pine next to the cliff. Then, turn right and follow the trail for ~300 (?) yards. You will have to scramble 5.0 for ~50′ to the base of the climb.
For a general idea of where the first 5.7 pitch is, keep an eye out for a wide crack that leads up to the left of a 15′ white patch. The bolt line is just the the left of the crack, and eventually enters the crack.
Near the large pine tree seen below, head up to the wall.

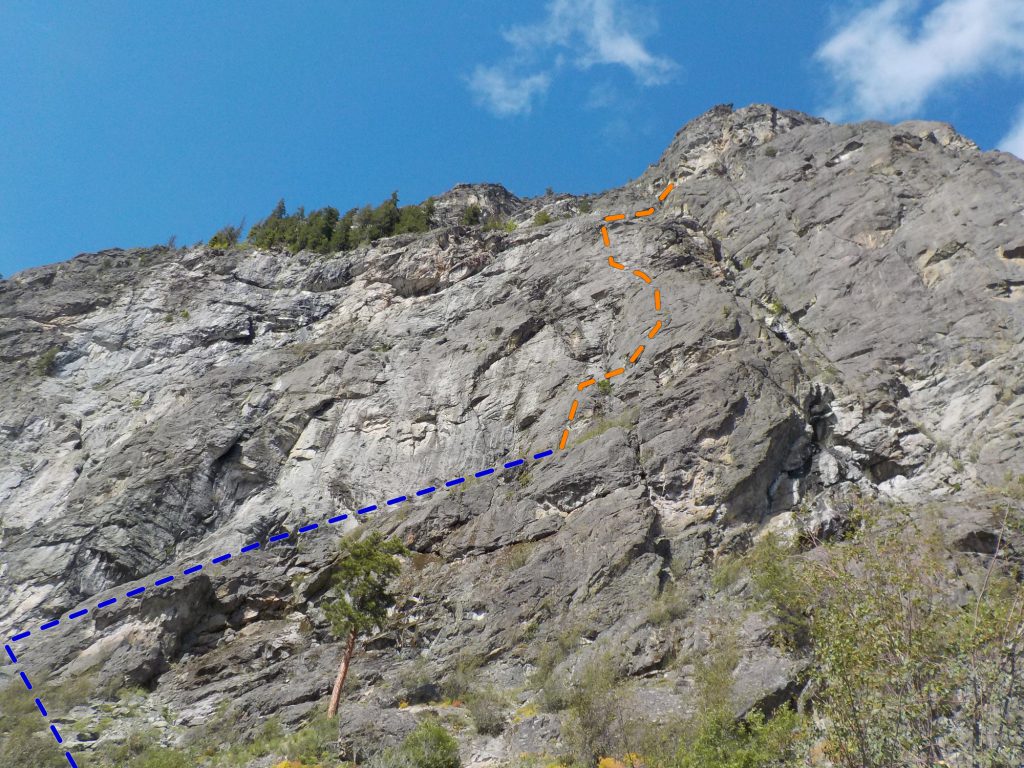
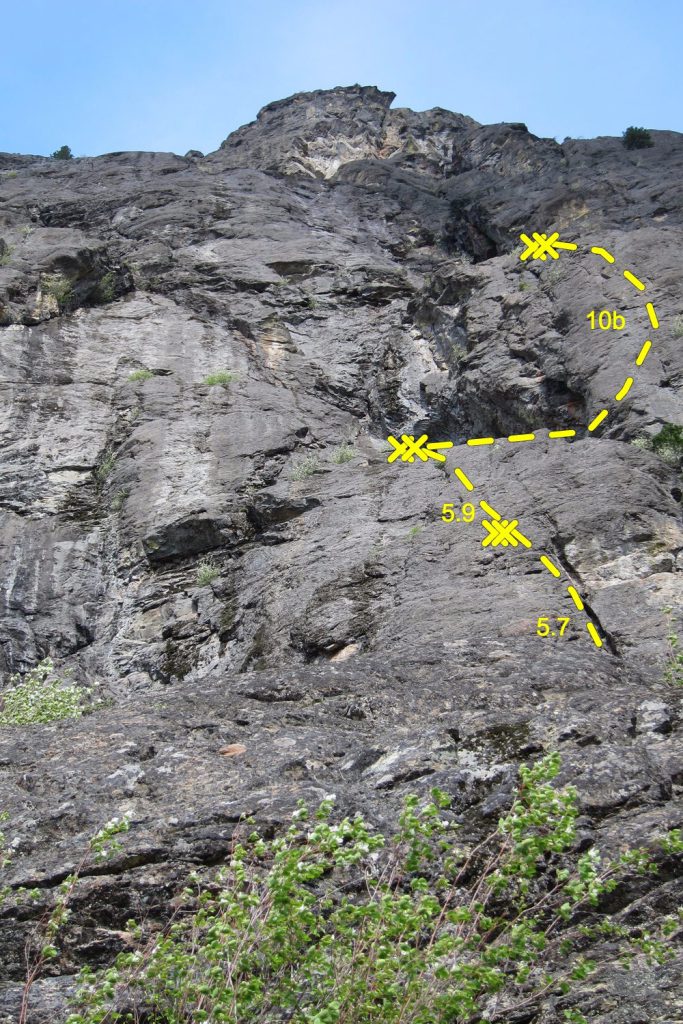
P1: 5.7; 6 bolts; 28m
Link with P6 with a 60m rope (14 bolts, 200′)
P2: 5.9; 7 bolts; 29m
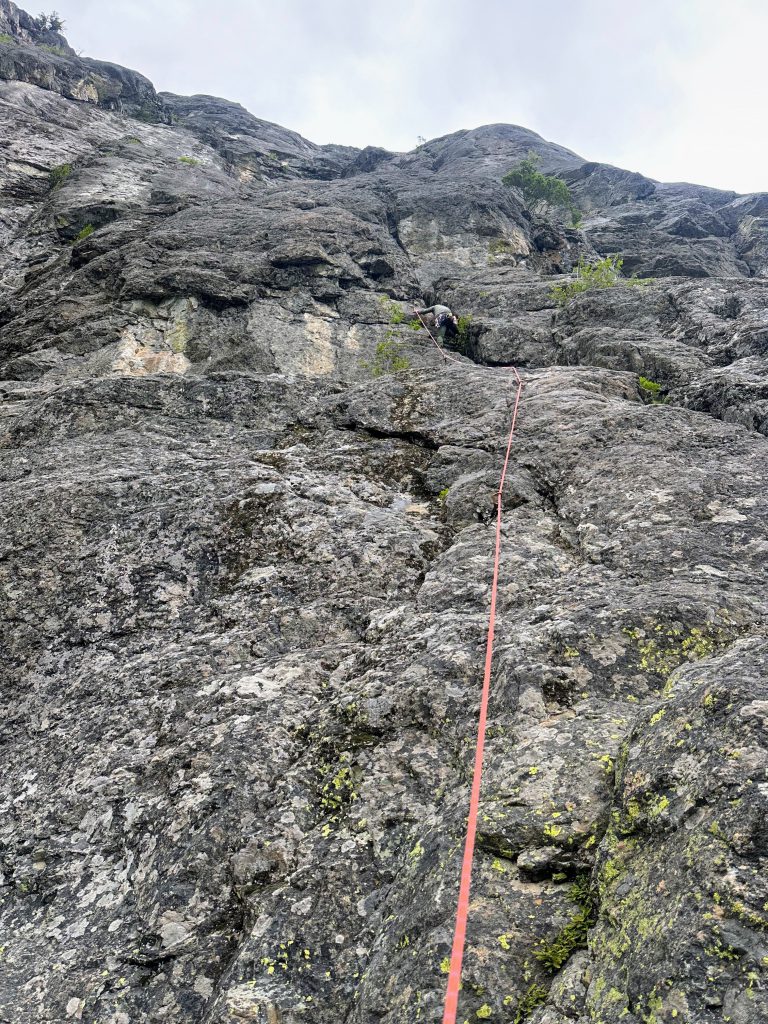
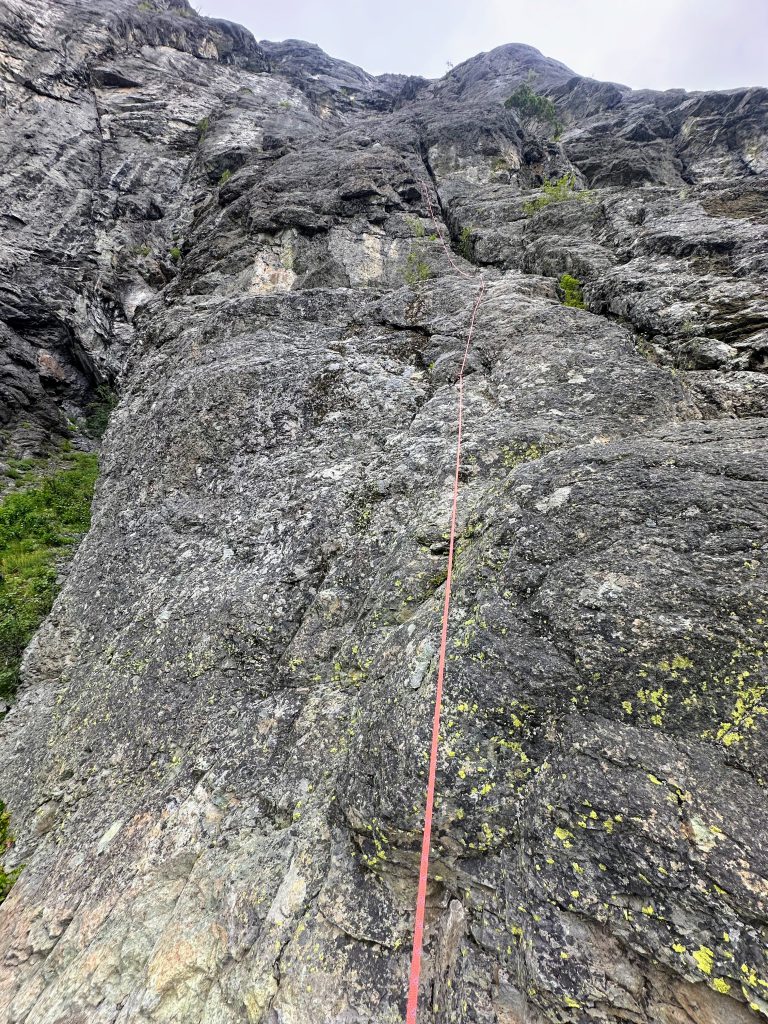
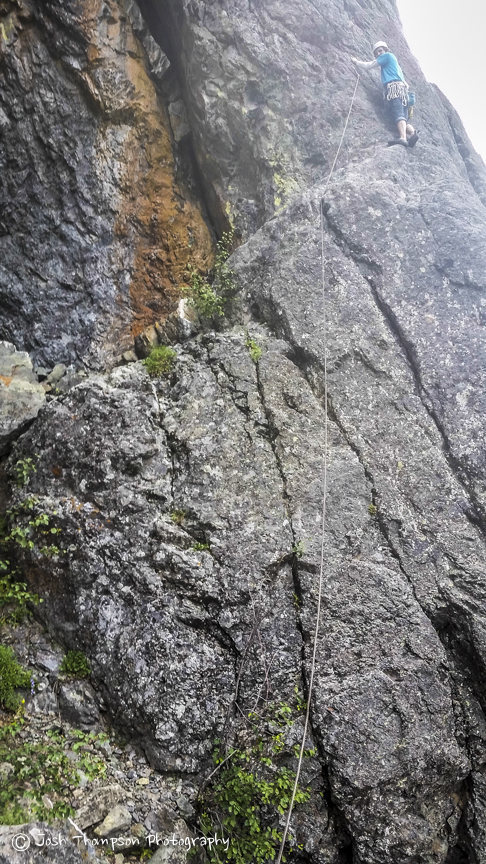
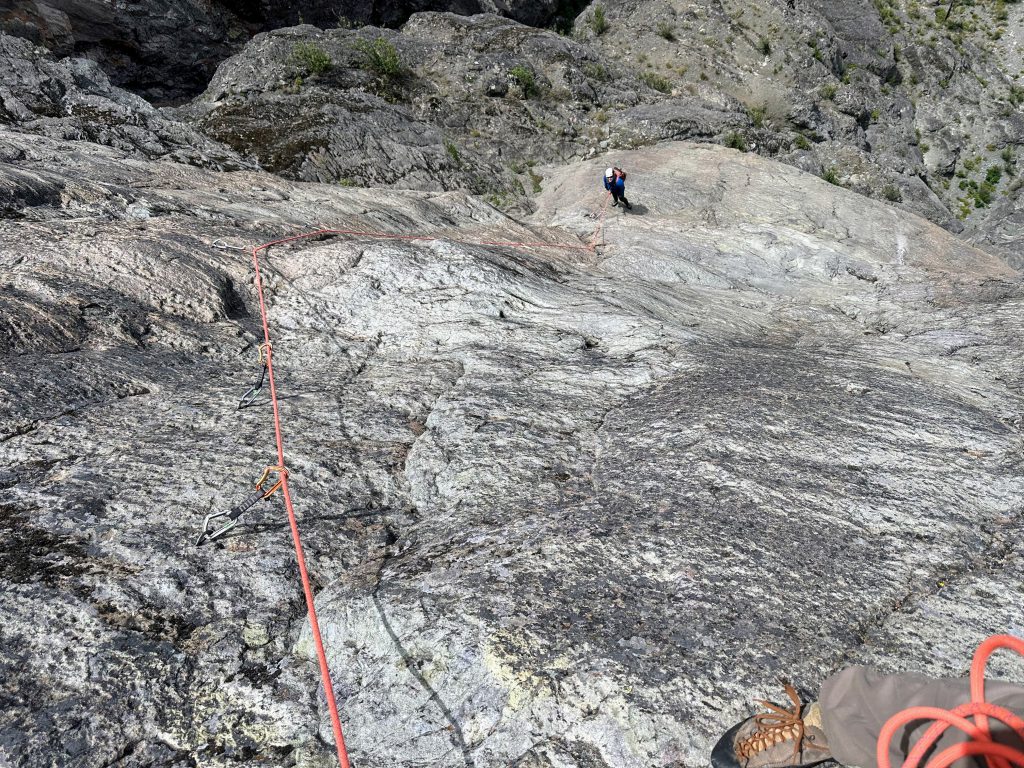
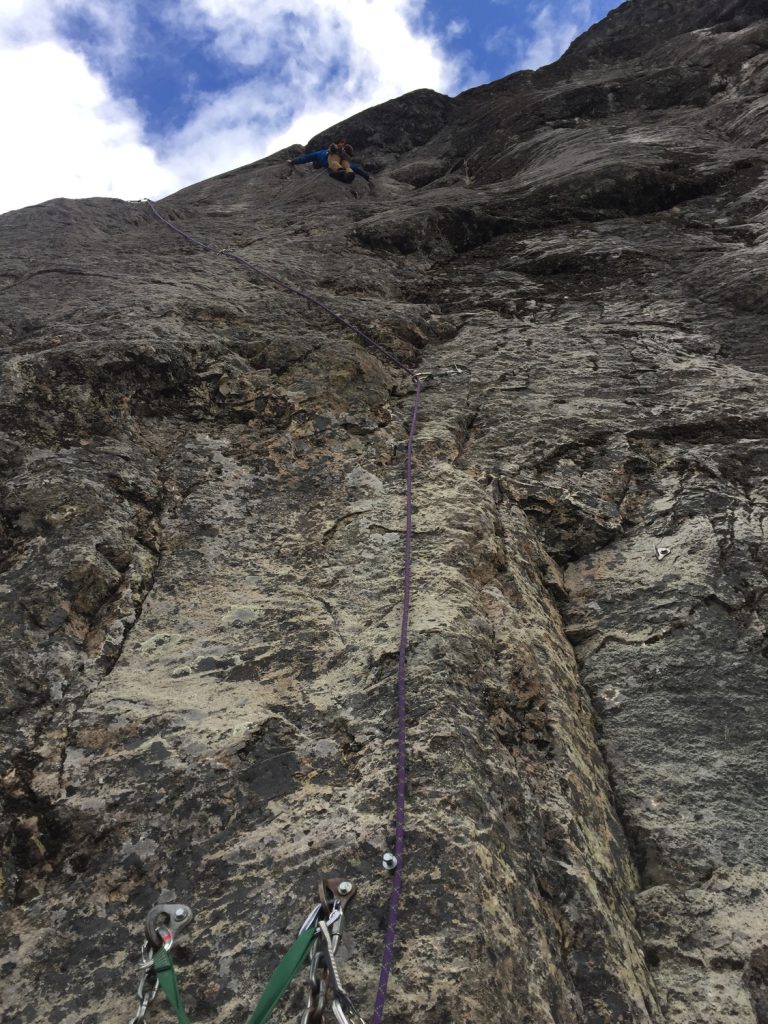
P3: 5.10b; 10 bolts. 45m
Starts with unprotected 4th class ramp out right (can place a 3-3.5″ cam, people have also used rocks wedged in the crack as stoppers). Awesome.
While on this exposed pitch, look for the tree on climber’s left. This will have rap chains that should use to get down with one 70m rope.
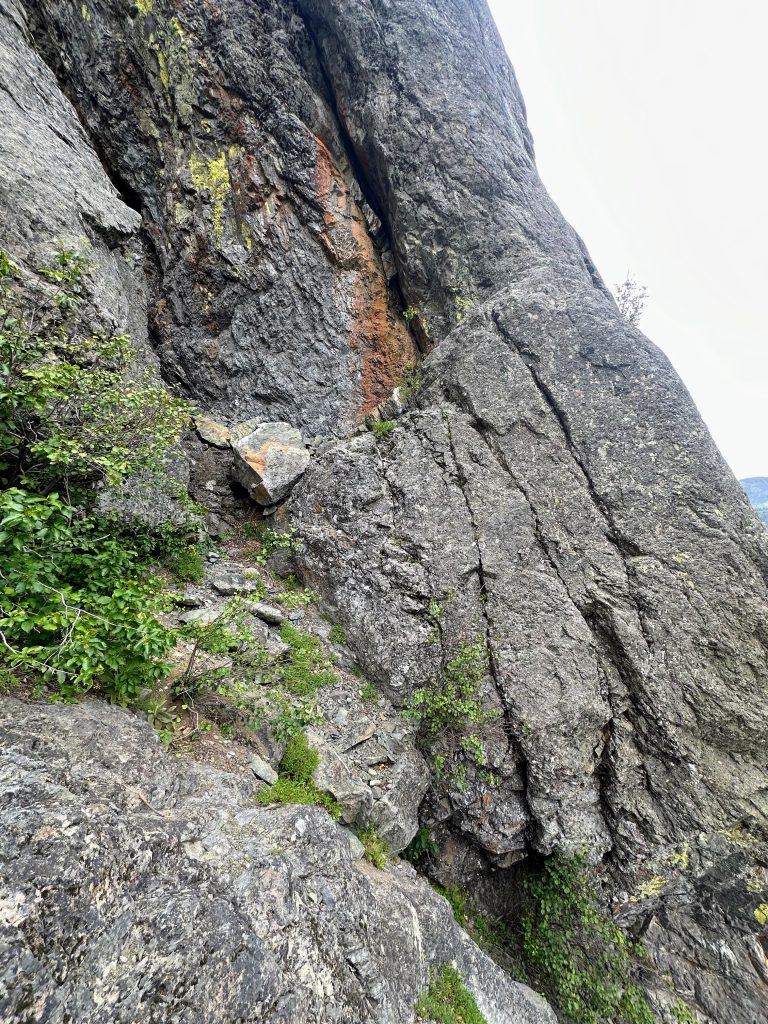

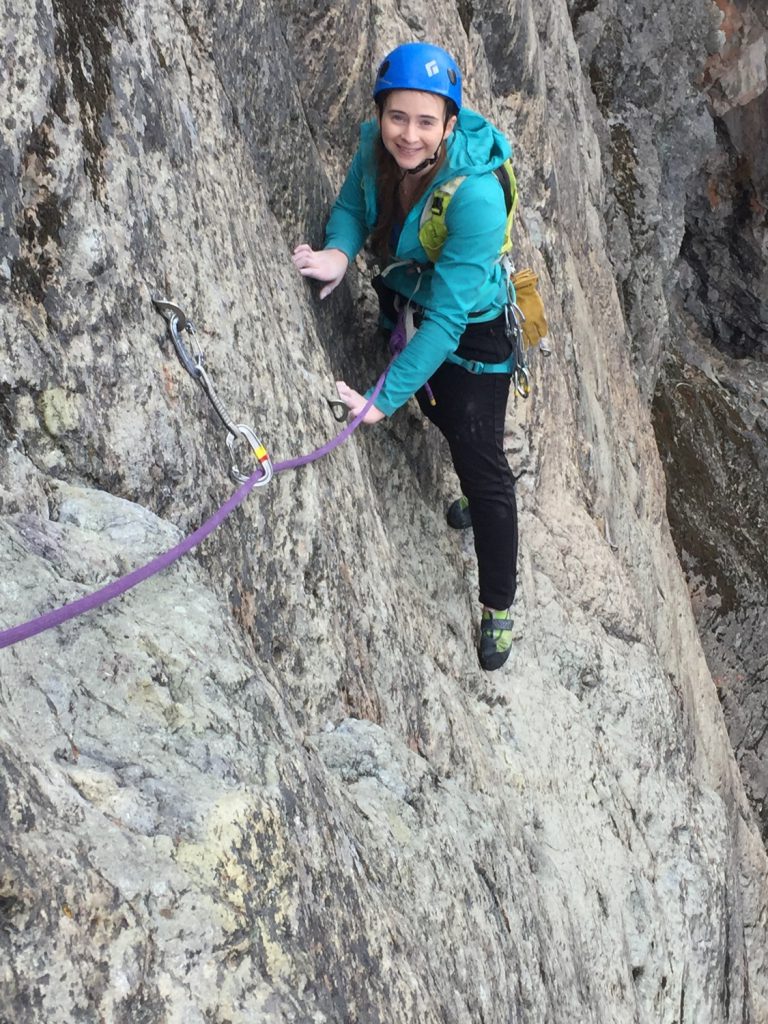
Unprotected start of P3 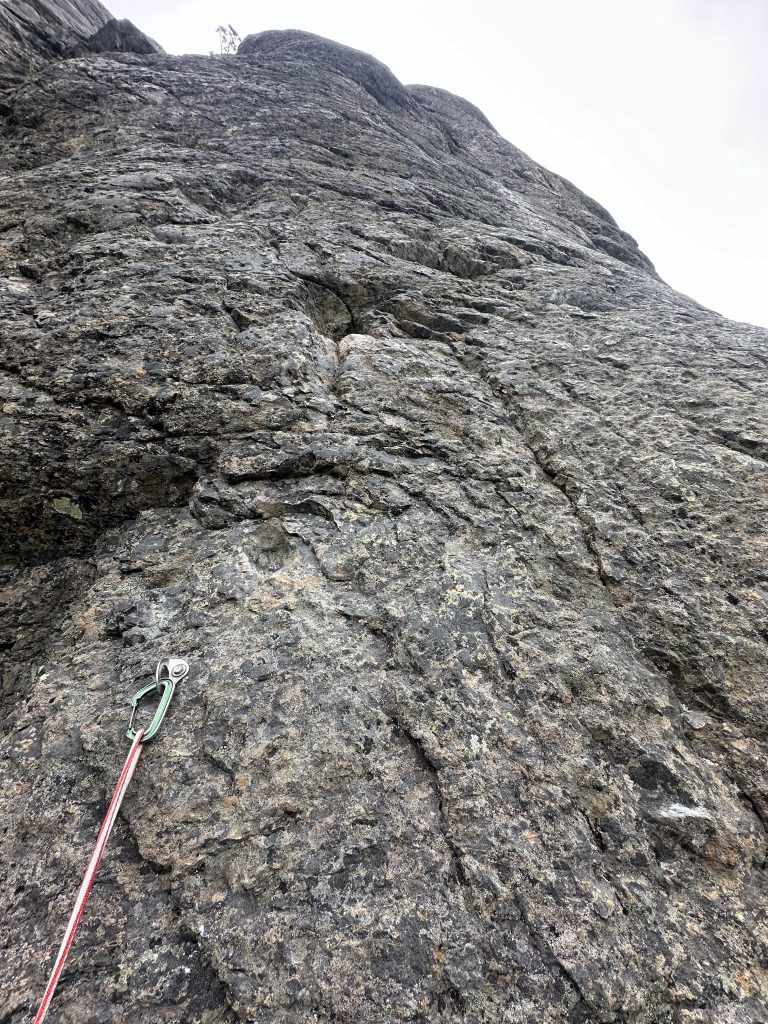
Clipped first bolt 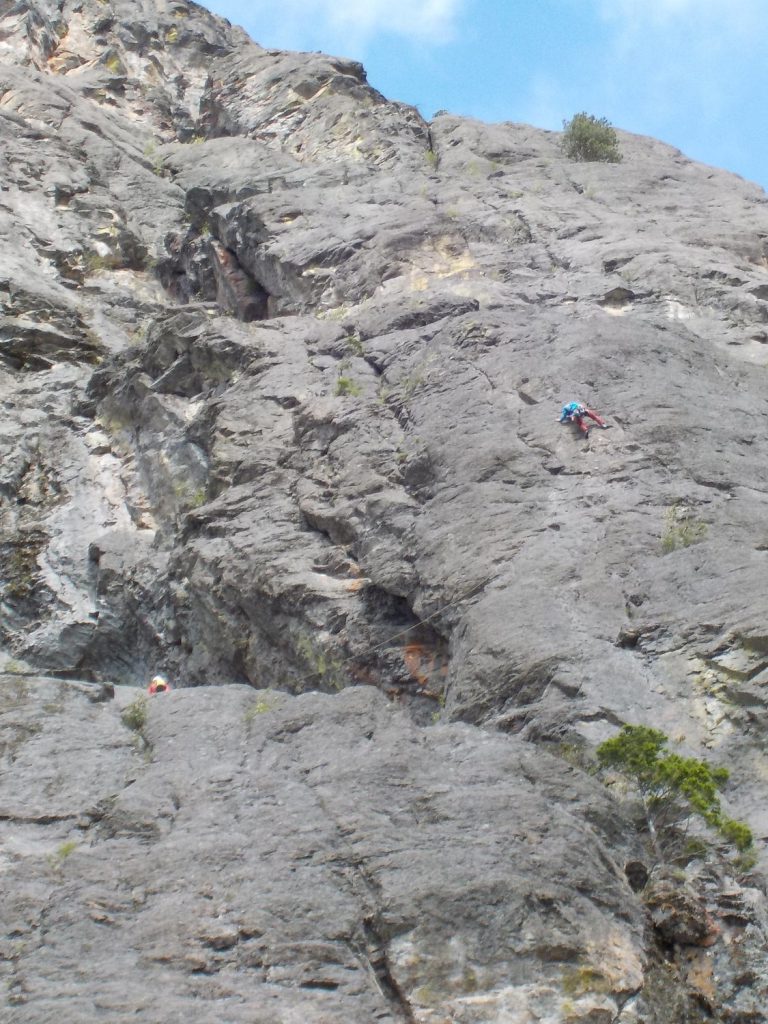
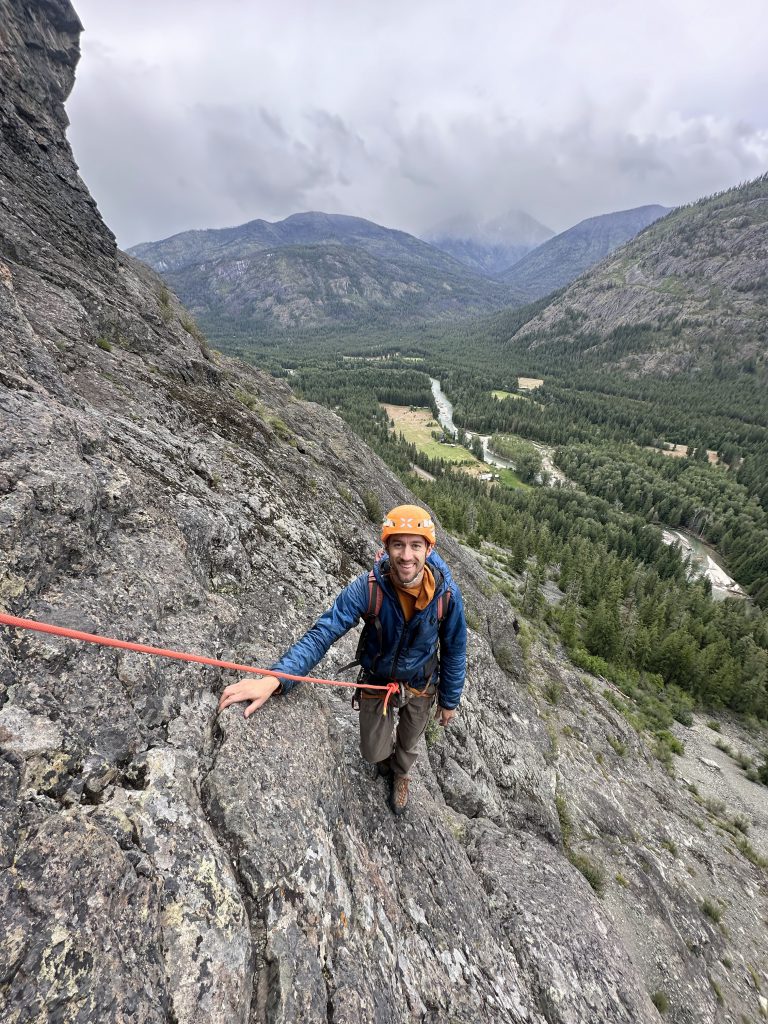
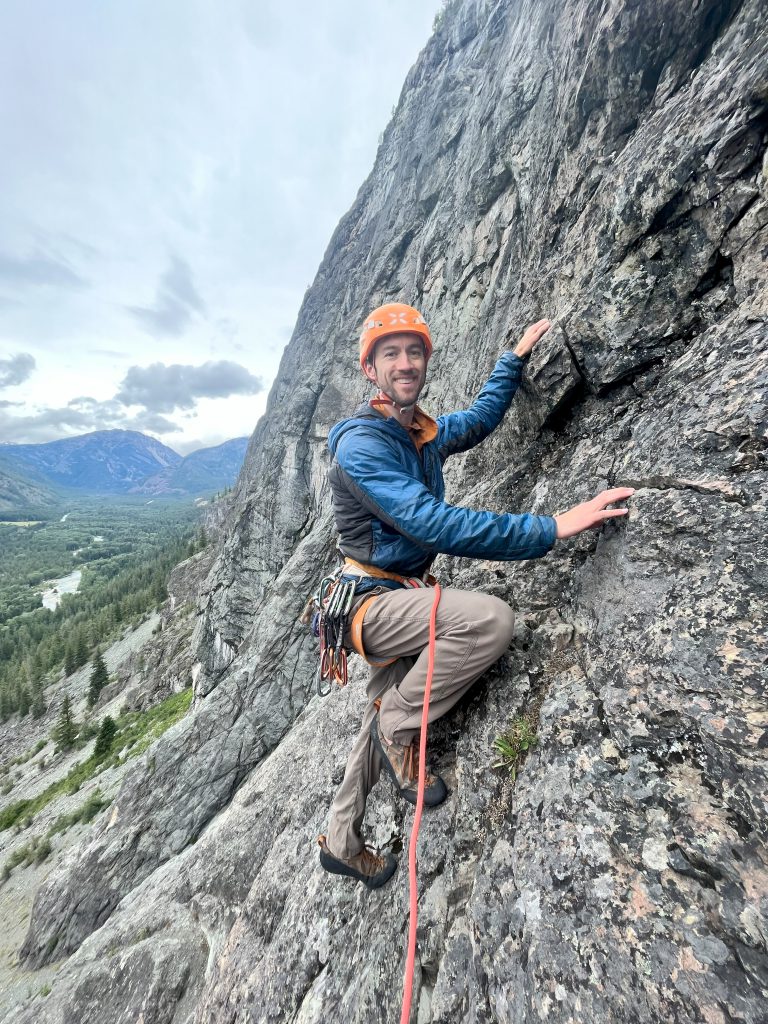
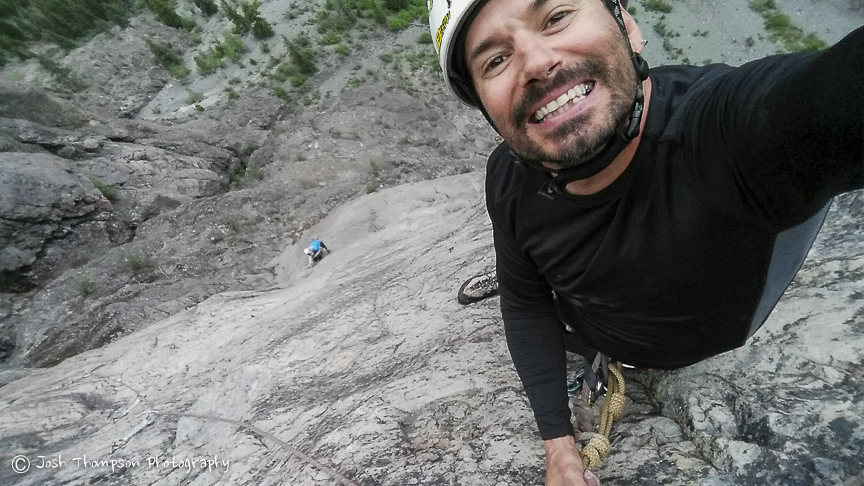
Climbers on P3 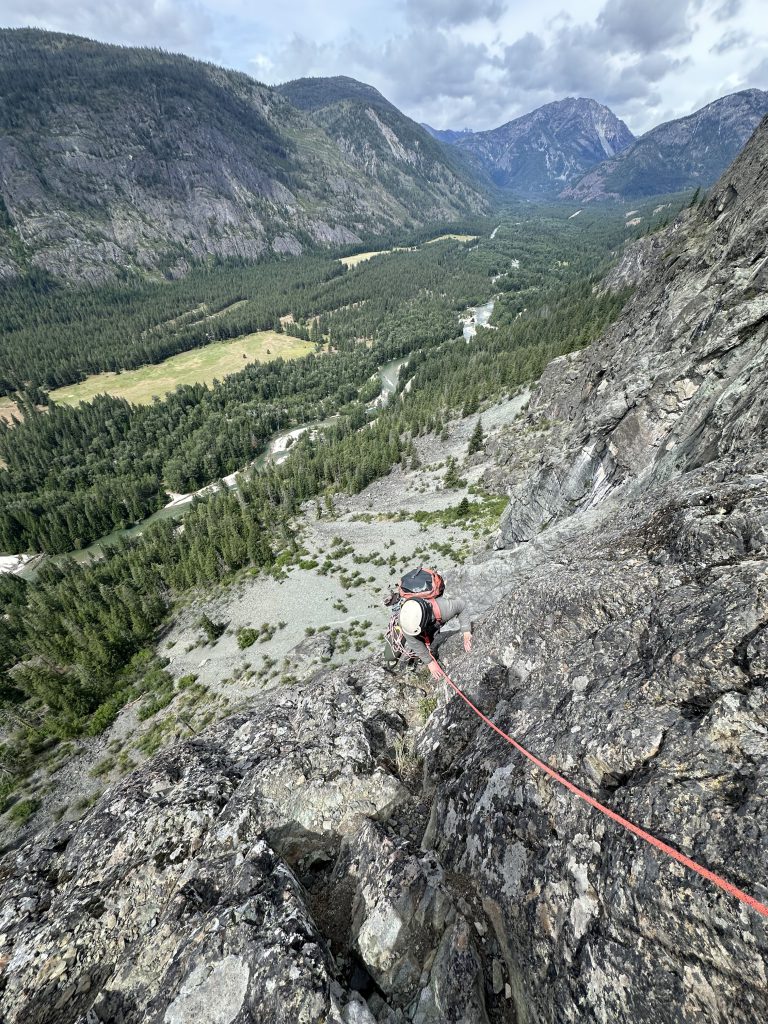
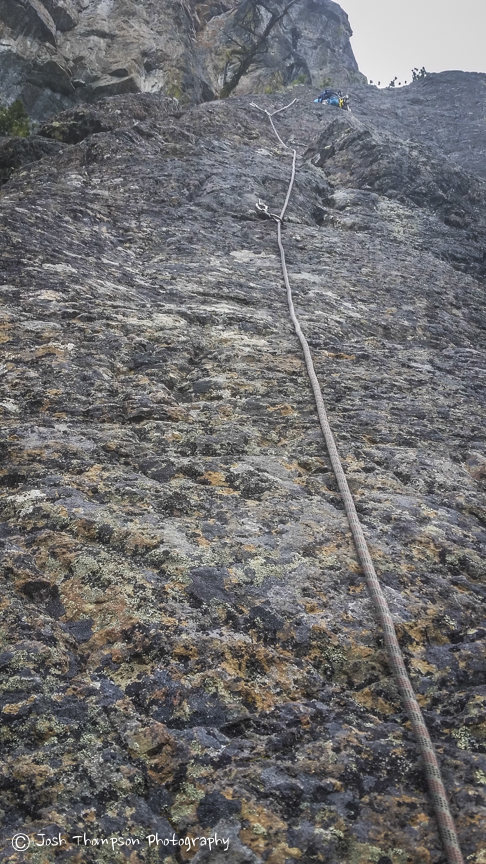
End of P3
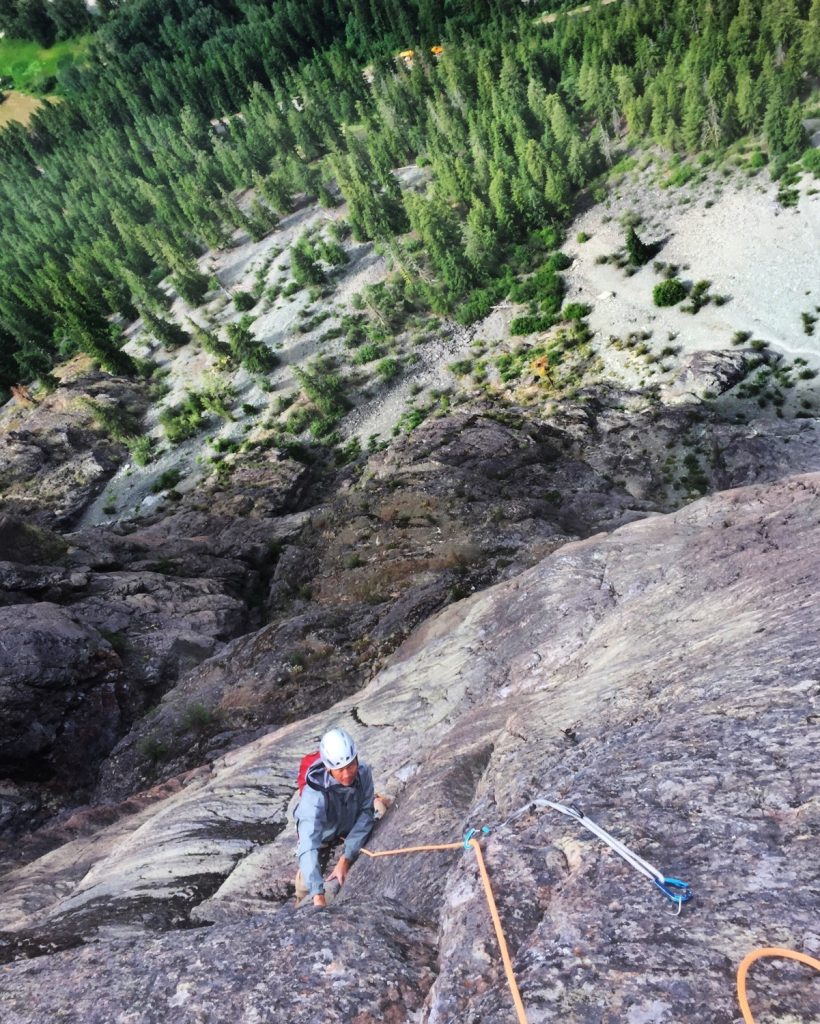
P4: Easy 5th. 3 bolts. 36m
Pass a set of chains on the left. When rappelling, if you have 70m, you can rappel this pitch in one single rope stretcher. Otherwise use the intermediate anchor.

Start of P4 
Halfway up (pass these anchors on left) 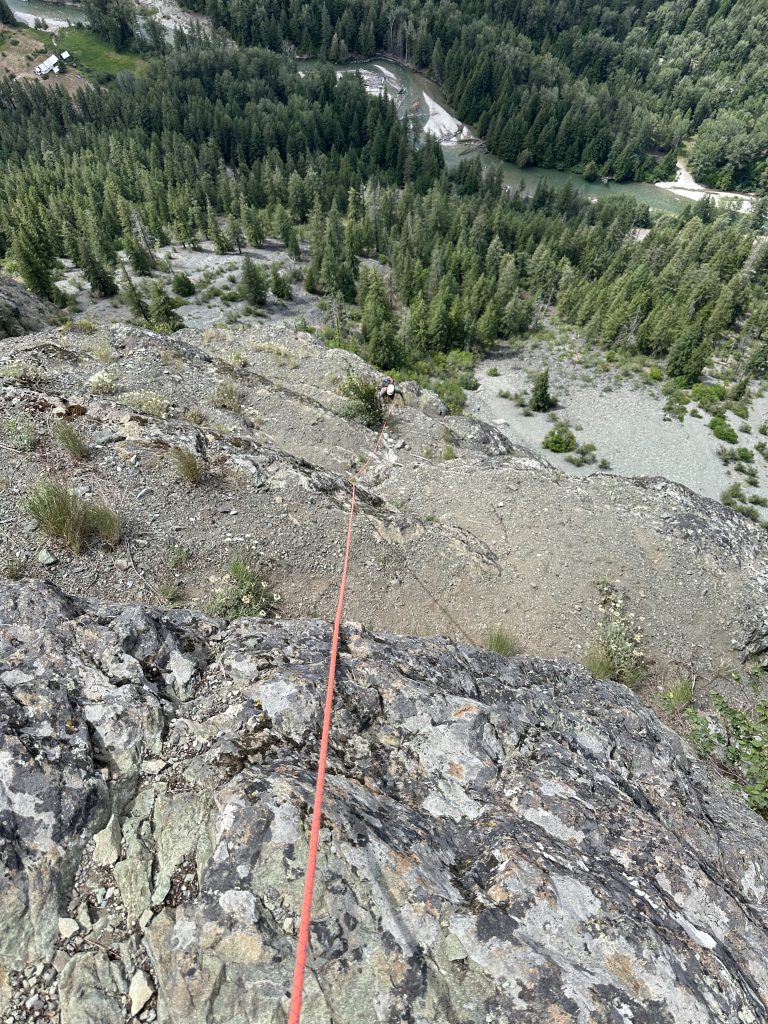
End of P4
P5: 5.8; 7 bolts; 37m
Ends on 5.8 slab and on a hanging belay. When rappelling, this pitch is only 30m, but it’s more like 37m when climbing due to the initial traversing nature of it.
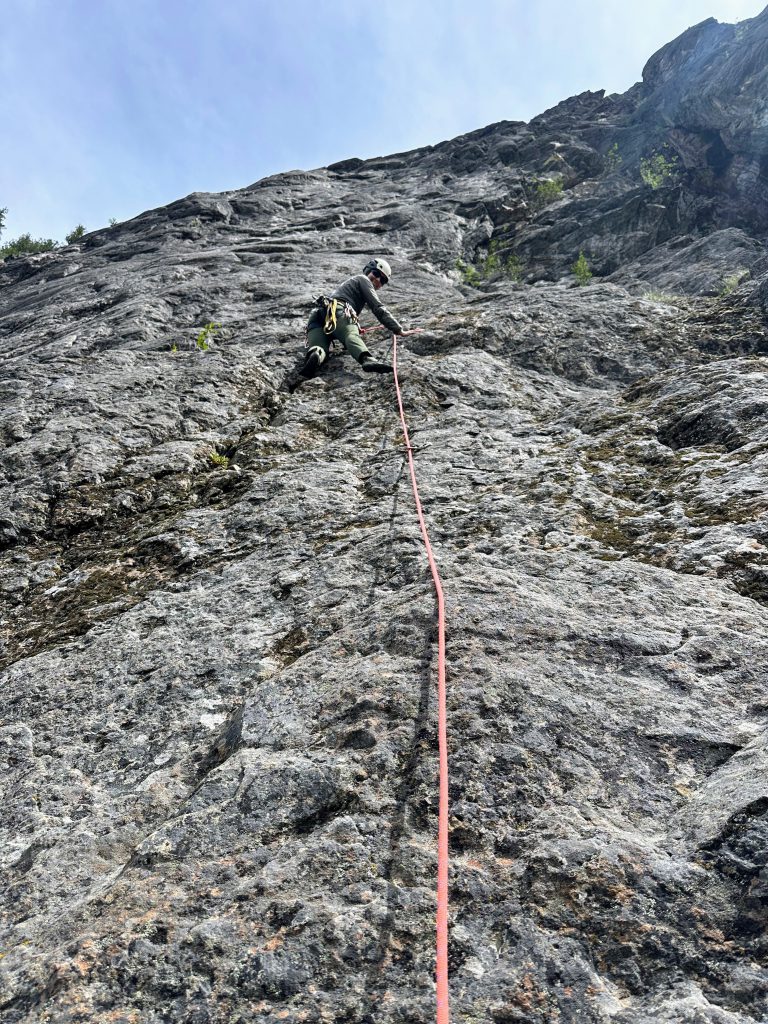
Start 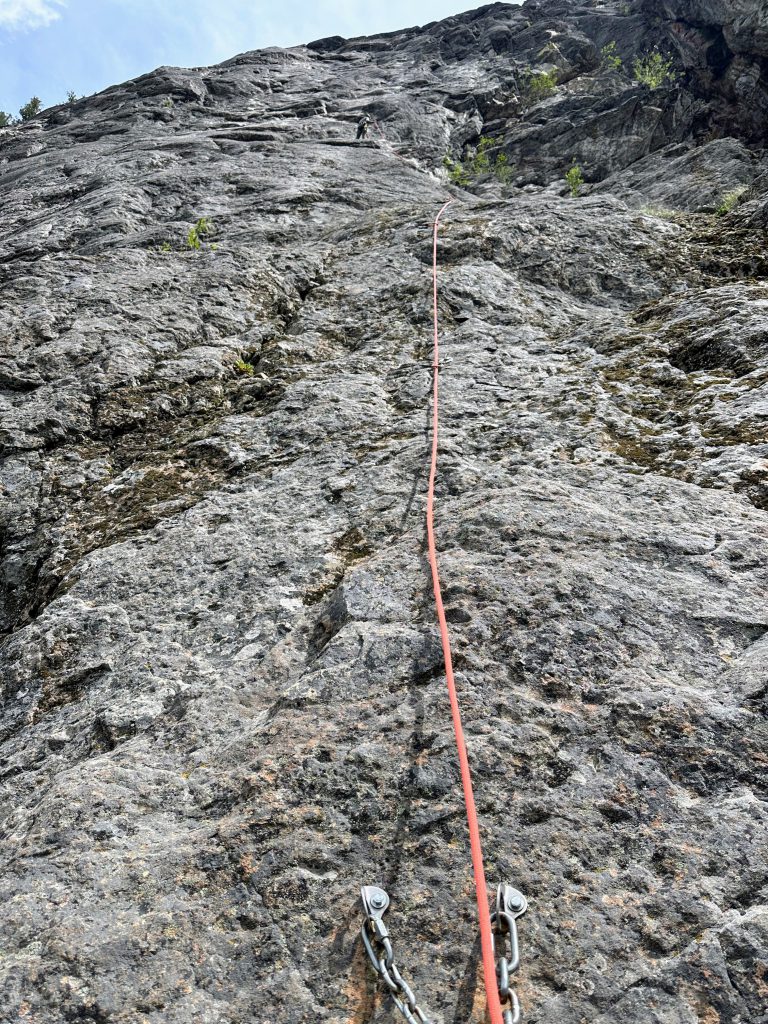
Entire pitch 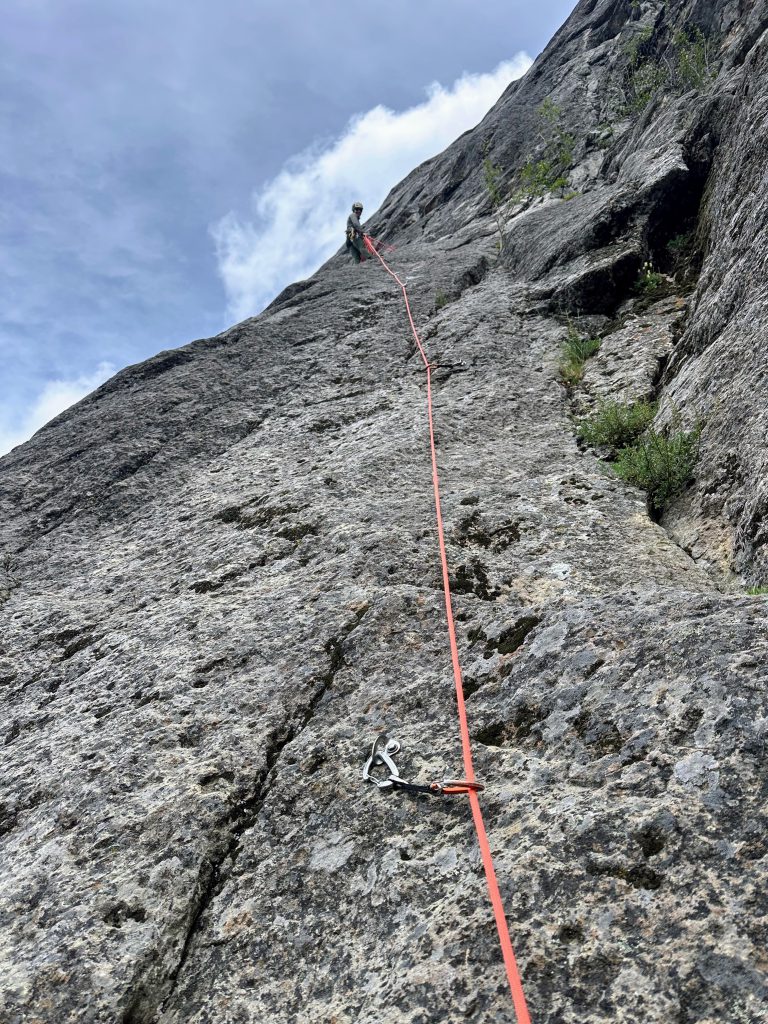
Ending 5.8 slab
P6: 5.11a; 8 bolts. 24m
Very thin, well protected crux (can aid it if can’t climb it). End on a hanging belay.
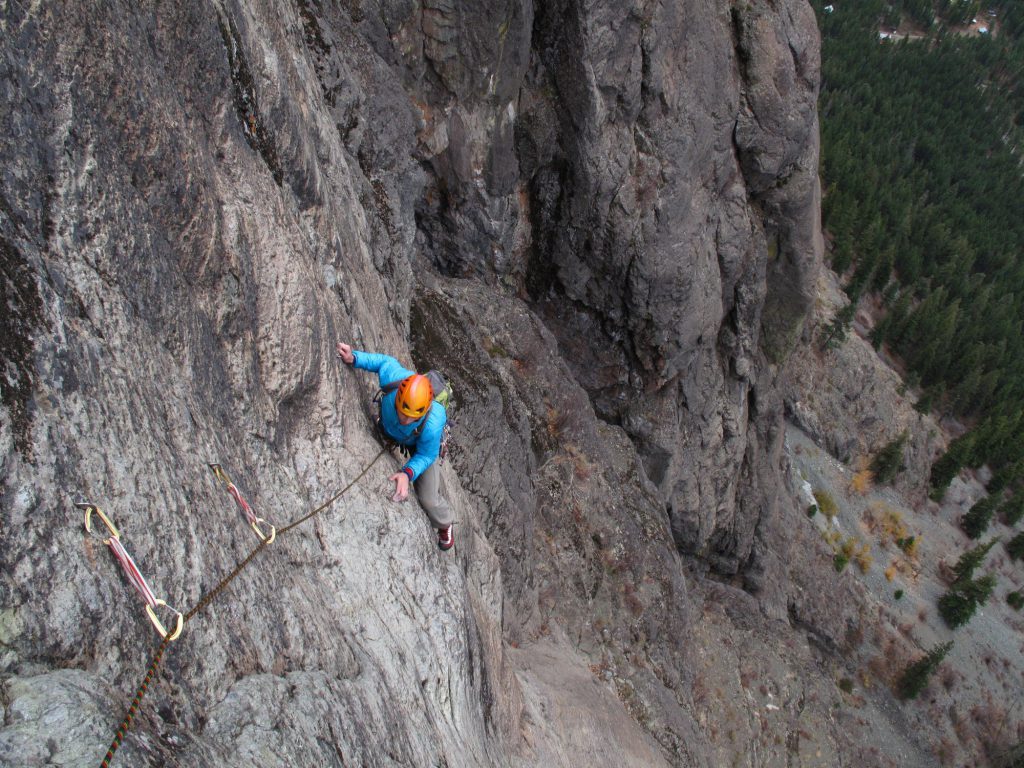
Just past the crux, a little easier
P7: 5.10a; 12 bolts; 40m
End on a hanging belay. Passes an intermediate anchor 3/4 of the way up.
Descent
From top of P7, you can rap with a single 60m rope (10 rappels) by using each rappel anchor… About <50 mins if simul-rappelling efficiently.
- R1: Short rappel ~15m to intermediate anchor in middle of P7
- R2: Rappel remaining ~25m of P7
- R3: Rappel P6 (~24m)
- R4: Rappel P5 (30m, just at rope end)
- R5: Short rappel ~10m to intermediate anchor on P4 (just like two ledges down)
- R6: Rappel remaining ~26m of P4
- R7: Rappel straight down ~25m (don’t try to follow the traversing P3). You should find the next bolted anchor by simply continuing straight down, it’s on a ledge.
- R8: Rappel remaining ~25m to the scramble section at the start of P3.
- Walk the remaining ~10m to the top of P2
- R9: Rappel P2 (~29m)
- R10: Rappel P1 (~28m)