Gear
- #0.3-4 with double #0.75-3
- Double 60m ropes
Approach
2 miles, 1,100 ft gain, ~1hr, last half mile is off trail but has numerous cairns and pretty well travelled.
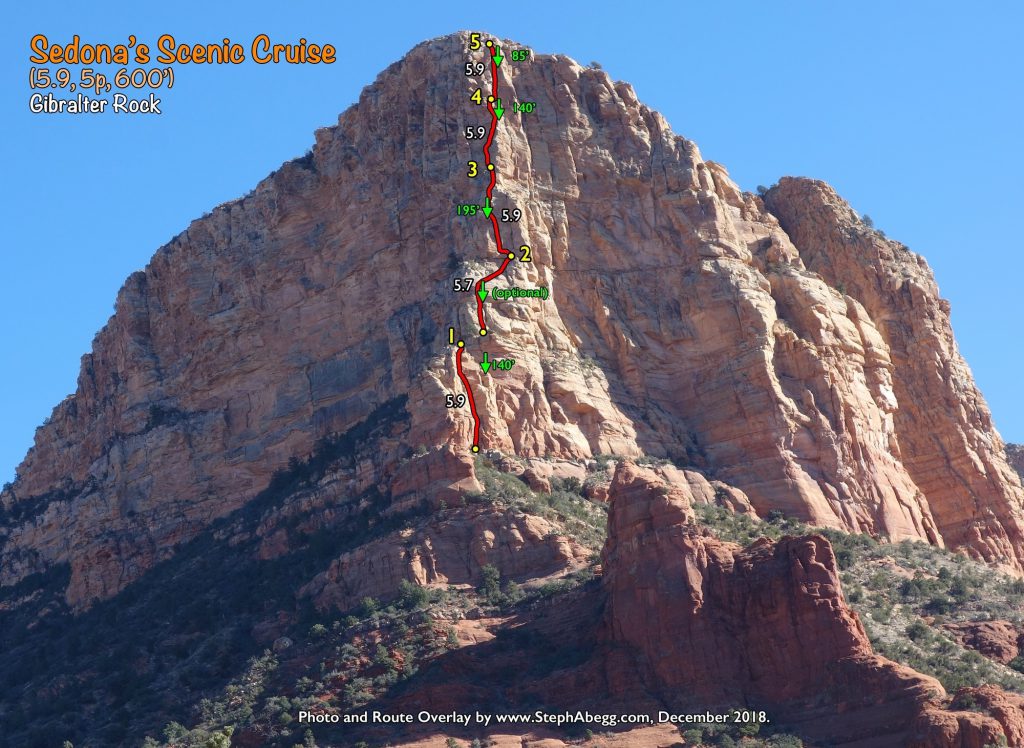
Overall
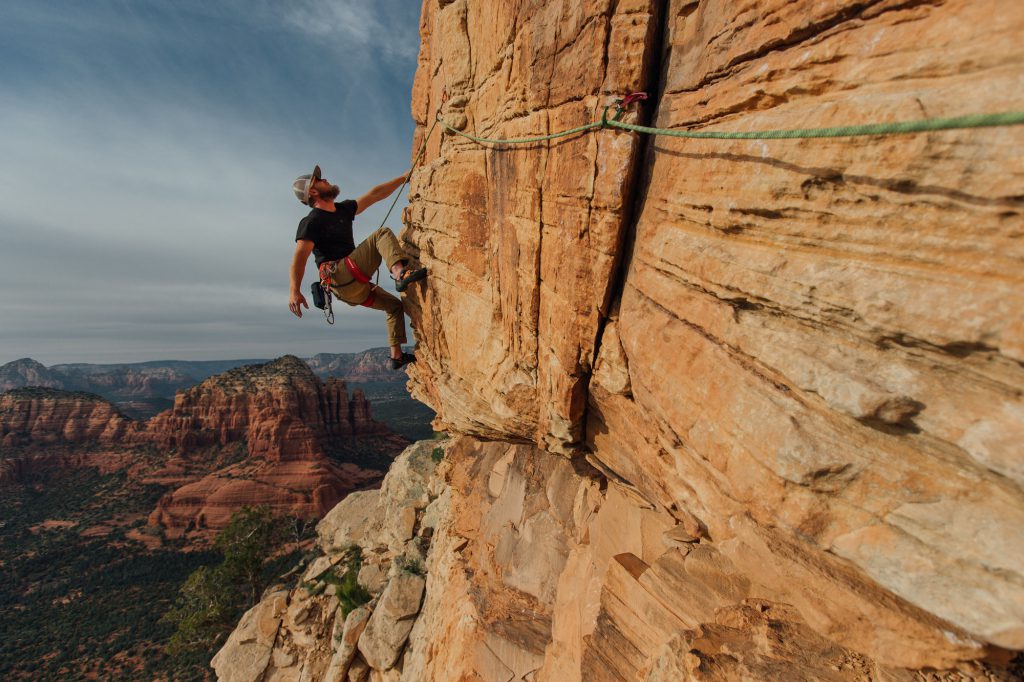
This one has the “scenic” traverse. Several people get stuck ropes while rappelling the first two rappels, and you need double ropes for rappelling. No comments on how difficult/sketchy the traverses are.
P1 – 5.9, 120′
Climb up corner to a big flake sticking out to the left. The crux of the pitch is skirting this flake out to the left. (tiny cam or Lowe Ball useful here). Above the flake, continue to a two-bolt anchor (no chains). From here, you can look out to the right (climber’s right) and see RAPPEL ANCHOR for the last rappel.
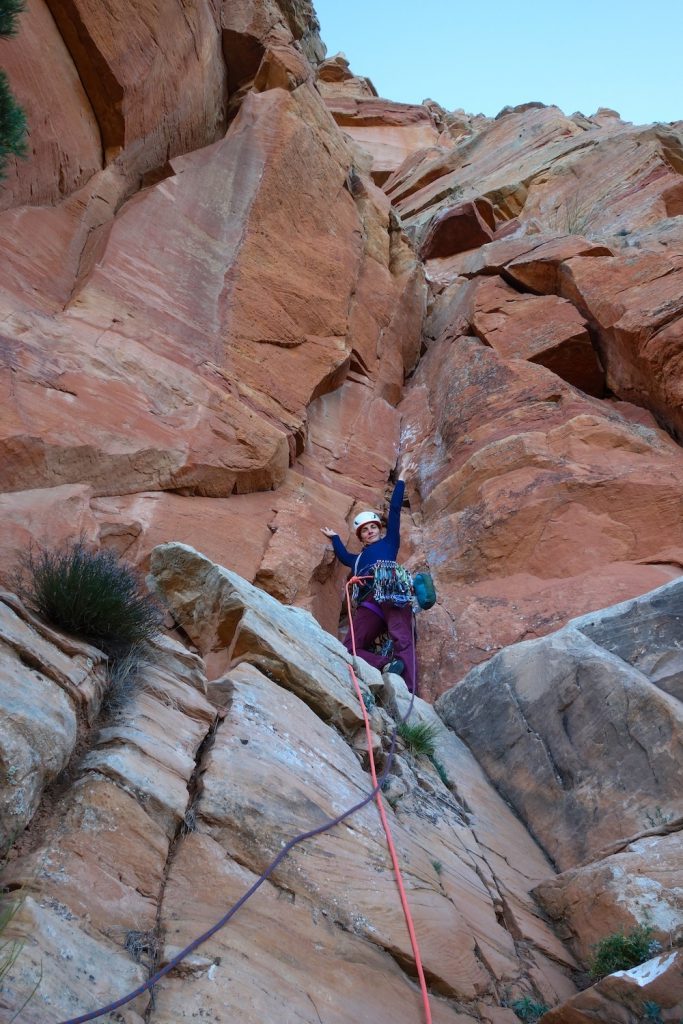
Start of P1 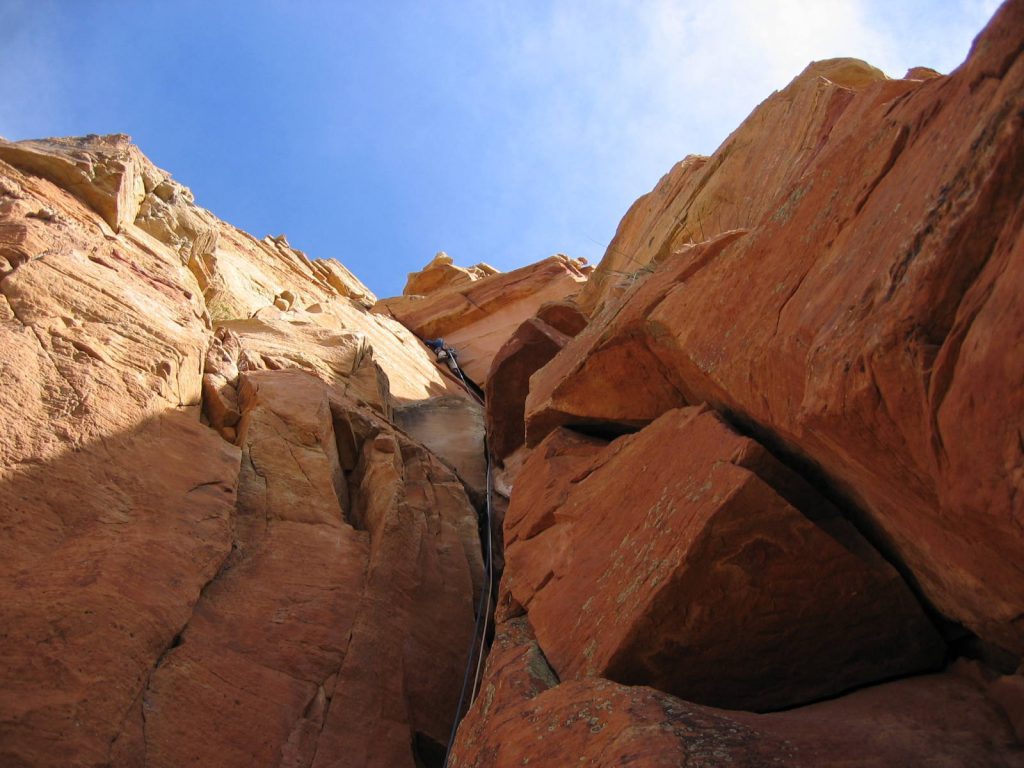
At crux 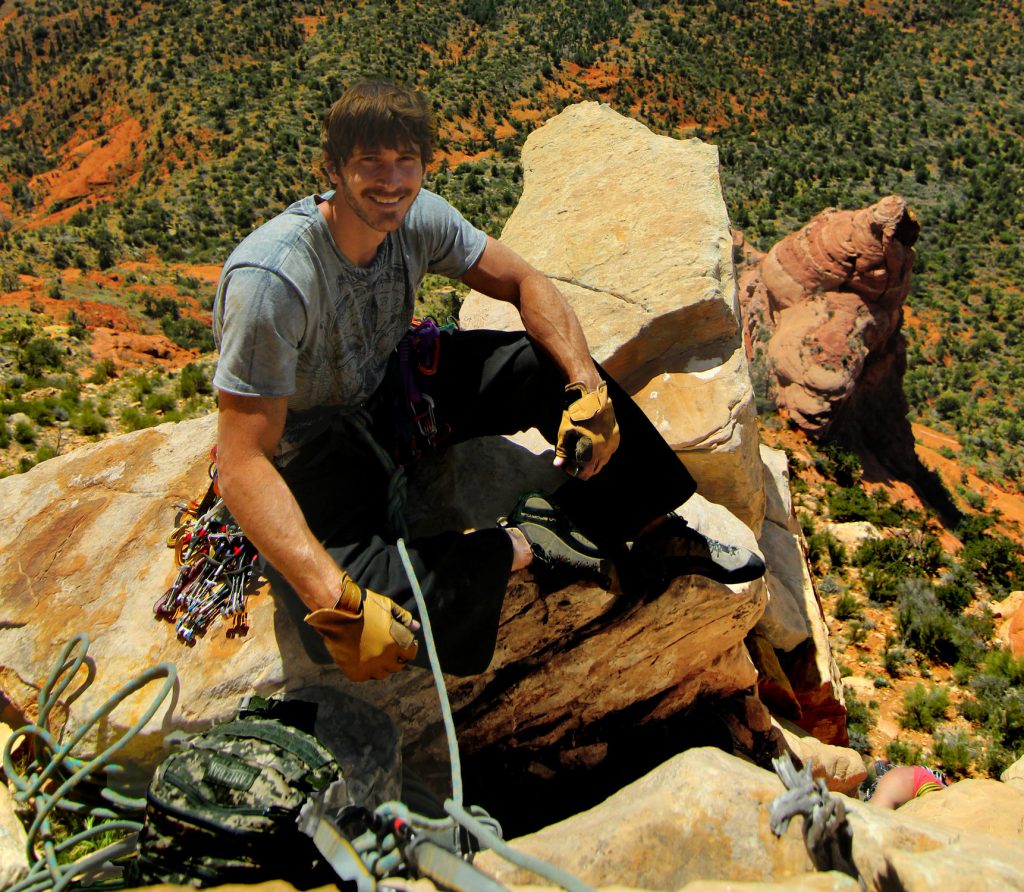
Top of P1
P2 – 5.7, 160′ (sport)
Scramble around to the left and up onto the ledge with large tree. Set pro for anchor. Second pitch starts behind the tree, up face past several bolts and a two bolt anchor at the top, continue climbing, veer right across a slab and one bolt, then up a short corner to a bolted belay on a ledge.
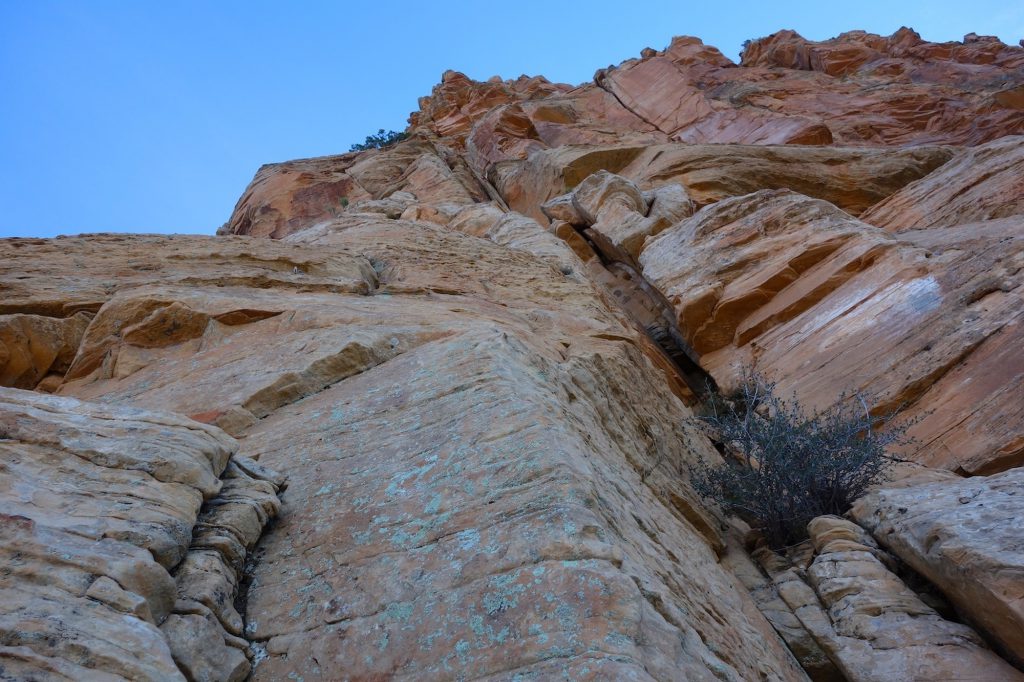
Looking up P2
P3 – 5.9, ~175′
all the way to the blocky ledges. Traverse straight left, clip bolt, continue left and up (bolt), then into a corner system. Climb this to a nice looking vertical crack, then step up and jam your way up the steep hands to big hands crack (pretty good face holds as well). A short chimney bit will put you left of a sloping ledge with the bolted anchor w/chains (note this as a RAPPEL ANCHOR for the way back down). You can continue up to the left up a short face with a single bolt and combine this pitch with the next one. There are two bolts with no chains at the end of this.
P4 – 5.9, 100′ (sport)
Face climb up and right along the right side of buttress past 10 bolts to belay on ledge. Very nice pitch. You can see a long chain on the ledge just north from here that is the RAPPEL ANCHOR on the way down.
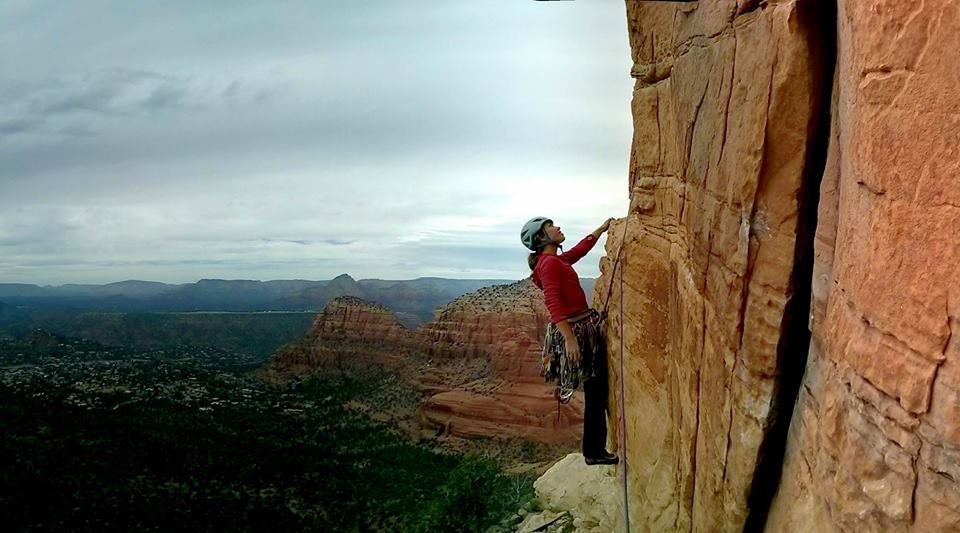
Start of P4 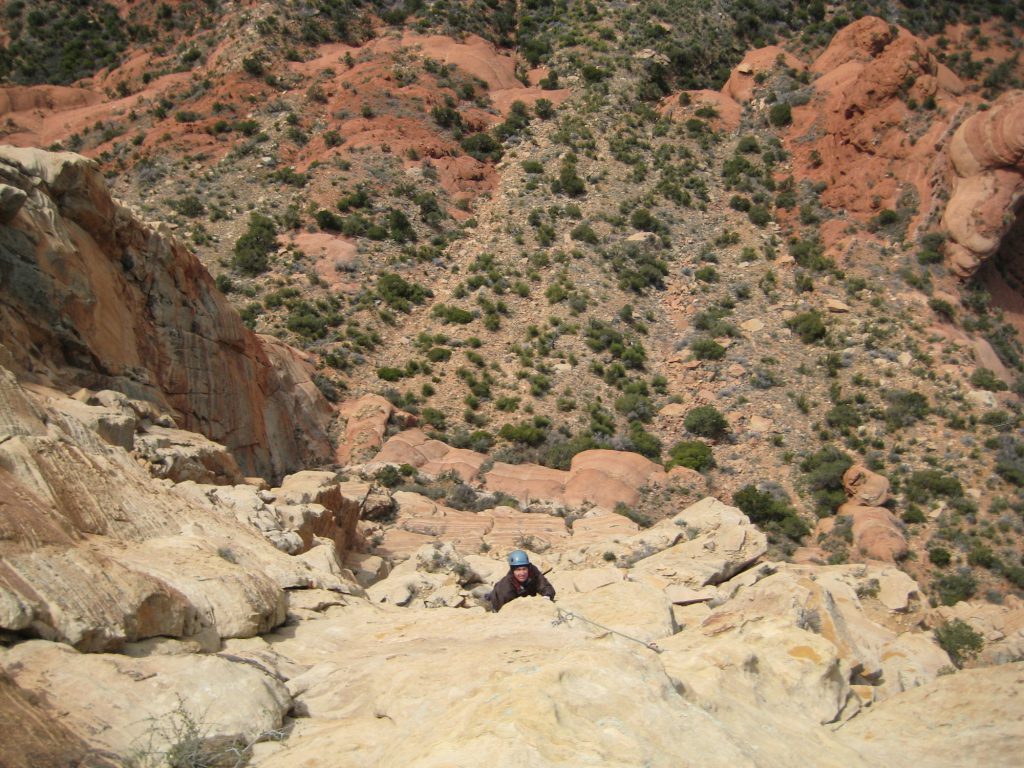
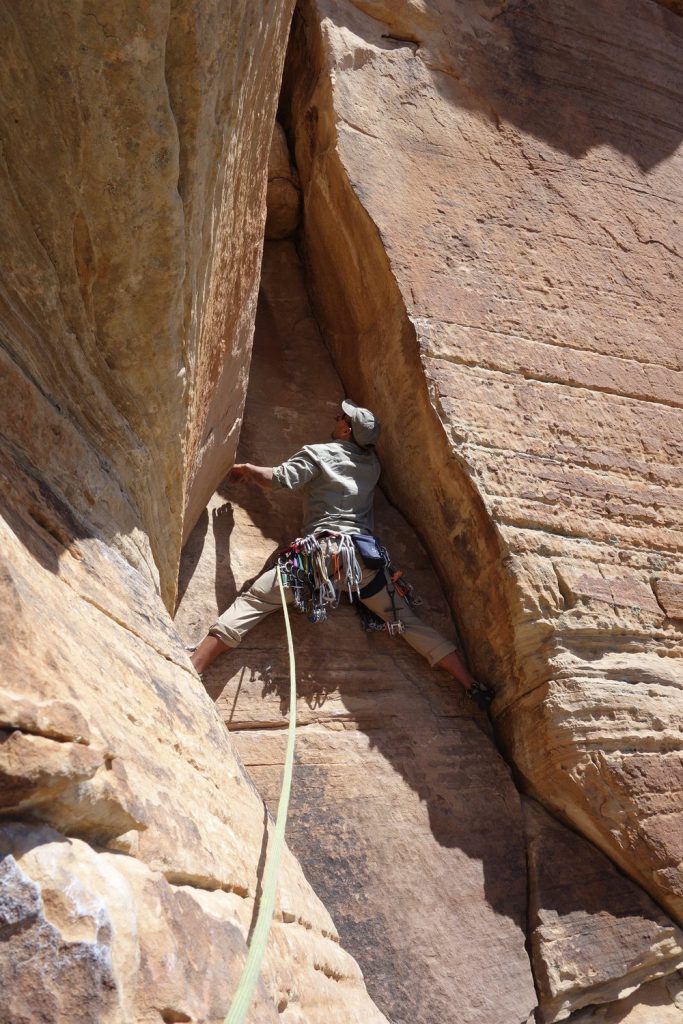
P5 – 5.9, 100′
Climb around corner to the right across “spicy” traverse to gain chimney with chockstone. Climb up and over chockstone and continue up crack to belay on ledge. There is a small canister with a summit register here and RAPPEL ANCHOR.
You can scramble (4th cl) to the top from here. Highly recommend belaying this portion!
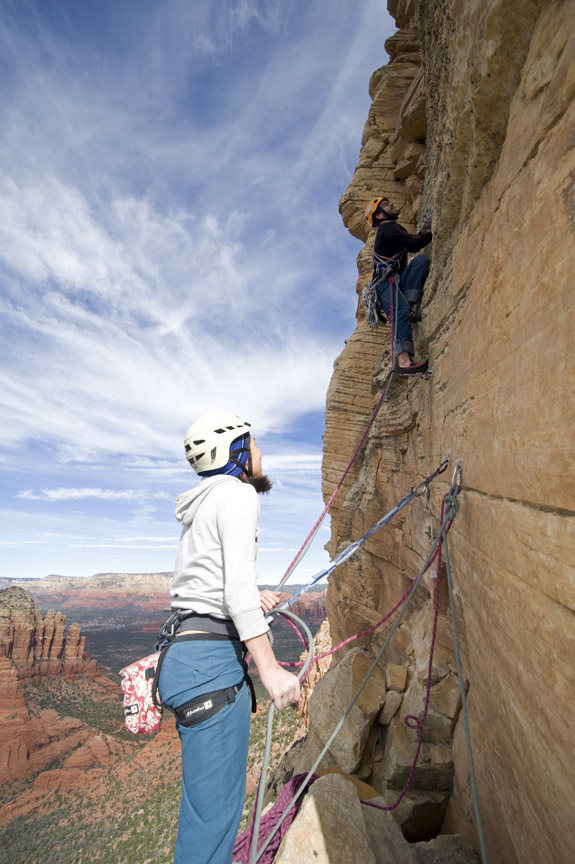
Start of P5 (after traversing right)
Top

Descent
R1) Rappel from the last anchor back down to the top of the fourth pitch (85′). If you have a 60m rope, it’s probably easier to leave your second rope here rather than hauling it to the top.
R2) Airy rappel (TWO ROPES!) from the long chains back down to the sloping ledge with chains noted in P3 description above. Watch the rope pull on this as the blocky ledge above tends to eat the ropes.
R3) Rappel (TWO ROPES) off the sloping ledge down to a two bolt anchor with slings and a rap ring at the top of the vertical section of the second pitch. You’re headed for a bolted anchor with chains down a slot just below the buttress where the second pitch starts.
R4) Rappel (TWO ROPES) back down to the ground, just South and around the corner from the first pitch.