
Pitch 1 – 5.4-5.7
This pitch starts off easy, but finding the correct anchor is tricky. Somewhere on the left there’s the correct anchor for the start of P2, which traverses on ledgy terrain.
Pitch 2 – 5.0
From the anchor, traverse left on really easy blocky terrain.
The start of P2, traverse on the blocky terrain on the left 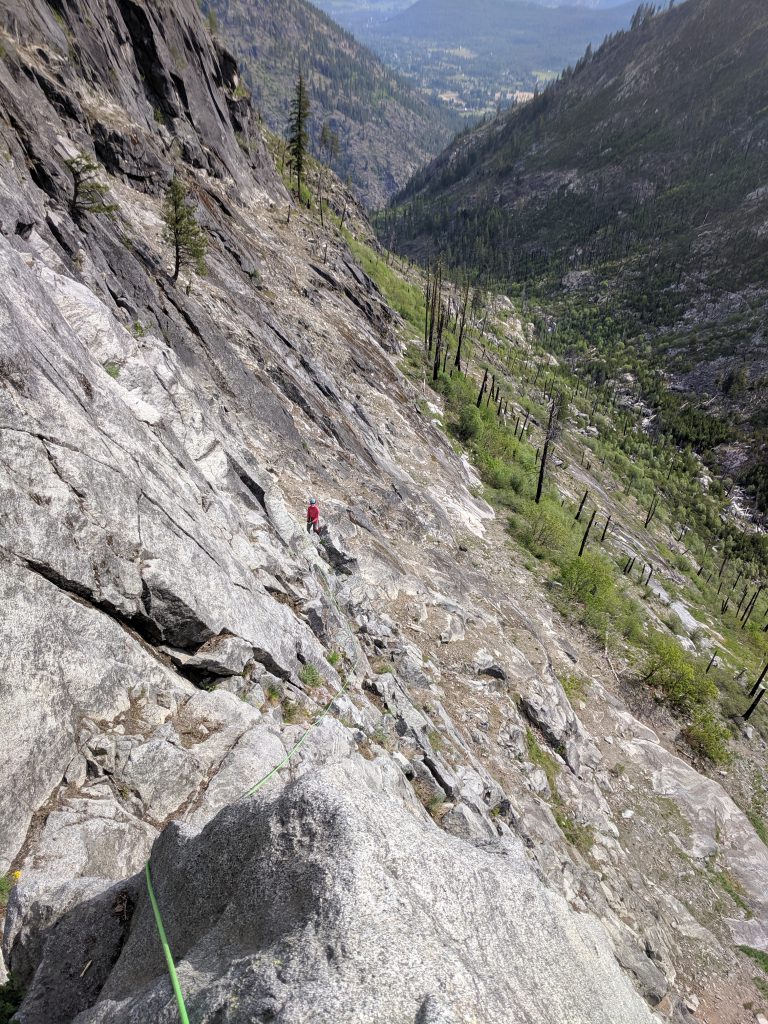
Near the end of P2, looking back. You’ll go over a boulder and lose visual contact.
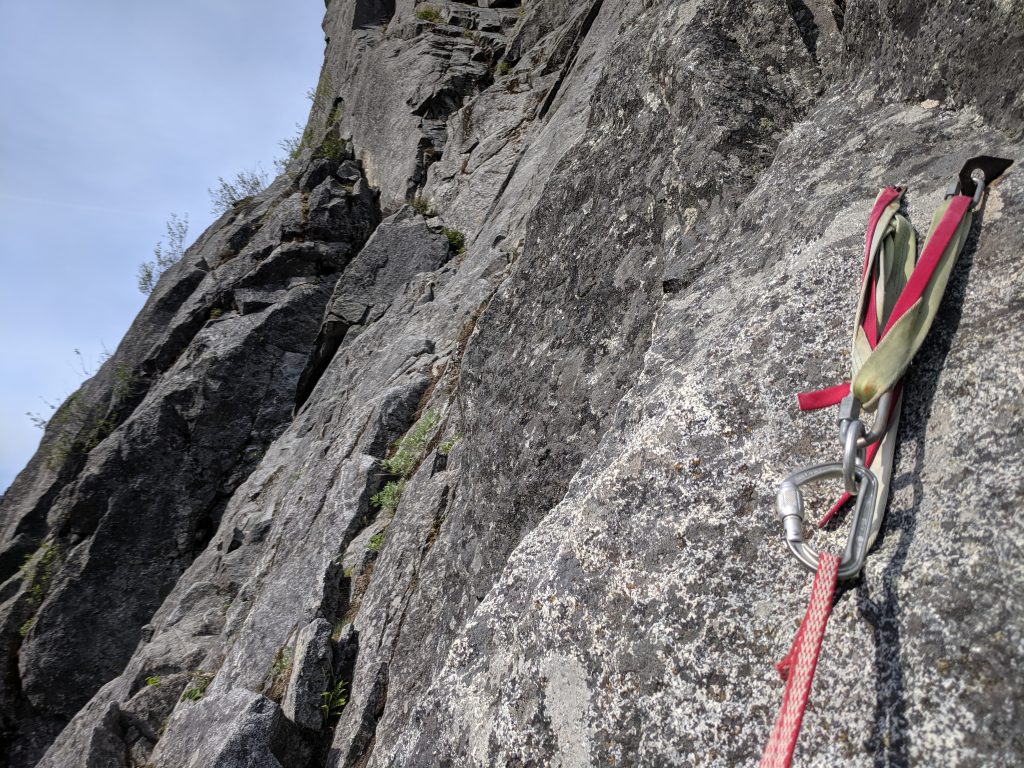
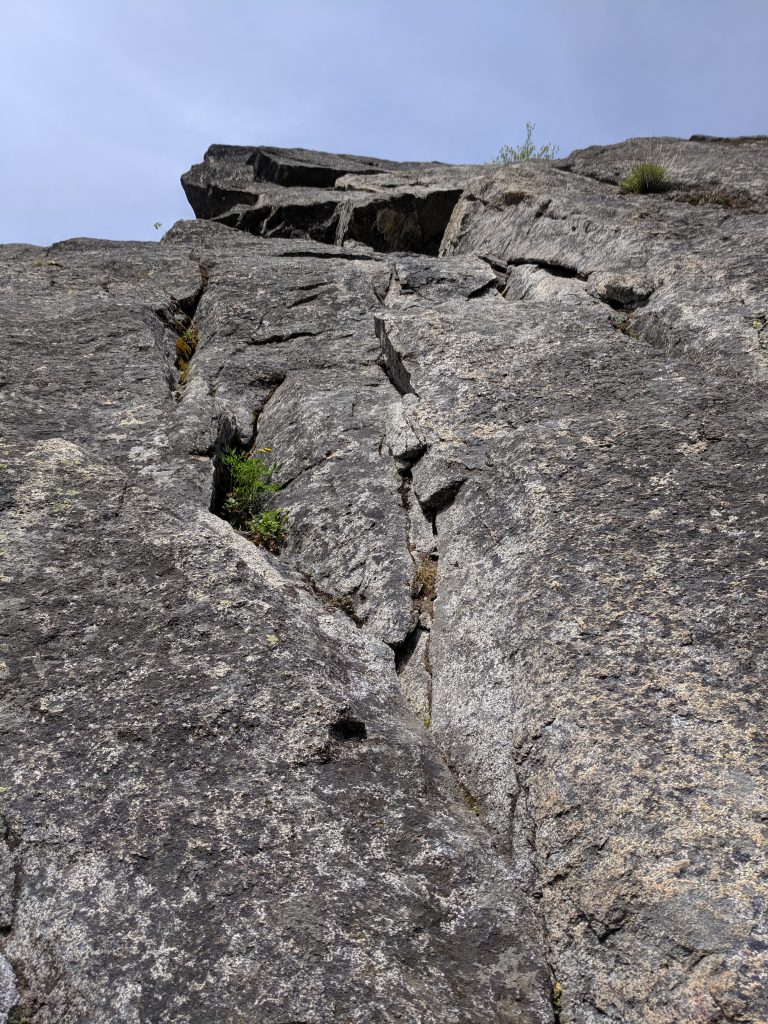
Pitch 3 – 5.9
The crux pitch. Go up a short tricky crack, then traverse right along a tricky crack.

Pitch 4 – 5.8
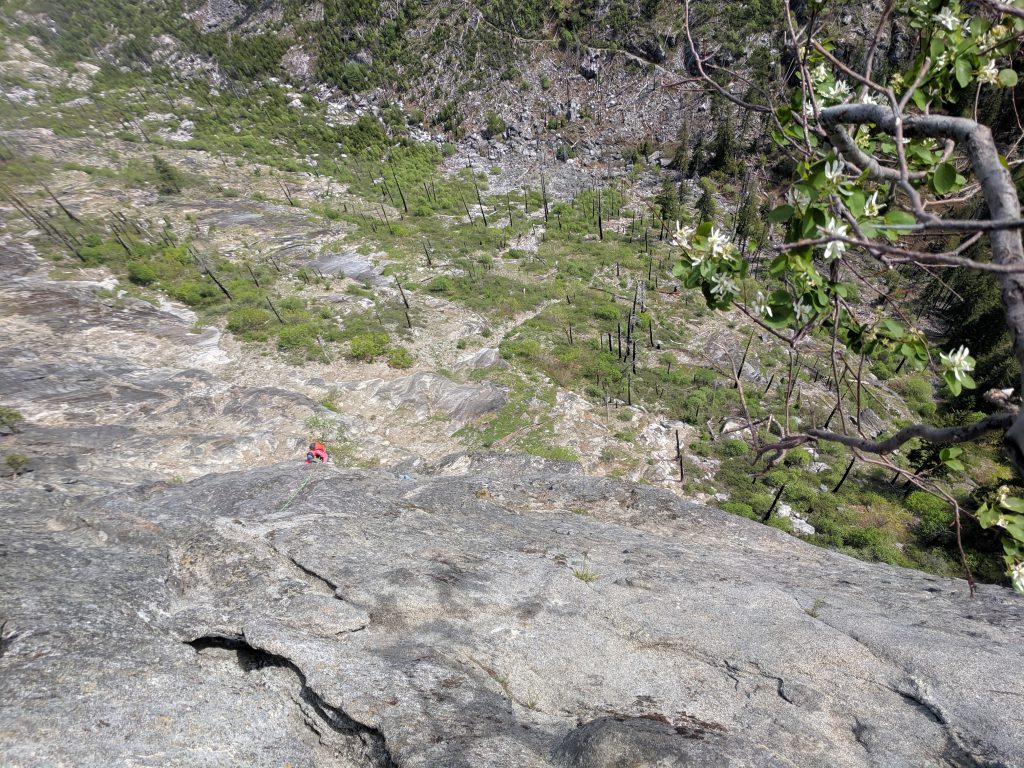
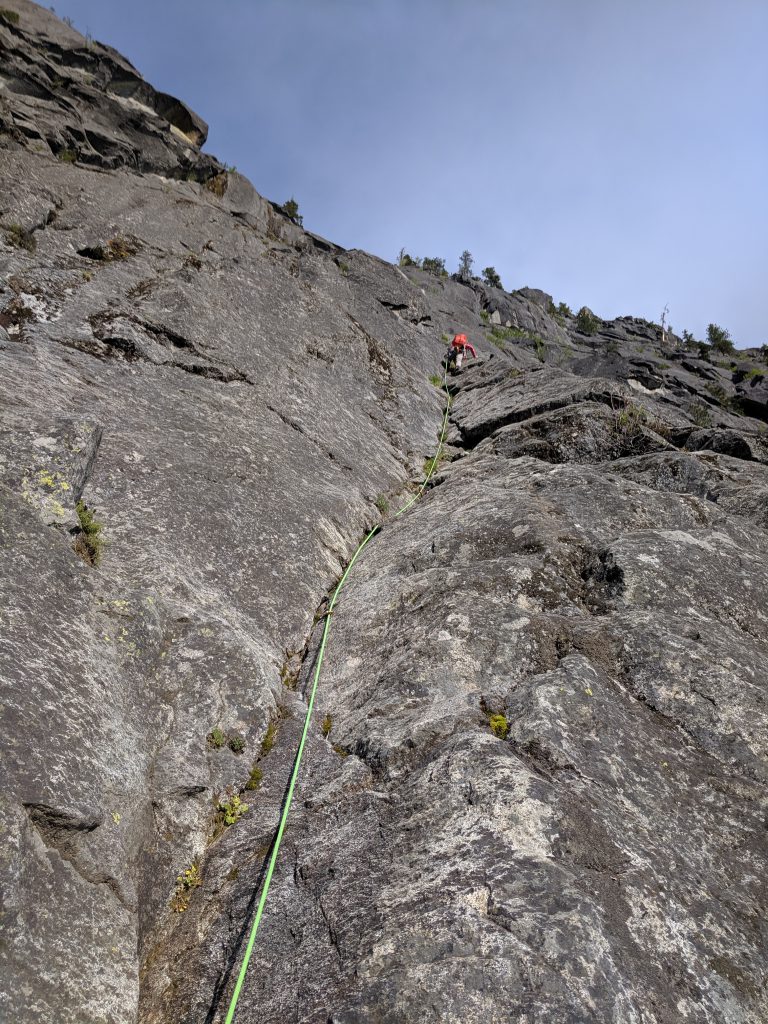
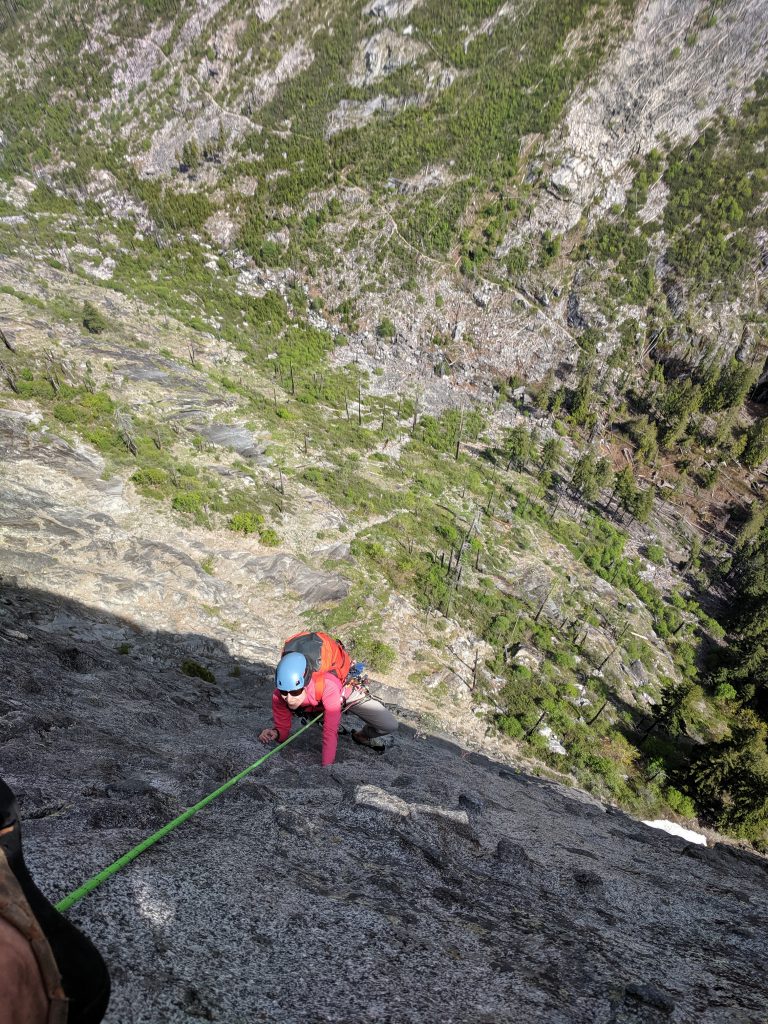
Pitch 5 – 5.7
The start is probably the trickiest 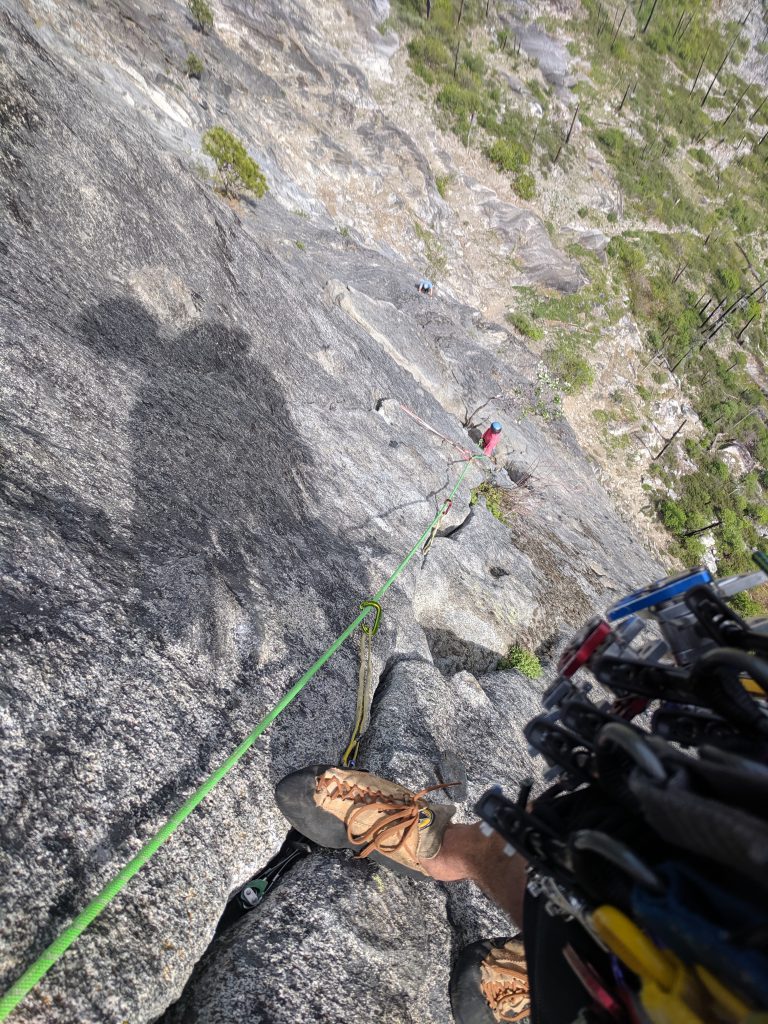
Halfway up, looking down 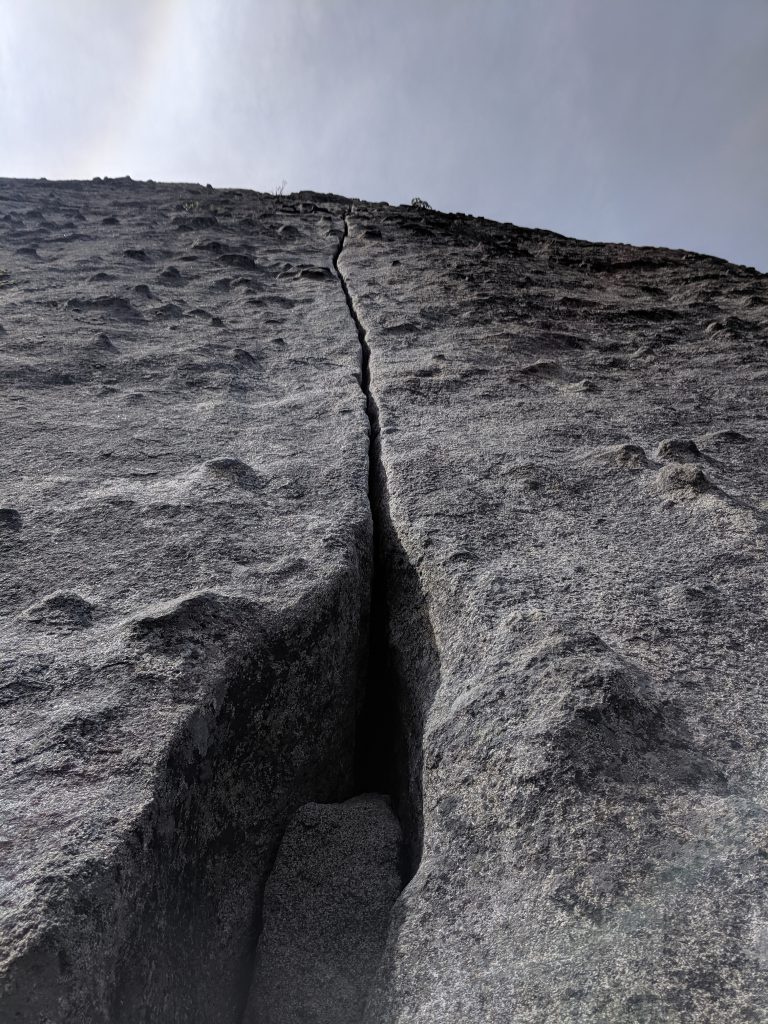
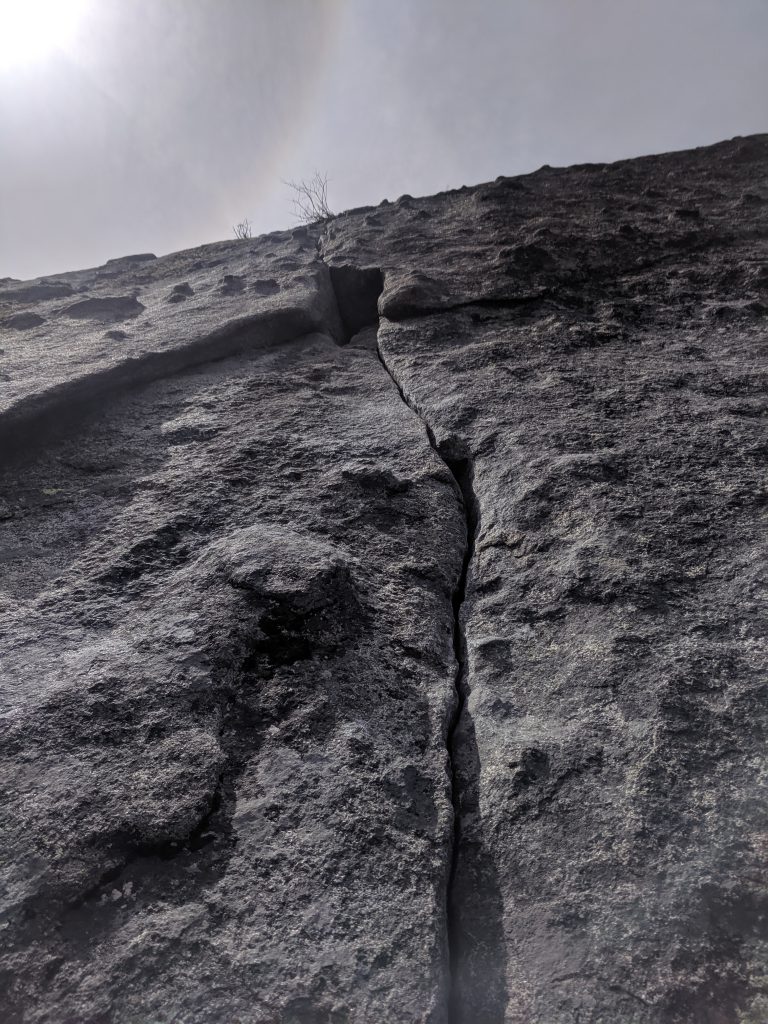
Halfway up, looking up
Pitch 6 – 5.9
Easier than the P3 5.9 pitch. More hand crack and then slabby/knobby finish with limited pro (but easy) to the top.
The slabby/knobby finishing moves of P6
Descent
You descend down the gully, it has several class 4 moves which are exposed, not a fun descent at all. We took out the rope a couple times.