Overall
Really well liked aside from the approach (some bushwacking, some steep slab, some trickiness). Otherwise, good mixture of slab climbing, featured climbing, corners, pretty good belay stances, quite well protected.
Time estimates
- C2C: 10 hours
- Approach: ~2 hrs, some even took 3 hours
- Climbing: 5 hours (30 min/pitch)
- Rappel: 1 hour (6 double 60m rope rappels, 10 min/rappel)
Gear
- Double 60m ropes (needed for rappel)
- Singles #0.3-2
- Nuts
- 15 draws (8 sport, 6 single alpine, 1 double alpine)
- NO radios? Seems like you should be able to see each other the whole time
Approach
3.3 miles, 2,200 ft gain, maybe 2 hours? After going 2 miles on Squire Creek Trail, descend off to the right through brush to find the log crossing.

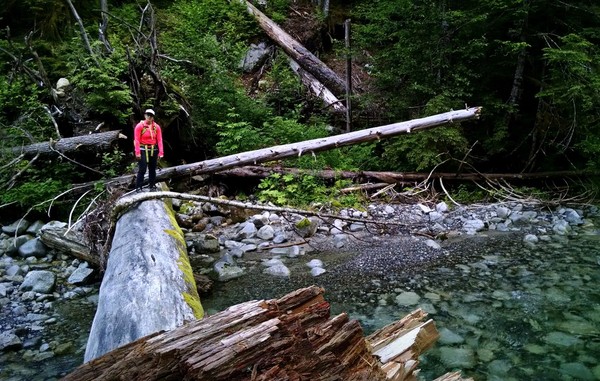
Cross and travel upstream for 30m, finding the first dry tributary bed and following this for 400m (10min hiking maybe) till you see a “well established” climber’s trail on your right. This trail is BEAUTIFUL and ascends up the forested slopes towards the wall. Gawk at the old trees and soft undergrowth. You’ll eventually reach an unforgettable bivy spot that you wish you were camping at. From here on out you’ll be going through brushy trails and upwards and left towards Illusion Wall.
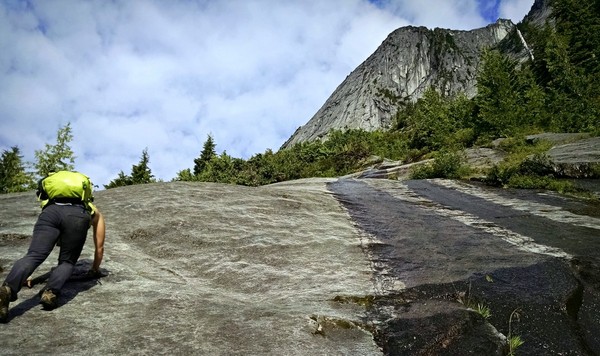
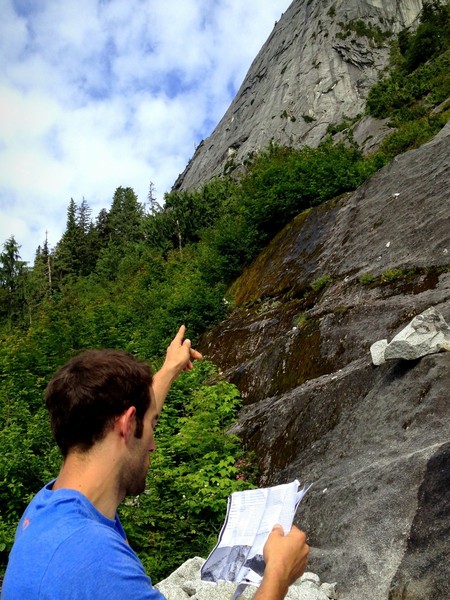
Go up the first slabs you encounter, finding some rap bolts then a hand rope up through a step (visible here above wet streaks). You’ll find cut and bent branches, trodden soil, a few more hand lines, and bark-less trees enticing you towards the correct direction – almost fun navigation – getting eventually to an obvious sandy bivy ledge and the base of the route (again, very left from the first initial slabs – don’t go too high up). From the good bivy this took an hour, so factor that in. We also found some seeps to drink/refill from in this section. You’ll see bolts! Climb on!
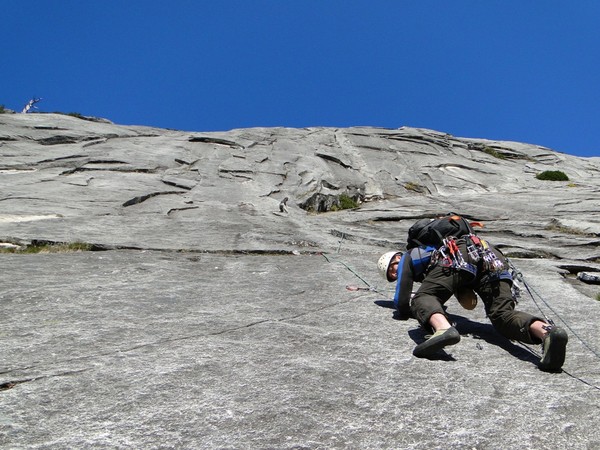
P1: 5.8, 60m
The approach pitch that will get you to the real climbing, ends at the 4th Class ledges. Trends up and left from the start.
Starting P1 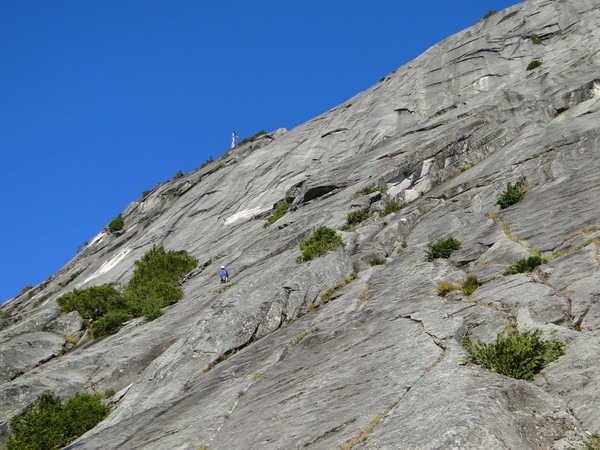
Climber on P1
P2: 4th class, 20m
Traverse across the ledges until you reach the first set of bolted anchors. Short.
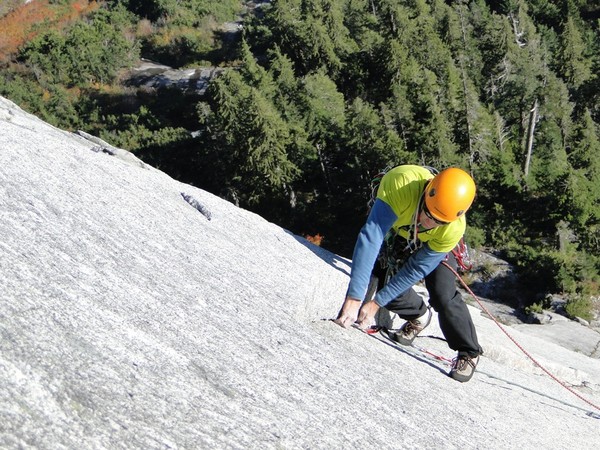
P3: 5.10+, 45m
Starts off on some stiff face climbing leading to a nice 5.9 corner crack.
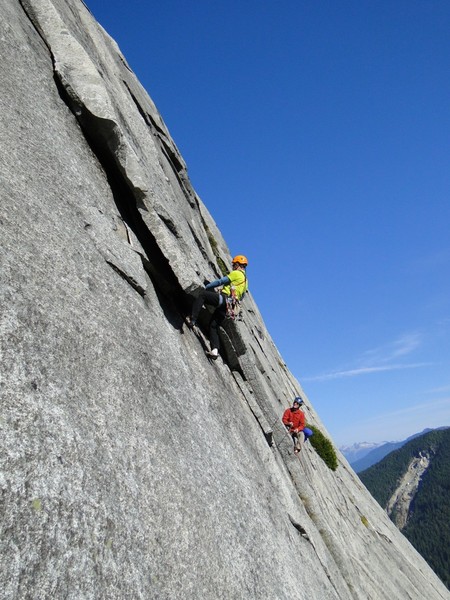
P4: 5.10+, 35m
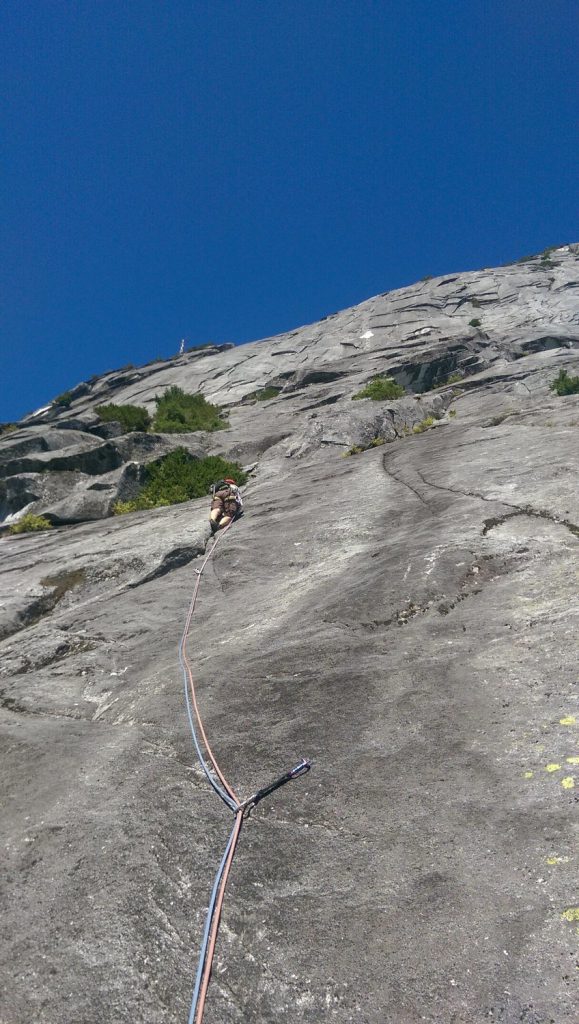
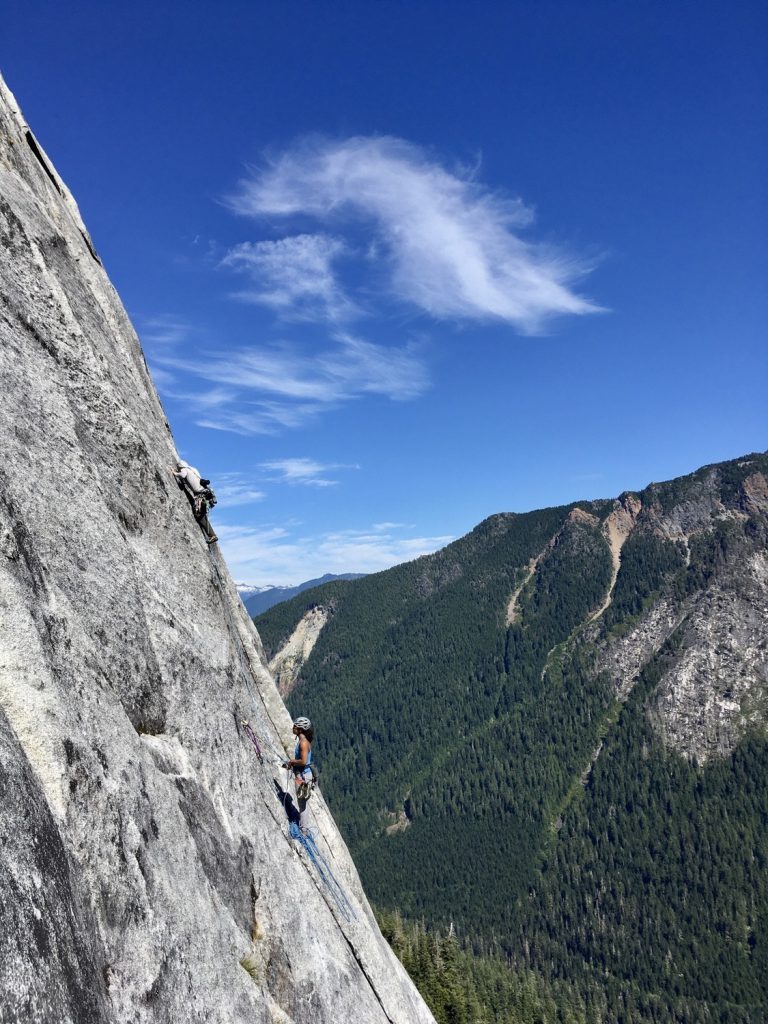
Follow the bolts up for more face climbing. The only pitch that is all bolted. ⚠️ As of 2024, there’s a big (6′ wide) plate that’s starting to crack with one bolt on it that you probably should avoid clipping.
To link with P5 you need more than a 60m rope.
Climber following P4, belayer at top of P4 visible above 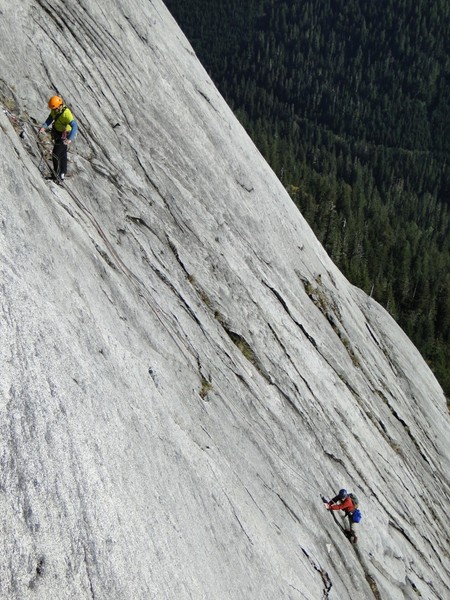
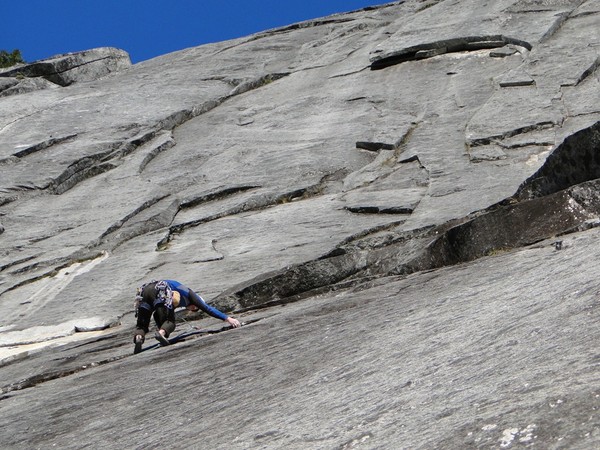
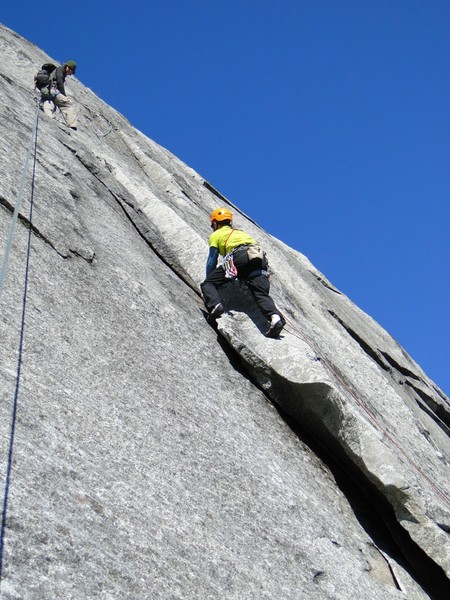
P5: 5.9+, 35m
Start out going left and up to find a nice finger crack that lead you to the belay station just right of the signature flake.
Start of P5 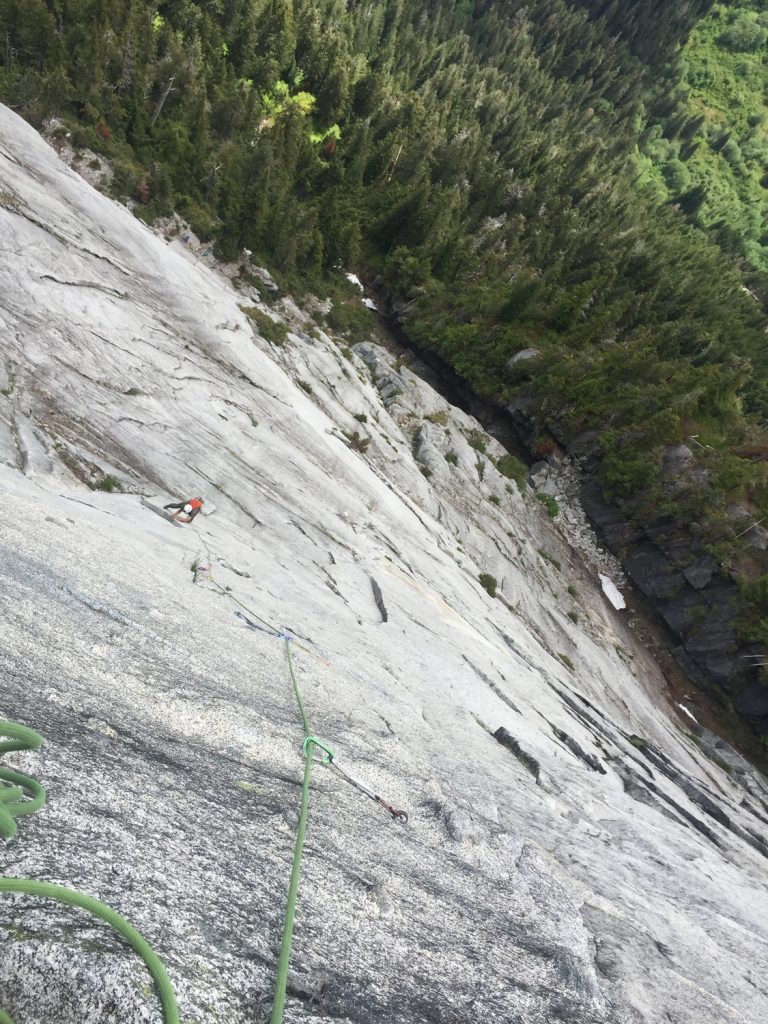
All of P5 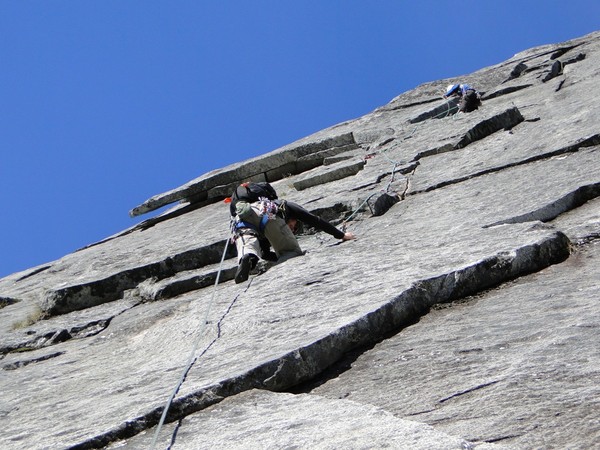
Midway up
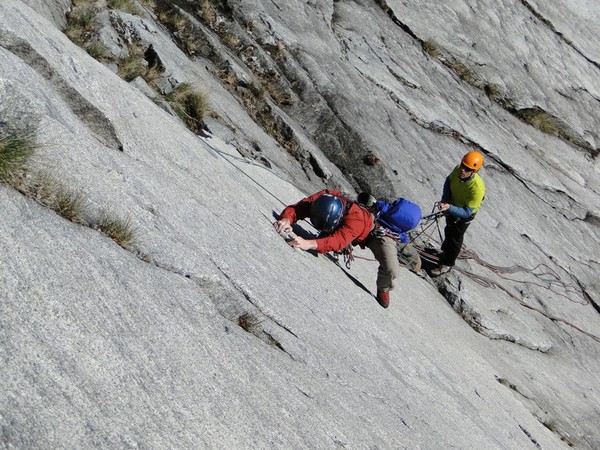
P6: 5.9, 25m
Signature pitch. Short and sweet. Takes you out left, underclinging the Excalibur flake. Go up and around to the bolted anchors (no chains).
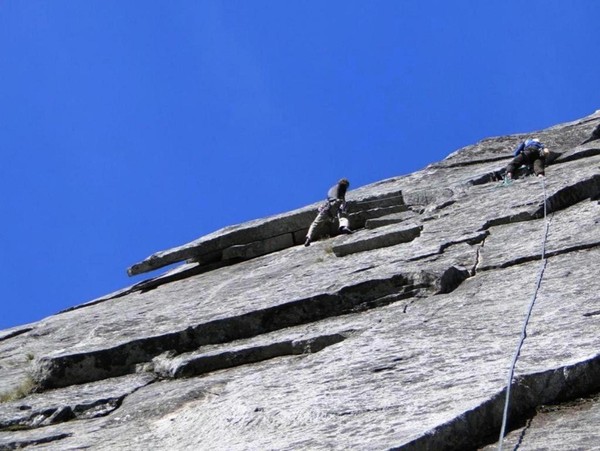
End of P6
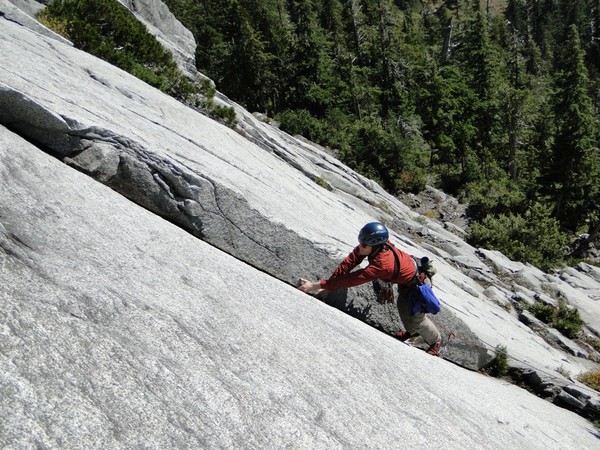
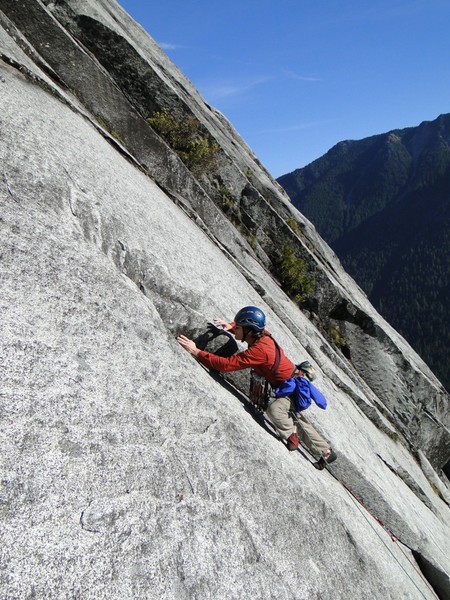
P7: 5.10-, 35m
More face climbing and small cracks lead you to the next anchors.
Starting P7 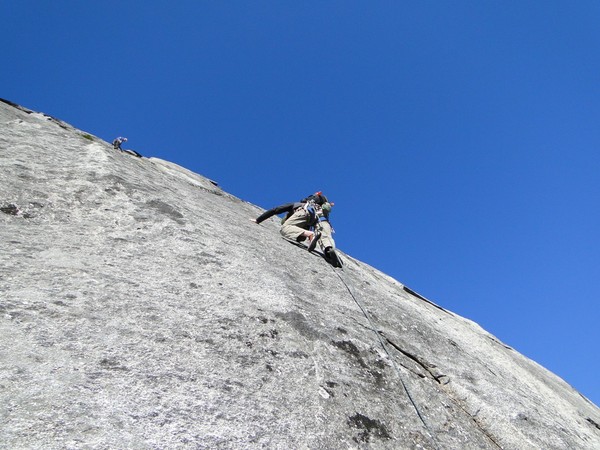
Starting P7 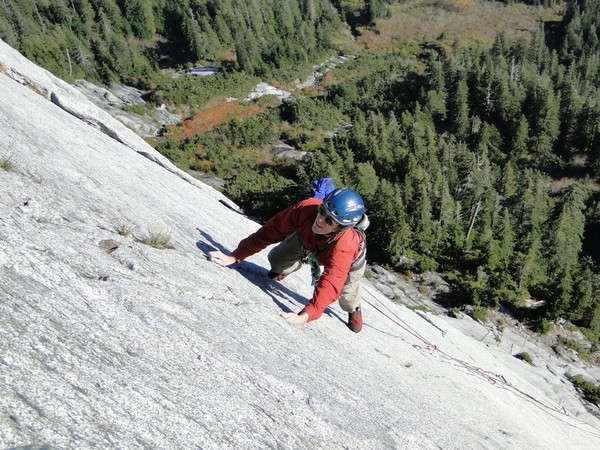
End of P7
P8: 5.10+, 15m
Has some small finger cracks, with a short traverse right.
Start of P8 finger cracks 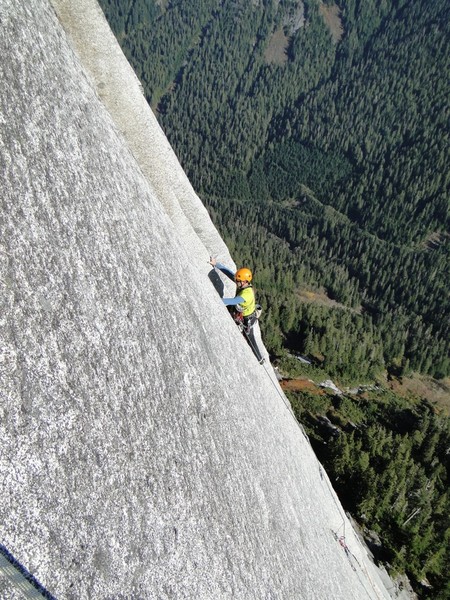
Then traversing right
P9: 5.9, 45m
Has an awesome corner that looks harder than it is. Then, get on top of the corner, and continue on a few more flake moves to the top. Most rappel from the top of this pitch.
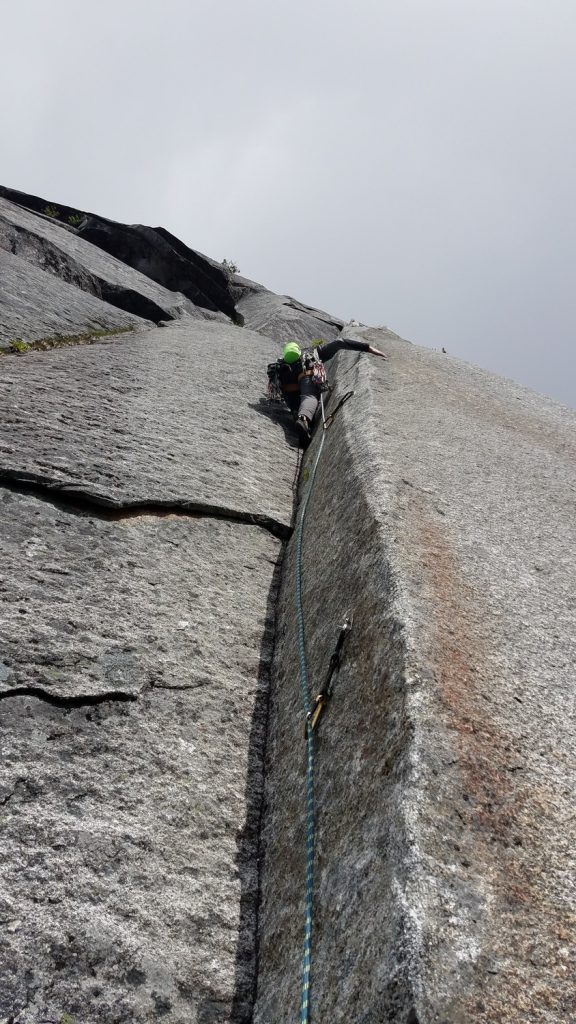
Start 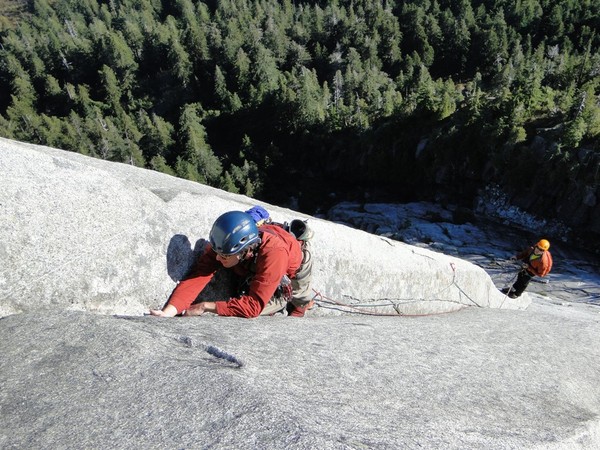
Start 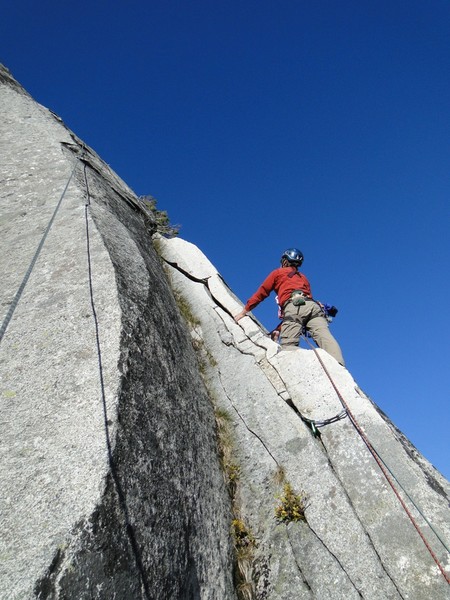
Near top 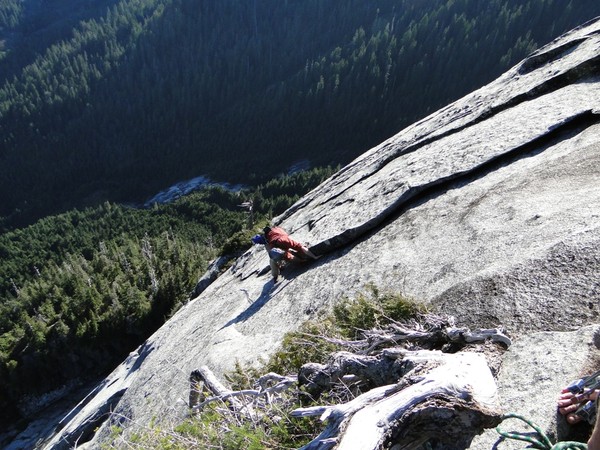
Final flake moves before the top
P10: Easy 5th Class.
Dirty. Just another pitch that gets you to the top of the wall.
P10 isn’t really obvious but I am fairly sure you can make whatever work, we went somewhat up and left from the anchor before trending up and right to the anchor. Doesn’t add much to the climbing but (if you are willing to yo-yo a little away from the anchor) gives a nice spot to sit down and relax before the rappels.
Daniel Heins
Descent
Rappel the route with two 60m ropes. Every single rappel is a double rope rappel. You’ll be skipping a few belays (some belays don’t have rap chains/rings, only bolts)… From top of P9…
- R1: Rap P9 (45m)
- R2: Rap P8-7 (50m) (Top of P7 is only a bolt anchor)
- R3: Rap P6-5 (~45-60m) (Top of P5 is only a bolt anchor)
- R4: Rap P4 (35m)
- R5: Rap P3-2 (60m) (Top of P2 is only a bolt anchor)
- R6: Rap P1 (60m)