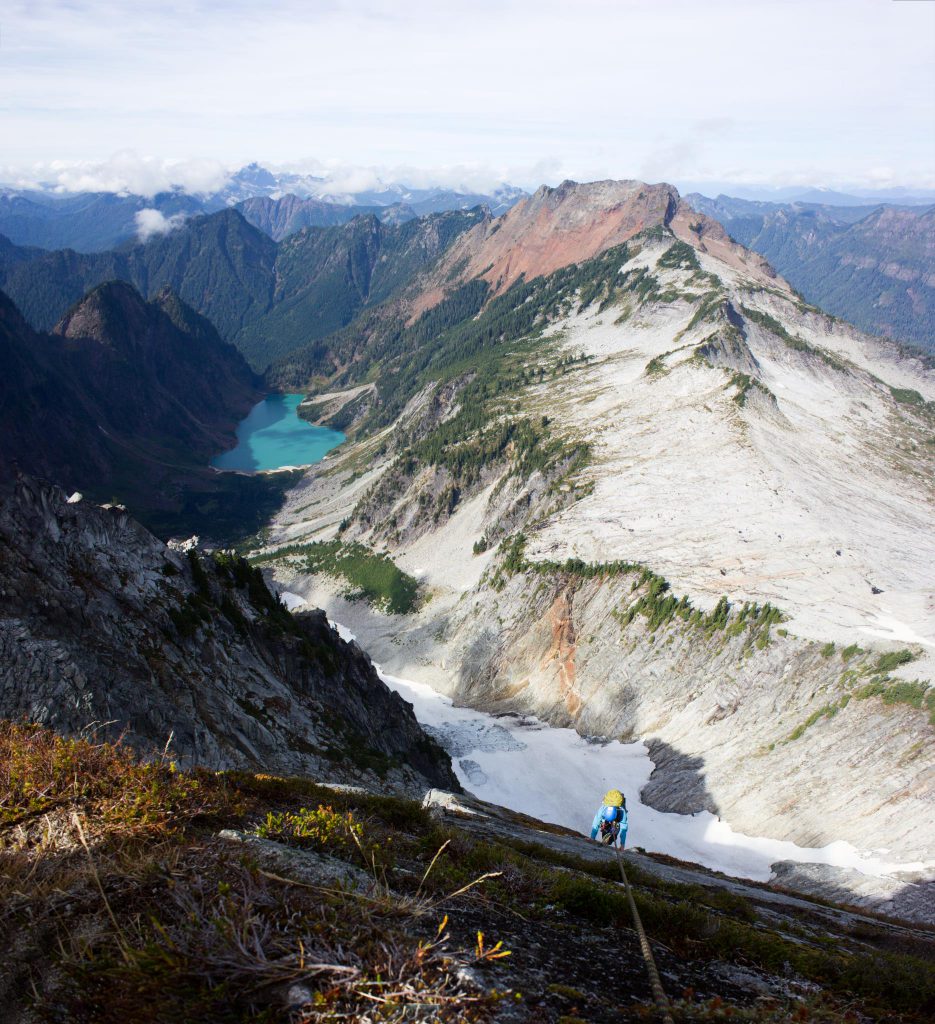
Gorgeous views and a great climb!

Resources
Gear
- 60m rope
- Doubles of 0.3 – 1, singles of 2, 3
- Small nuts
- 12 quickdraws
Climb

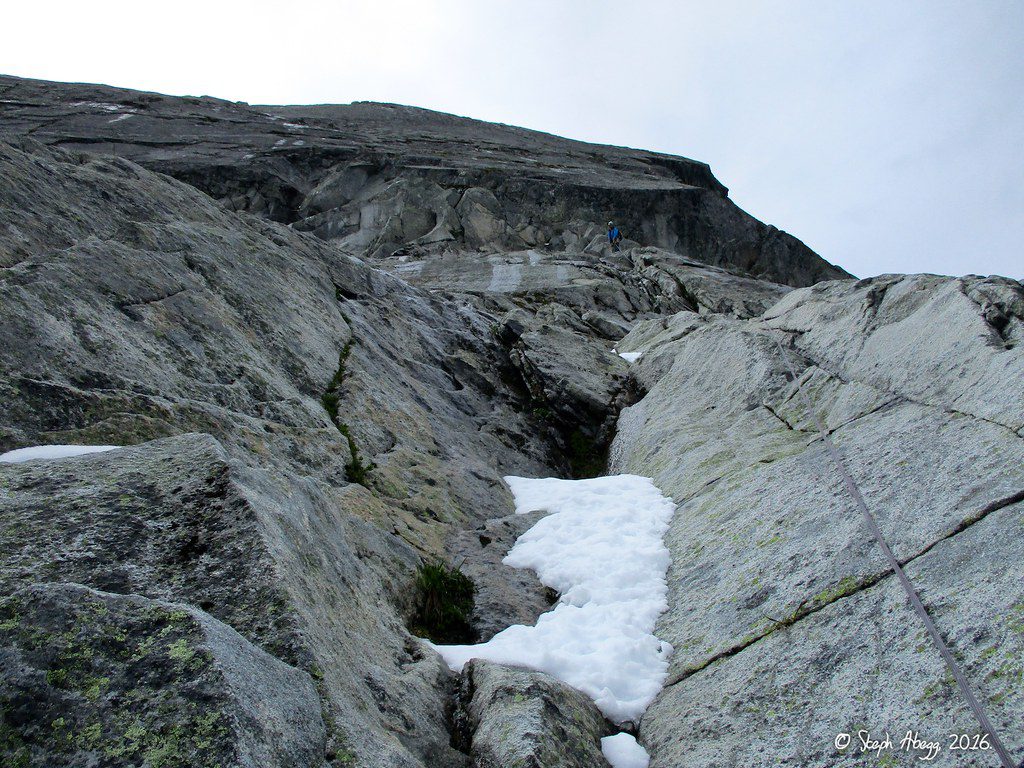
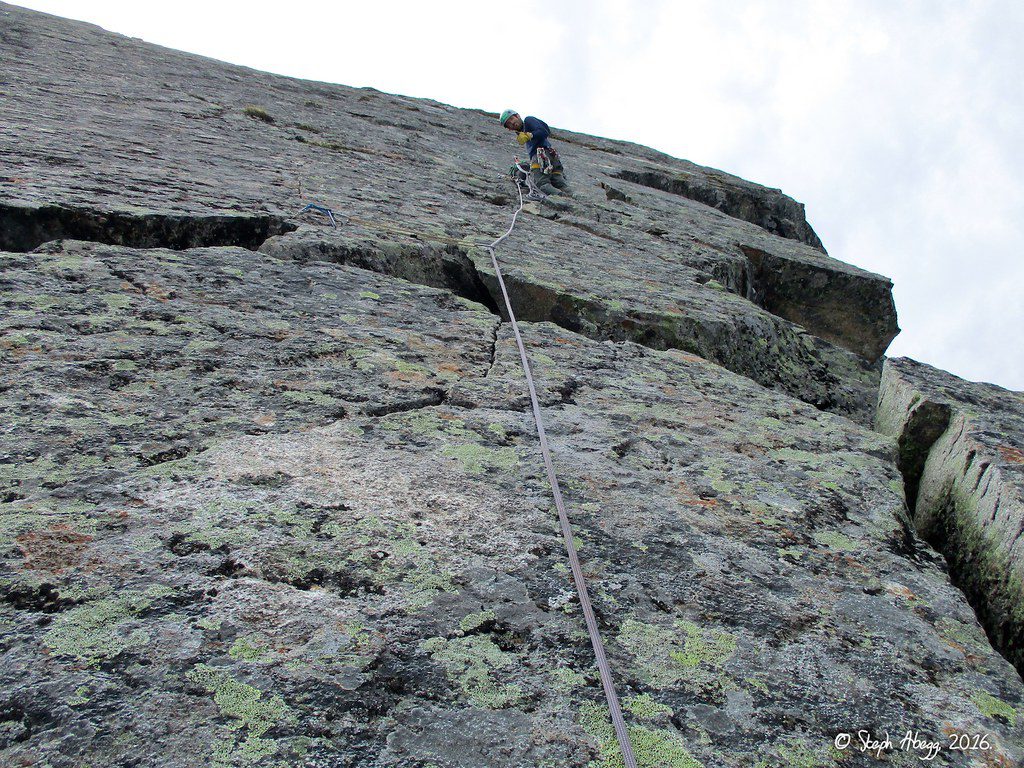
Pitch 1
I believe this photo is actually only halfway up P1, and that’s where we went left off of both of the official routes…

Pitch 2
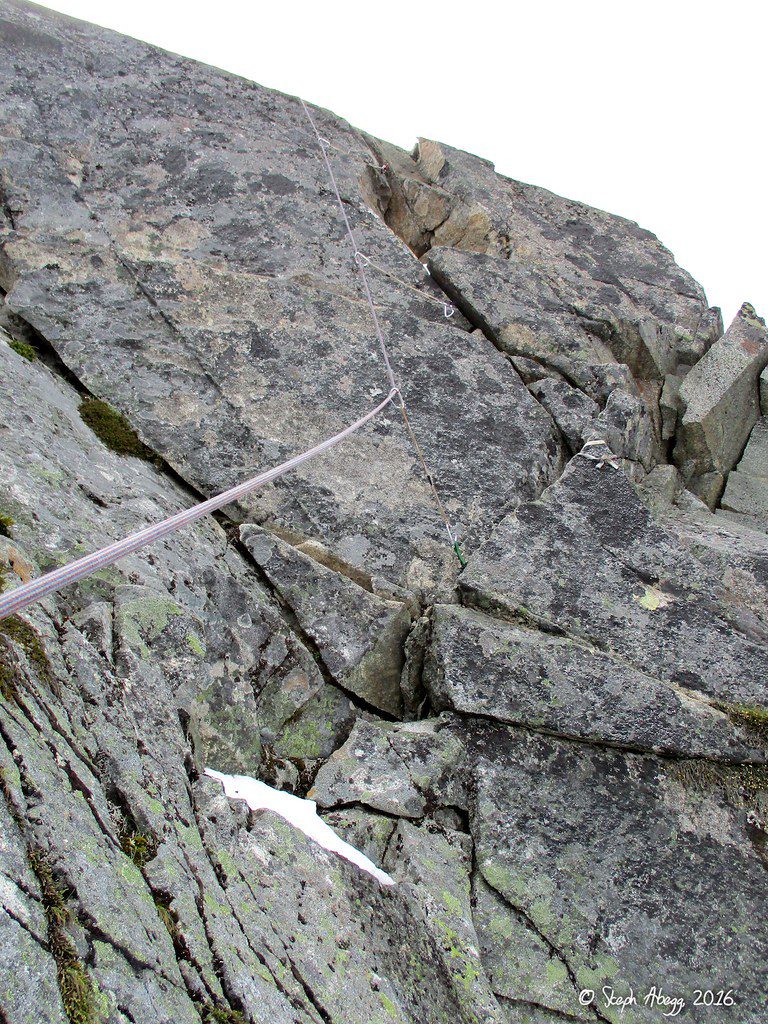
The following picture is the INCORRECT pitch 2 of our previous trip
Pitch 3
Pitch 4

Pitch 6
Second to last pitch
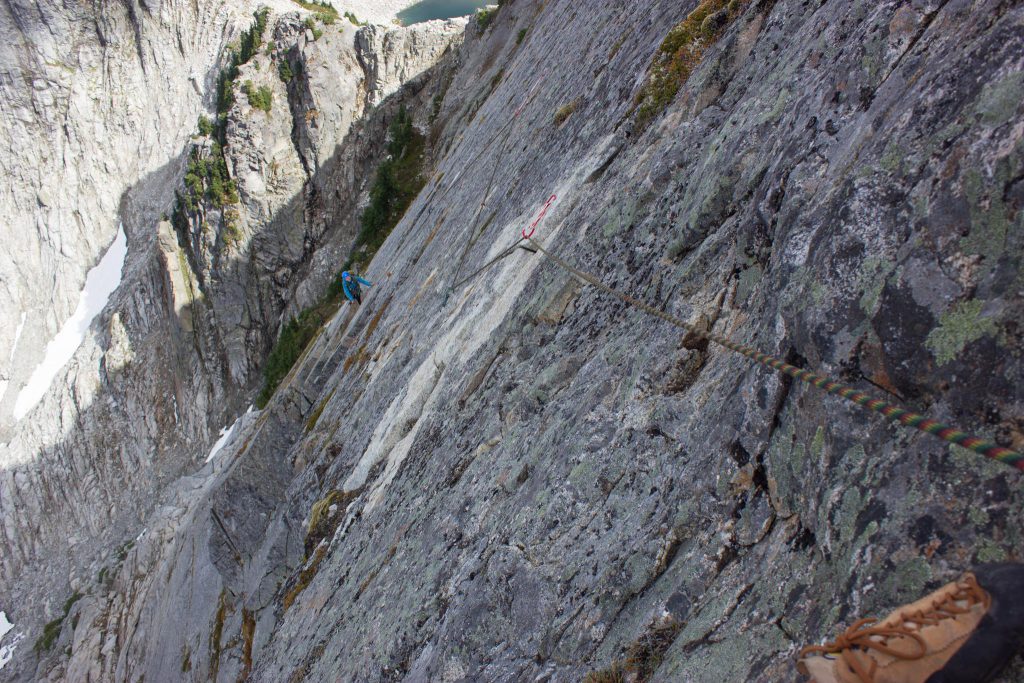
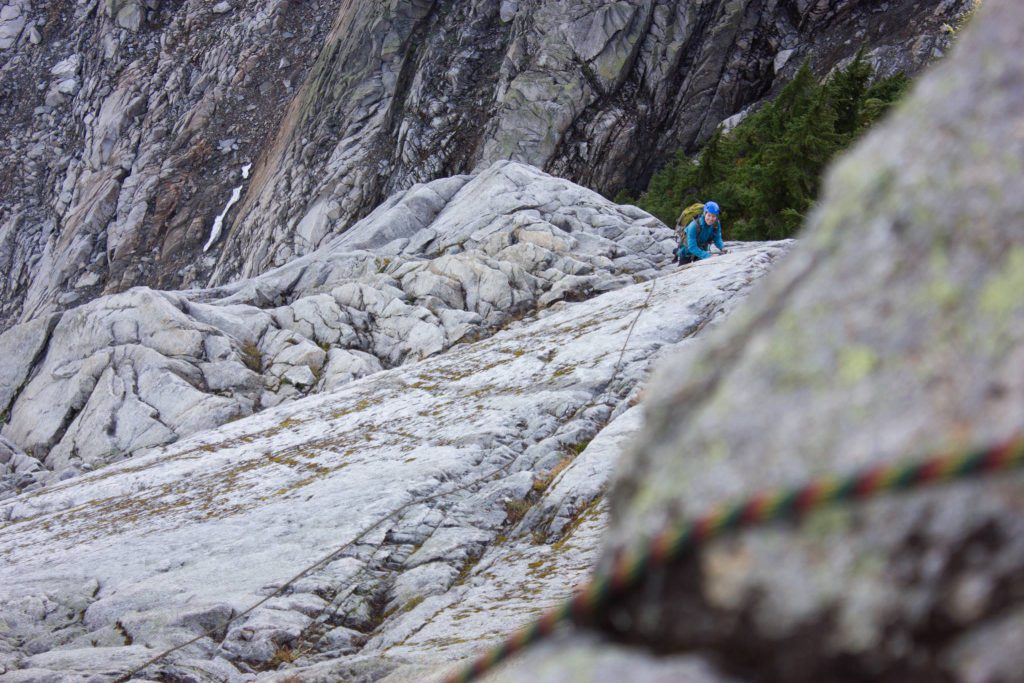
Alexis over at anchor #6, second to last pitch. It does quite a bit of traversing! 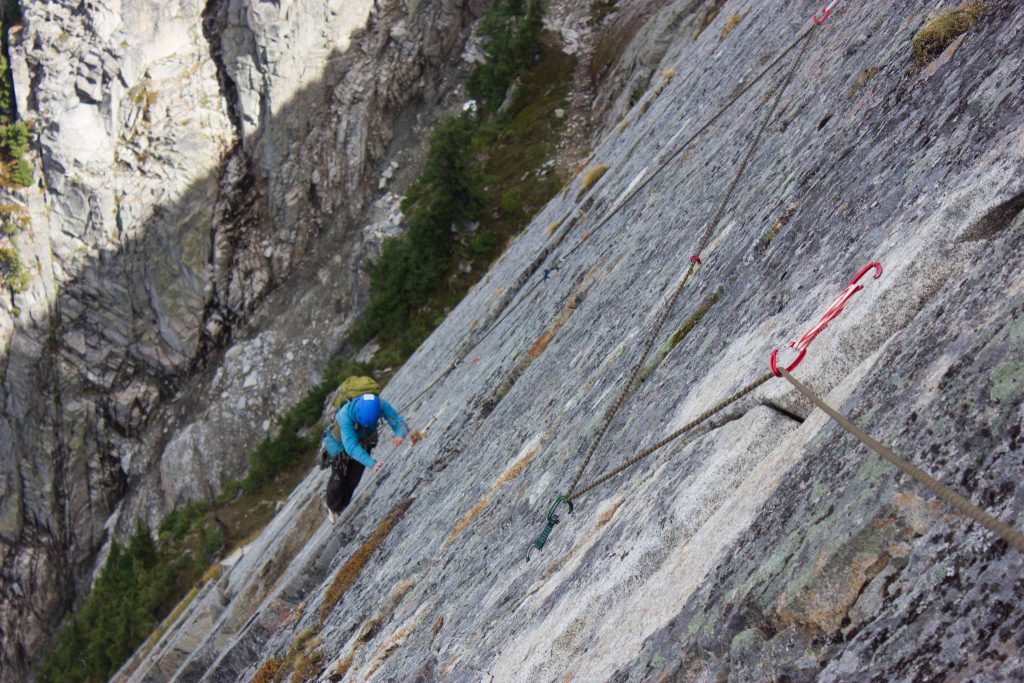
Alexis leaving anchor #6 and climbing the second to last pitch. I really did a lot of zig zagging protecting that route. Didn’t want to take a fall there since there’s an edge beneath it all that you would fall over.
Pitch 7