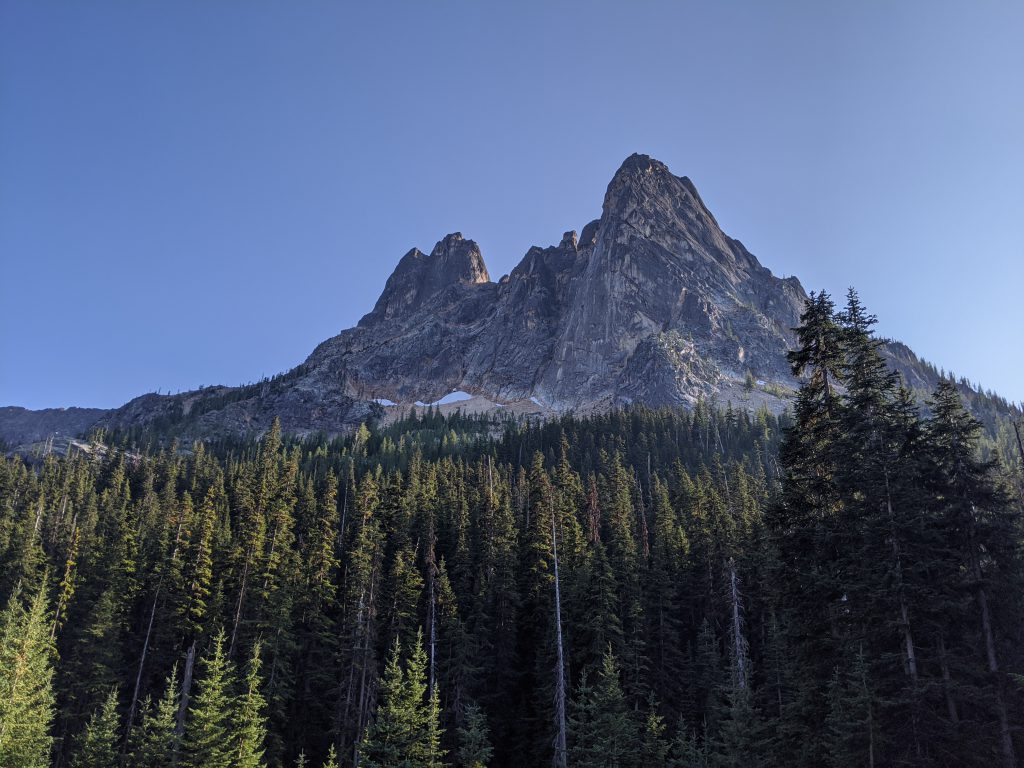
Gear
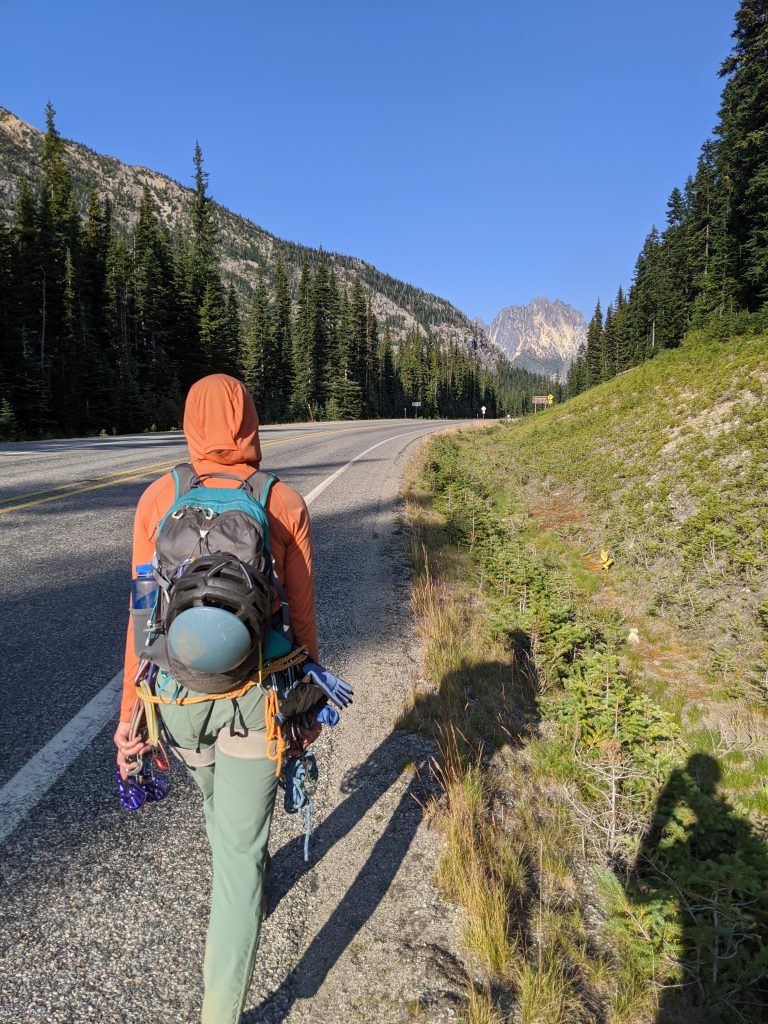
- Cams of 0.3-5 (plus Trango Big Bro equivalent to #6), with doubles of 0.5-1, and nuts, worked perfectly! Used #5 on four pitches, #6 only on the two chimney pitches, I’d bring the same gear next time! If anything maybe leave the #6, but I was happy to have it.
- Radios – They were useful on the traverse pitch, otherwise could communicate pretty well
- 1.7 liters of water
- Small red backpack
Approach
We started at 6:00 AM, found the approach trail easily on the southeast side of the pond. It’s a good trail! Halfway through it turns to a boulder field. With the smoke from California fires we were hiking a bit slower, it took us 50 minutes to the base, not a bad approach.
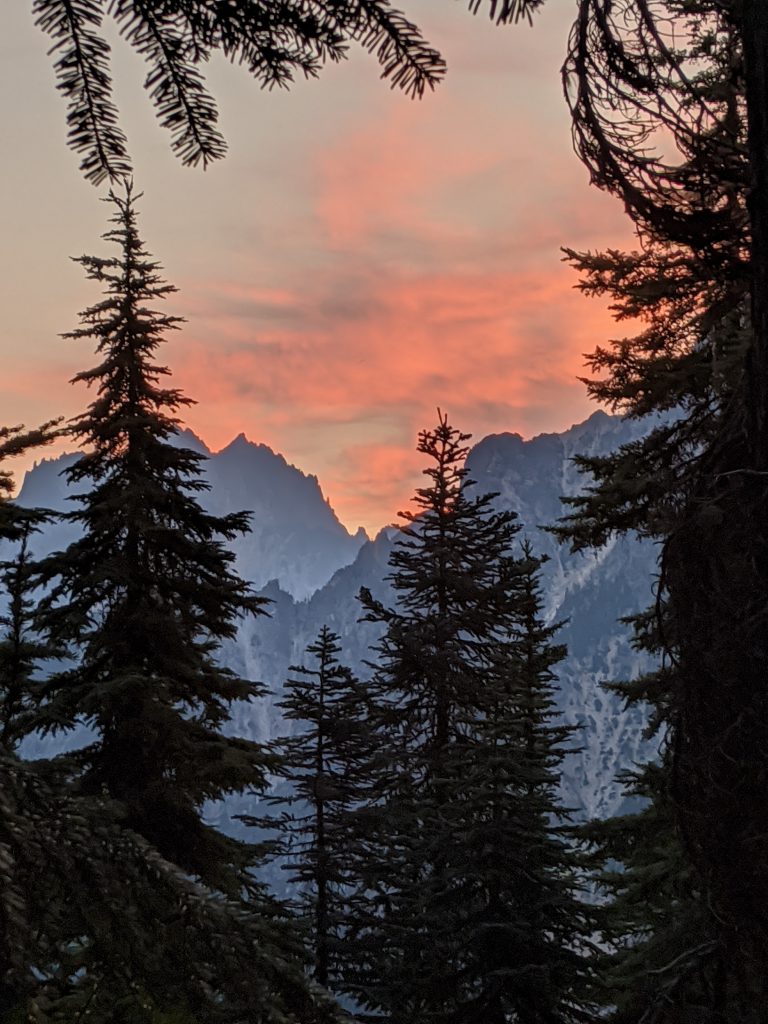
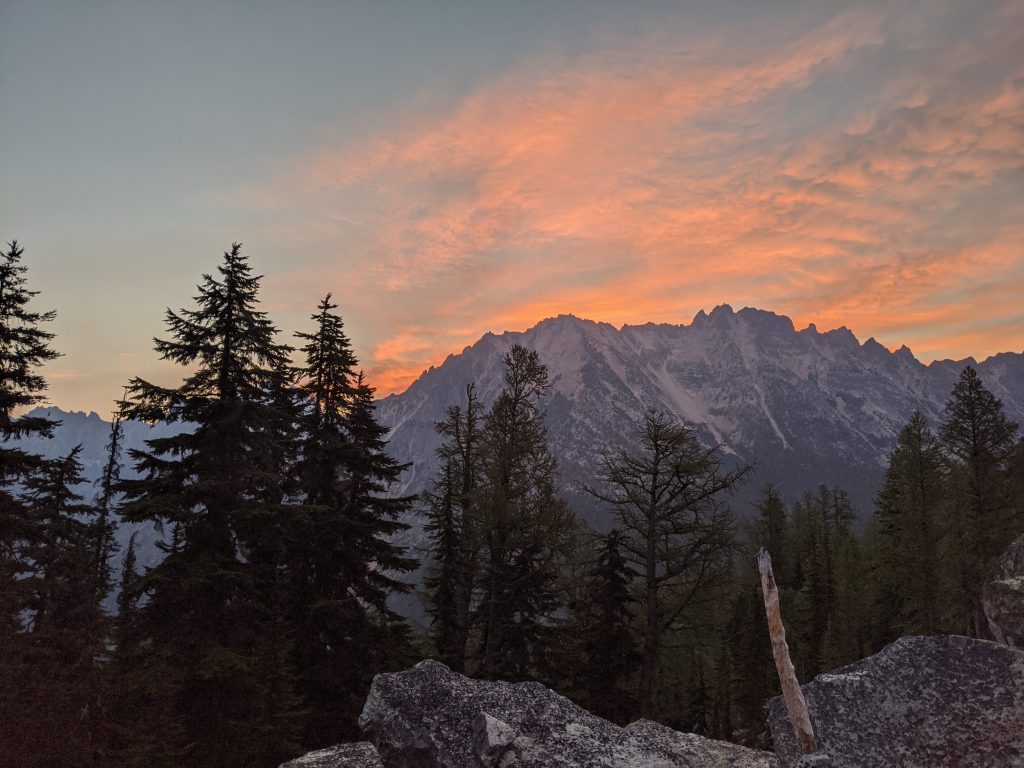
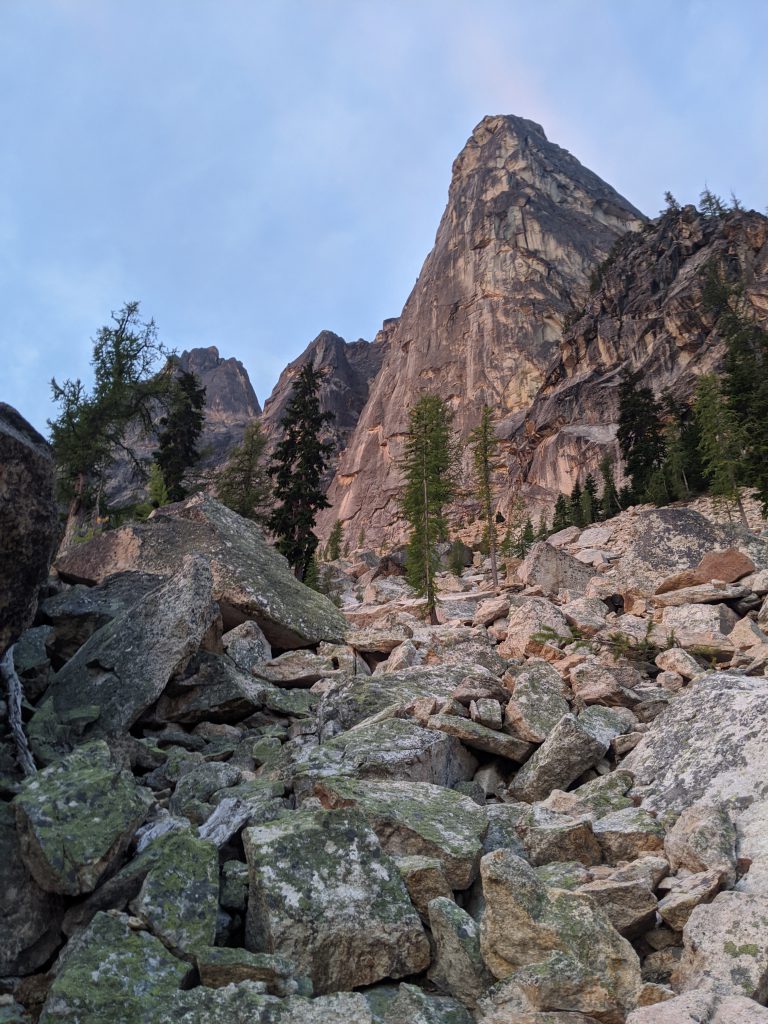
Liberty… not Lexington 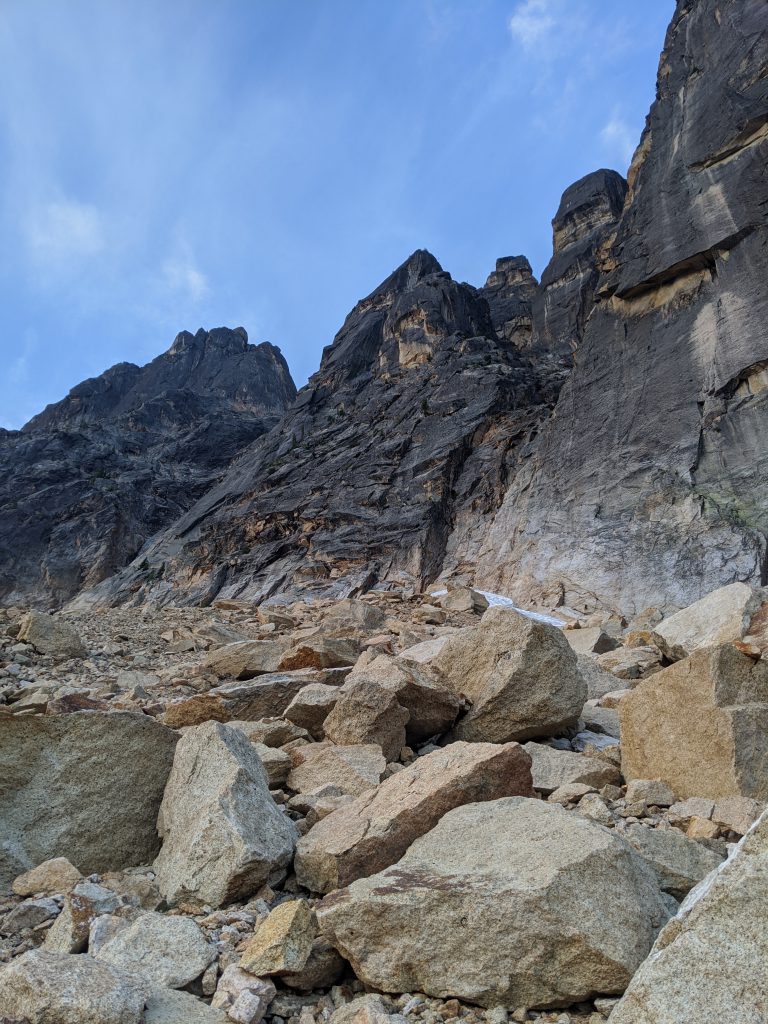
Lexington!
Pitch 1 – 5.7R, ~180′
Walking around the moat looked difficult, so we did the right (direct) start. It was easy climbing but definitely runout, ends on the tree ledges on the left. I should have exited left for tree ledge earlier but had to do a traverse higher up and then go down. That part protected well though which was nice since it was tricky. I slung a dead tree plus placed a bigger cam for the anchor.
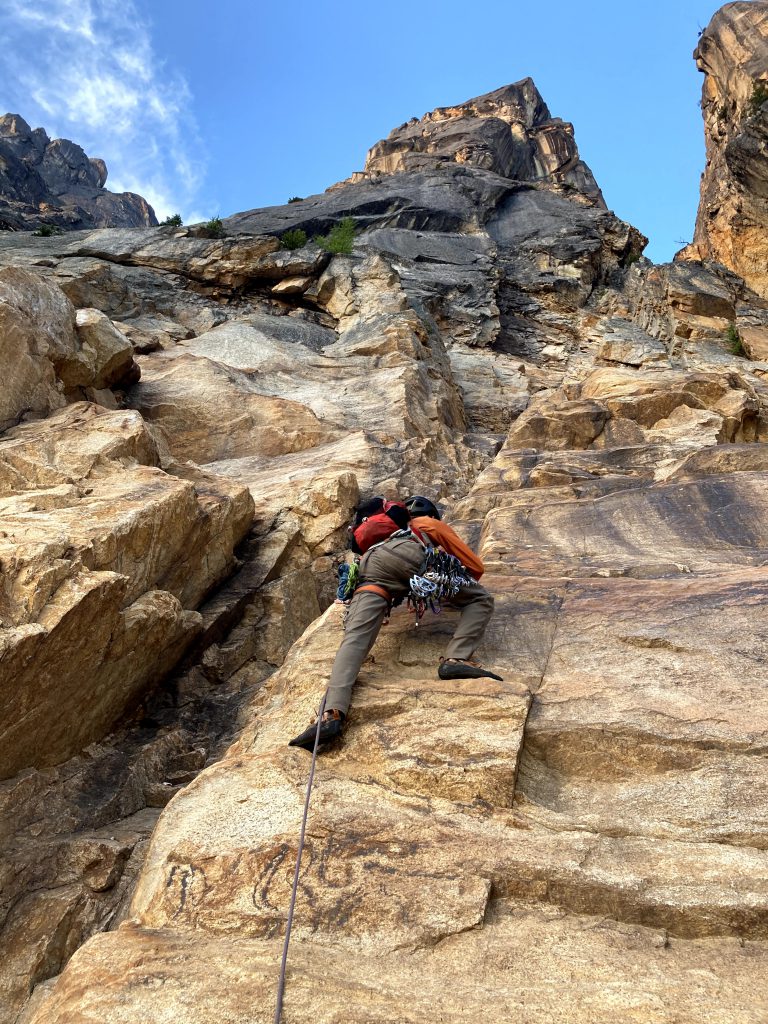
Pitch 2 – ~5.6 PG13, 230′
We left the belay at the start (right) of the tree ledge and I walked to the edge of the ledge and then started climbing the runout, slightly slabby face. I think I placed a decent amount of gear though, never felt terrible. Guidebook says 5.5 but idk about only 5.5, probably at least 5.6. I stayed on the most traveled terrain, it’s decently obvious. To reach the small “belay” tree, Alexis had to walk the ledge and then step off the previous big tree ledge and onto some of the route (it was long!). I slung a block next to the tree for anchor.
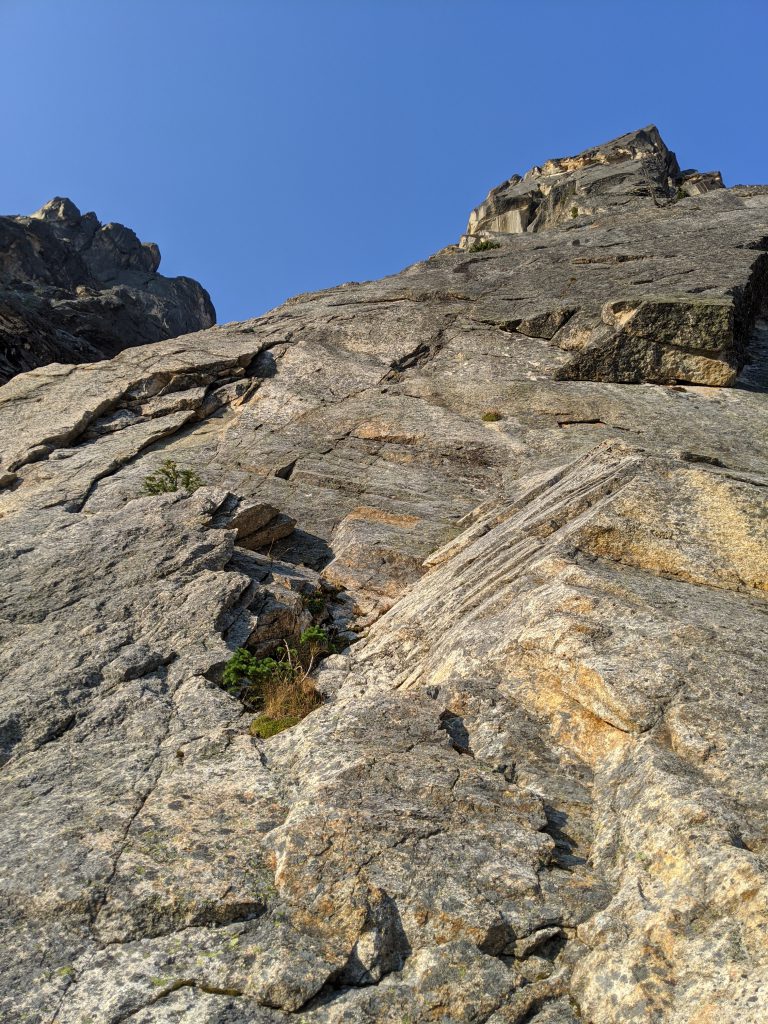
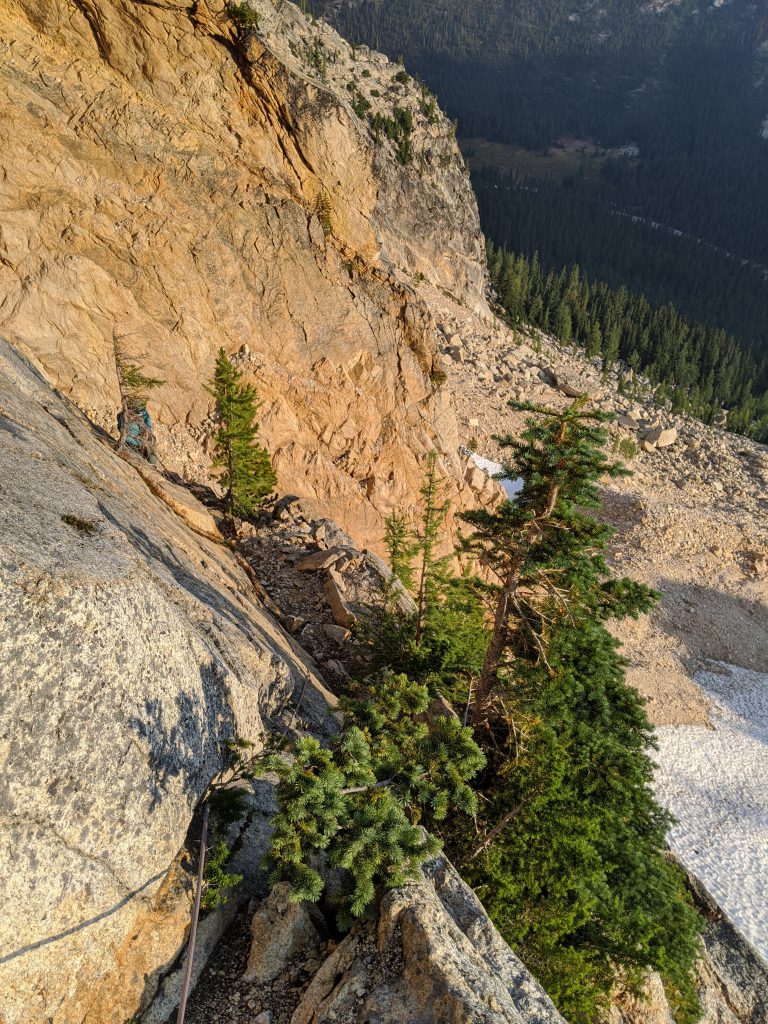
End of the tree ledge 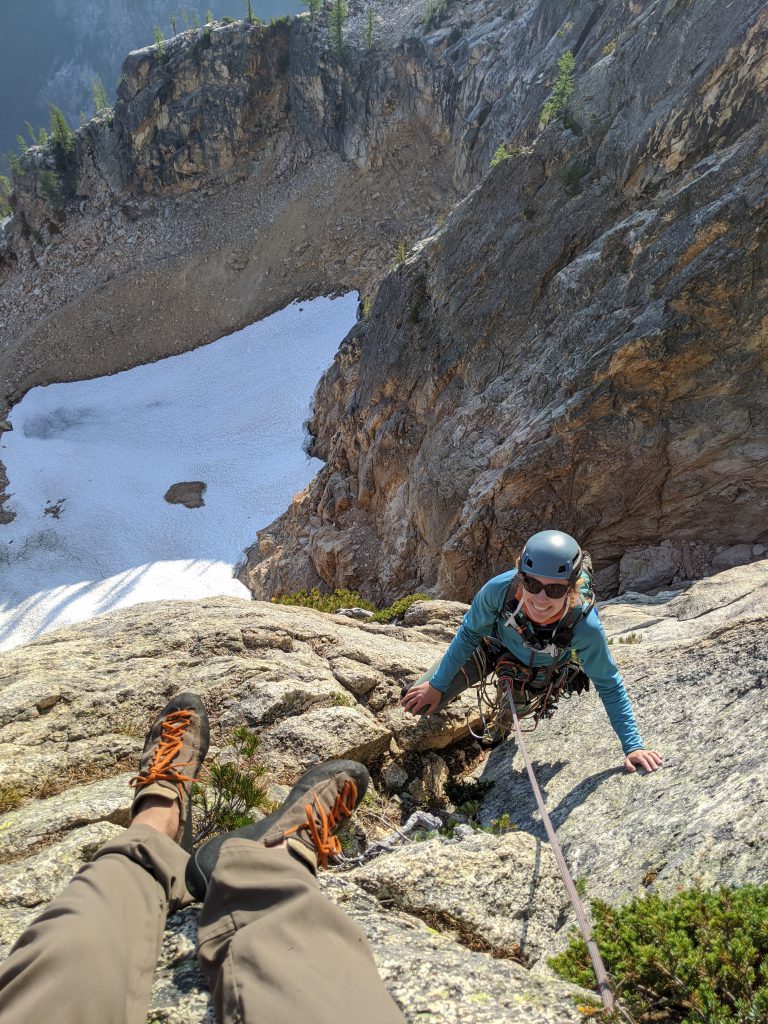
End of P2
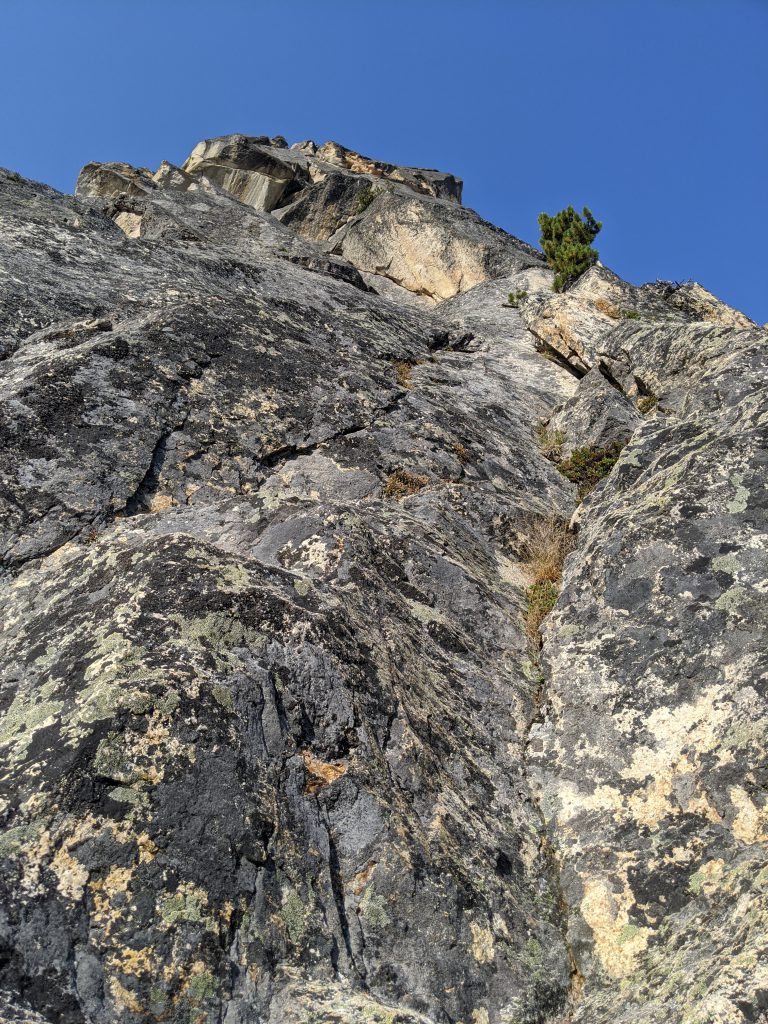
Pitch 3 – 5.8, ~180′
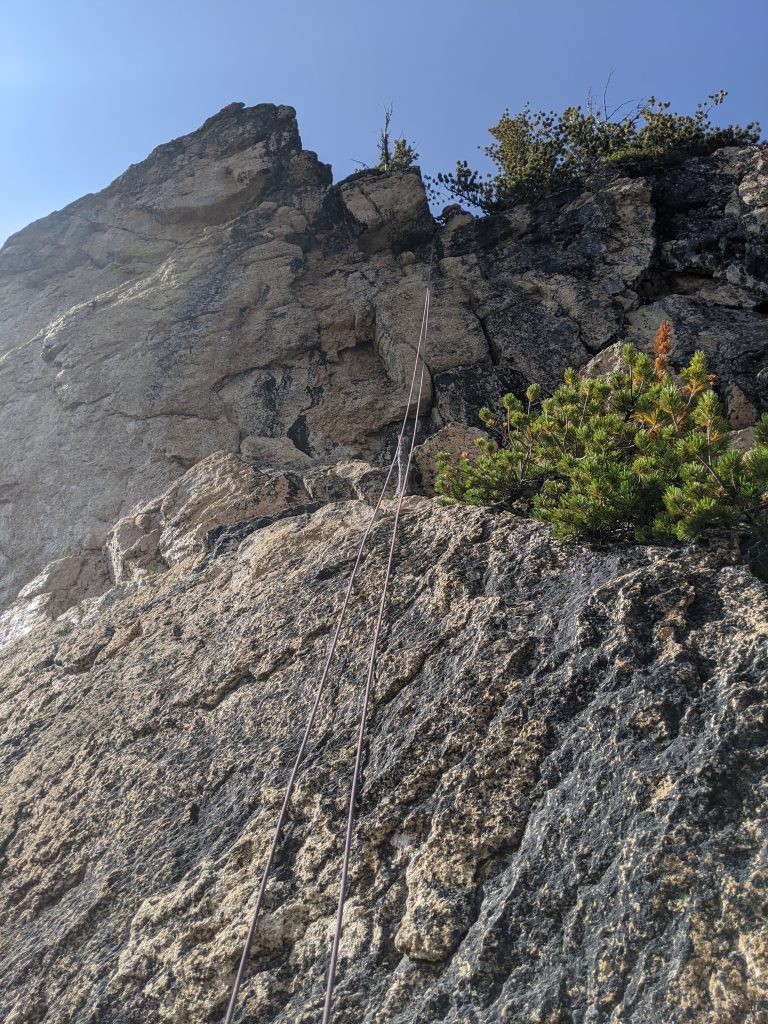
Fun lean back cracks! Protects well, good climbing. Longer than guidebook makes it appear. I used a #5 on this pitch. Ends at a semi hanging gear belay I believe.
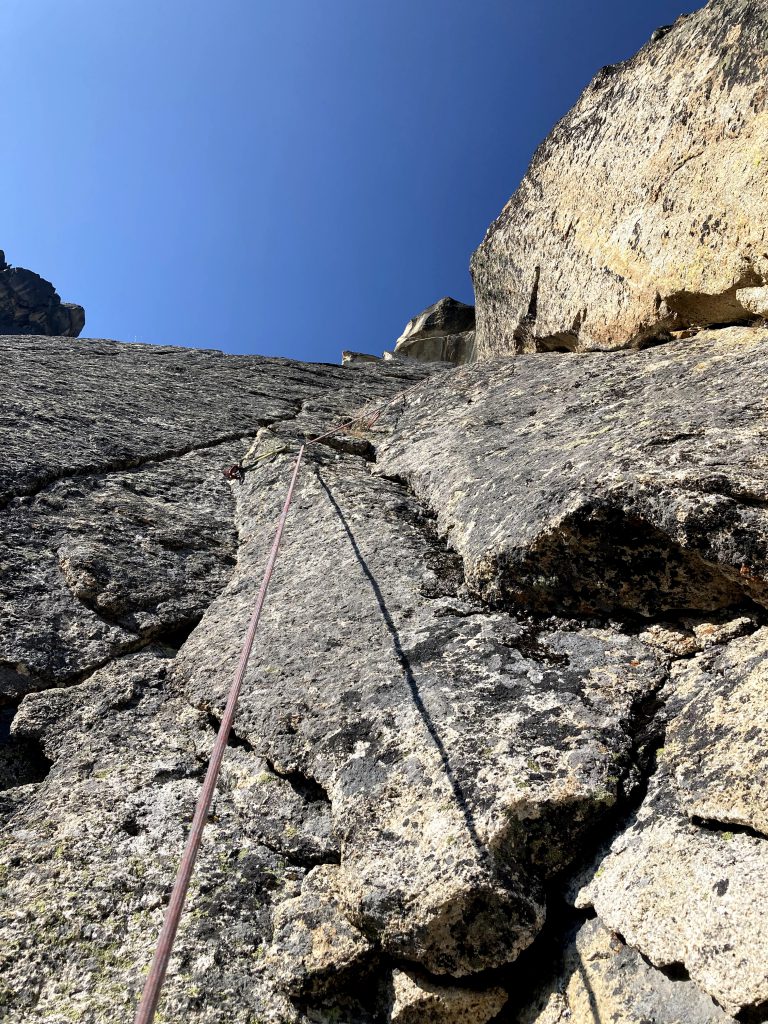
Midway up P3, fun! 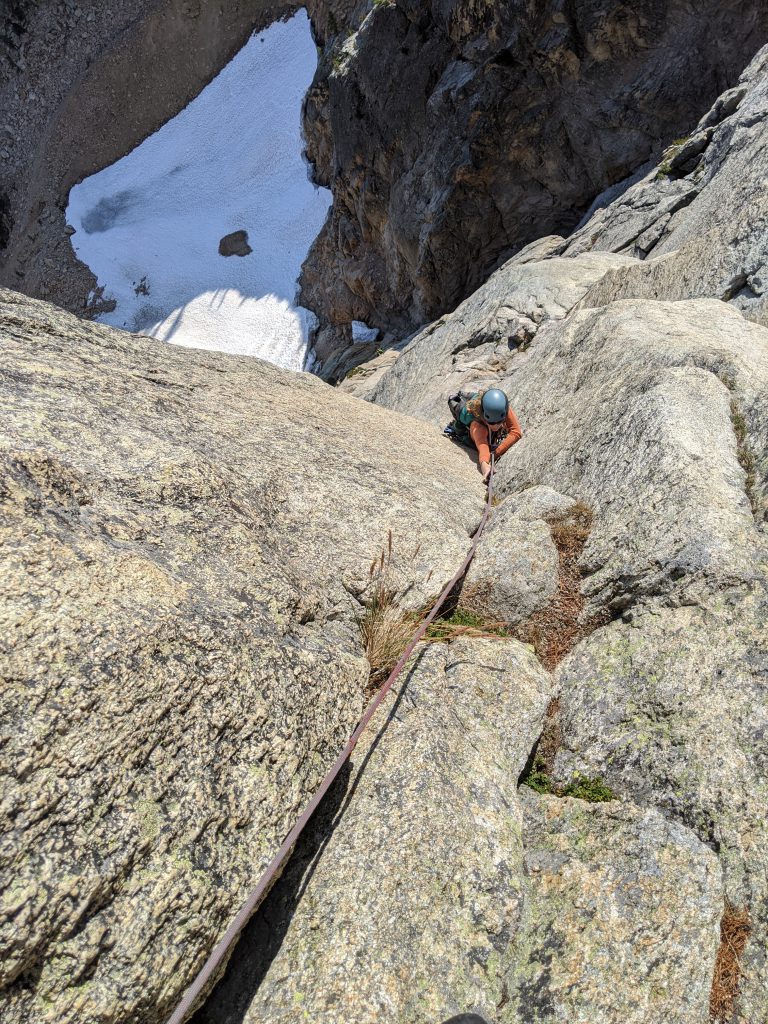
End of P3
Pitch 4 – 5.8+, ~120′
Dirtier lean back crack climbing, but the spots where you have to step on brush actually protect well, used #5 again. Ends at a semi hanging gear belay underneath roof traverse with a piton plus gear (takes nuts really well).
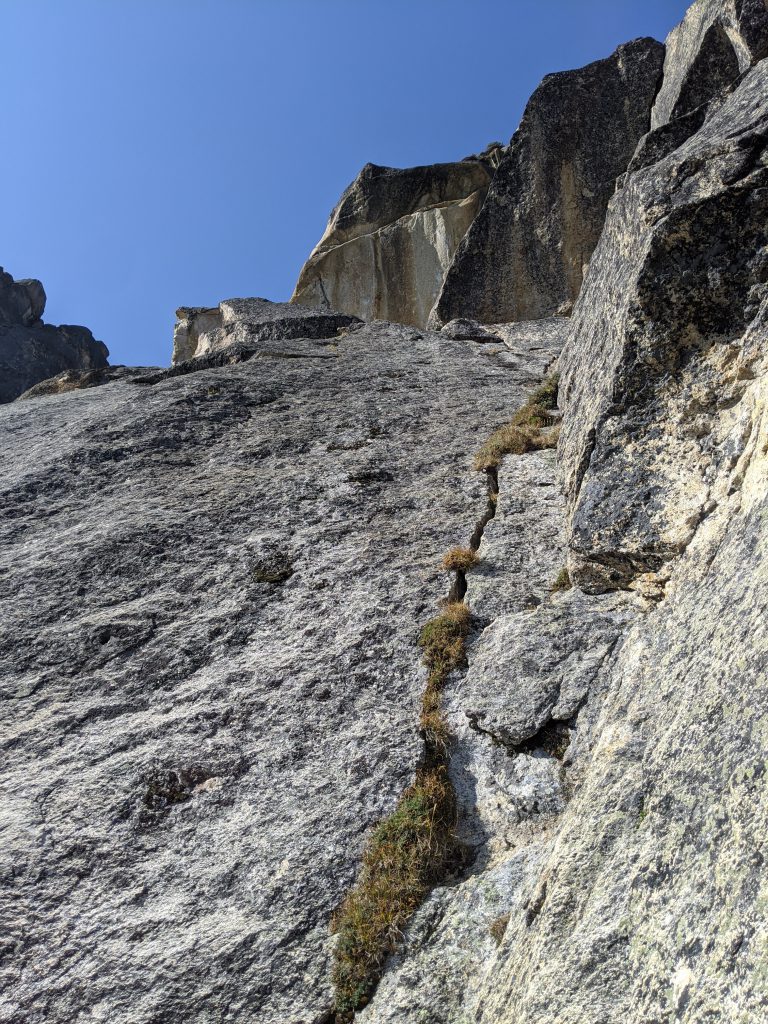
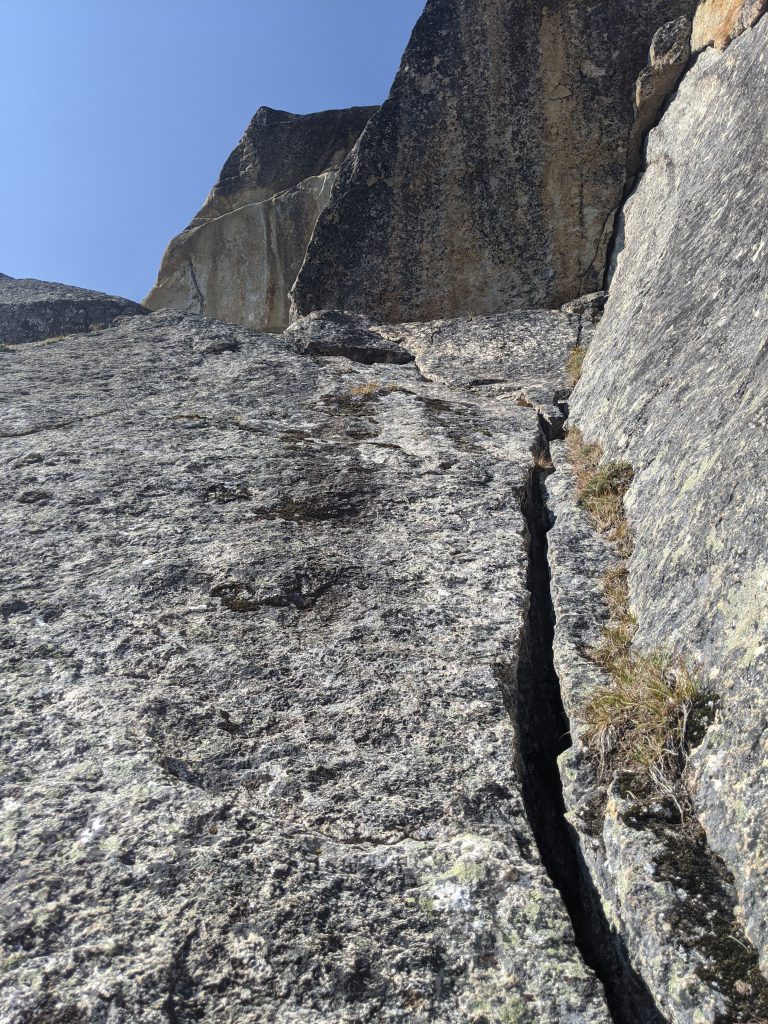
1/3 up 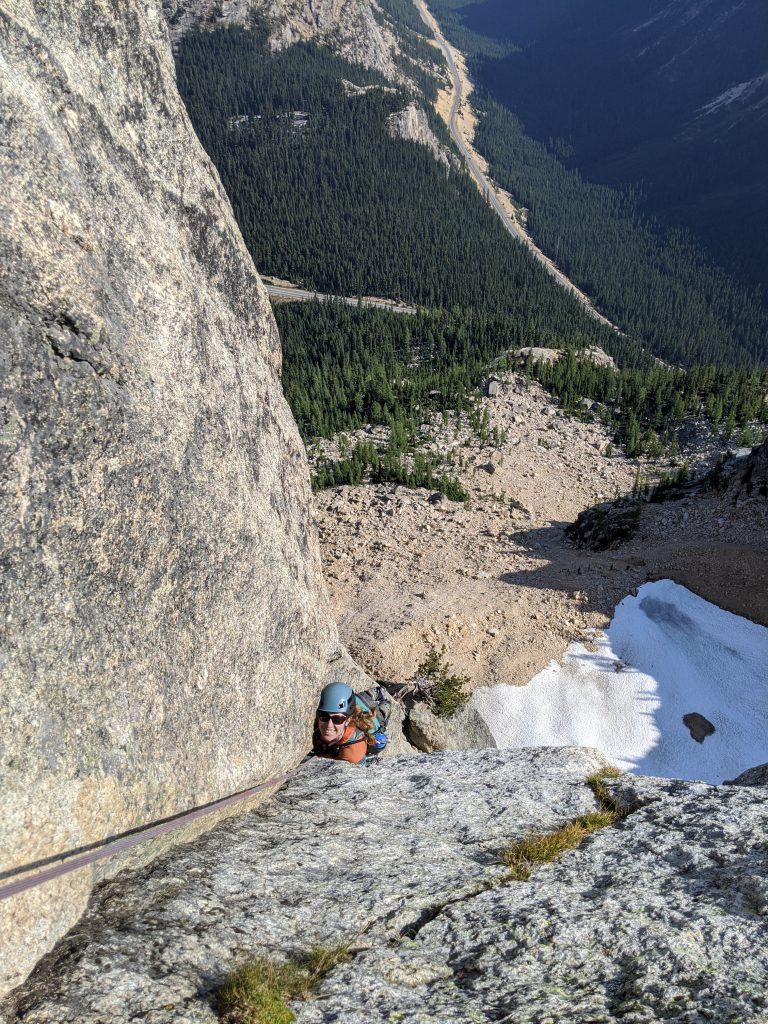
End of P4
Pitch 5 – 5.9, ~110′
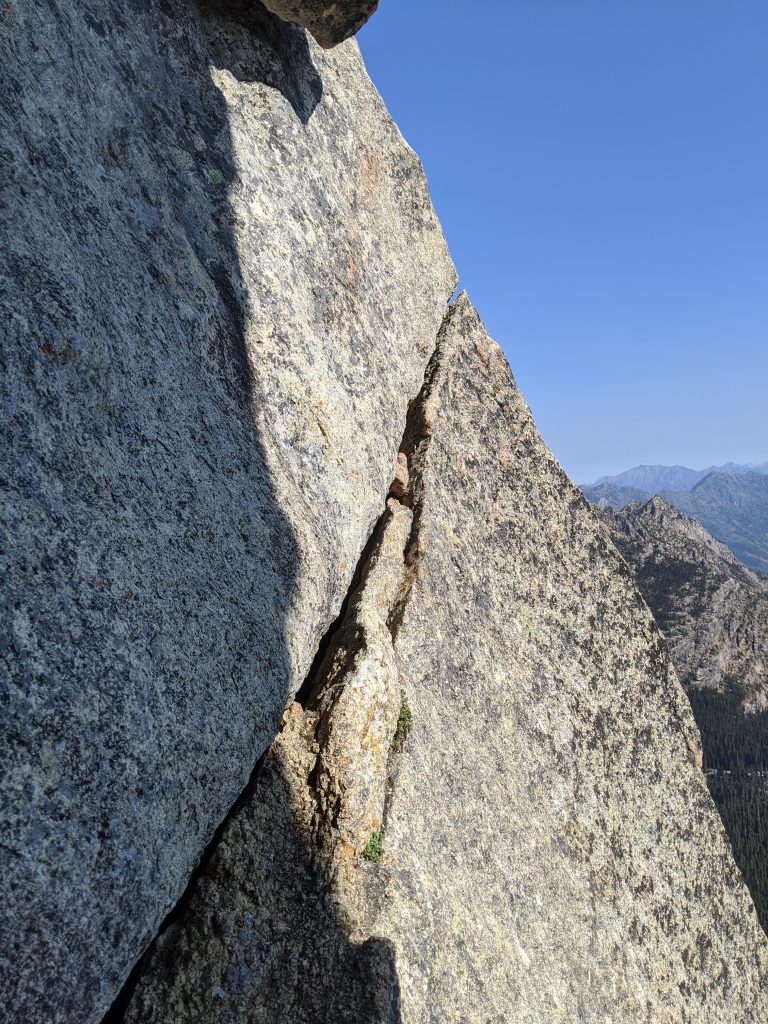
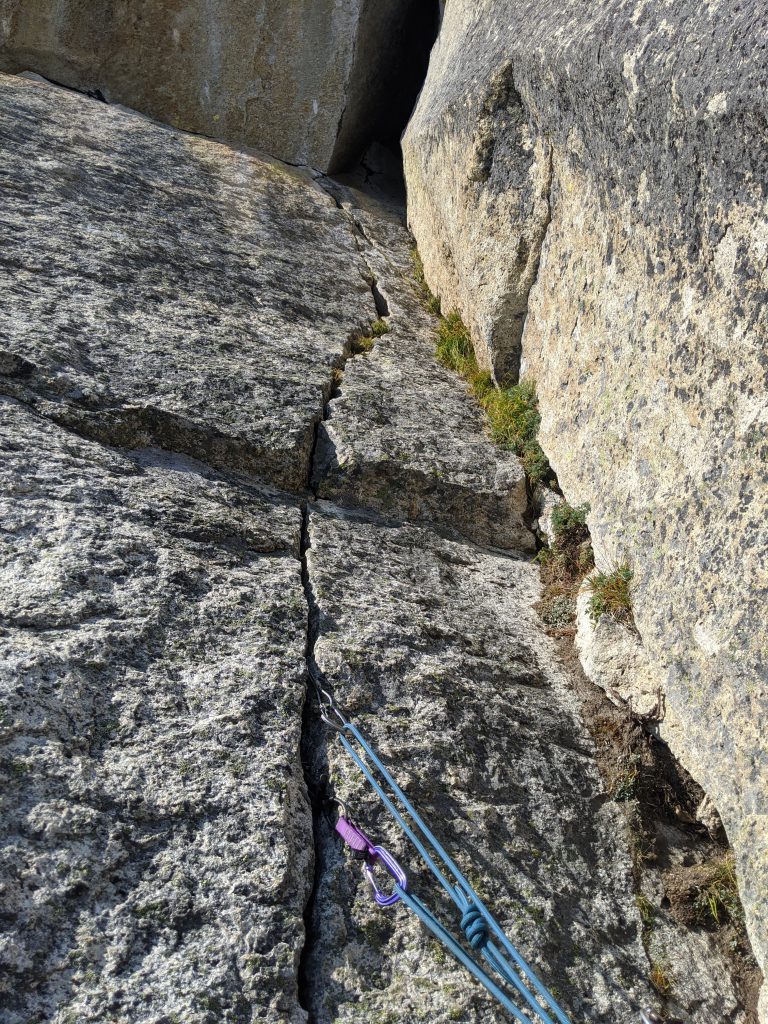
Getting up to the roof involves some more lean back crack, then it seemed best to climb as high as possible into the roof and start by standing on the traverse crack.
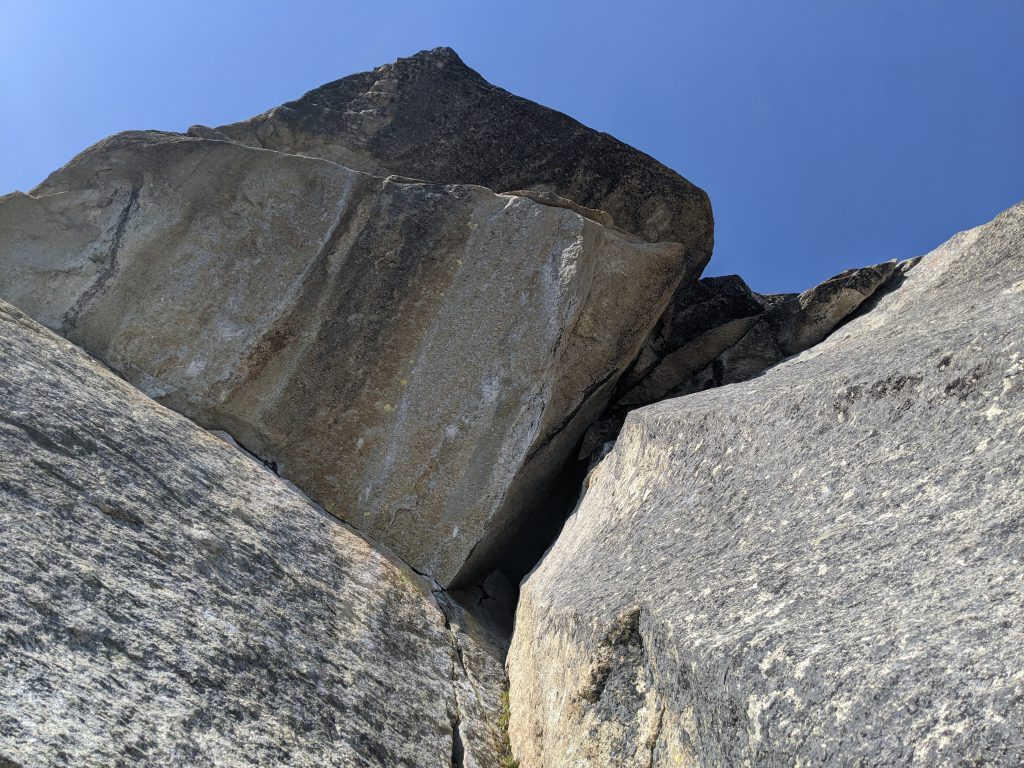
You can place cams (0.75-1) along the crack. About 1/3 into traverse, transition down to using your hands on the crack and feet on slab below (easier to place gear and less awkward too). Just before the end of the traverse, get back up onto the crack (pretty easy move up), and then reach for the layback flake… Place a cam (I think 5, can get a #1 slightly higher too) and pull the difficult awkward layback. It’s super strange but protects well, probably the crux move of the entire route. Then climb the lean back crack that traverses slightly left (takes gear 0.5-2, definitely save a #2 for it), follow it till you can step left to base of chimney, belay off slinged rock. Followers that don’t like traverses definitely won’t like this section. Rope drag wasn’t bad even with placing a cam almost near the top of the start of the traverse and then a piece 5 feet out on traverse.
The start of P5 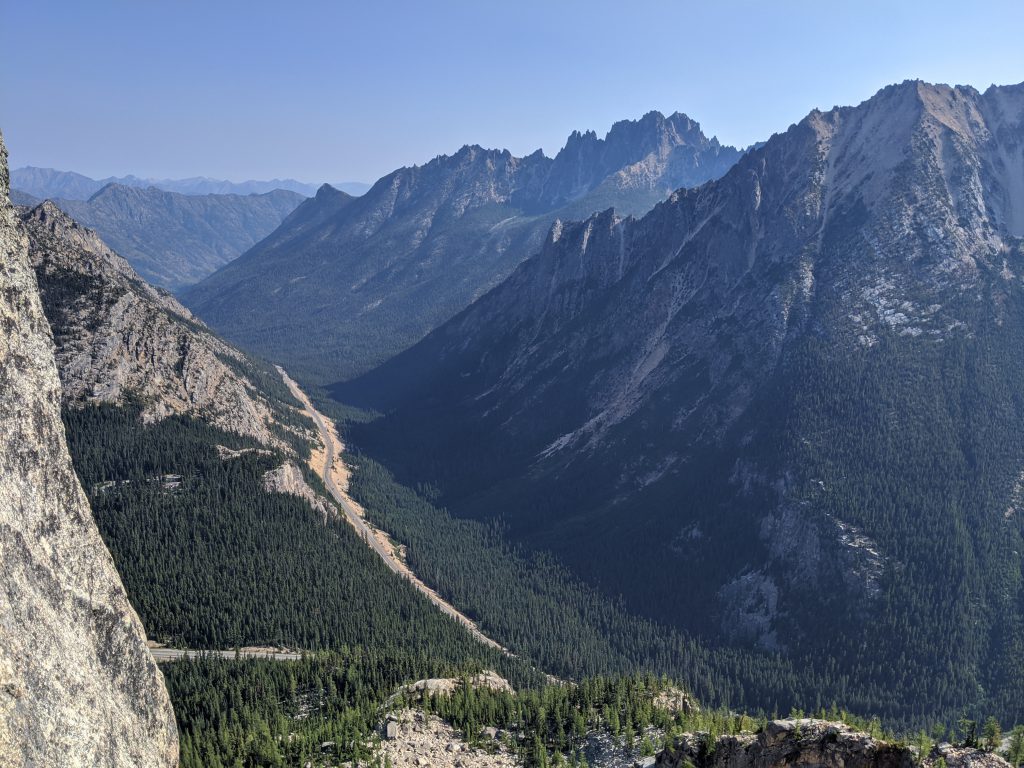
Good views!
Pitch 6 – 5.9+, ~100′
Starts with the chimney which a #5 just barely doesn’t fit, but #6 is definitely nice to have to protect start. I initially climbed a bit outside of the chimney, stemming across both sides, till I suddenly was at the two bolts. They’re oddly right next to each other, so the bottom bolt was already at my feet and kinda pointless. Then there was a chockstone rock for some more pro. It’s 100% chimney climbing at that section. With my backpack, I often had one foot on the right wall and another foot behind me on the left wall, even did several knee bars. I was basically inchworming my way up… super slow and super exhausting! Then I exited the chimney on the right and climbed a wide flaring crack (I think I placed #5 here) and slung a rock for belay beneath the next less-vertical looking chimney pitch.
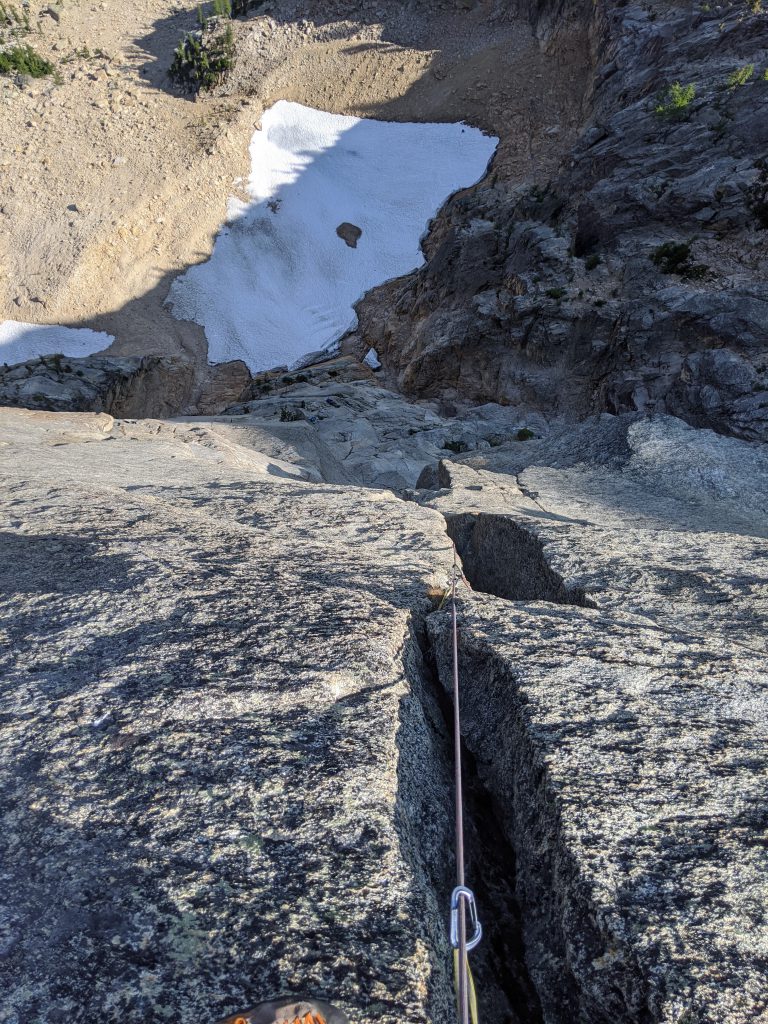
End of P6 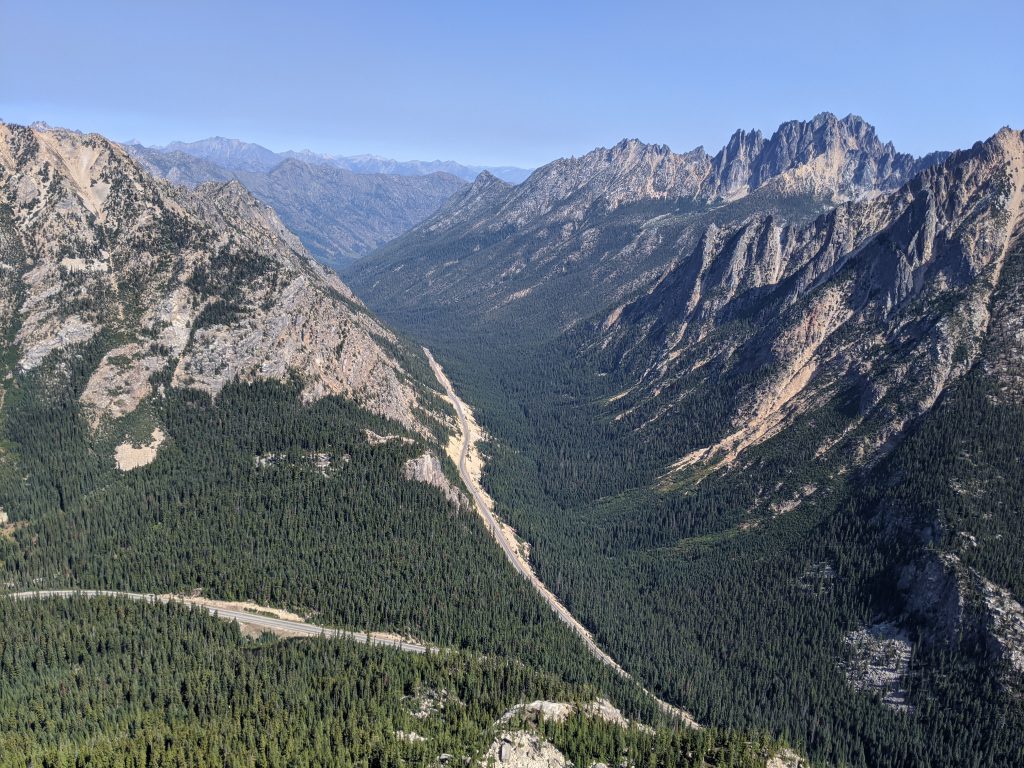
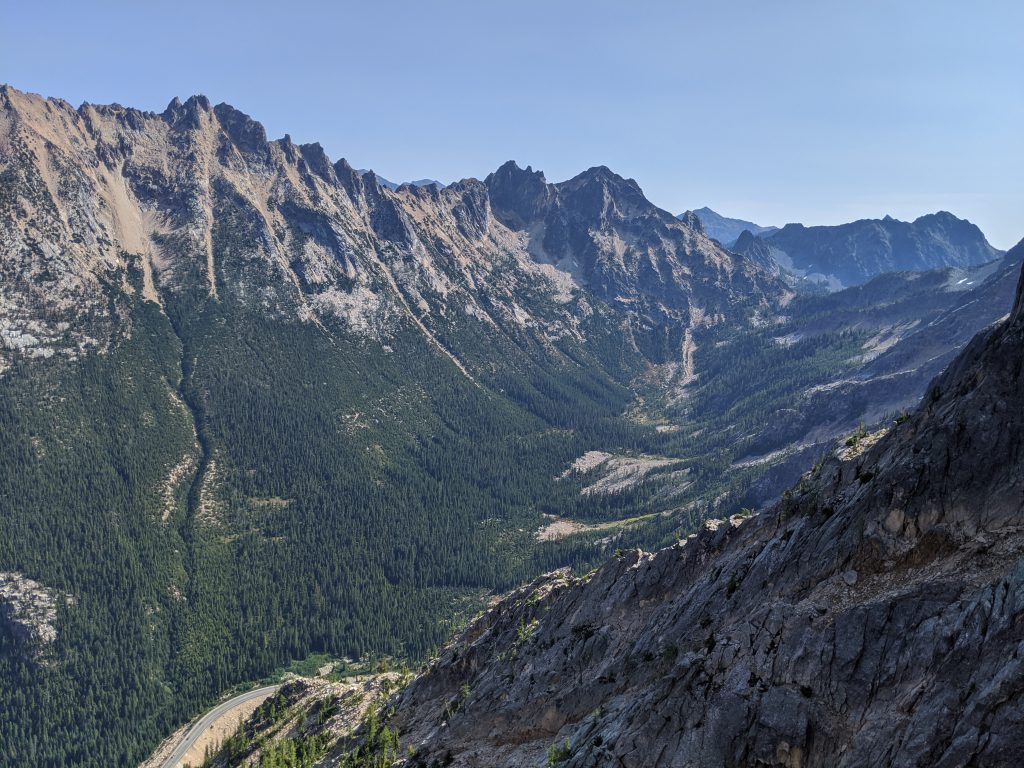
Pitch 7 – 5.8+, 100′
Start up towards the next chimney and eventually enter the chimney once again. #6 useful once again, I placed #5 somewhere too. No gear for about 15′ inside chimney, keep doing full chimney technique (same as last, felt just as hard) till you reach a block near the top that has slings which you can clip. Then I think there was a bit more up the chimney, but keep an eye out on the left as you don’t keep going up forever, exit left onto some ledges with trees and belay off tree.
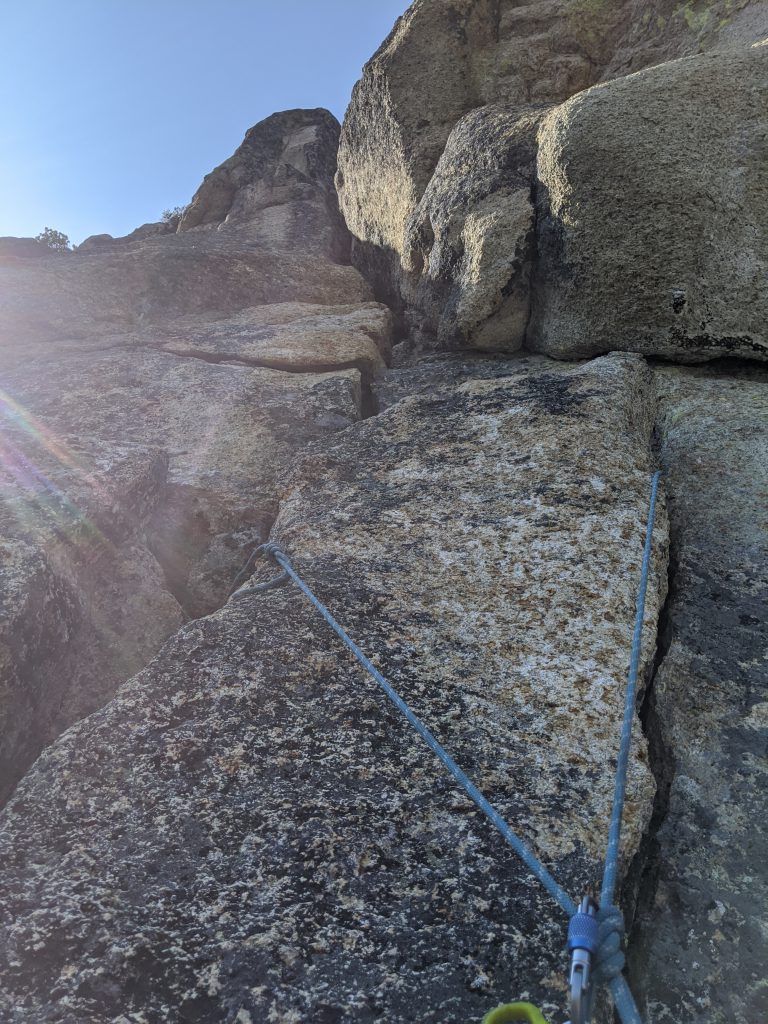
Pitch 8 – ~5.6, 140′
Rock quality turns gritty and slightly crumbly, but terrain eases and still more protectable than first two pitches. If you did the first 2 pitches, this one isn’t fun but still easier/safer feeling than those. Eventually you’ll find a really nice ledge with some trees (one of the best ledges yet). Sling a block and belay.
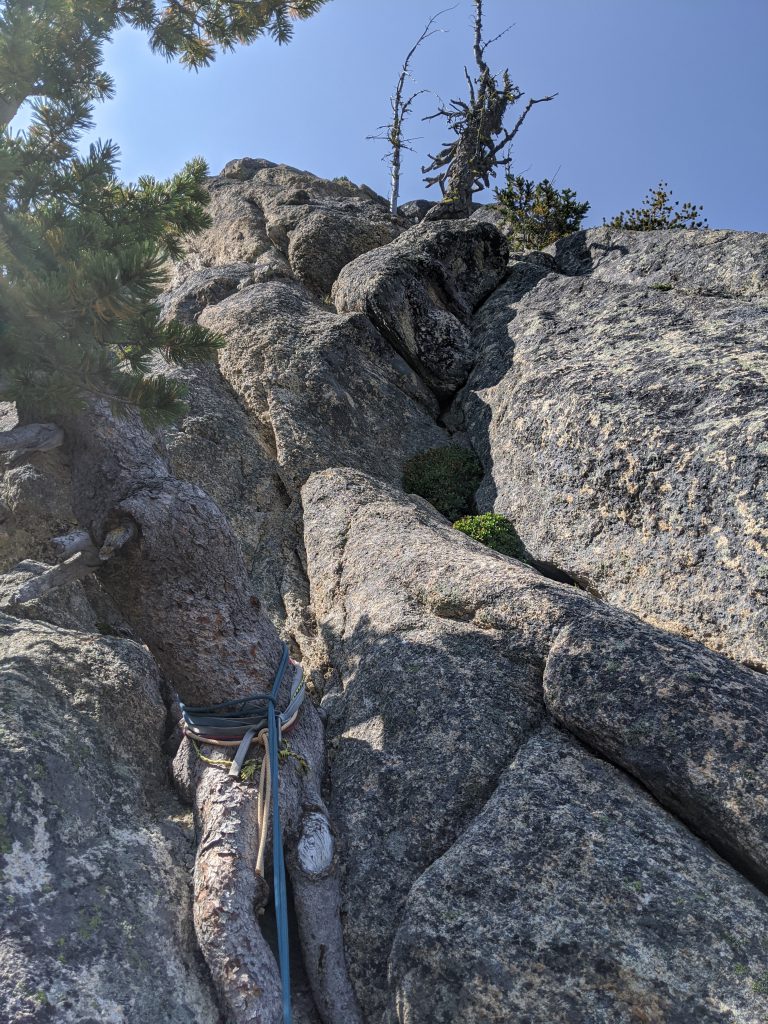
Start of P8 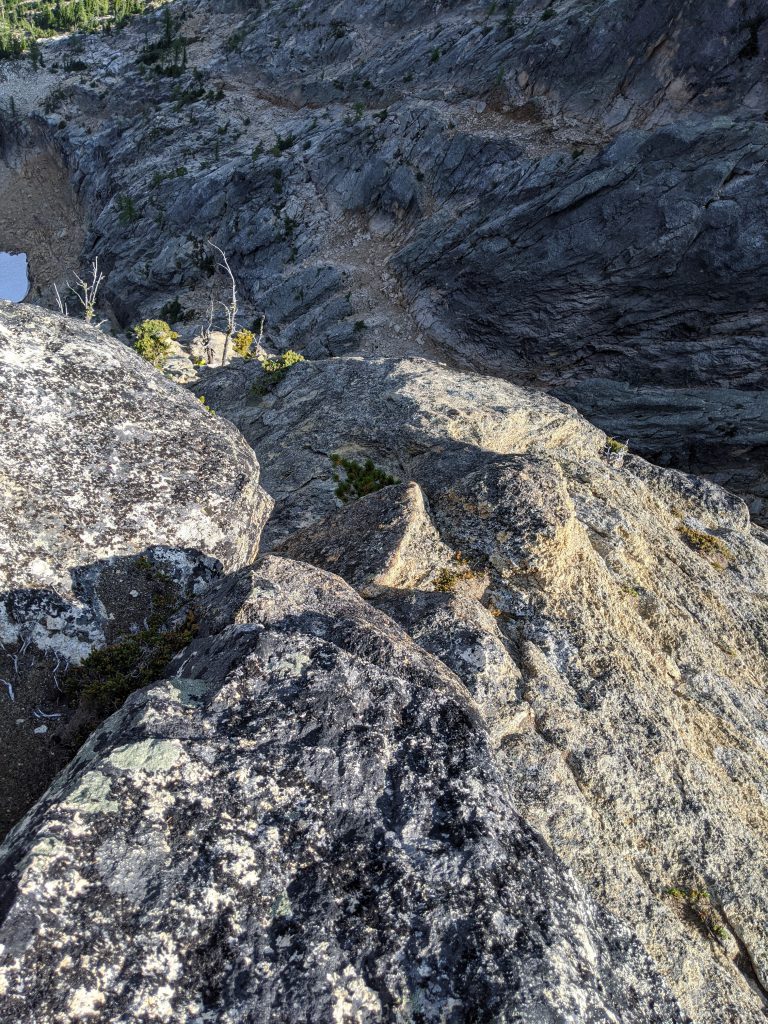
End of P8 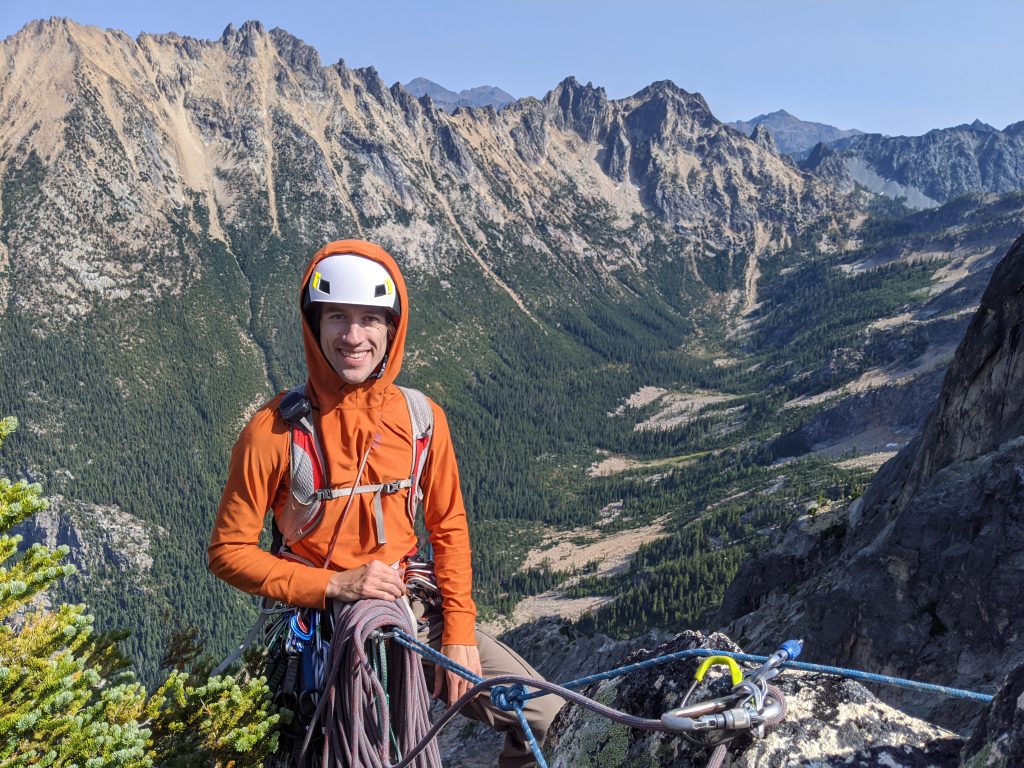
End of P8
Pitch 9 – 5.2, 200′
Walk a short distance and then continue on the ridge across a whale’s back feature similar to SEWS except easier, and then traverse more on the ridge to the slabby “5.2”. There’s no pro, and it’s exposed, and I’d say it’s more 5.5, but it’s pretty easy. I was super glad we did Canadians on Horseback shortly before to give me a confidence boost on slab so that I could realize that it actually was fine and easy. Get up to the notch and sling a tree on the other side of the notch to belay (watch out, the closer tree is super sappy).
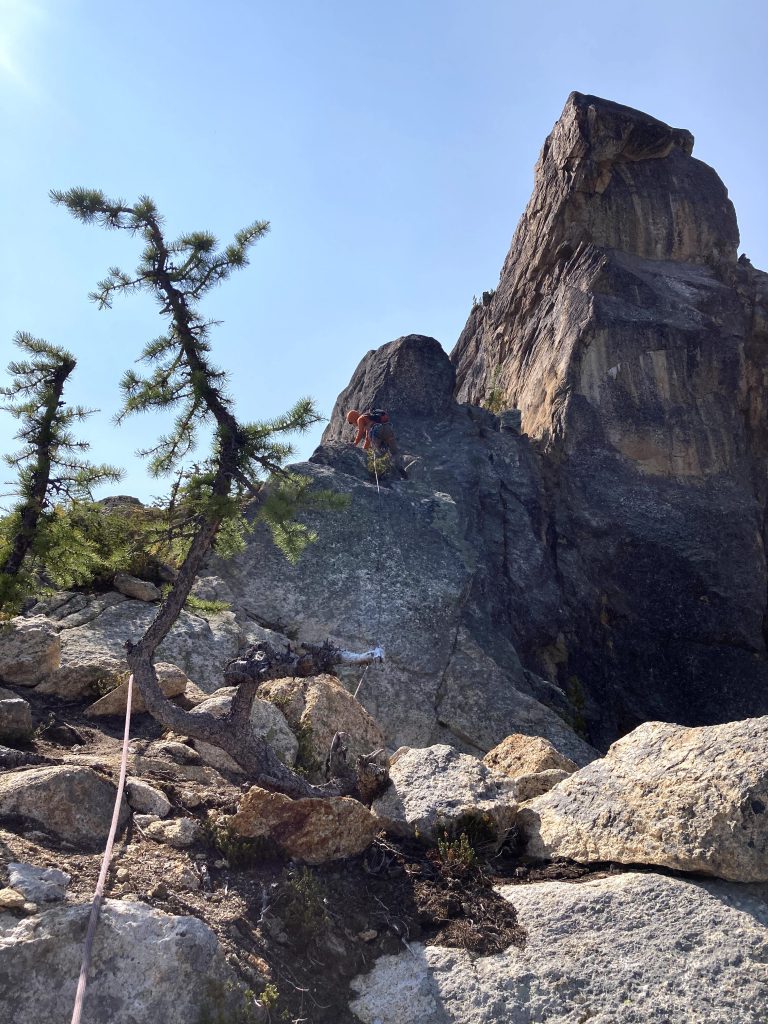
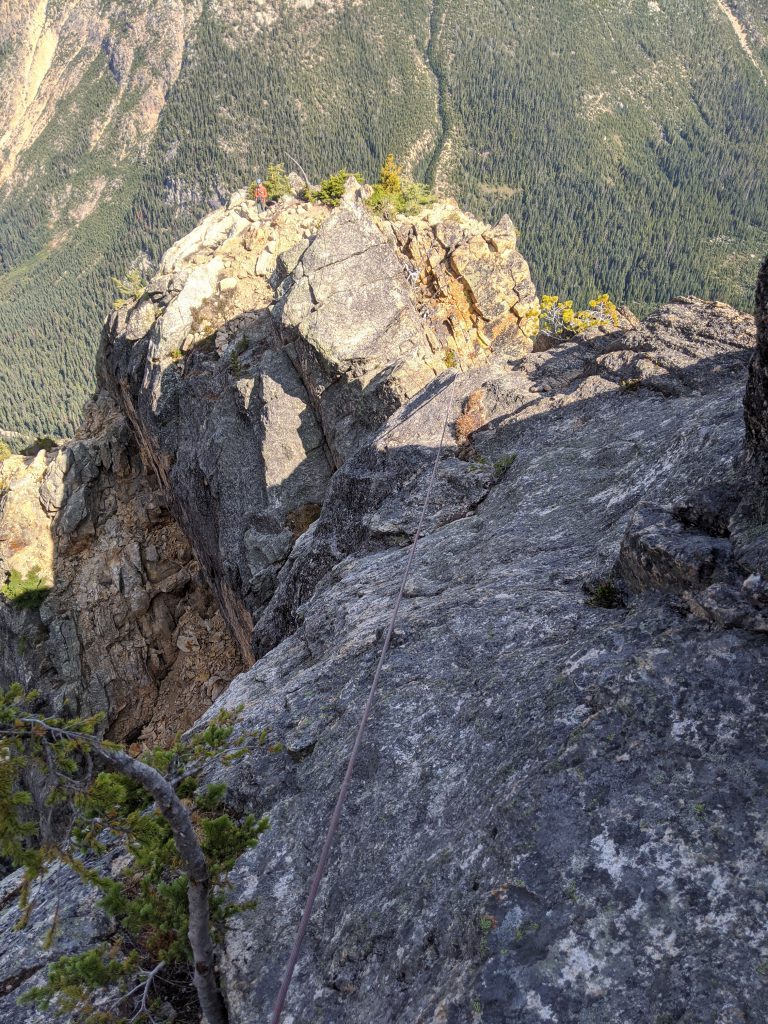
Looking back at the slab 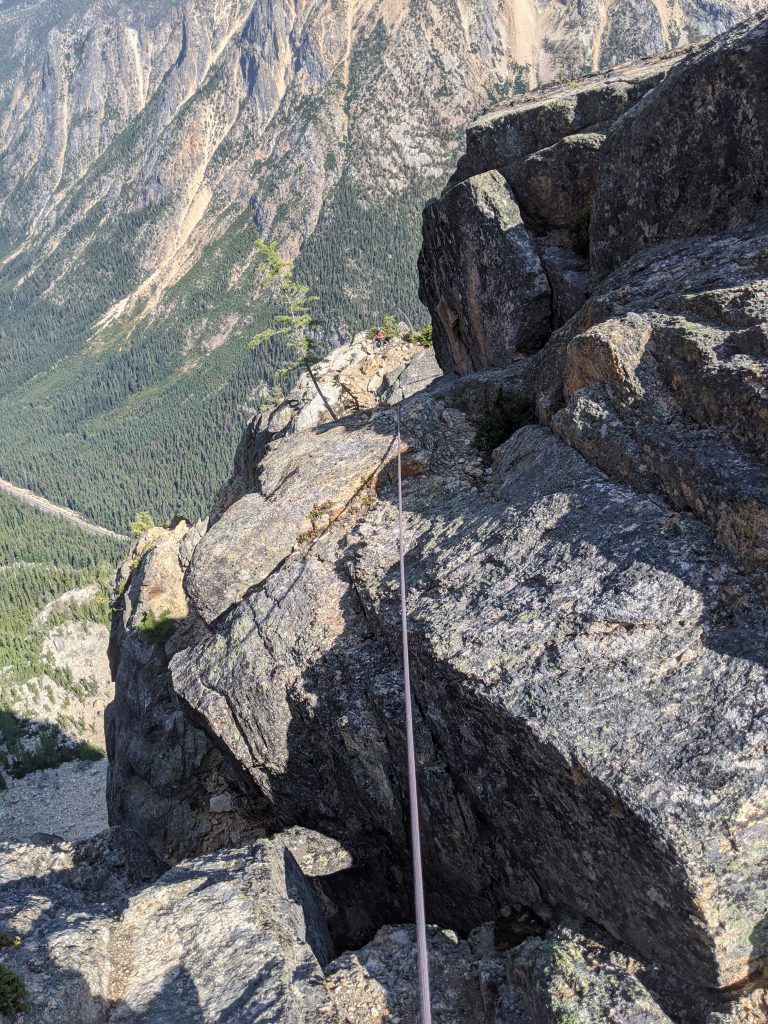
End of P9 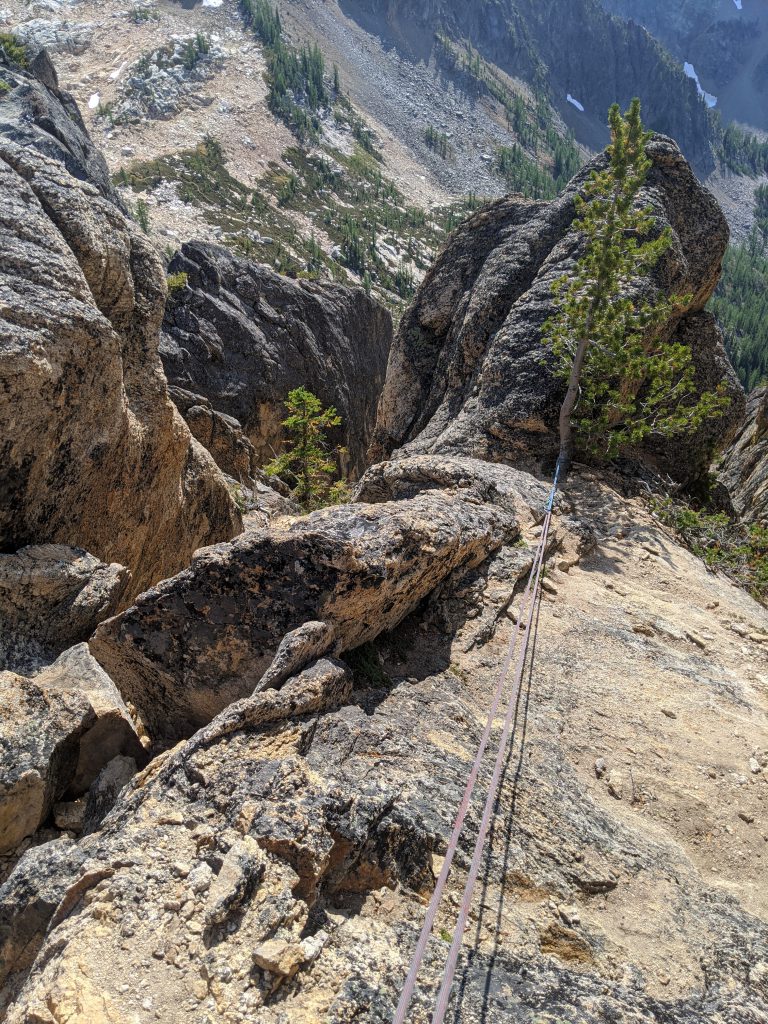
Tree on other side for belay
Top!
You don’t really get to the top of anything, but you might get some good views of other climbers on peaks like NEWS and Liberty.
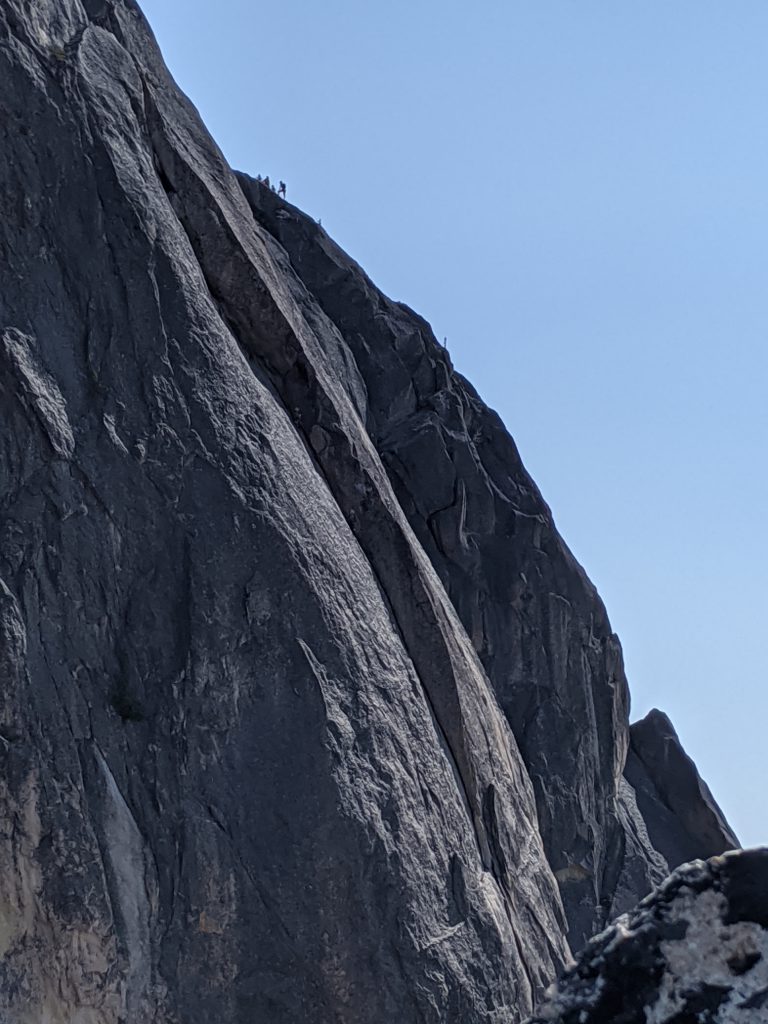
Climbers on SEWS 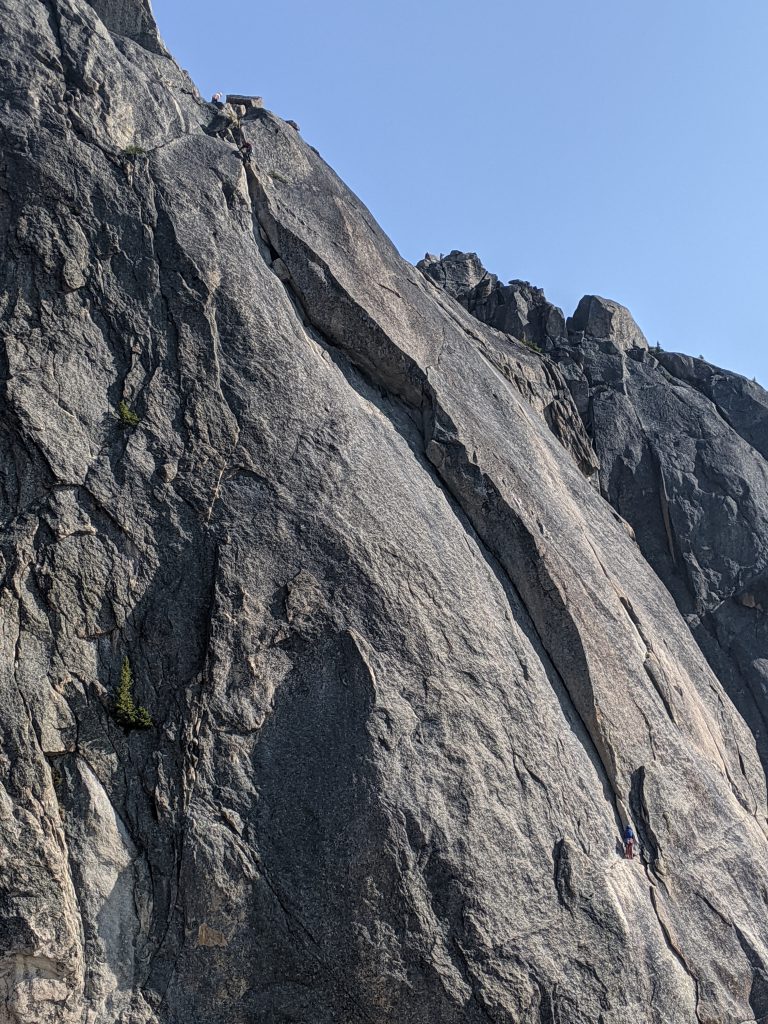
Climbers on NEWS 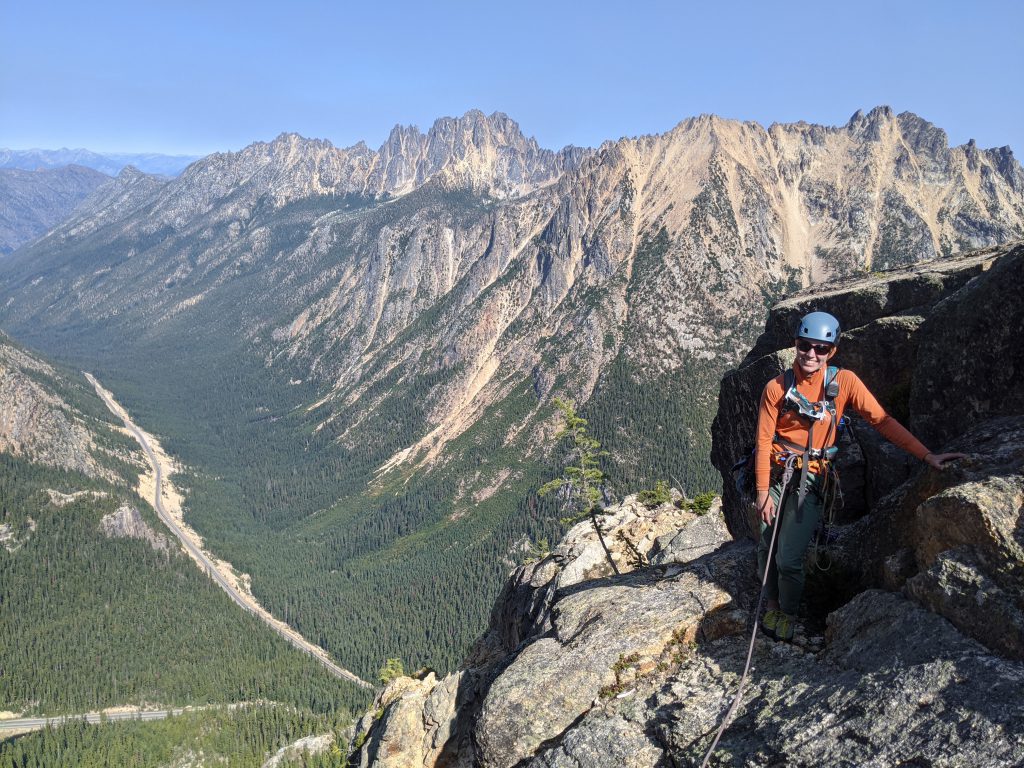
The “top”
Descent
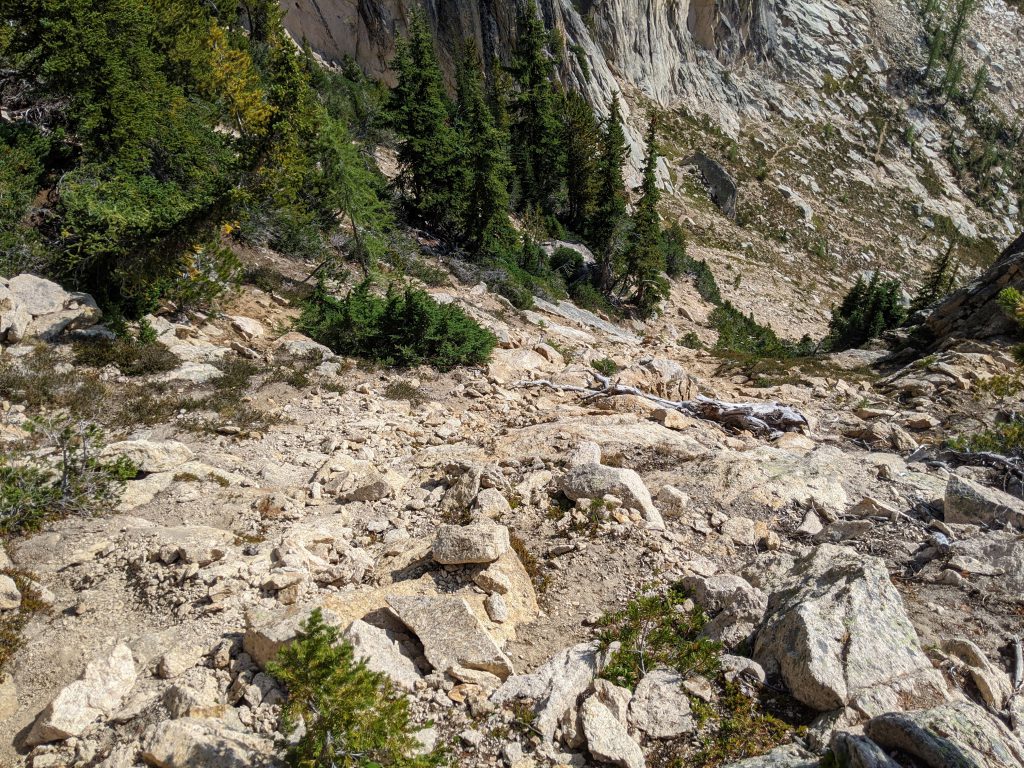
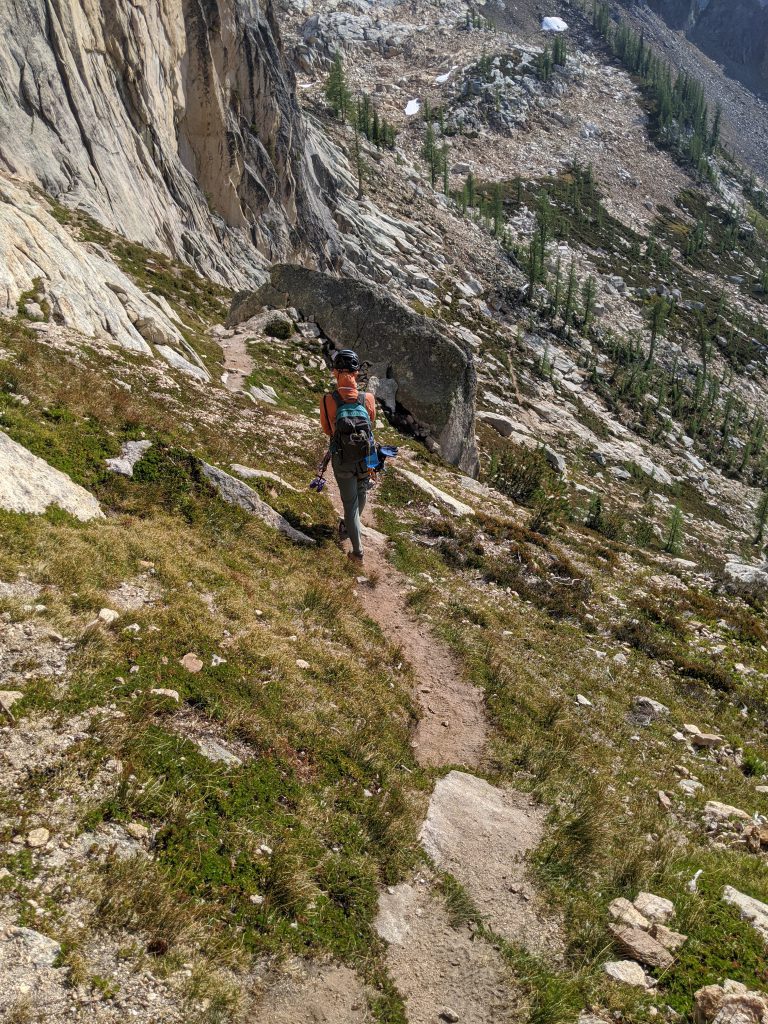
You actually descend the opposite side (West side). We stayed roped up for the traverse, but it was all pretty easy. When you reach the awesome bivy ledge, there’s a 20 meter rappel at the edge. Then I think we traversed a little more, but don’t traverse all the way to the base of NEWS, drop down a gully when there’s just about one more ridge hump between you and NEWS. The gully is very short and not bad! You’re on trail soon! We enjoyed the new big climbers trail, cut the final switchback to the road, and made it back to the car in 2 hours 50 minutes.
