We started the morning at 3:15 AM at Colchuck Lake Trailhead… or so we thought it was Colchuck Lake. It was completely dark, it seemed like the end of the road… the trail seemed a bit brushier than a super popular trail should be, and I could have sworn it is way more forested than it was… after 1:15 hours when it seemed like we should be getting close to when the trail starts to climb to the lake, I took out my phone and checked our location… my phone showed us way off the trail. At first, I thought maybe my phone’s GPS was just off initially. Then it started to dawn on me… all of this wasn’t adding up, the trail didn’t feel right, even the parking didn’t feel right… I zoomed in and noticed the GPS indeed had us on a trail, the Eight Mile Lake trail!! We just hiked 3 miles on the wrong trail!! We turned back and eventually got back to the road and then had to hike half a mile more up to the actual trailhead (we genuinely didn’t see that the road kept going in the dark when we drove up).
We reached the actual trailhead at 5:45 AM, and the masses were already starting to arrive. Despite our 2:30 hour detour, we sped up the trail trying to pass all the masses. Luckily we passed most of them within the first half mile. We arrived at Colchuck Lake at 7:35 AM, making good time.
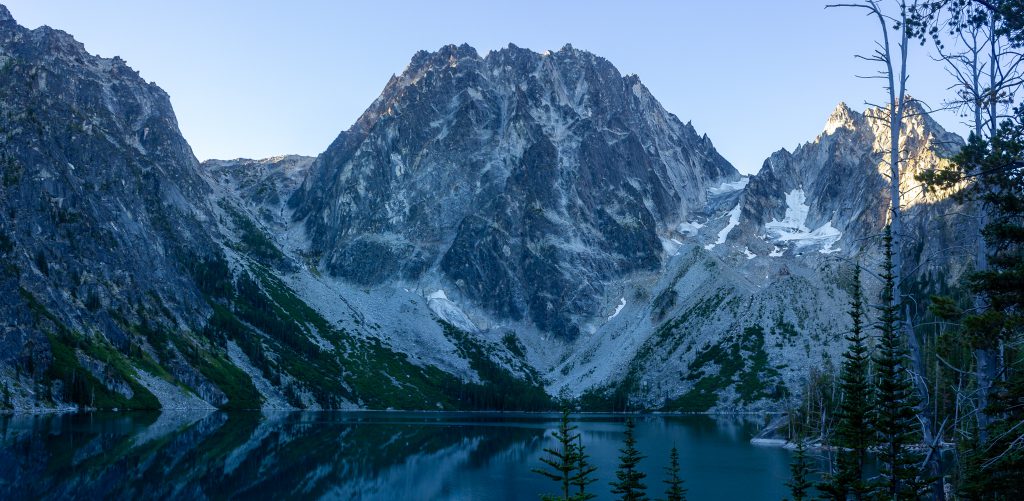
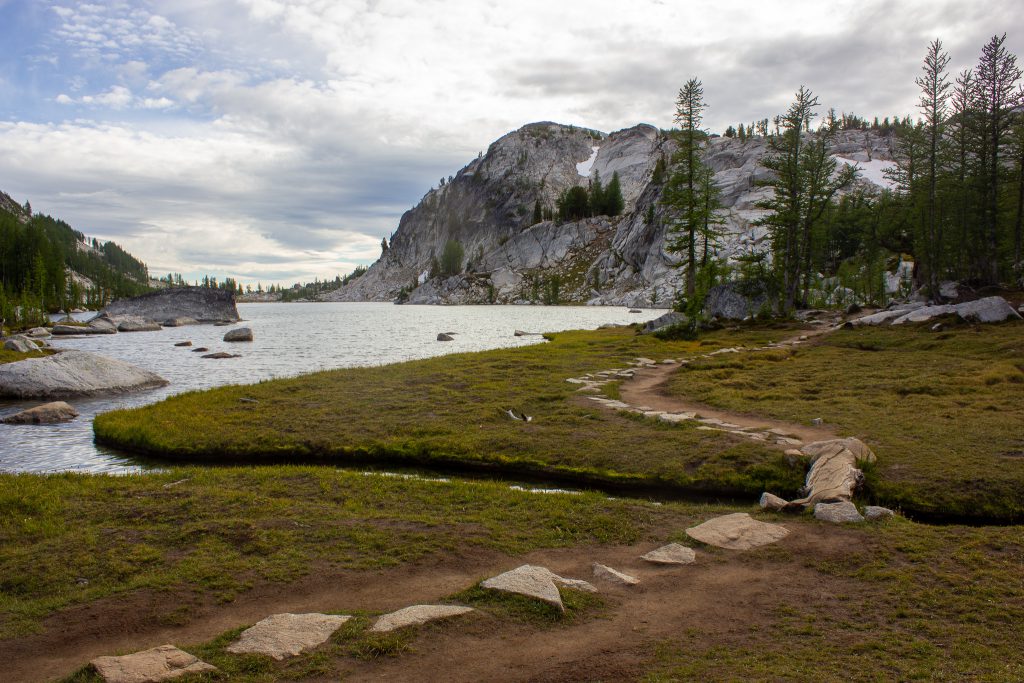
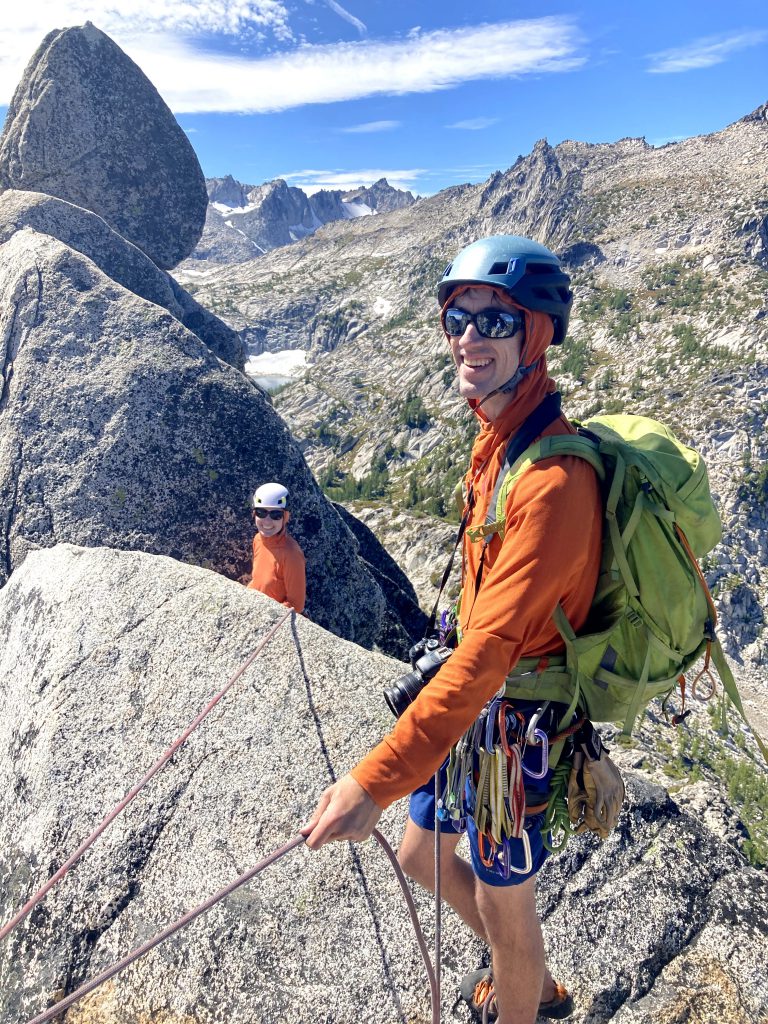
The trail up Aasgard Pass was decently COVID-safe, since there’s three or four trails that go up the steep pass. We reached the top of the pass around 9:45 AM. Finally time for the easy part! The Enchantments are always spectacular.

We finally reached the turn off for Prusik Pass, which was a pretty nice trail that was actually marked with a sign. At the top of the pass, there’s a trail that continues around the left side of the ridge (it descends slightly and then comes back up to the ridge, bypassing an initial hump in the ridge).
When the trail brings you back up to the ridge, scramble some 3rd class terrain heading to where the route steepens. There seemed to be a bit of a easier path/trail on the right side of the ridge. It’ll dip back down again just about 50 feet before the start of the climb, which is the ideal place to ditch gear, as the descent trail will take you right back there.
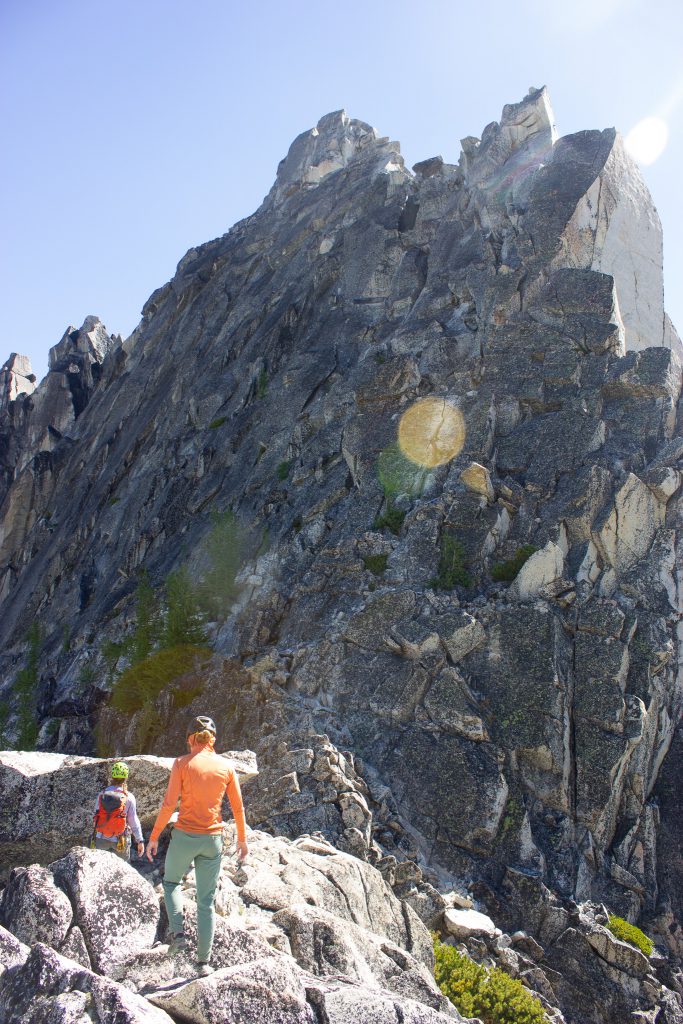

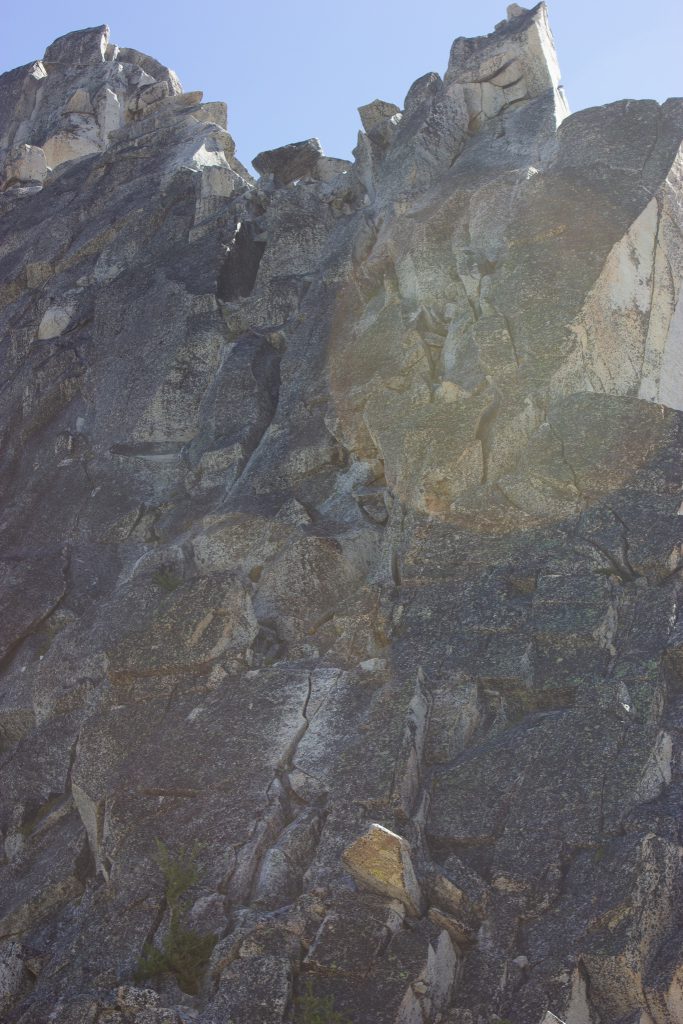
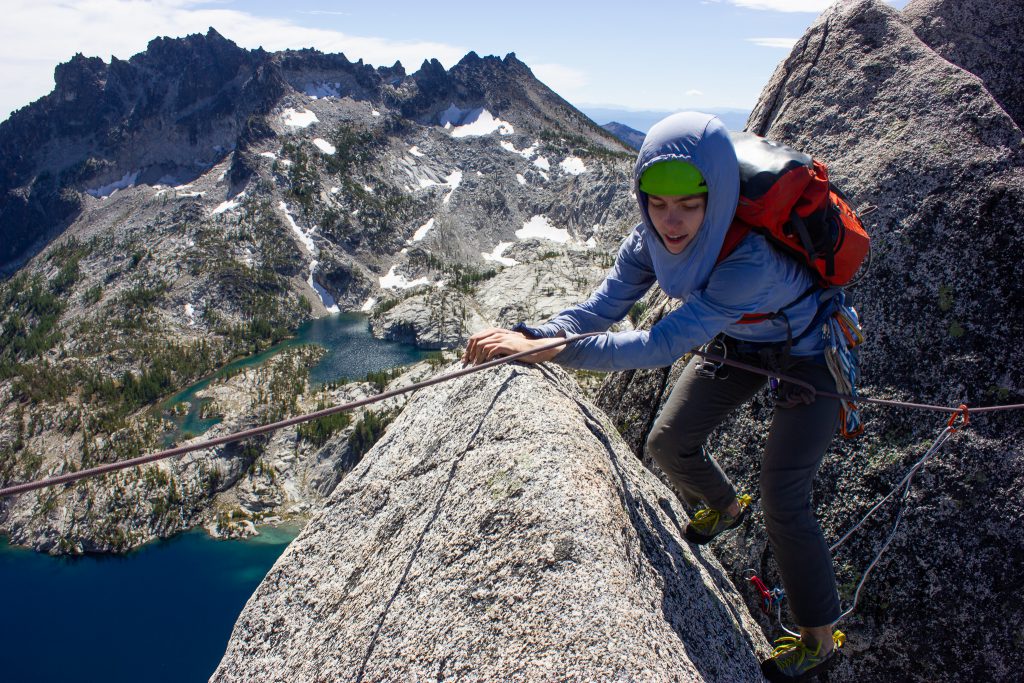
The start of the route is easy to identify thanks to the very obviously worn crack.

Pitch 1 – 5.7, 40m
Alexis led P1, which seemed to end up high right just before you have to traverse left. Although there’s possibly another option to stay lower left? We think we saw some tat lower left, but this line worked fine too. The starting crack move is a bit tricky (probably more like 5.7), but it protects really well!
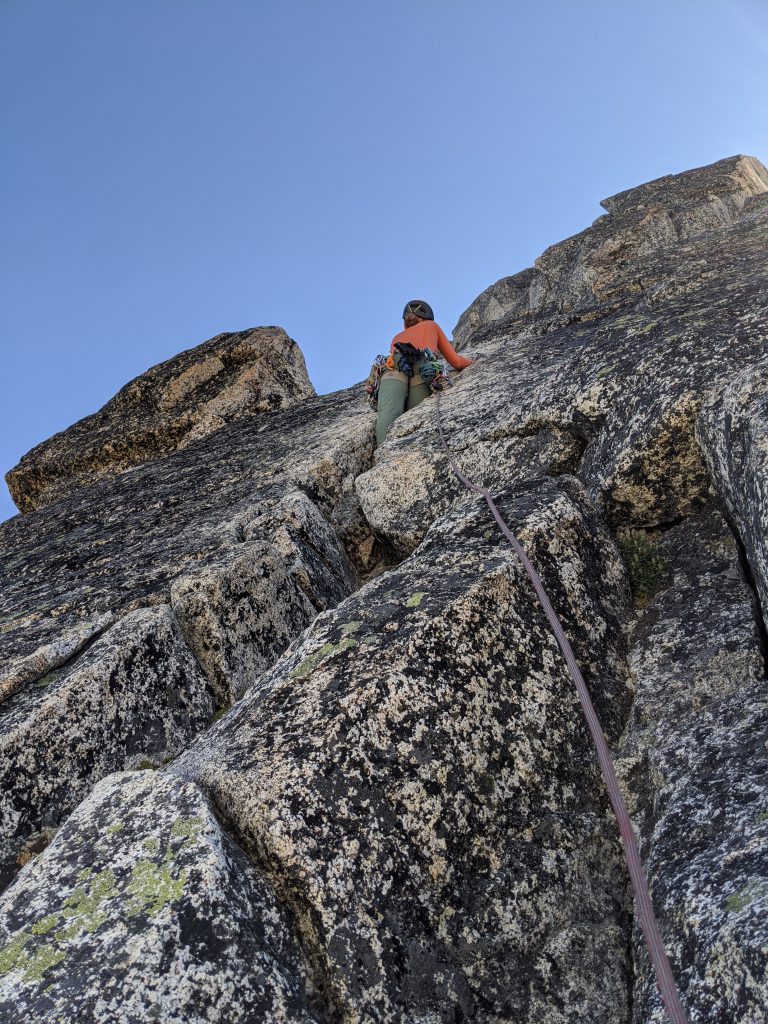
Alexis leading P1 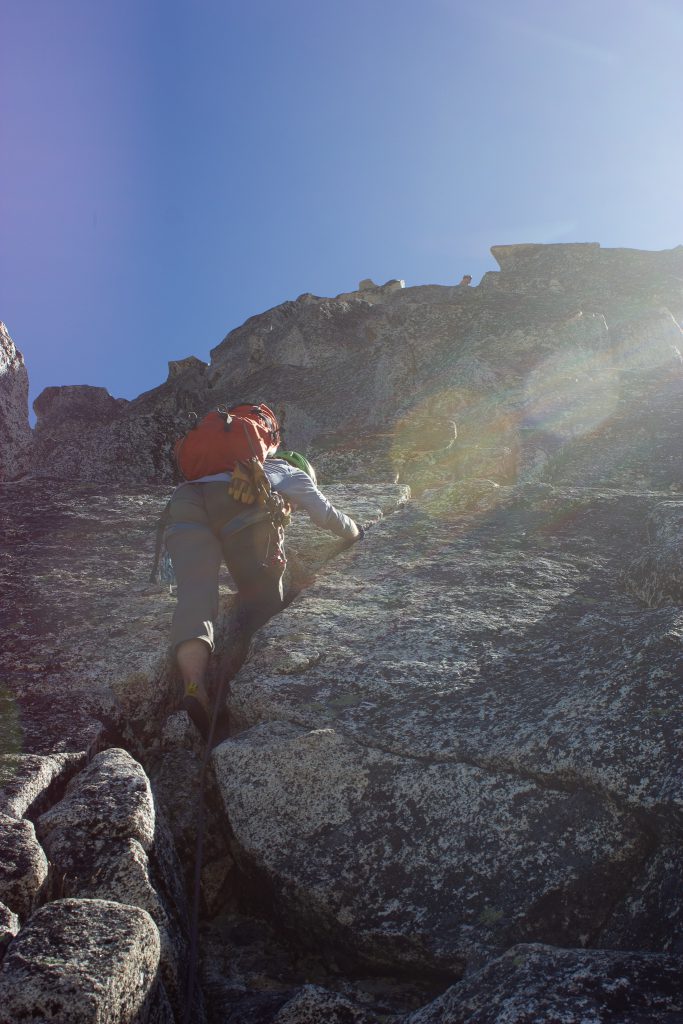
Liv starting P1, Alexis up at belay up top
Pitch 2 – 5.6, 40m
Our pitch 2 started off with a traverse on a slab, maybe slightly avoidable if you belayed from lower left on P1? But it was well traveled and easy.
Start of P2 (walk on lower crack and traverse low) 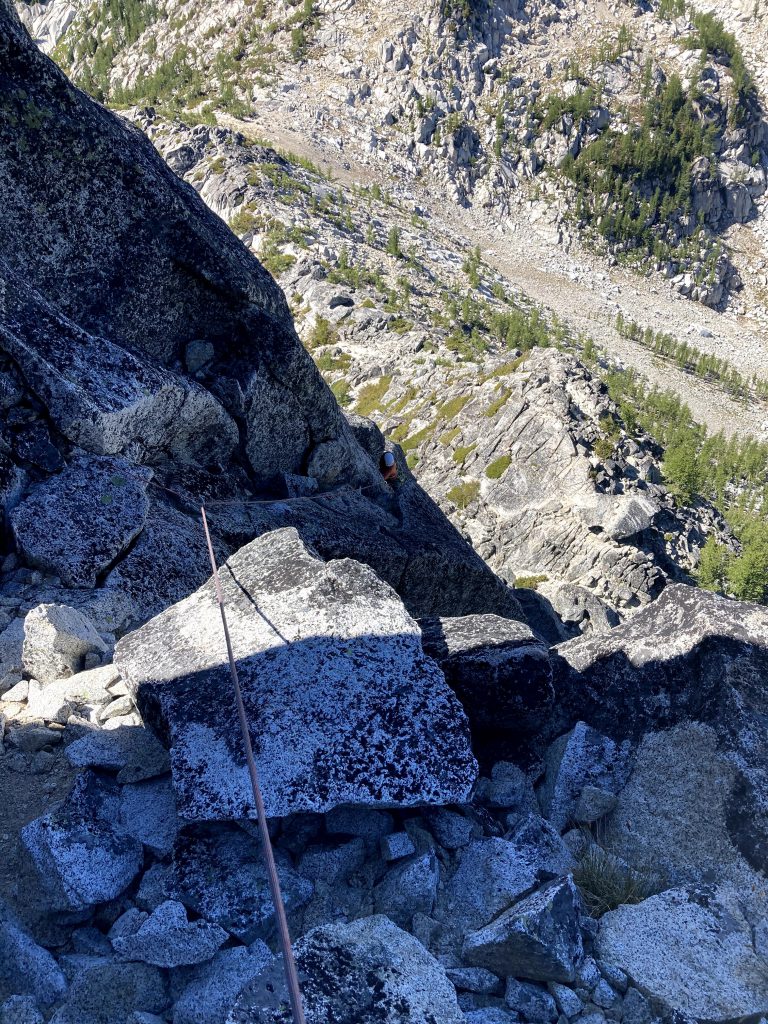
Midway on P2, easy terrain 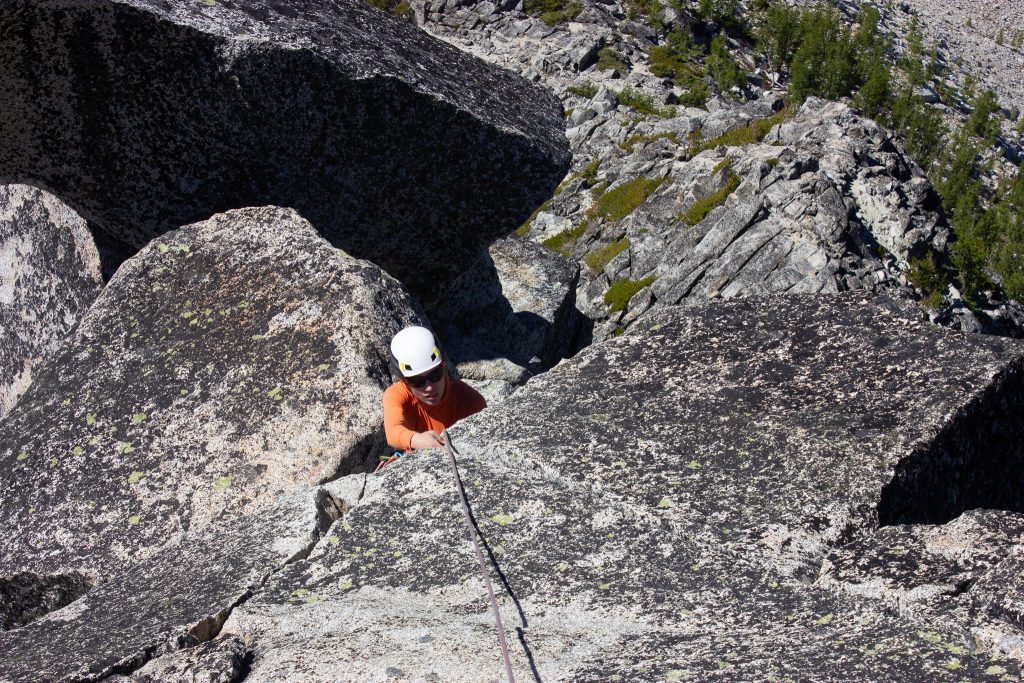
Crux bouldery move at end of P2 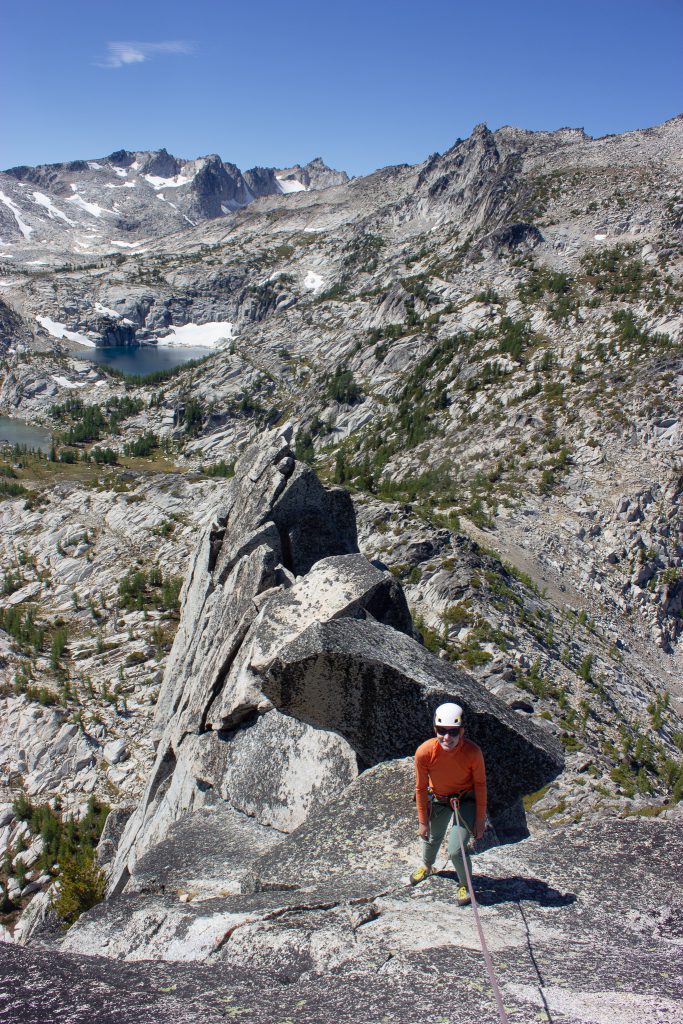
End of P2
Pitch 3 – 5.7, 30m
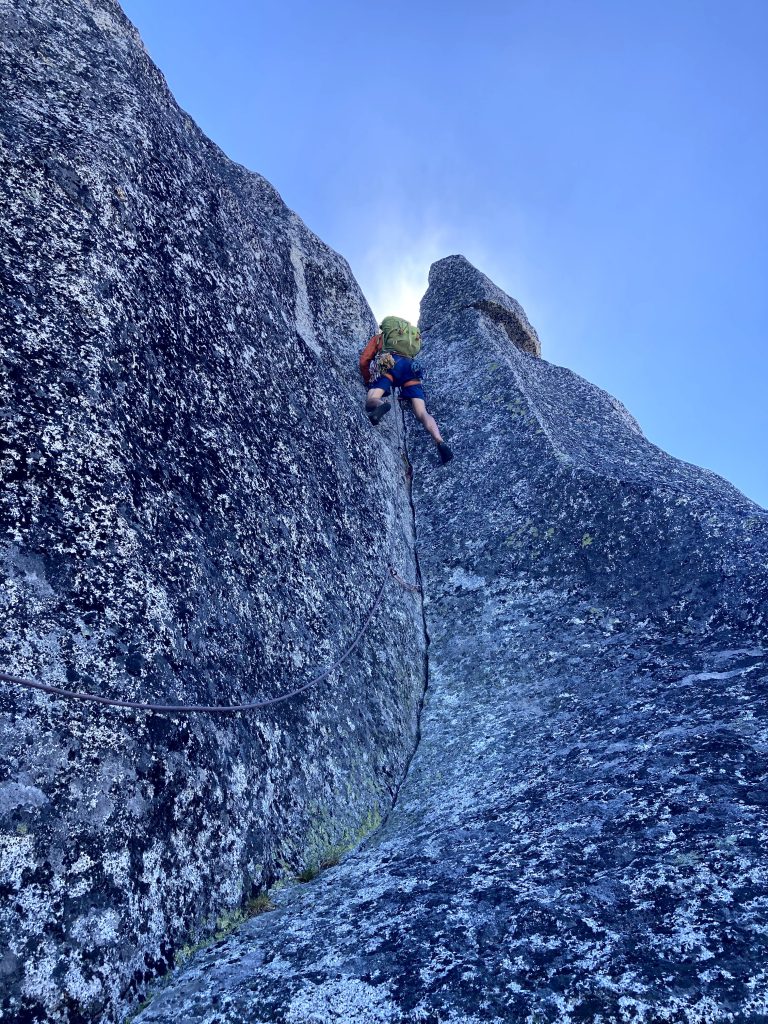
Pitch 3 starts with the terrible slab section. I don’t know why someone hasn’t put a bolt on this. You have to pull two committing slab moves well above any gear. I was feeling pretty scared, although I led it with a backpack and a DSLR camera, next time I’d probably pass off that gear while leading it.
Then, there’s some cool looking exposed sections along the ridge (stay on the left side). Belay when the ridge flattens just before the dirt trail.

Then, walk/scramble to the base of P4. If you scramble some 4th/5th class terrain, you can get to the ledge that has the start of both the left and right option.
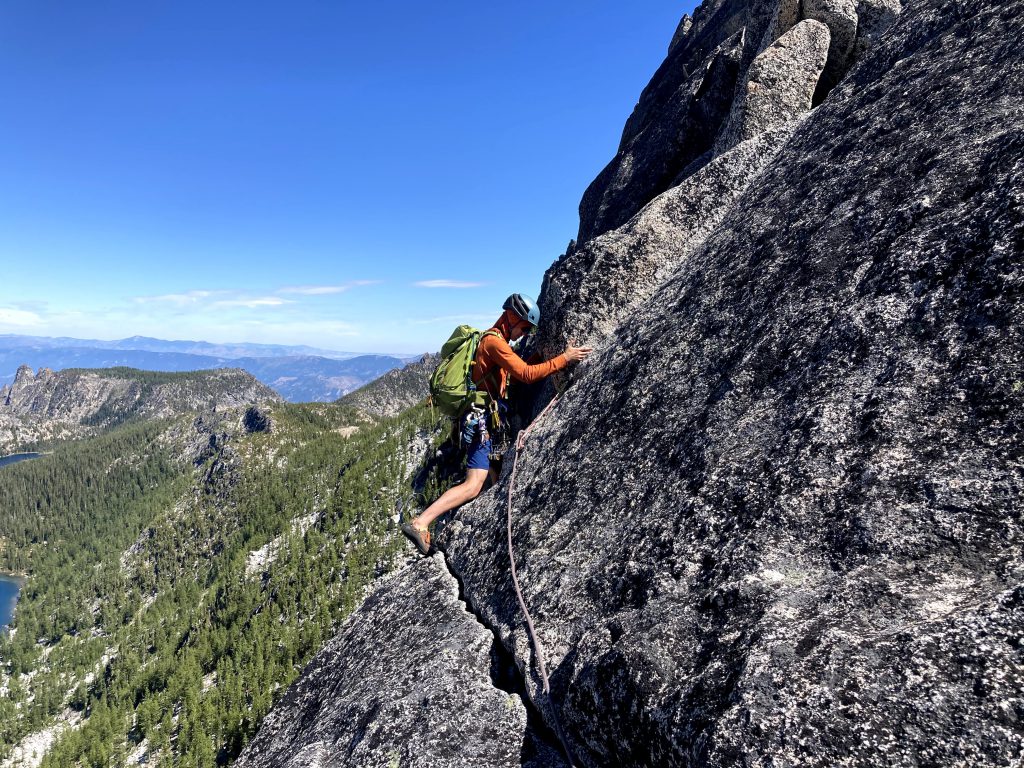
Pitch 4 – 5.8, 35m
We chose to climb the corner finger crack. It protects really well with small cams (I think I used a 0.3 and then maybe a 0.75 or 1 and then one nut). It was pretty fun.
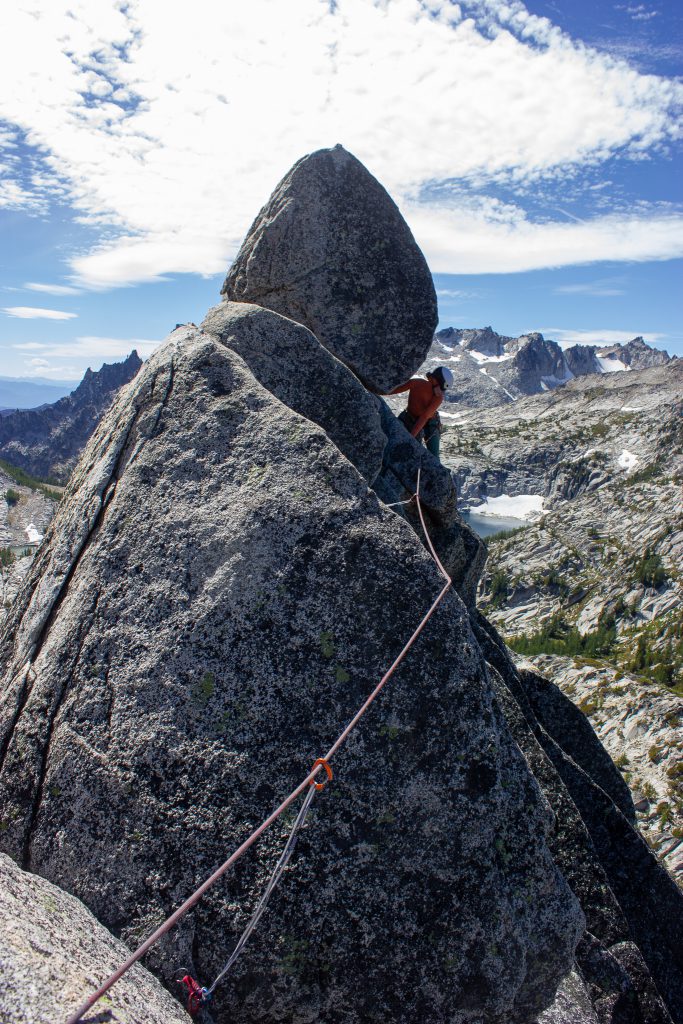
Then, peek around the right and clip a bolt and continue up easy terrain to the ledge that has two chimney options. Left chimney is probably overall easier but would be annoying with a backpack. Right chimney is climbable with a pack if you’re taller (high reach at end) and used to stemming climbing. Both are essentially unprotectable, you’ll deck on the ledge if you mess up. Seems like you also could climb around on the right arete on knobby terrain. I climbed the right chimney while keeping my pack on.

Left option 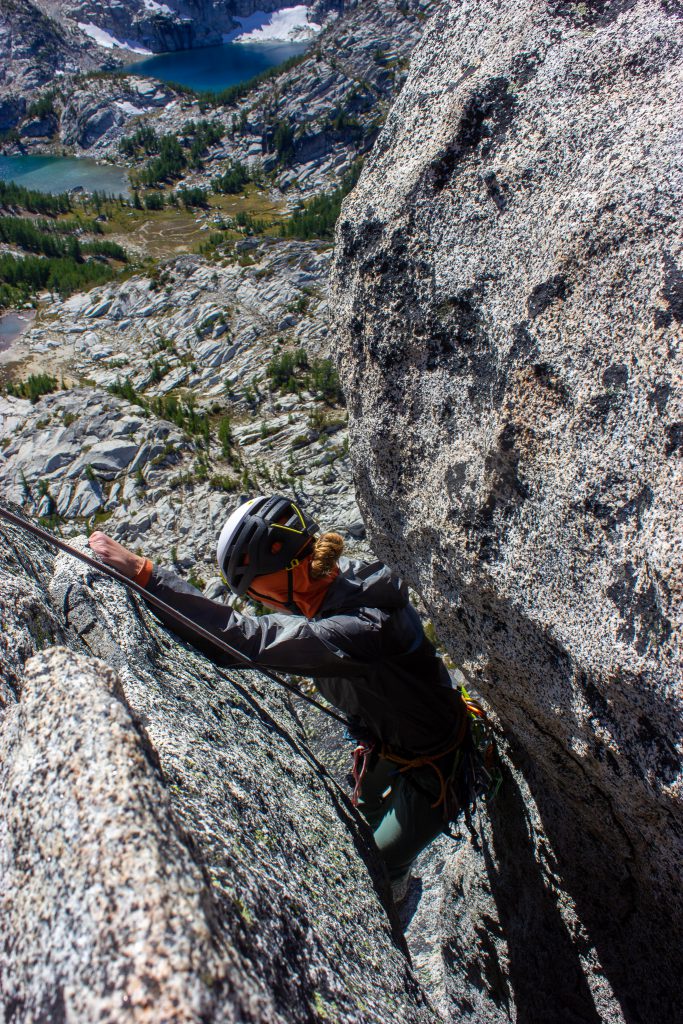
Left option 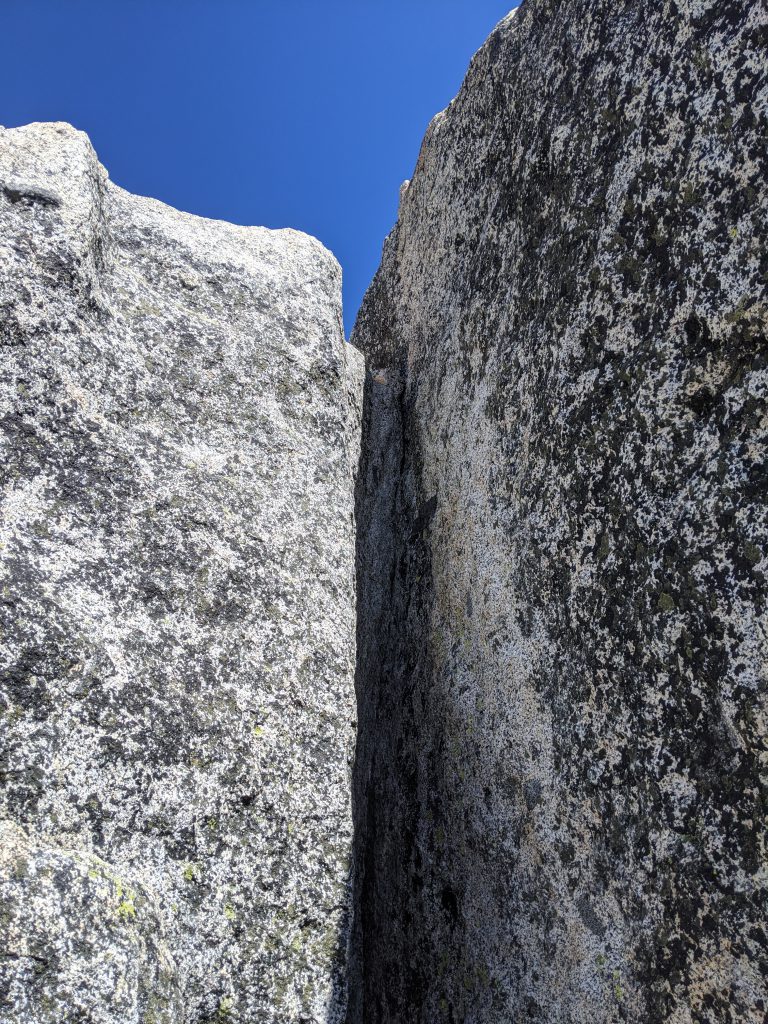
Right option 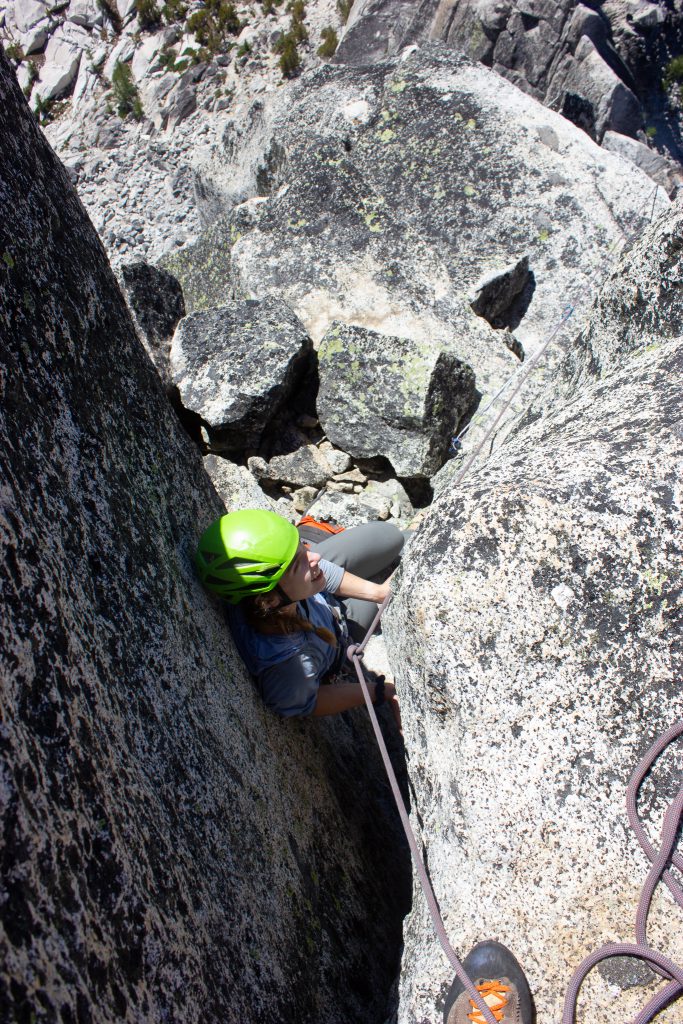
Right option
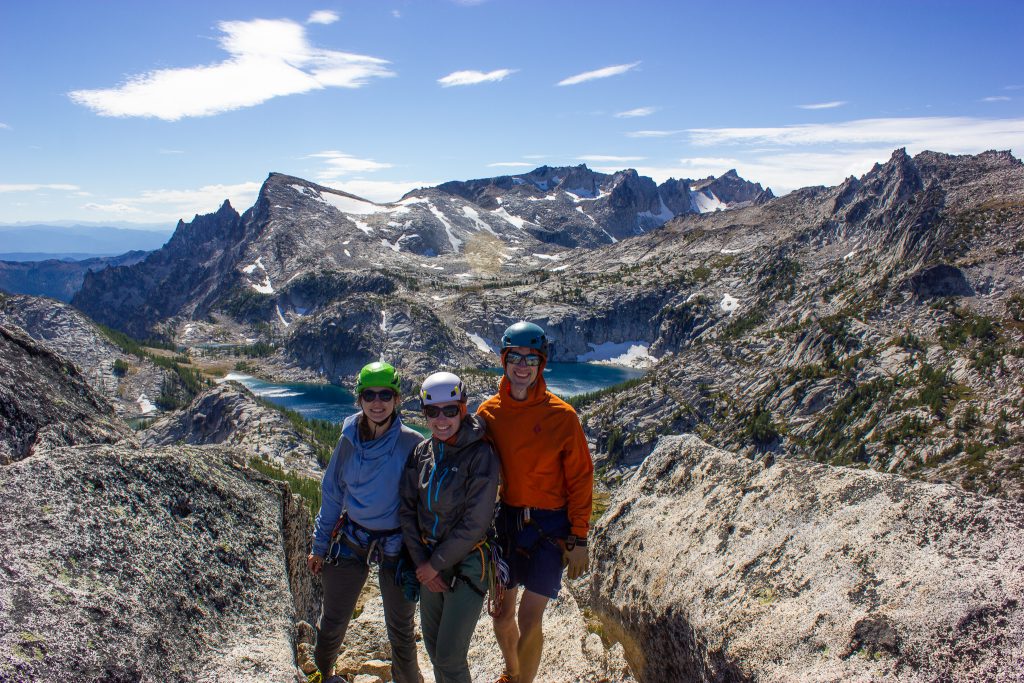
The top!
The views are pretty sweet!
Rappelling
The rappels are all pretty straightforward. From the end, continue about 15 feet along the summit and you’ll find some slings low on a rock to rappel from. This first rappel is a little awkward to start since it starts at your feet.
- 1st rappel ~20m
- 2nd rappel rope stretcher, full 30m, then walk down 10m skiiers right
- 3rd rappel 28m
- 4th rappel 28m (rappel climbers left)
- 5th rappel 30m and then short scramble to trail!
Beware of poor rappel anchors… I found two cords with core showing, one incorrectly tied double fisherman’s, and one tied with a figure eight (probably fine but not standard). Very worth inspecting the anchors!
Back to the cars
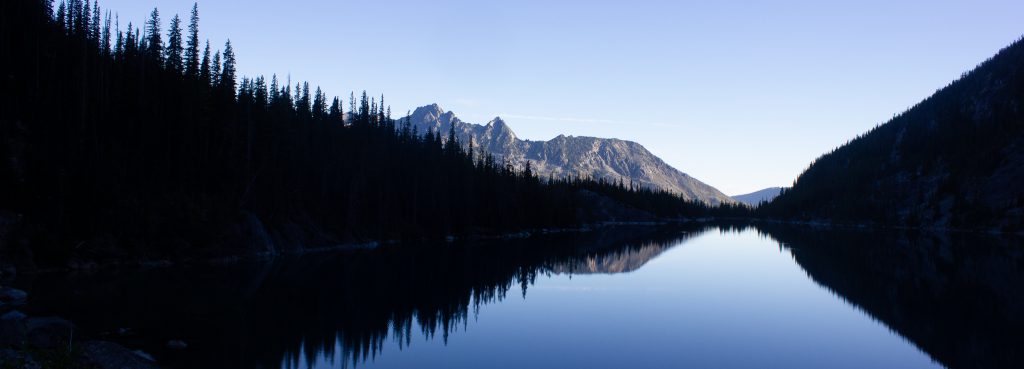
Then the long trip to the cars started. It was looooong. It might be worth going back the Colchuck Lake way, since Snow Lakes is really boring. But it was nice to get to see the last part of the Enchantments again!