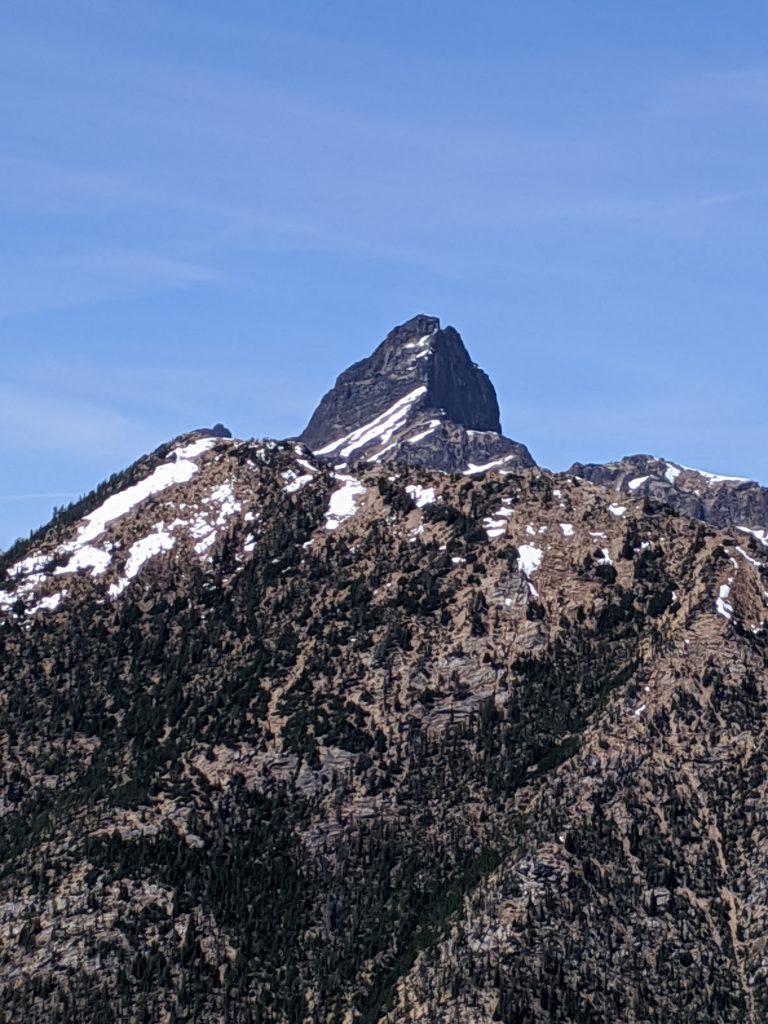
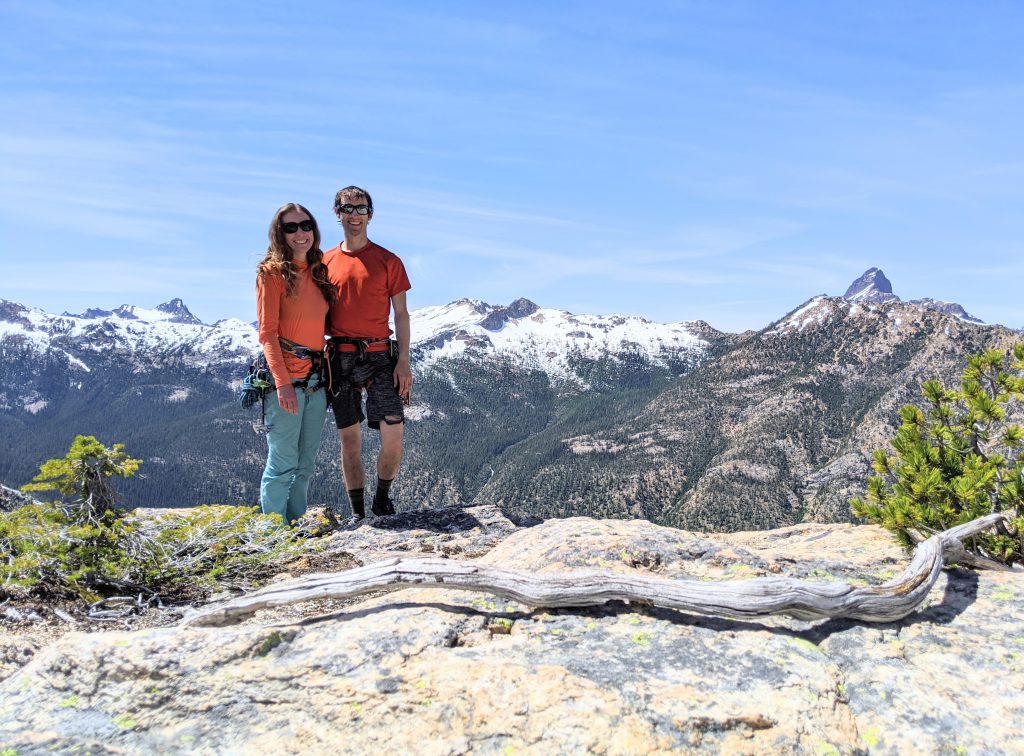
We left home at 3:00 AM as planned, and arrived to the trailhead around 6:10 AM, and started hiking at 6:25.
Stats
- 1:30 hours on the approach
- 6:00 hours of climbing
- 2:00 hours of descending back to base of P1
- 1:00 hour of descending back to car
- 11:20 hours car-to-car (Started 6:25 AM, back at 5:45 PM)
- 17:45 hours home-to-home (Left at 3 AM, back at 8:45 PM)
The approach trail sucks. We got to the base of the climb after 1:26 hours.
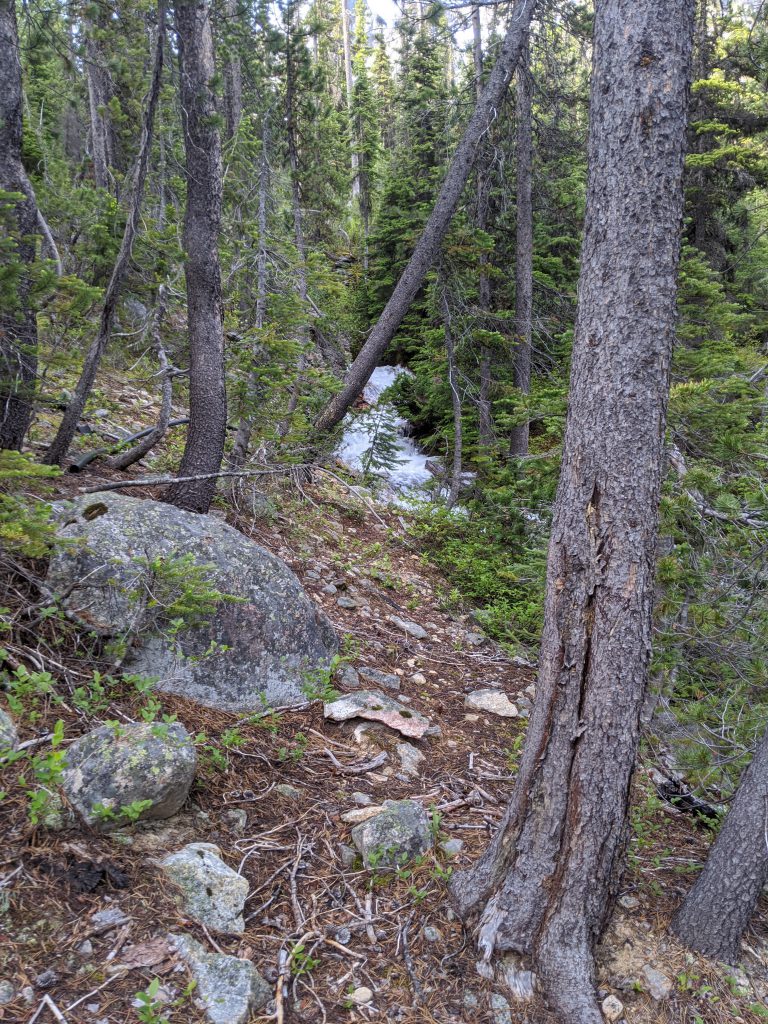
Early section of forest 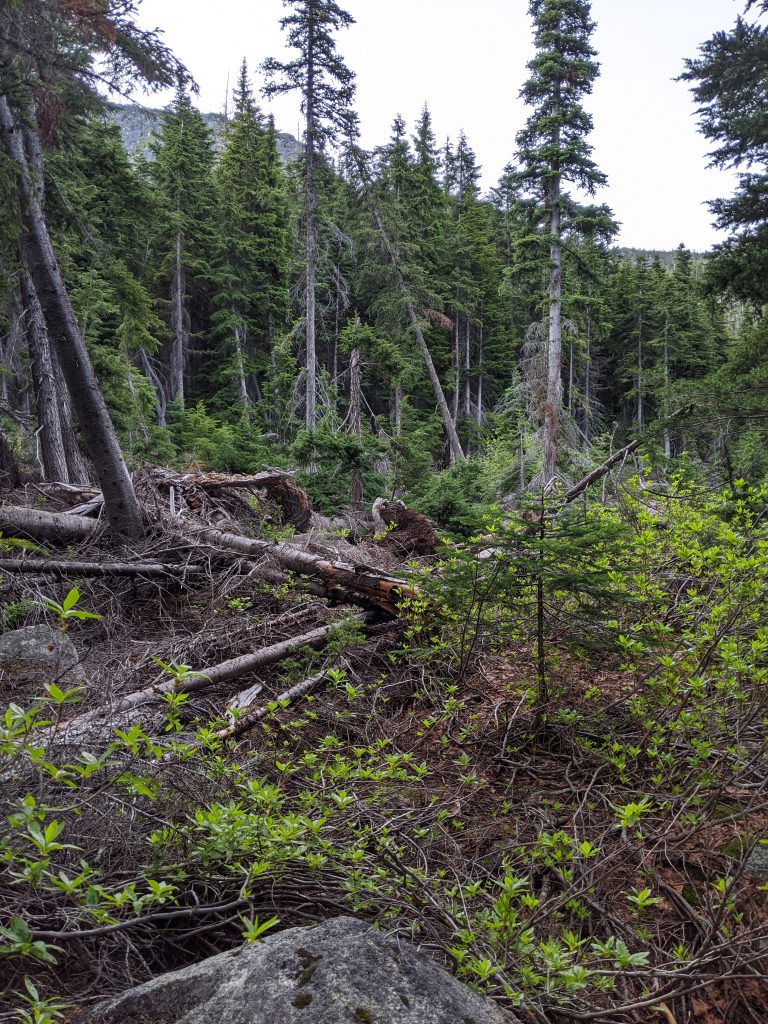
Lots of bushwacking 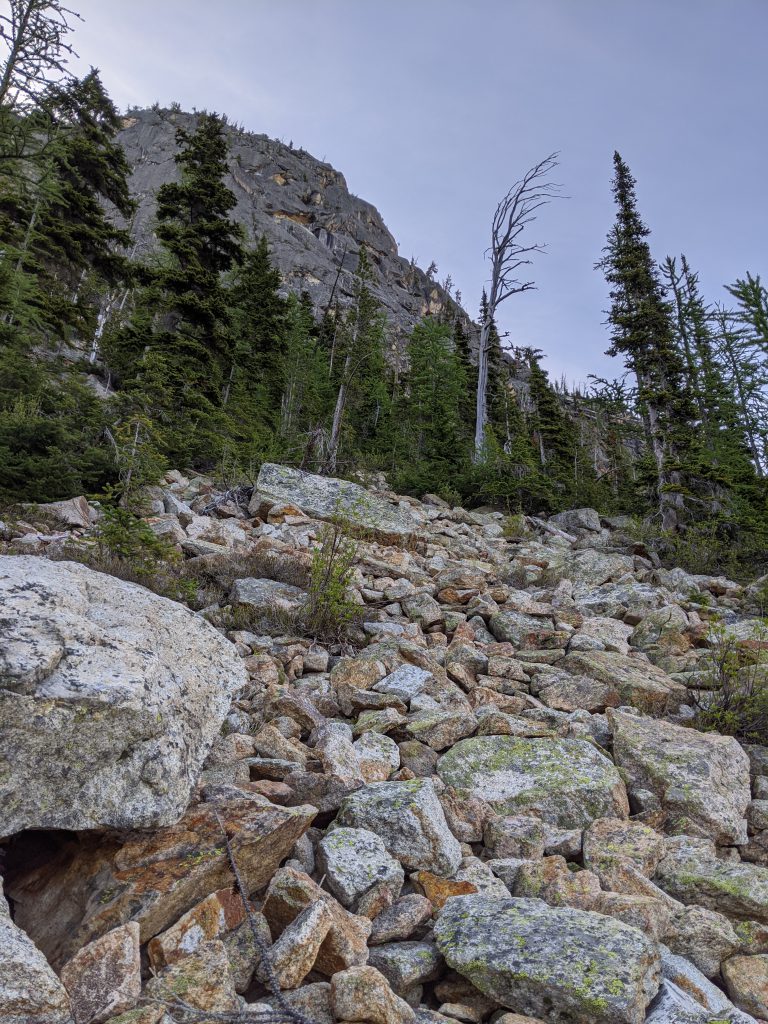
Finally to bolders
At one point, a fallen tree log pulled me off a ledge… While walking across a slabby rock near the top, I put a little bit of weight on an old fallen tree log… I knew I shouldn’t put a lot of weight on it, so I barely even touched it and definitely didn’t trust it for my stability. But it started sliding, and one of its branch stubs caught the bottom of my shorts! It was then pulling me down the slab, and a drop was coming up. Luckily, it was only a 5 foot drop that landed on a flat ledge. I stuck the landing on my feet and was perfectly fine aside from a bunch of tree bits and dirt in my hair and my ripped shorts. Luckily I didn’t go any further!
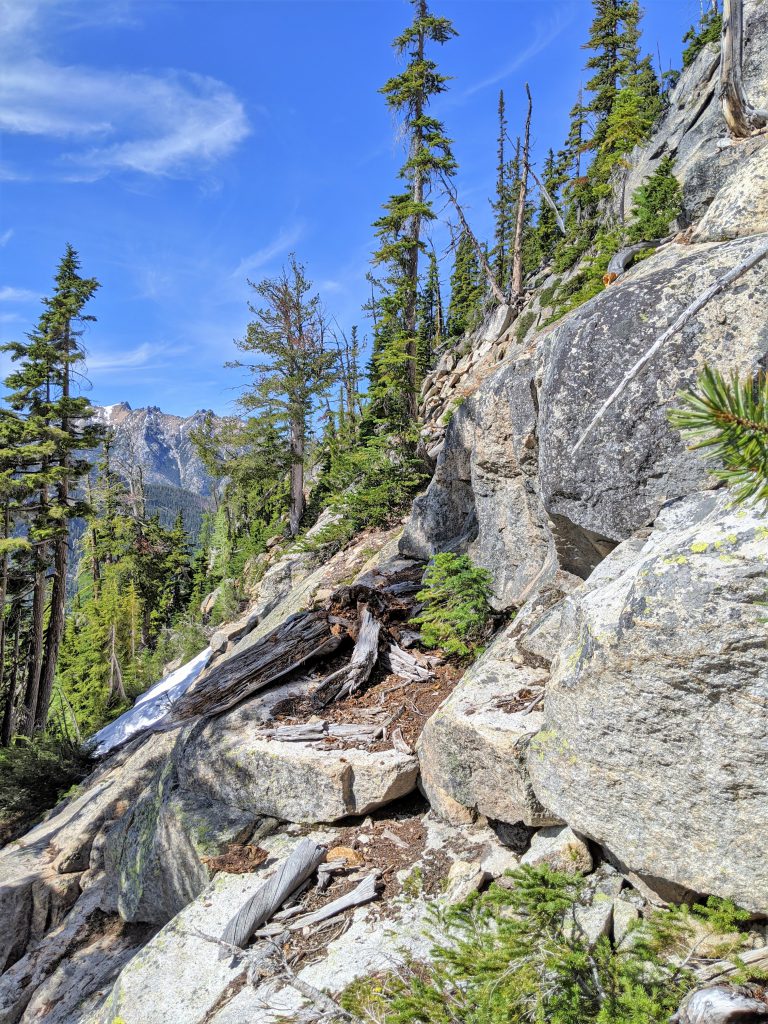
But, after that eventful slide, we found the start of the route.
Pitch 1 – 5.7
Alexis led this pitch. Crux move is 10 ft from the start, pulling over a slabby section with not many feet and not the greatest hands. After that, there’s routefinding problems with a lot of options of where to go.
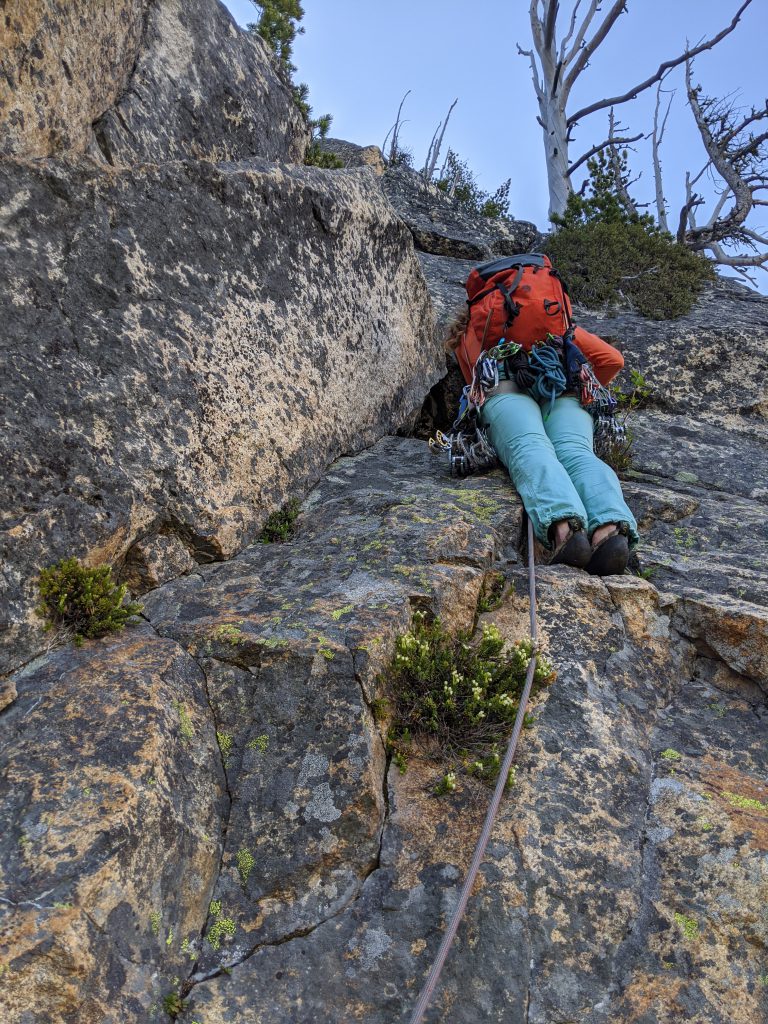
The very start. About two steps away from the crux. 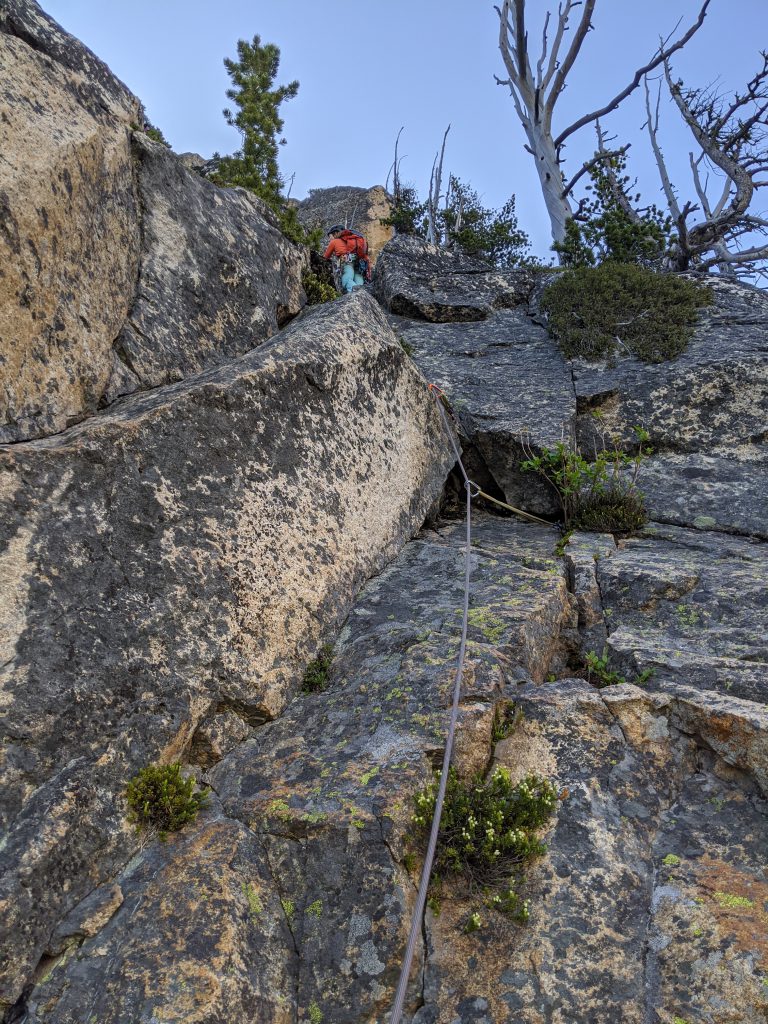
Well above the crux, continuing up.
Pitch 2
I think this one was a bit bushy. Ends about 30 feet below the spiral tree. I believe the start was difficult due to it being bushy/dirty.
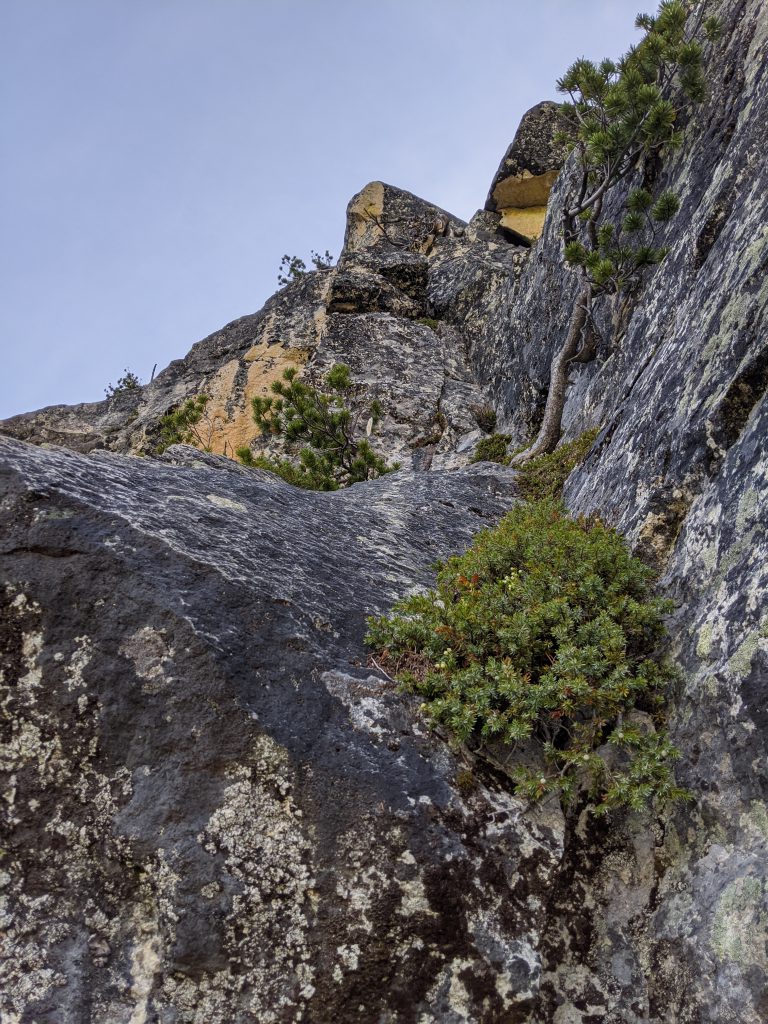
Halfway up on P2… spot the spiral tree and end ~30 feet below it on a nice big ledge.
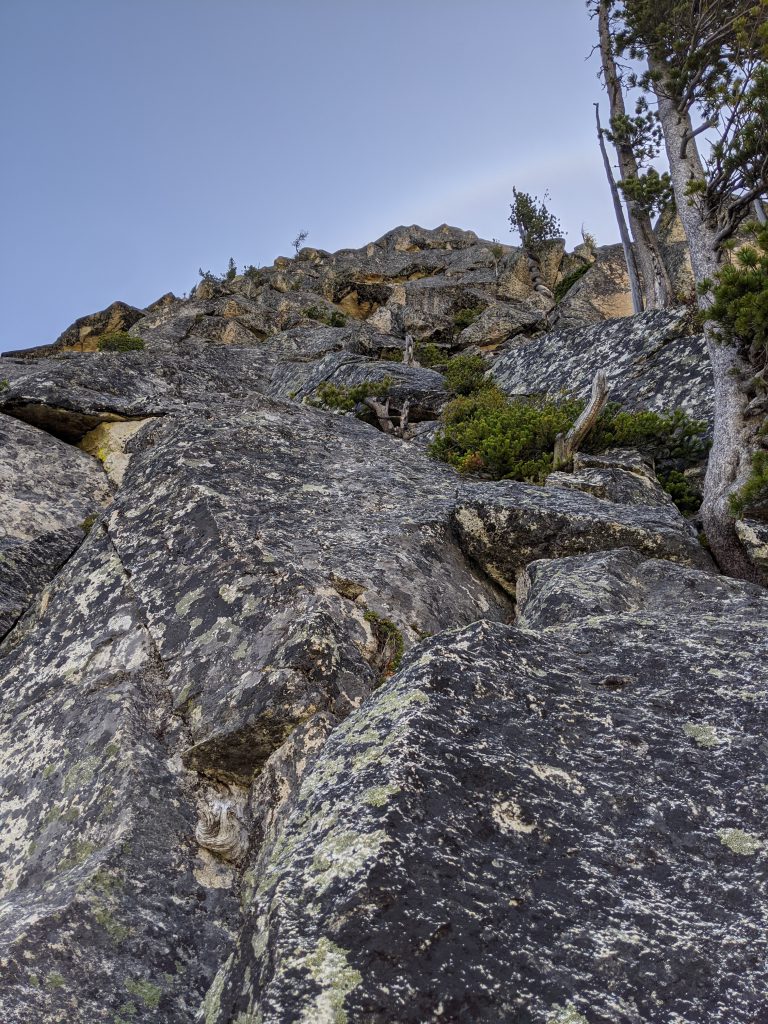
Pitch 3 – 5.9
I accidentally climbed to the spiral tree, but either way it seems like you have to climb some unprotected slab. Clipping the spiral tree meant even more rope drag though, which became problematic higher up. It sounds like you should stay ~10-20 ft to the left of the spiral tree and climb the slab there. The slab was a bit committing, eventually you get to some hollow flakes that are decent handholds, but I wouldn’t put a cam in there as I’m sure they’d blow. Once you get around to the edge of the corner you can put in I believe a #0.2 cam (definitely no smaller). Then it continues traversing rightwards with some low hand leanbacks, until you can go up again.
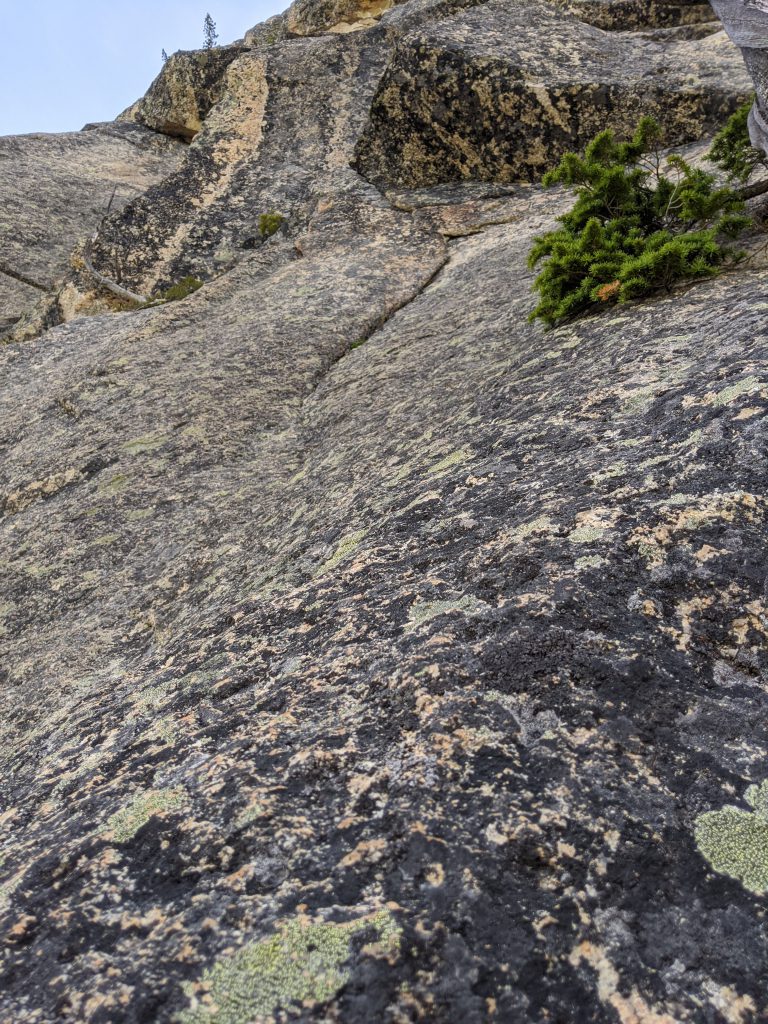
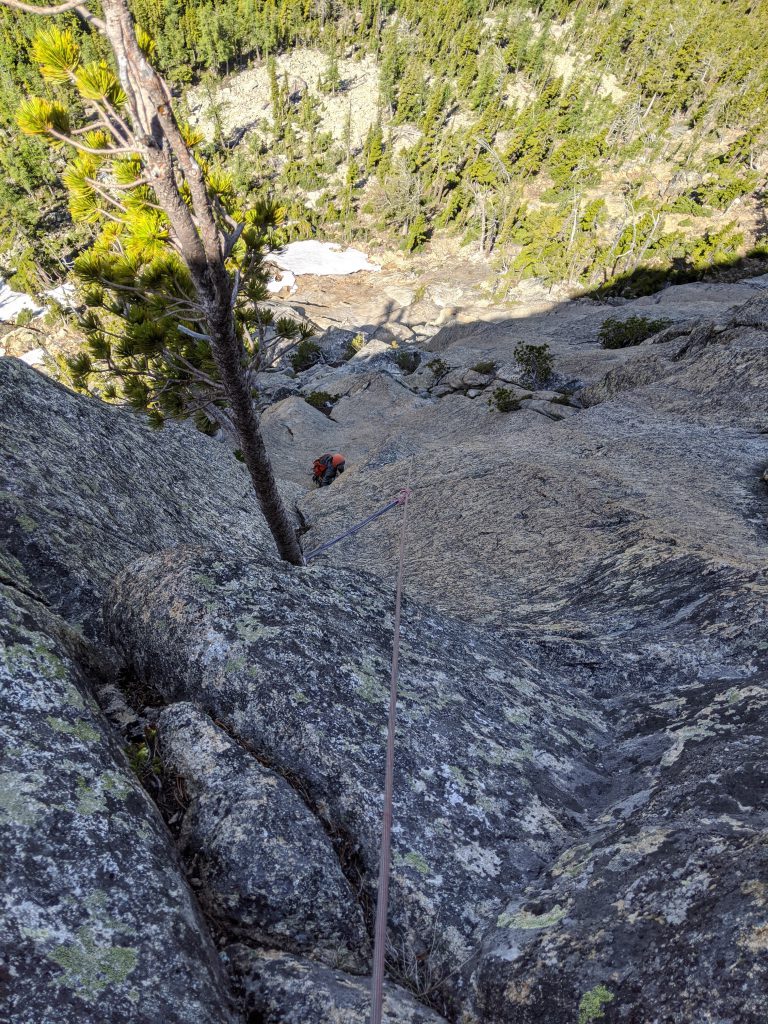
Looking down from almost the top of P3, I stopped to belay early 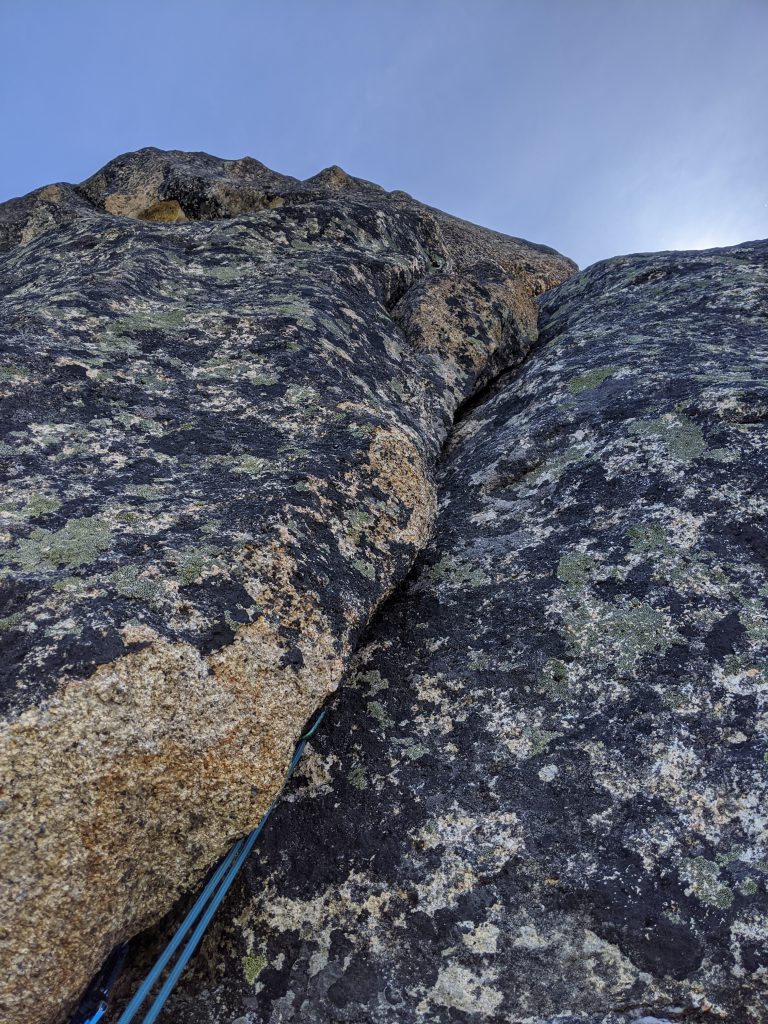
The last 10 ft of the end of P3 (I stopped to belay here)
Pitch 4 – 5.8
This pitch seemed mostly easy. I stayed to the right when in doubt, where the terrain looked easier. It’s possible there were more difficult options, I kind of felt like I chose the easiest route up. Didn’t take any photos of this one.
Pitch 5 – 5.8
The #4 crack! At the end of P4, if you climb too far left you’ll end up at the belay ledge for the last pitch of Easy Getaway, which has the twin splitter finger cracks on low-angle rock continuing up to a chimney move. That’s NOT the route. The route is over on the right side. I chose to belay from that nice ledge, and then had to traverse over to the right to get to the crack. One #4 was enough to protect the first crack, and then it narrows to #3. Two #3’s was nice, I placed one at the start of the narrower crack, and then another that I kept moving up with me for a bit.
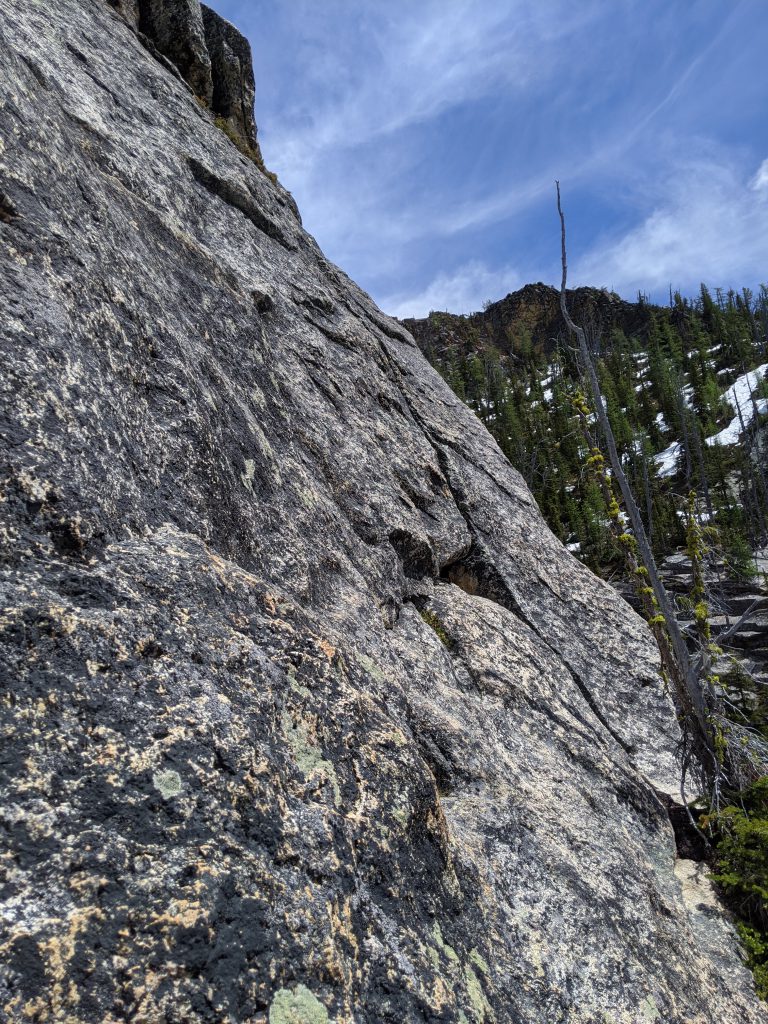
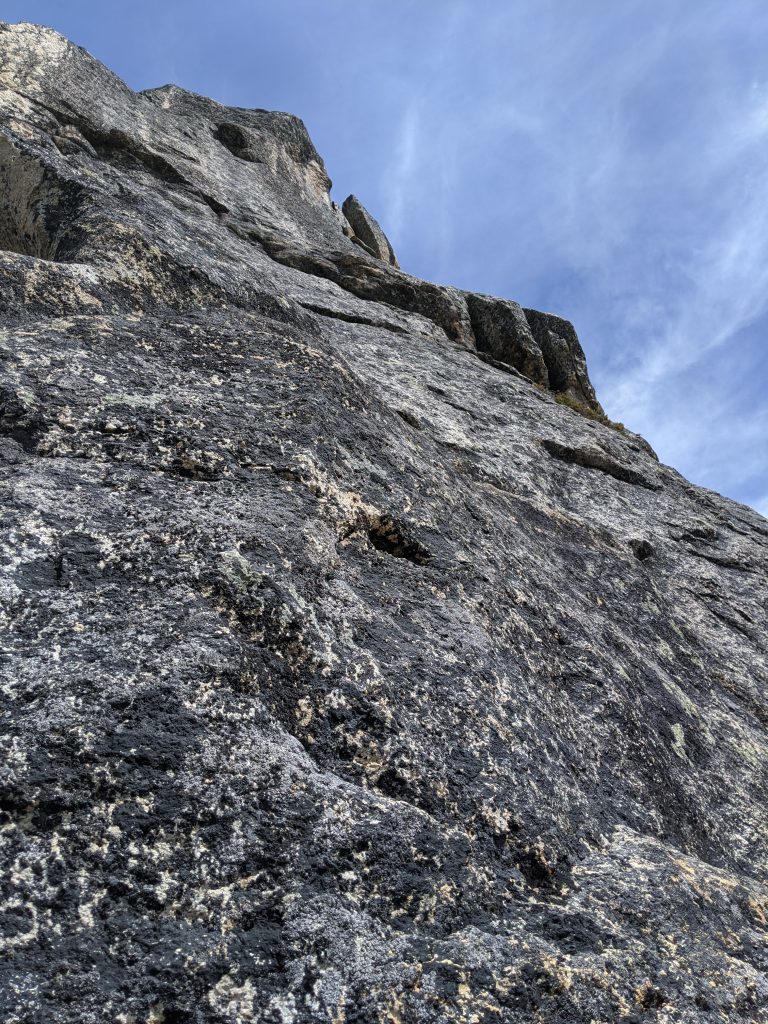
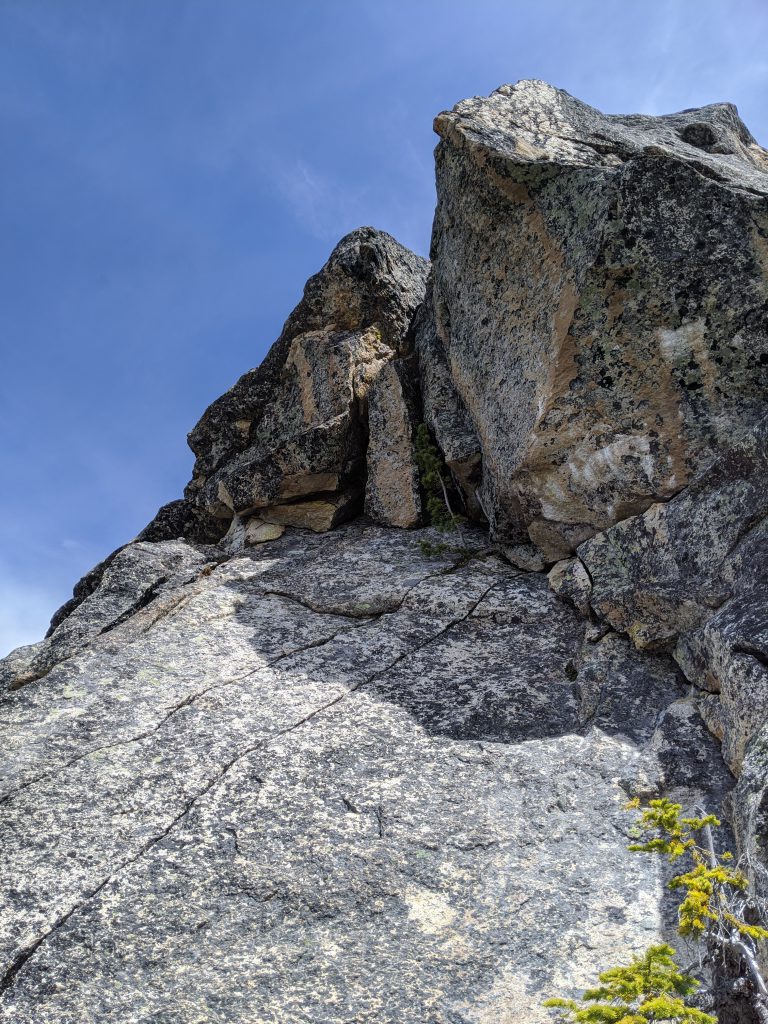
This is NOT where you go, but it’s a nice belay ledge for the end of P4. This is the last pitch of Easy Getaway. 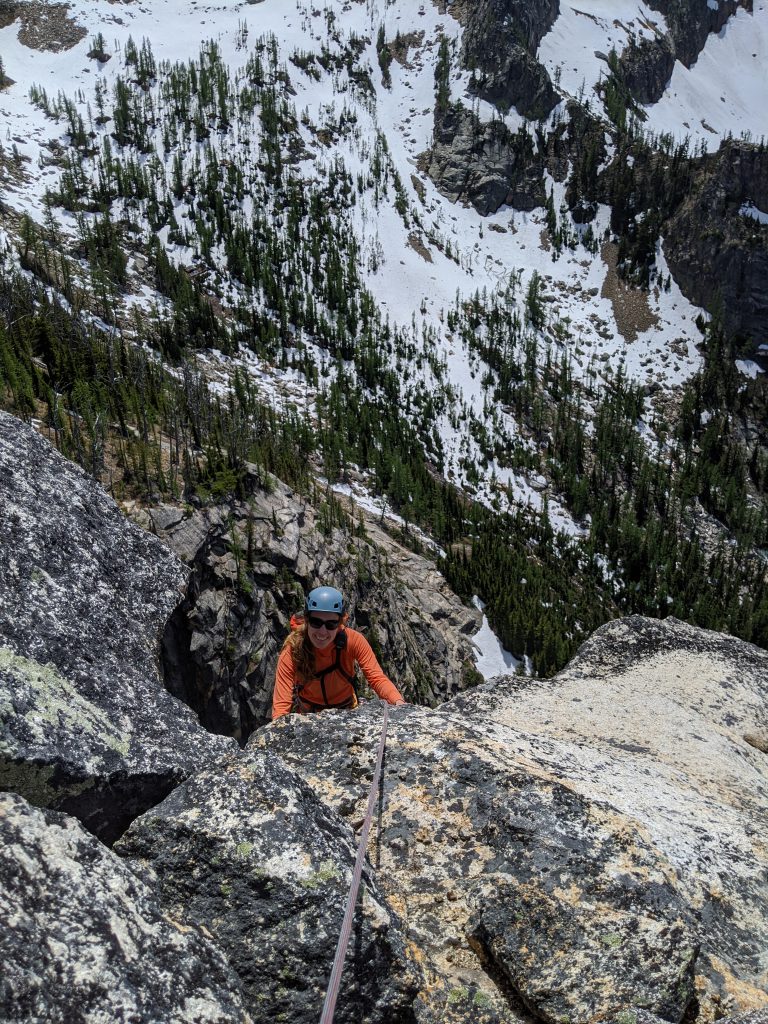
Finishing P5 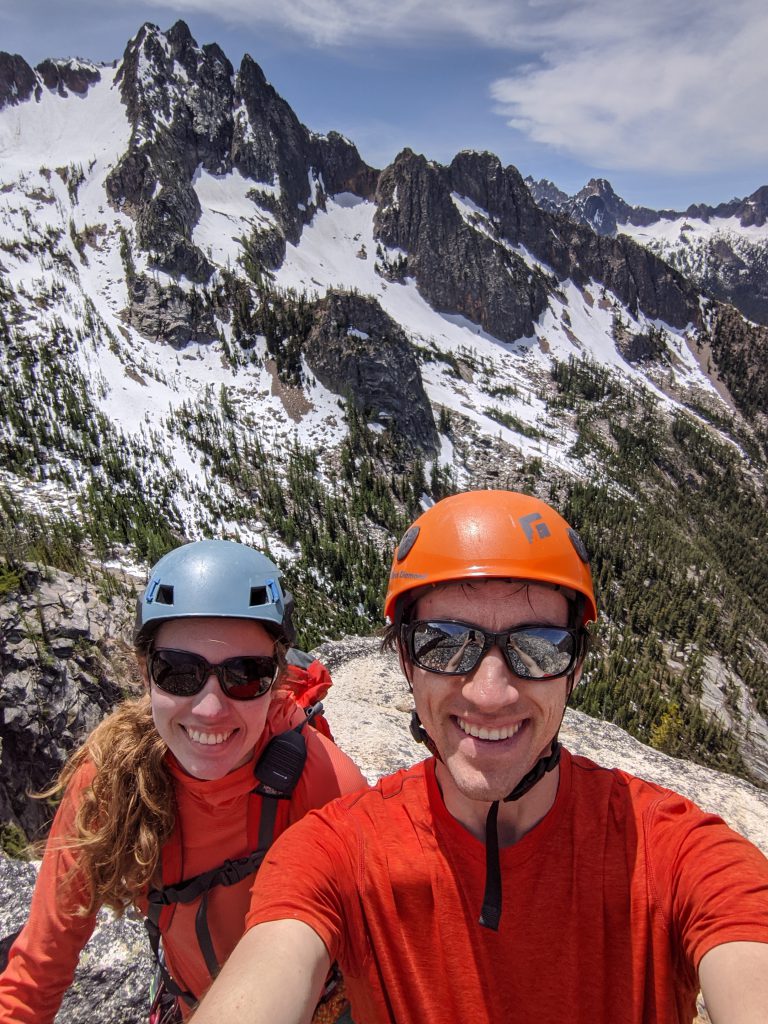
The top of P5!
Pitch 6 – 4/5th class
You could possibly scramble unroped to the final “summit”, but it’s a bit exposed and possibly had a 5th class move. We stayed roped up. Belay options at the flat top summit are limited, but there’s a rock in the ground that has a #2-#3 crack where you can place a cam to belay from.
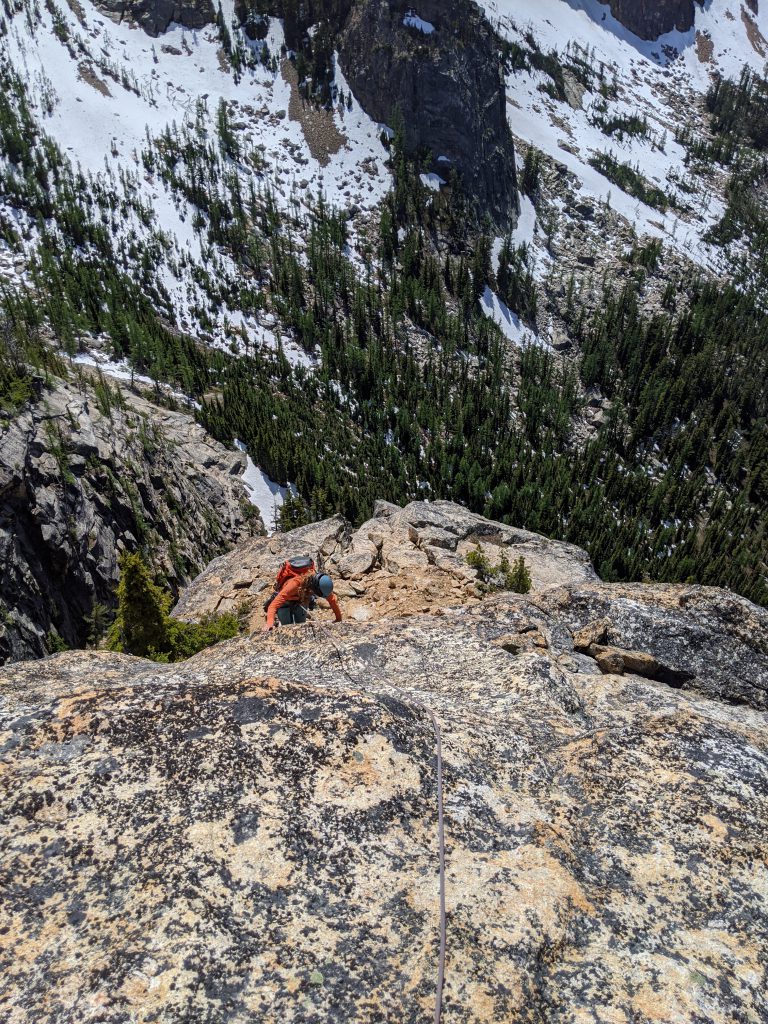
Summit!
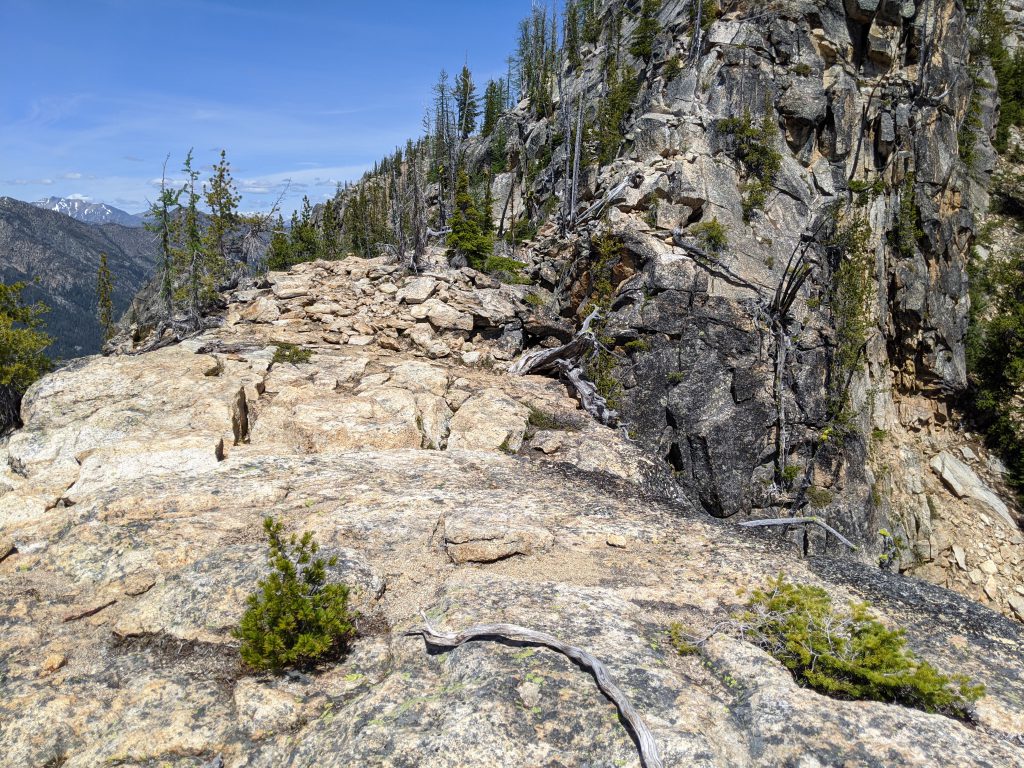
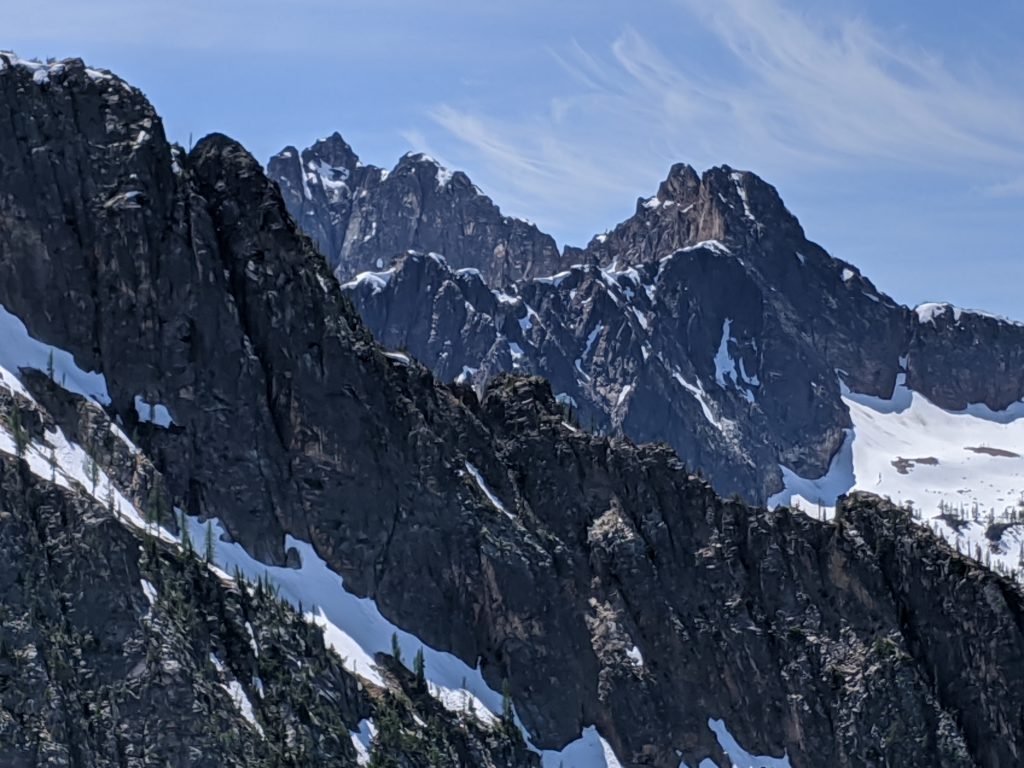
The “summit” really isn’t the summit of anything. But it’s nice and flat! And there’s some scenic views in most directions. You can even see the parking lot, which is slightly disheartening, since it’s so far away.
The descent
Not a very fun descent. First of all, it’s a 30m rappel, not 20m. And not a very clean rappel. And then a lot of traversing over. Definitely want to bring a pair of shoes to change into.
From the summit, continue heading “upwards” to a notch, and on your right will be a tree and a rock with a sling around it (we replaced one of the cords which was completely chewed or torn through). Do a full-length 30m rappel. I chose to go underneath a bolder at one point to avoid the rope getting caught when pulling. At the end, you rappel down through a tree and into an overhanging cave. The 60m rope barely makes it, but it does. Pulling your rope may be difficult at first, but the friction eases up and it comes down cleanly.
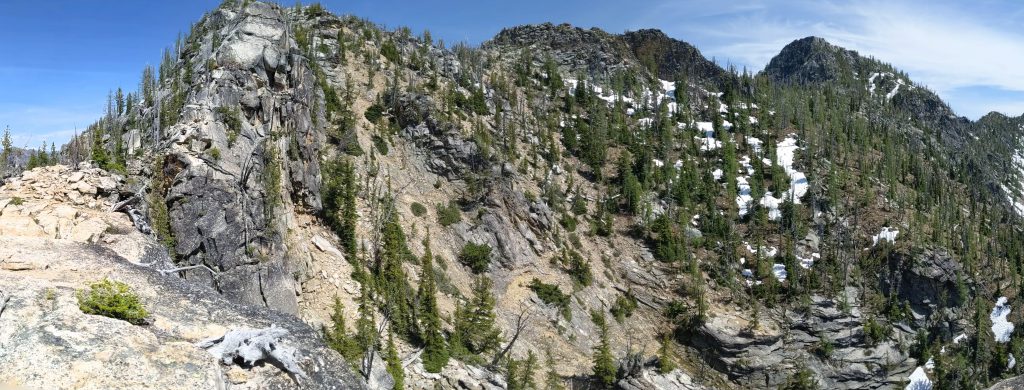
After putting away your rope, descend 30 feet on a steep slope, and then turn left and go uphill about 100 feet. Then start traversing over until you get to the lower grade “gully”. It’s not really a gully, since it’s a very wide gully. Take that down till you’re level with the elevation of the start of the climb.
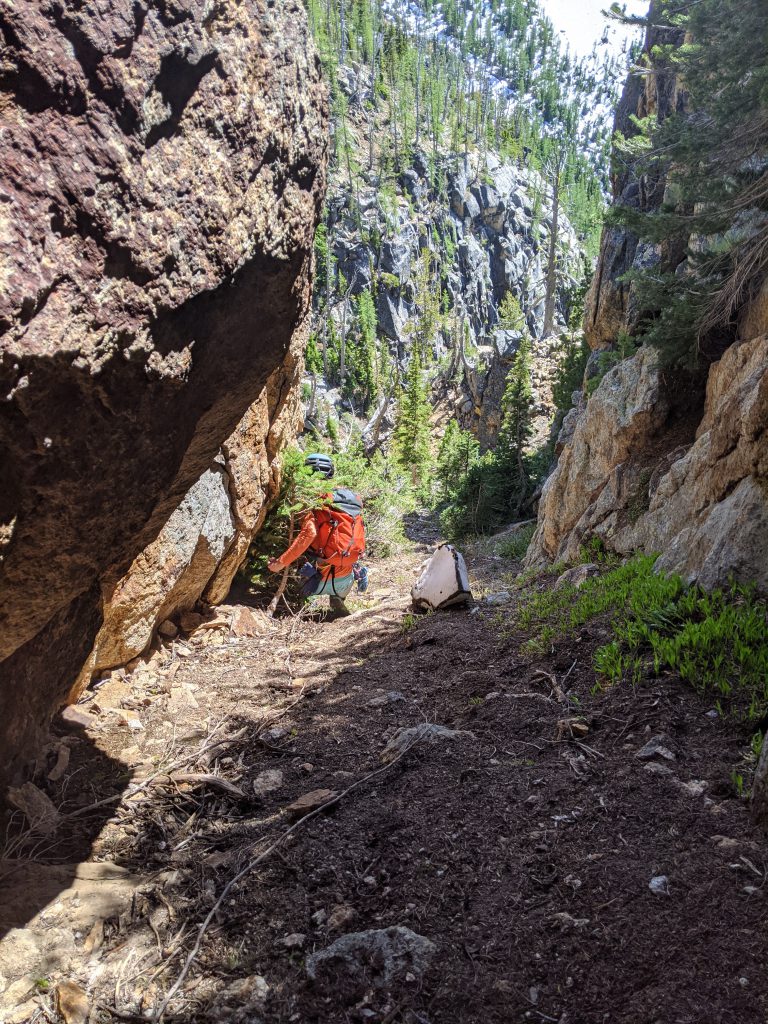
Continue down a bit after the rappel 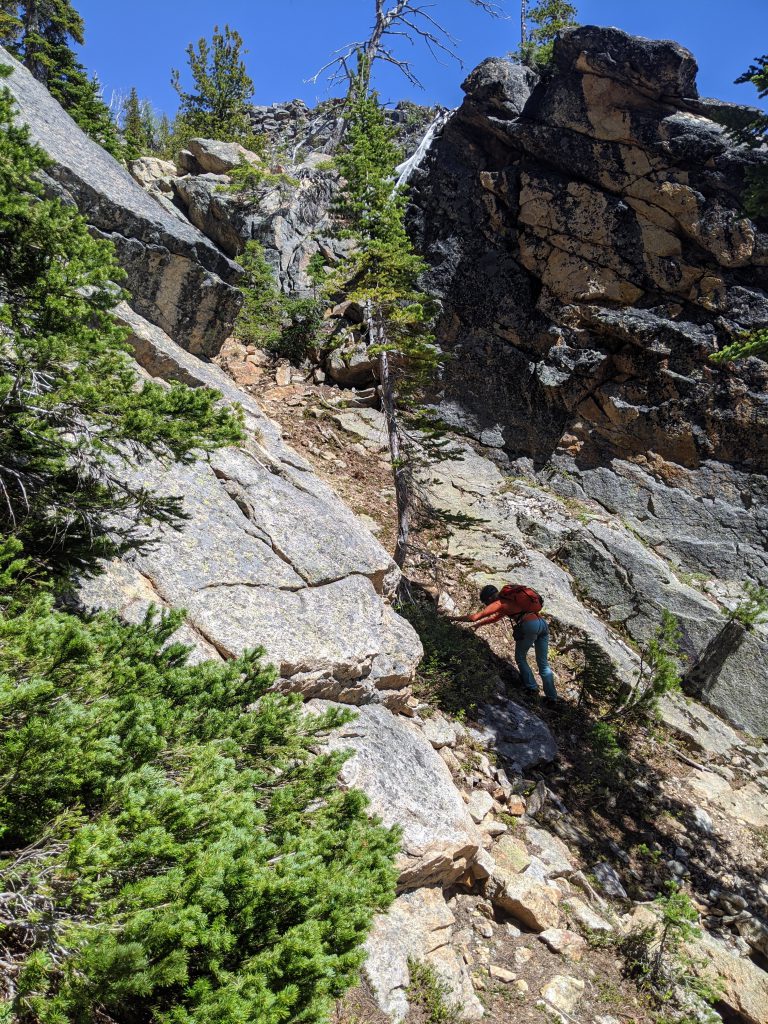
Then cut up the gulley on the left till you can traverse 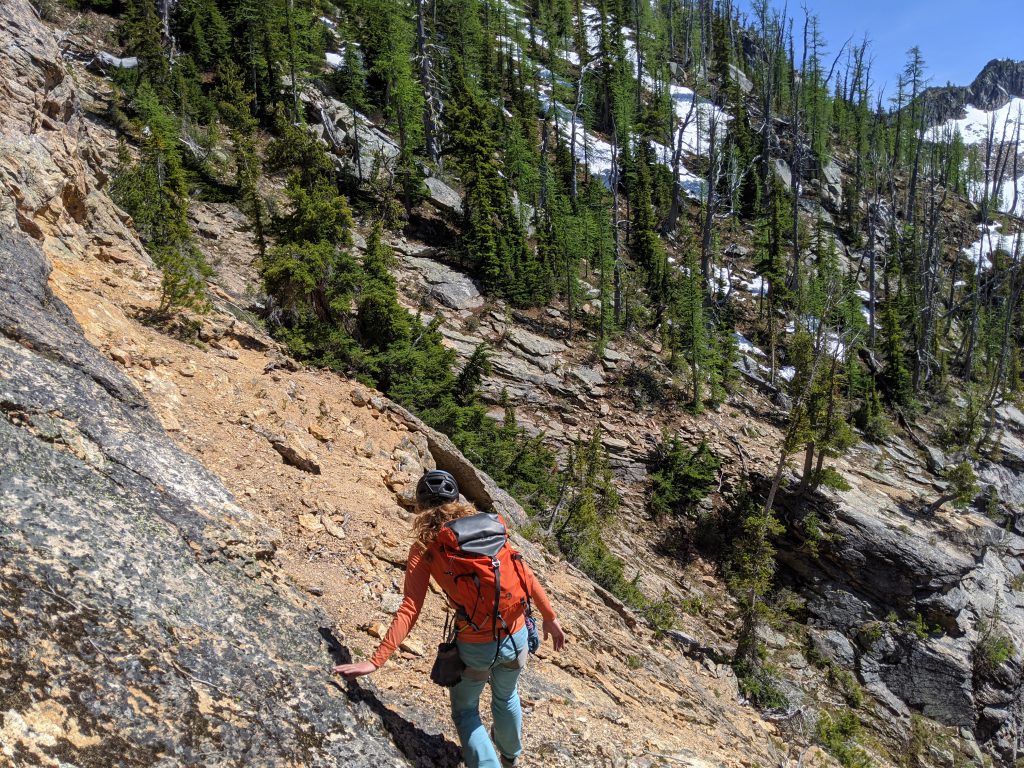
Traverse towards the trees 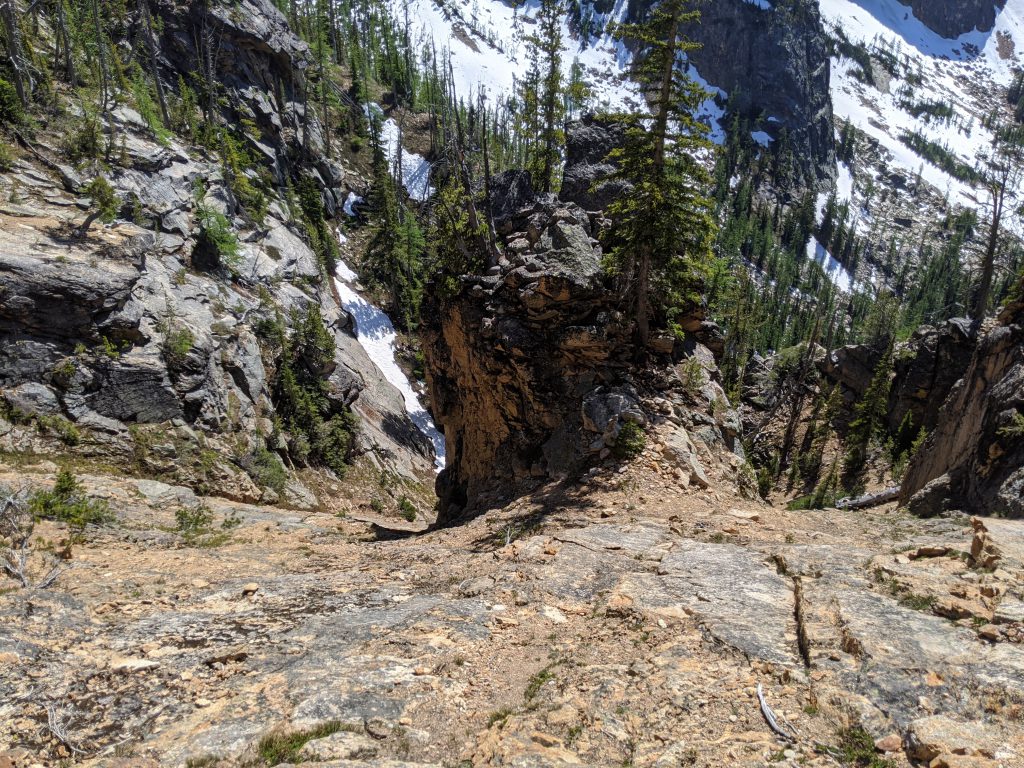
Gulleys to NOT go down. Looks cool though! 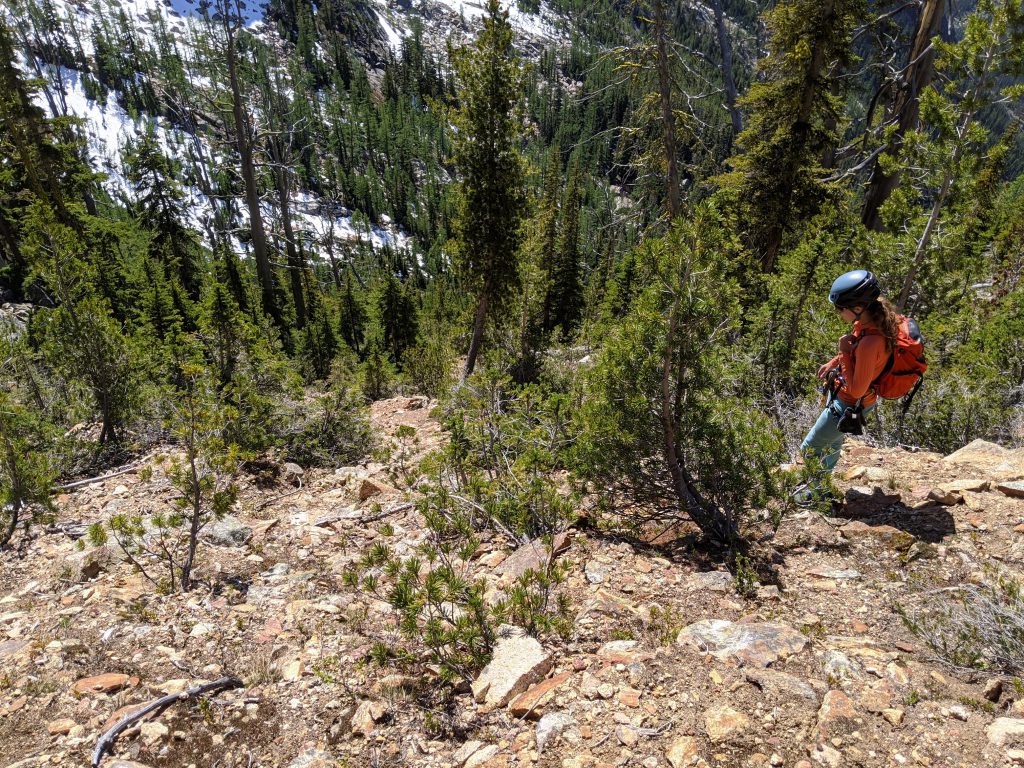
Finally descending!
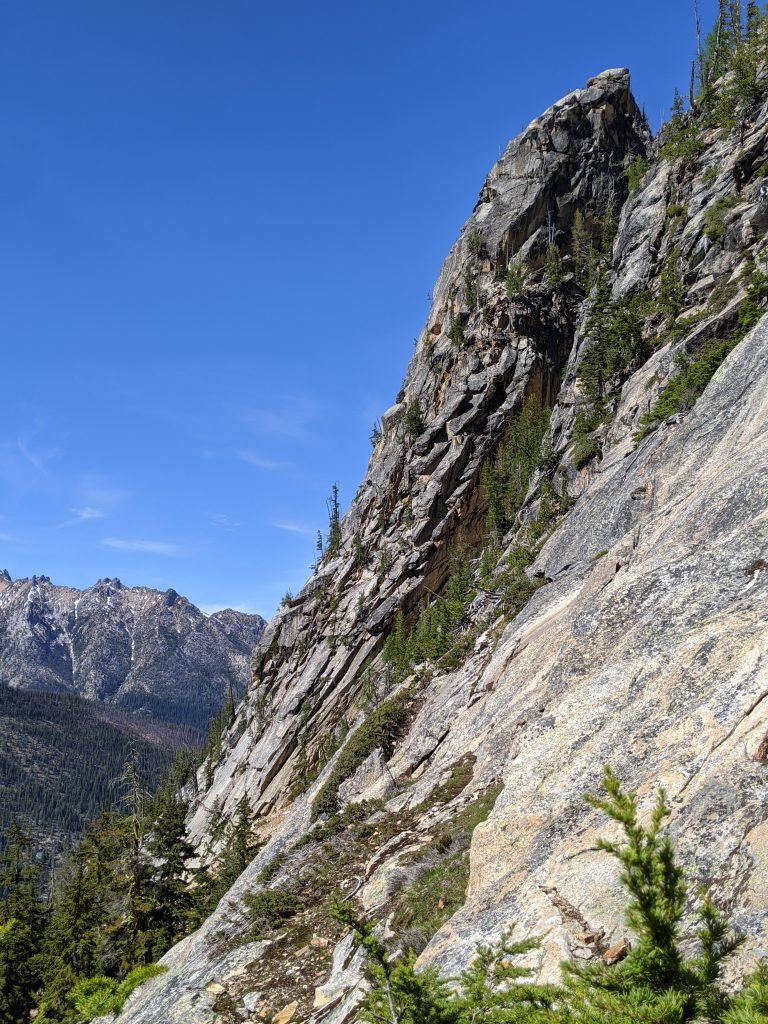
You’ll get a super sweet view of the climb on the way down!
