After yesterday’s failure on No Sweat Arete, we went for Shoshone on Sunday, with perfect weather… sunny skies, warmer temperatures, no wind.
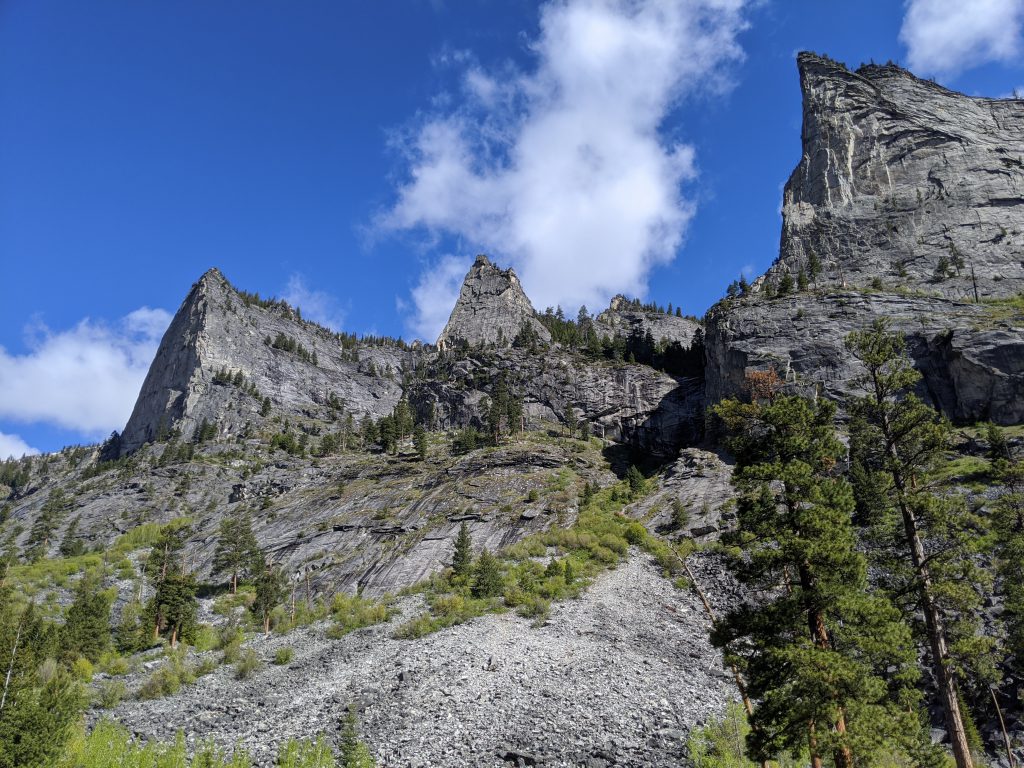
We hiked in and easily found the correct spire and found the traditional stream crossing. However, it was still early season, so the stream was roaring, and no easy crossing was to be found.
We located a thin tree that you could cross, however it was a really small tree, not really walkable, so you had to butt scoot. However, butt scooting with packs on didn’t seem very safe. I fixed a highline, and with that in place, it was quite easy to walk across the log. However, we were having doubts about being able to do the climb in general, and then Mountain Project also glitched and wasn’t showing me the downloaded photos so we were missing out on route beta, and so we decided to turn back for the day. Just as we were doing that, we saw another group of climbers on the other side of the stream… they apparently found a lower crossing, they apparently knew it wasn’t crossable up here. But we headed back home anyways. We located the lower crossing on the way back.
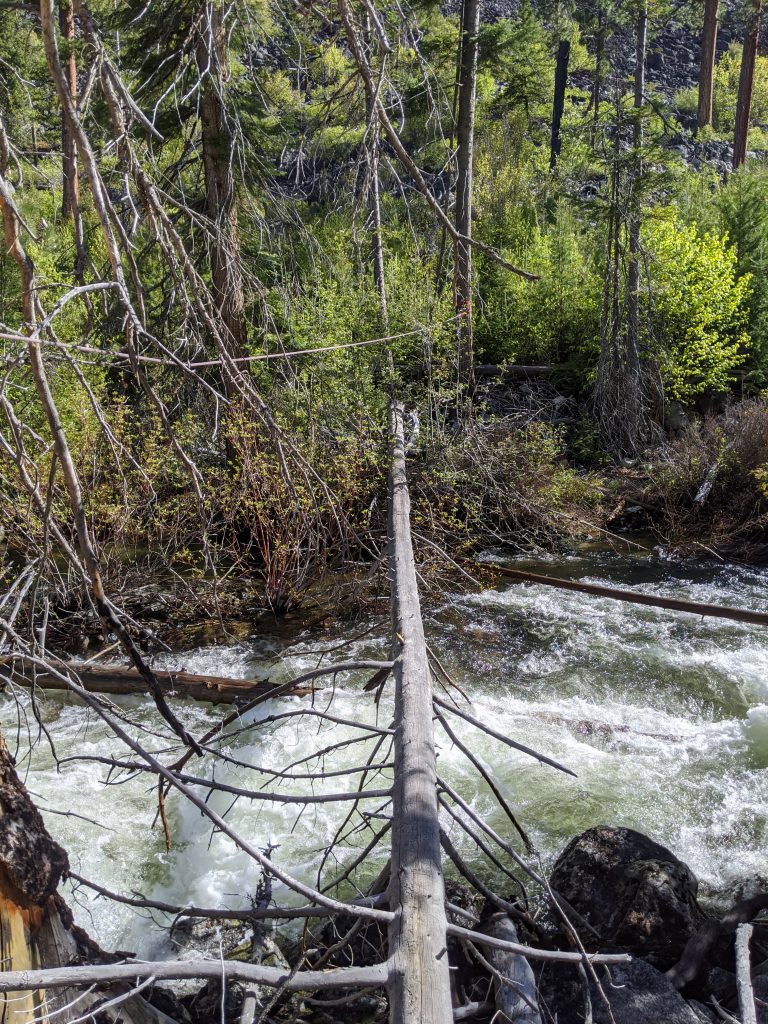
The small log with deadly consequences 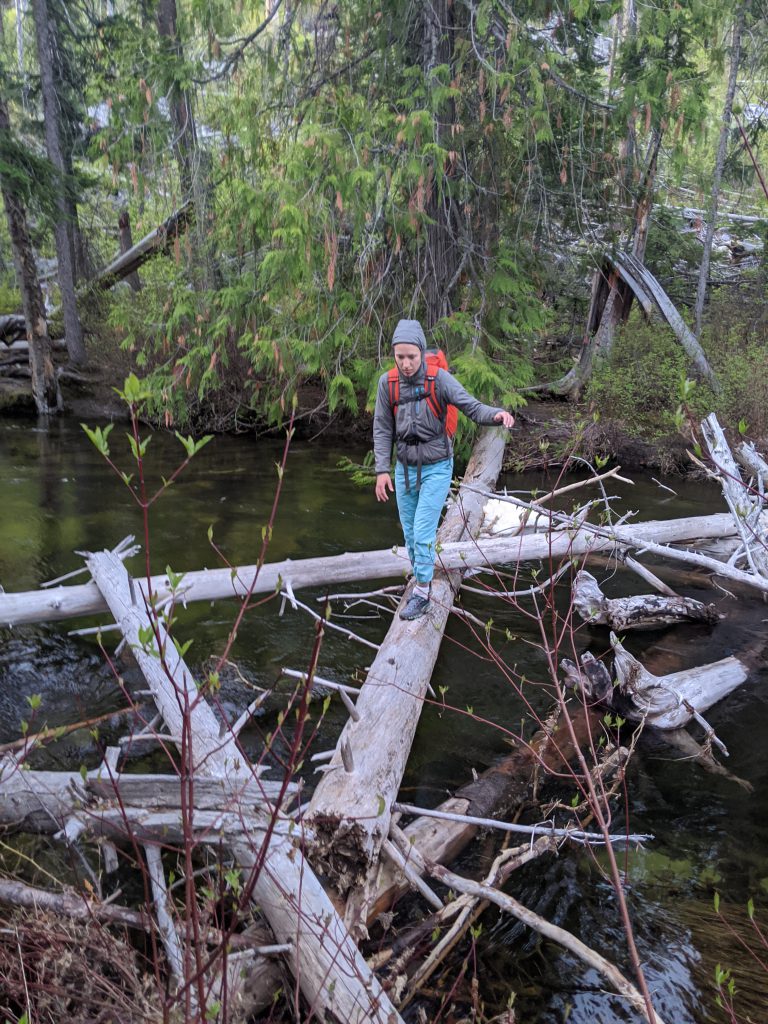
The much further down log, bigger and no deadly consequences
On Monday, we tried it again. This time, we knew to go for the lower crossing. It’d mean much longer walking off trail, but at least it would get us there! We actually got to the base quite quickly, I think it only took 2:30 hours. We ditched a bit of gear, found the start of the route, and went for it!
The first pitch is HARD. It’s the crux of the entire climb, I’d say. The chimney roof just starting off of lunch ledge is the only other pitch that compared, but that at least was shorter. The first pitch has two sustained corner crack sections. Pretty good protection, but I had to take a few hangs. After exactly 100 ft, you reach a nice belay ledge where terrain turns low class 5.

The second pitch is easy class 5 scrambling. Quite enjoyable after the challenge the first pitch was! I ended the pitch when the wall started to turn vertical once again.
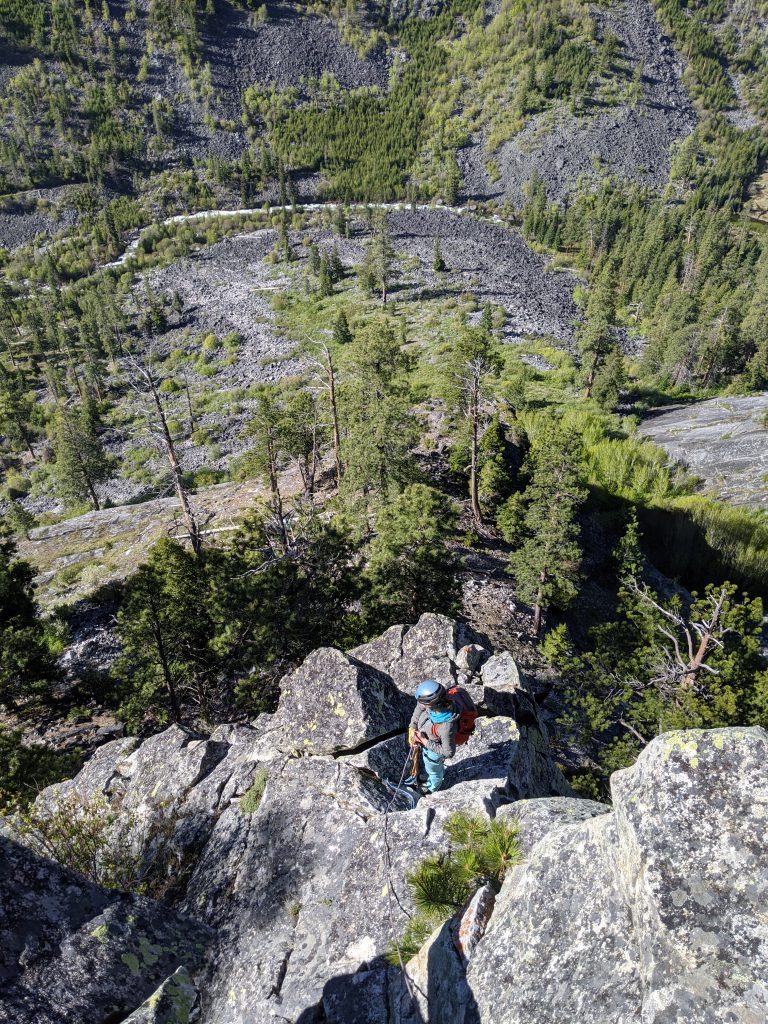
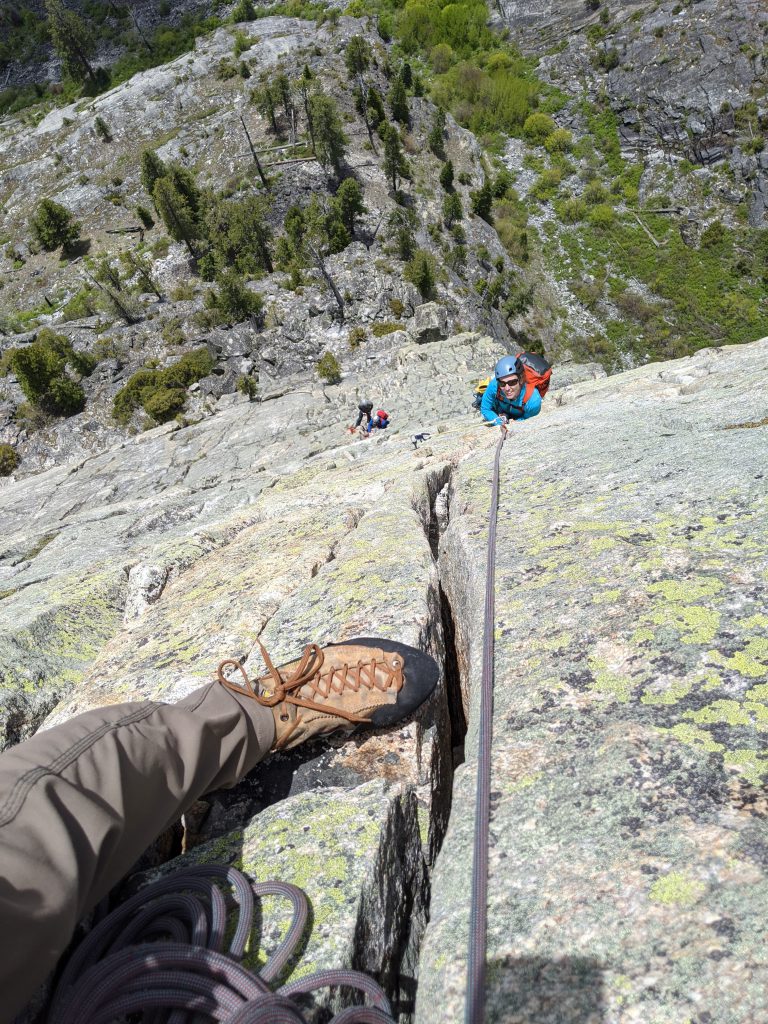
Alexis belaying from the top of P1 
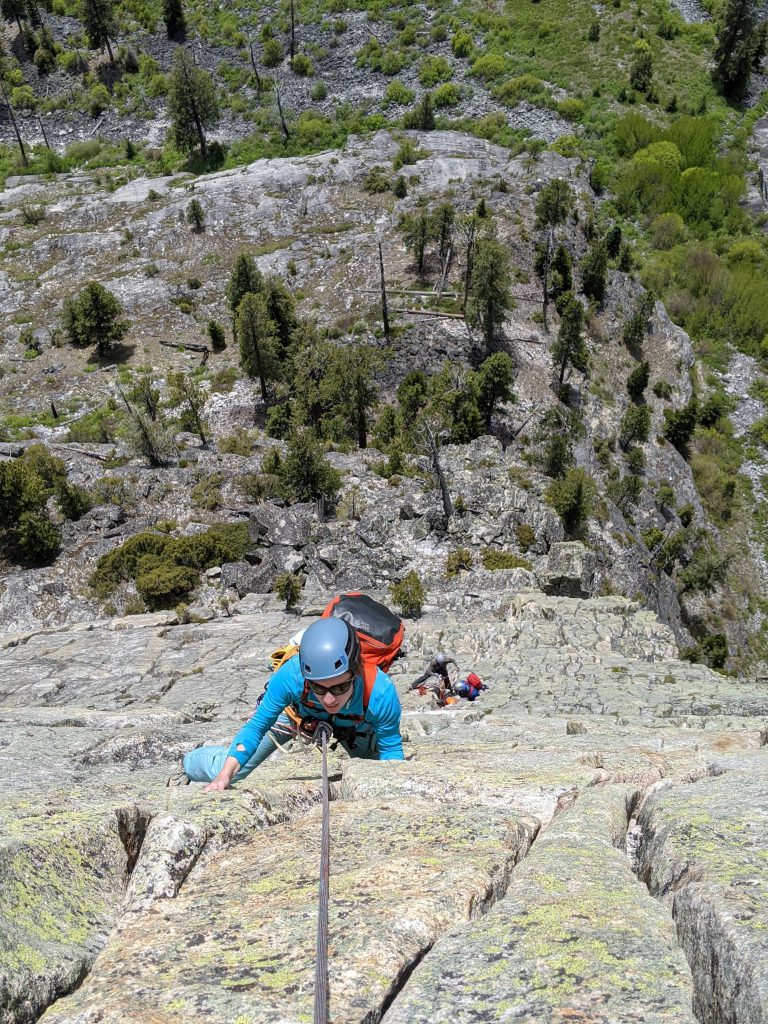
Looking up P2 from a bit up P2. Choose any path, easy climbing/scrambling!
The third pitch is probably 5.7, has some tougher sections but not nearly as tough as the first. Really fun! Apparently you can bypass this climbing by staying further right on easier class 5 terrain, but I’d say it’s worth going up. It’ll take you right to the top of lunch ledge!
Near the end of P3 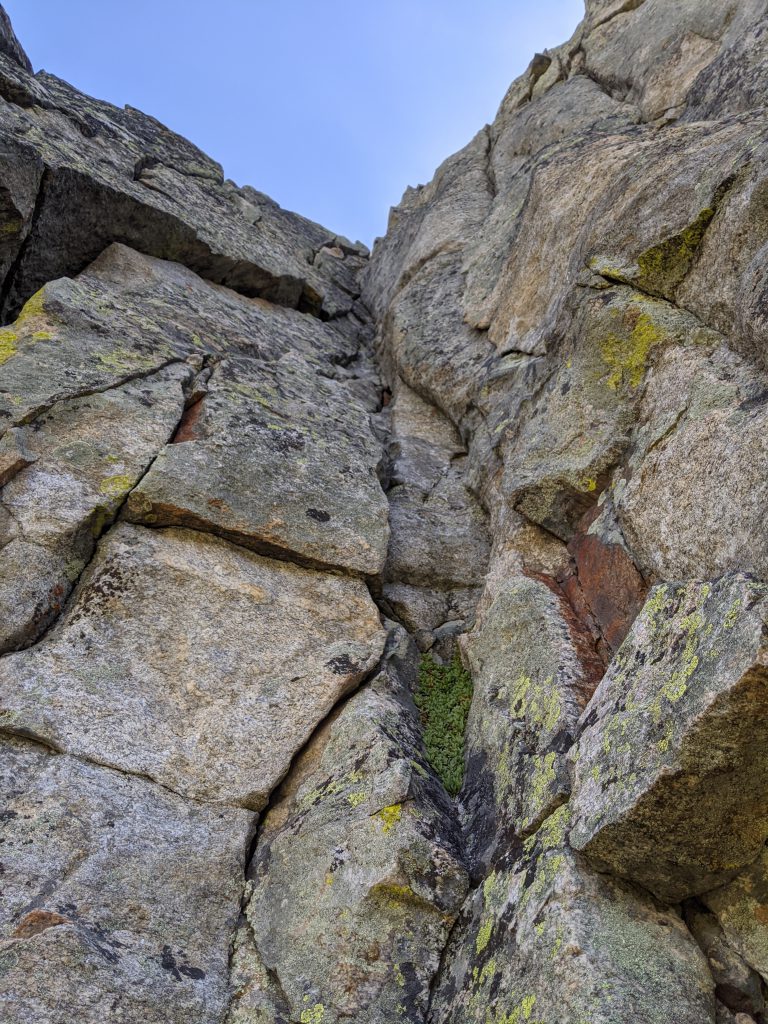
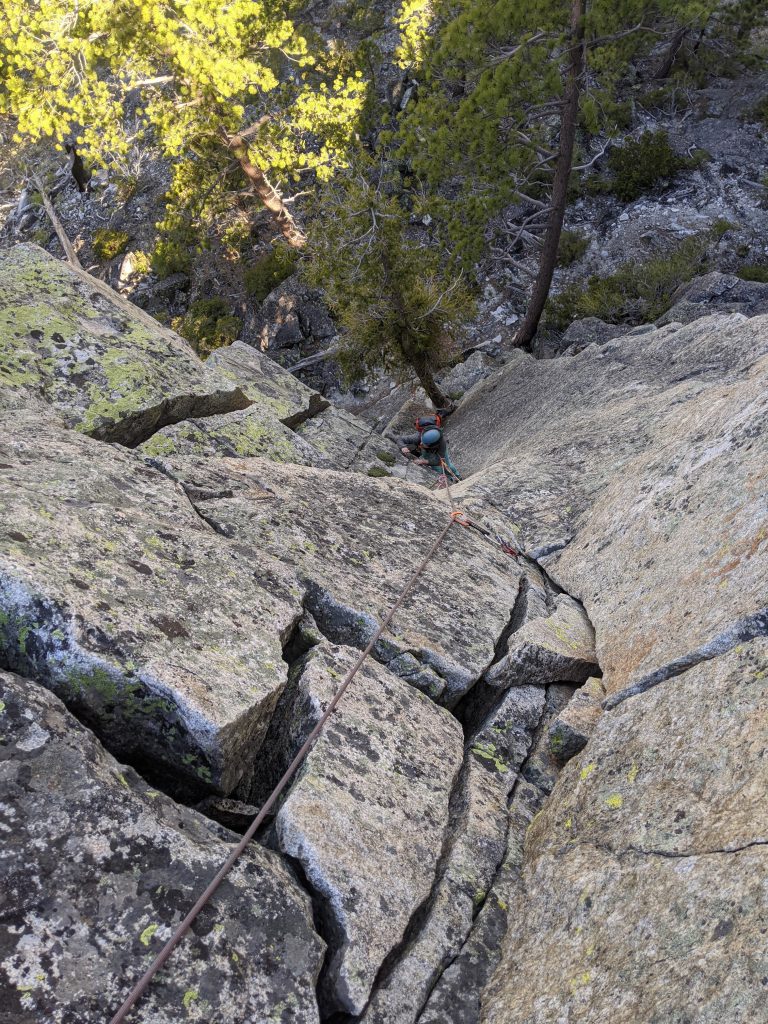
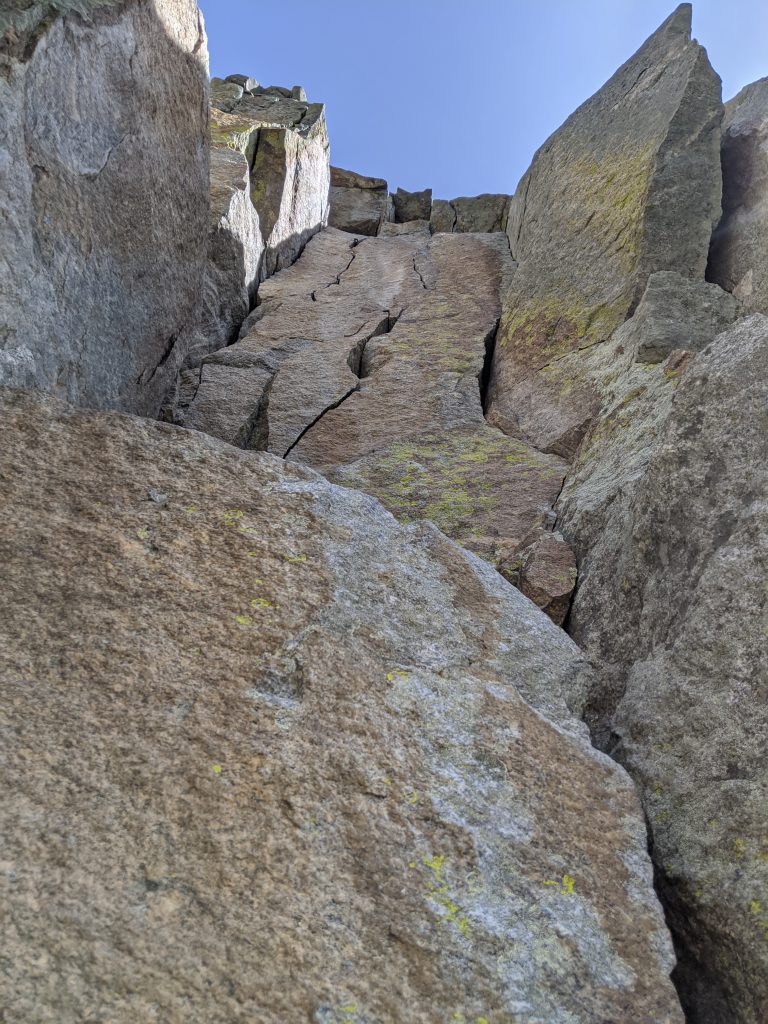
I believe this was the start of P3 (I chose to take this corner route when the cliff got more vertical)
Lunch ledge is a pretty nice spot. We ditched some more gear, and scouted out the start of P4.
The start of P4 is the “chimney” section with the fixed cam and fixed piton, which I didn’t bother using since there were good gear placements elsewhere. It has some stemming you can do with longer legs, and then you have to get over the roof, which I did by doing a weird move to the left around a bulge in the rock. After that, it gets nice and easy. I continued up to the first major ledge with a tree nearby.

P5 is supposed to go all the way up to the cut in corner I believe, but the protection is tricky… the cracks are flaring, and there’s so many options of which way to go that it’s tough to tell which route you should pick, and whether your route will continue to have protection opportunities. Overall easier climbing, but the protection and route worries had me concentrating (although I always did find protection). I built a hanging belay as I started to run out of gear, stopping just before the section where you have to go over a “roof”.

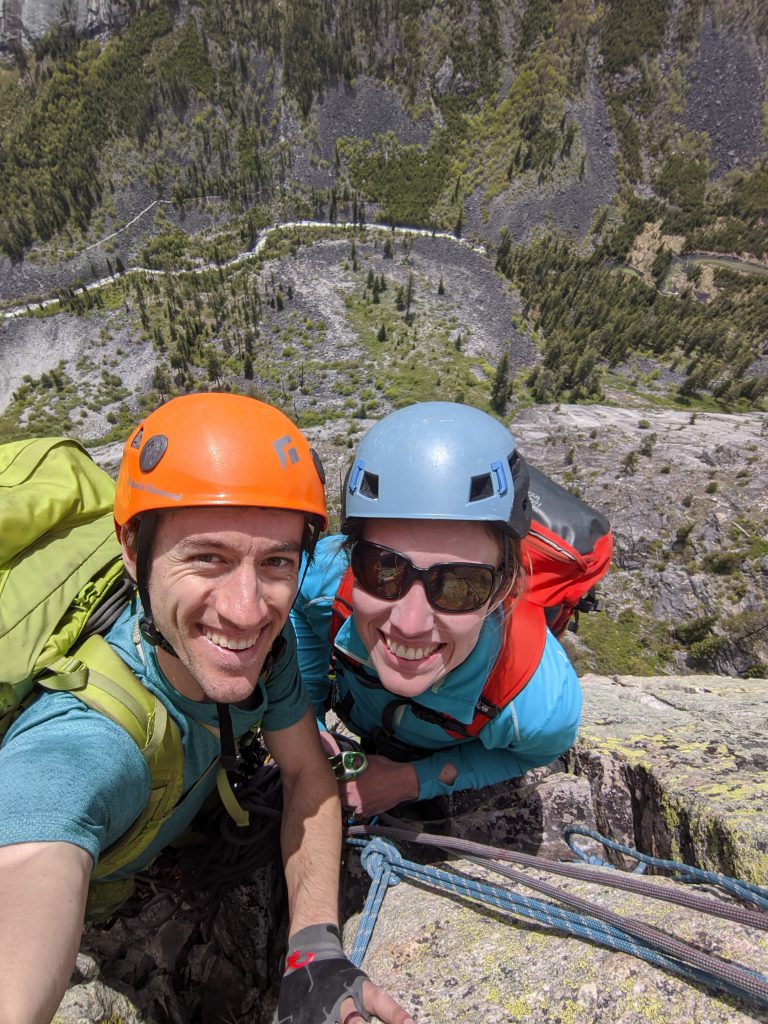
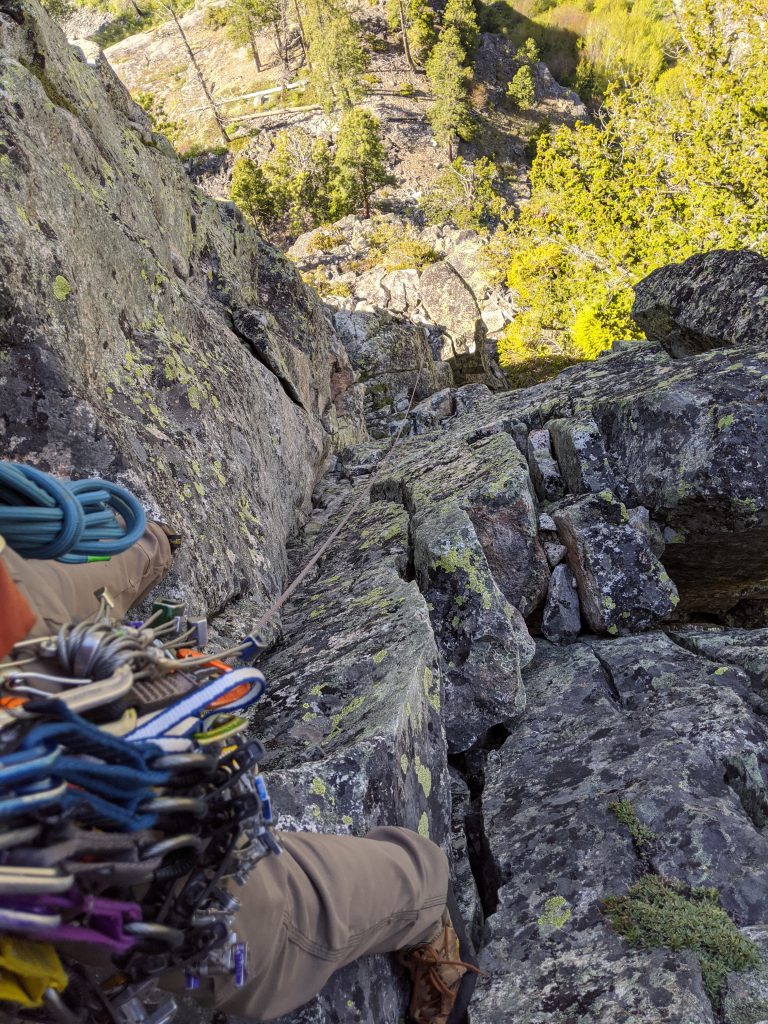
At P5 belay! 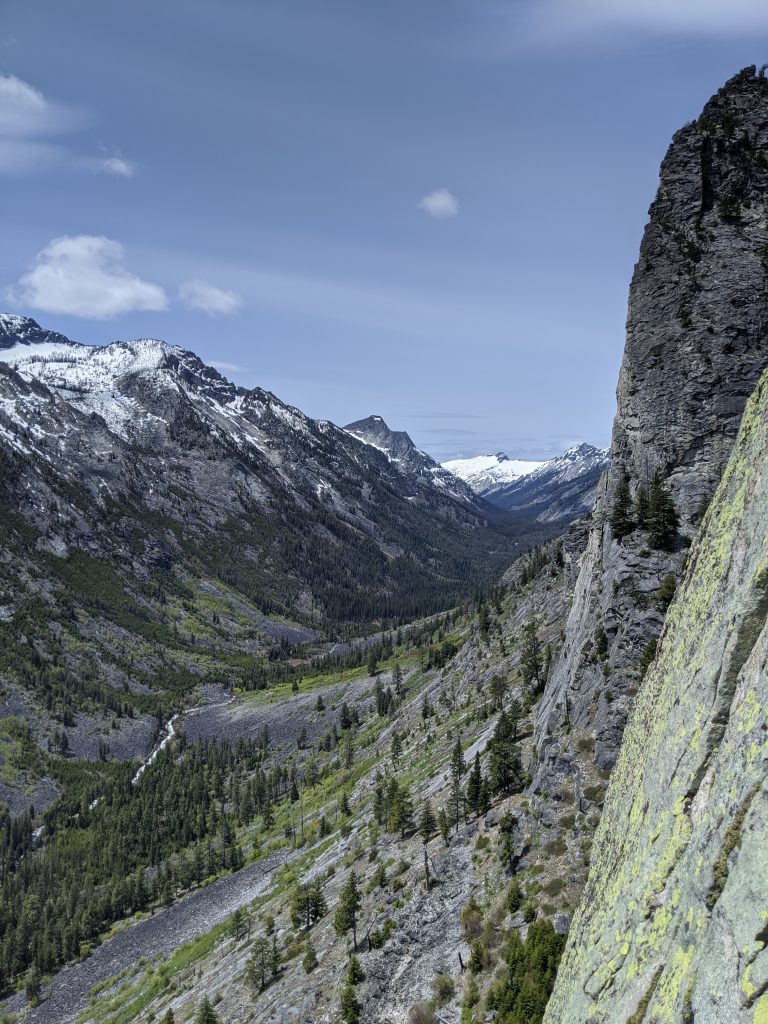
The view looking south from P5 belay
P6 was similar to P5. Getting over the “roof” wasn’t too bad, and then just more of the inconsistent protection and route questioning. I ended at another hanging belay.
Finally, for P7 I just headed for the top left corner ledge, where you can then take 5th class terrain for maybe 70 feet more to the summit. Again, similar to the previous pitches.
And for P8 we went up that 5th class terrain around the side of the mountain. Finally at the top!
The summit! 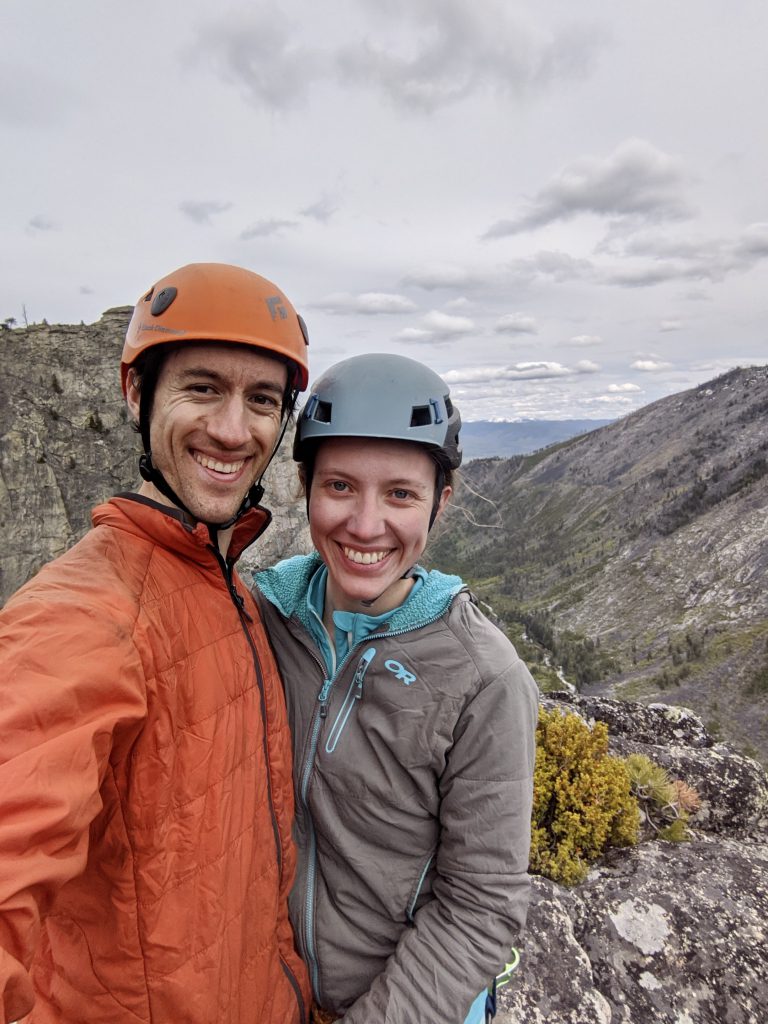
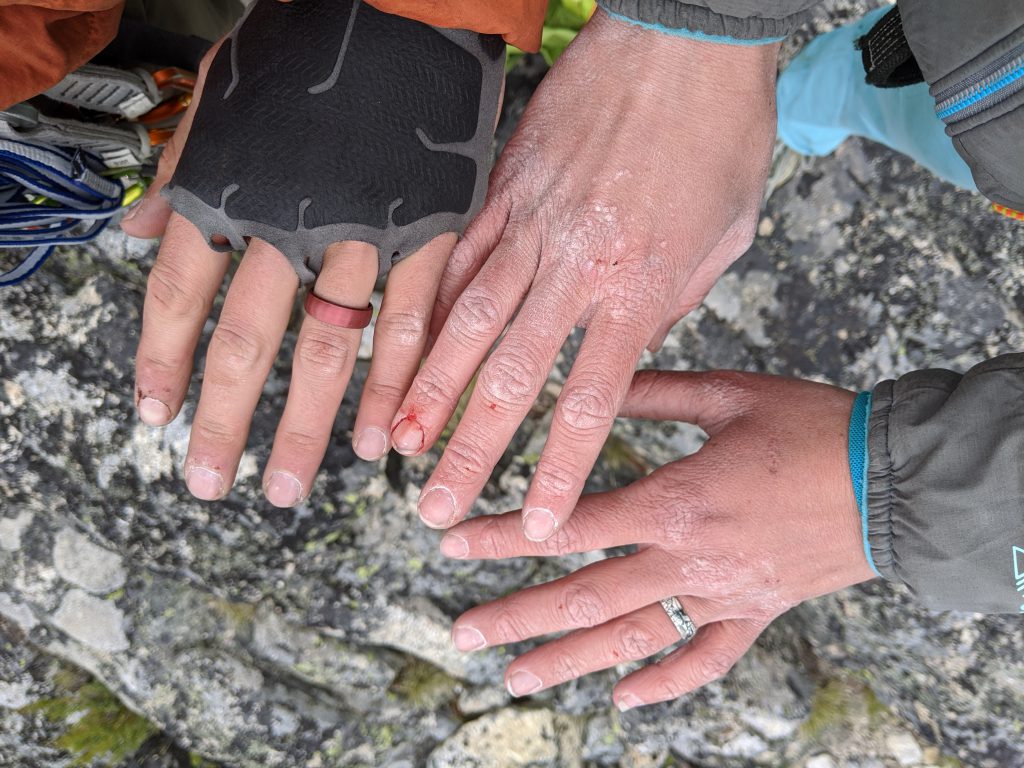
Beat up hands 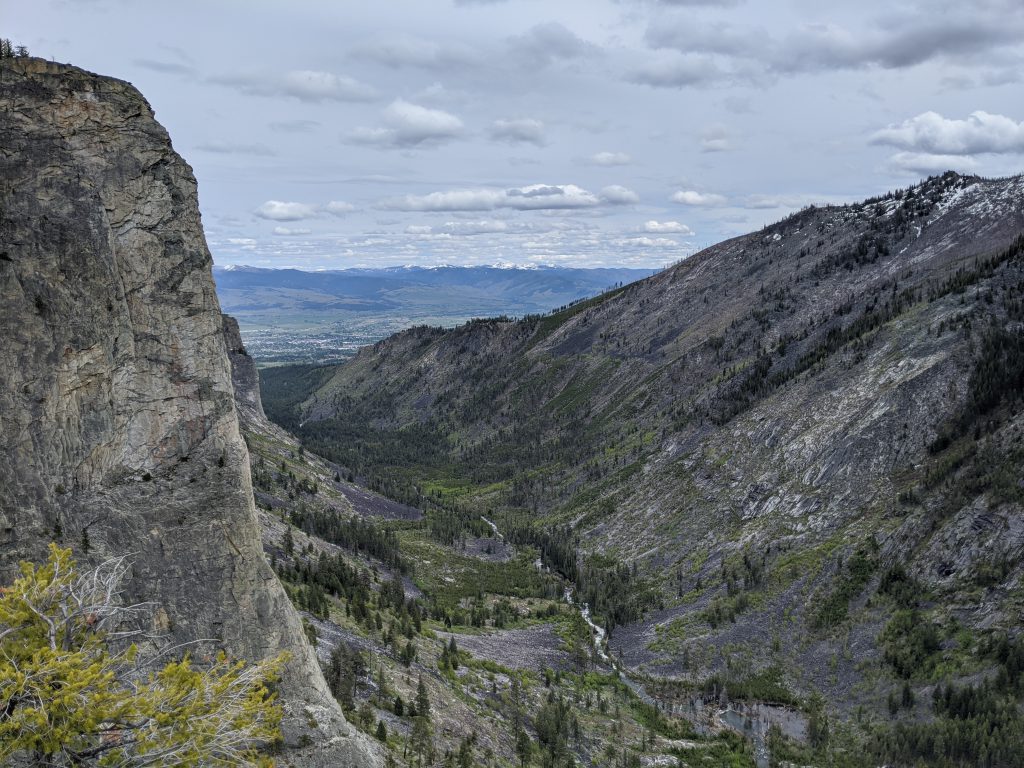
Views of Hamilton!
The descent down was a little intimidating at first, we kept our climbing shoes on as it was a bit slabby. We started going down the east side of the mountain, but then it seemed like everything turned back to the north side… so maybe next time we’d check if there’s a route that starts immediately down from the north side. After about 10-15 minutes of high concentration scrambling down, the trail got better and we switched into our hiking shoes and quickly got down to lunch ledge. It might not even be worth bringing hiking shoes, as the walk down is pretty direct. There was one final tricky downclimb to get to lunch ledge, we stayed far right and hugged the cliff, going down past a tree to get to the ledge.
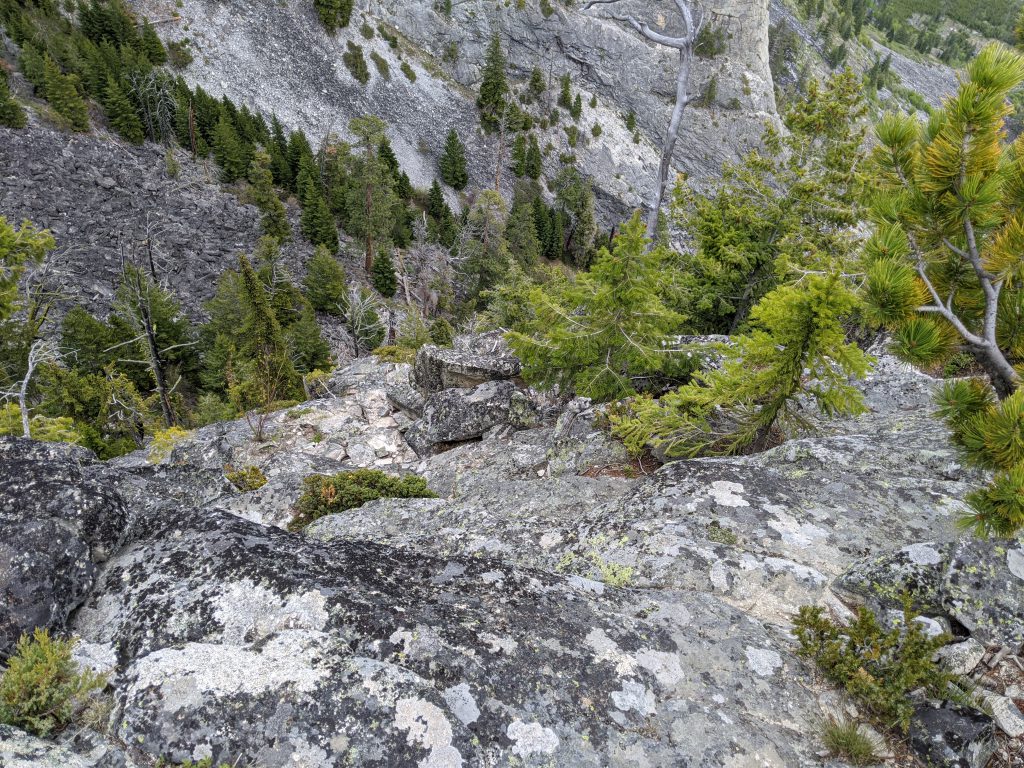
Slabby descent 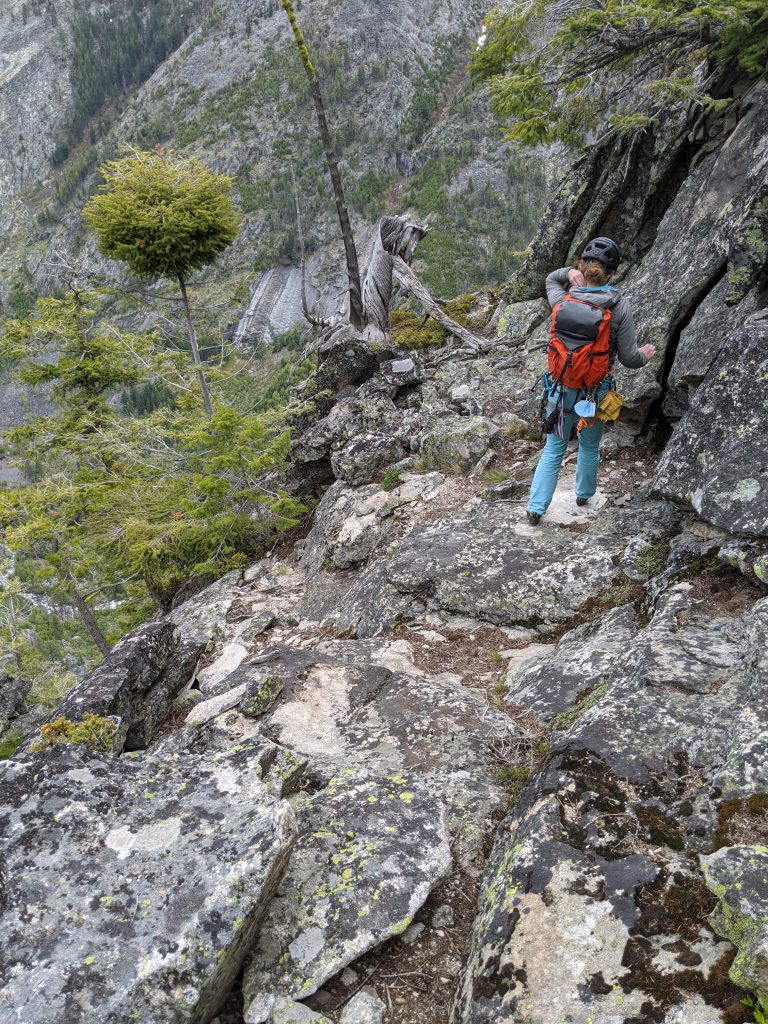
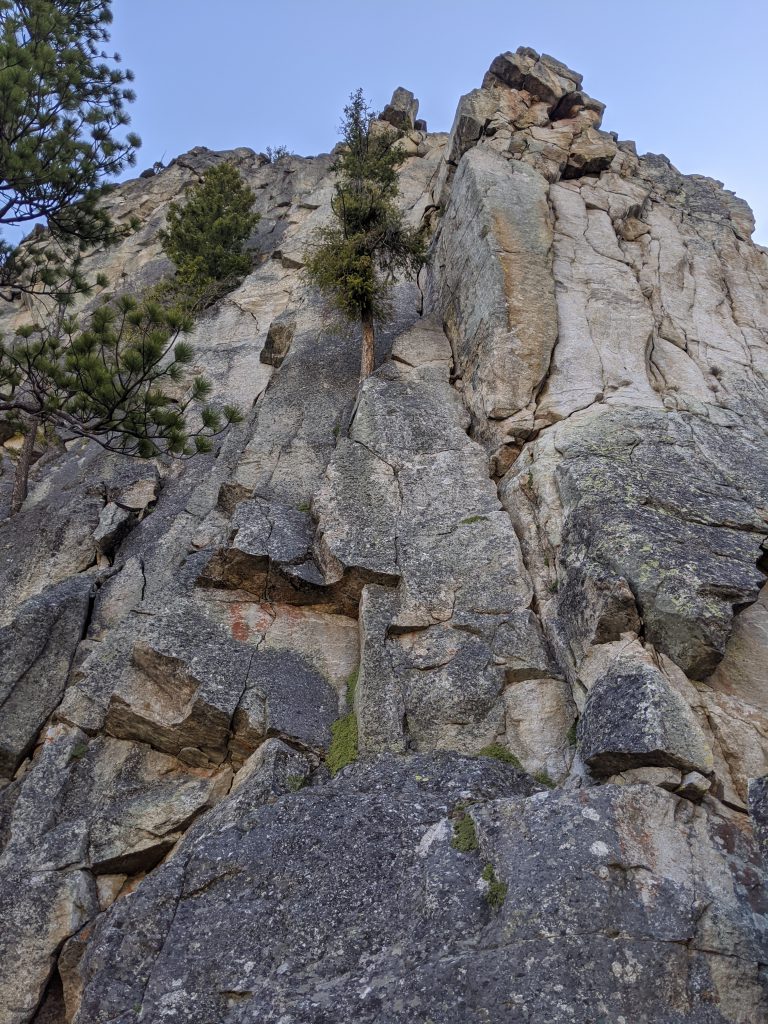
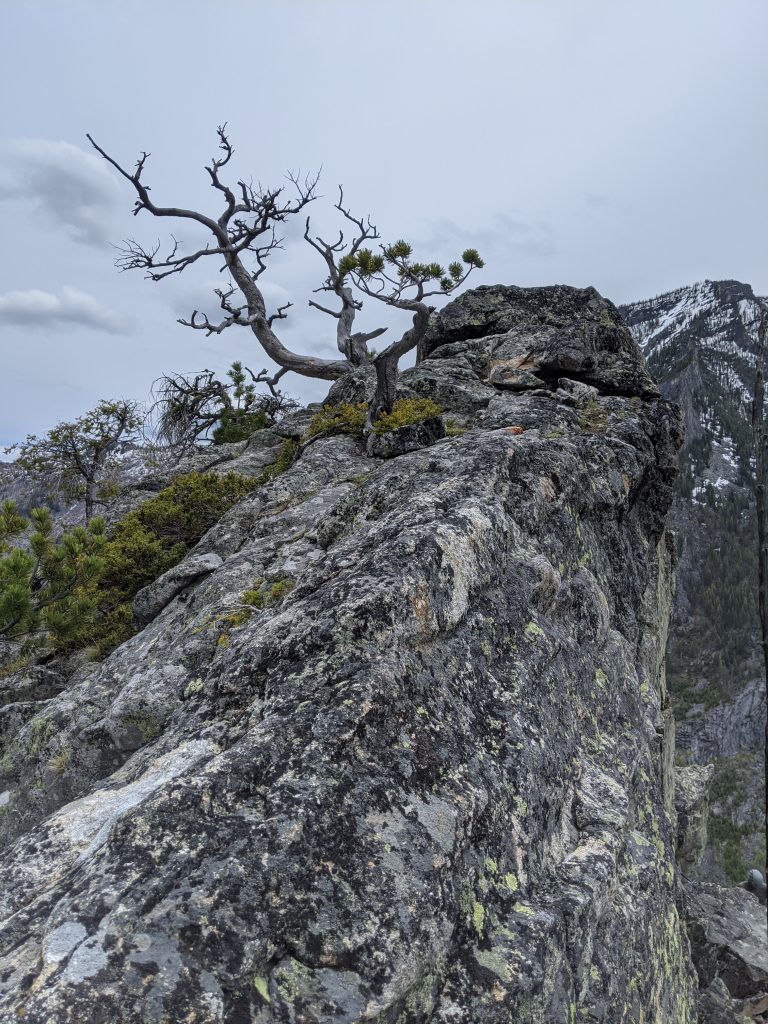
The rappel anchor is far left (east). You have to keep walking down quite a bit, but then you’ll spot the “bonsai” tree, and the bolted anchor is right above it. Be sure to tie knots in the 60m rope, it’s a full 60m single rope rappel. Just rappel straight down, the bolts will be right at the end of your rope. These second bolts are a bit of a hanging belay, but then you’re down!
Overall, it was a pretty good climb. The vertical face, with its tricky protection and ideally lengthy pitches (we turned it into 5 pitches rather than 3) had me a bit scared. If it wasn’t for protecting the route, the climbing seemed super fun, however I was a bit focused on climbing safely rather than enjoying it. It was a good challenge right at our limits though!
Gear notes
- Brought doubles to #3, nuts, and #0.2, never used the #0.2
- Single 60m rope, second rappel bolt anchor was still there